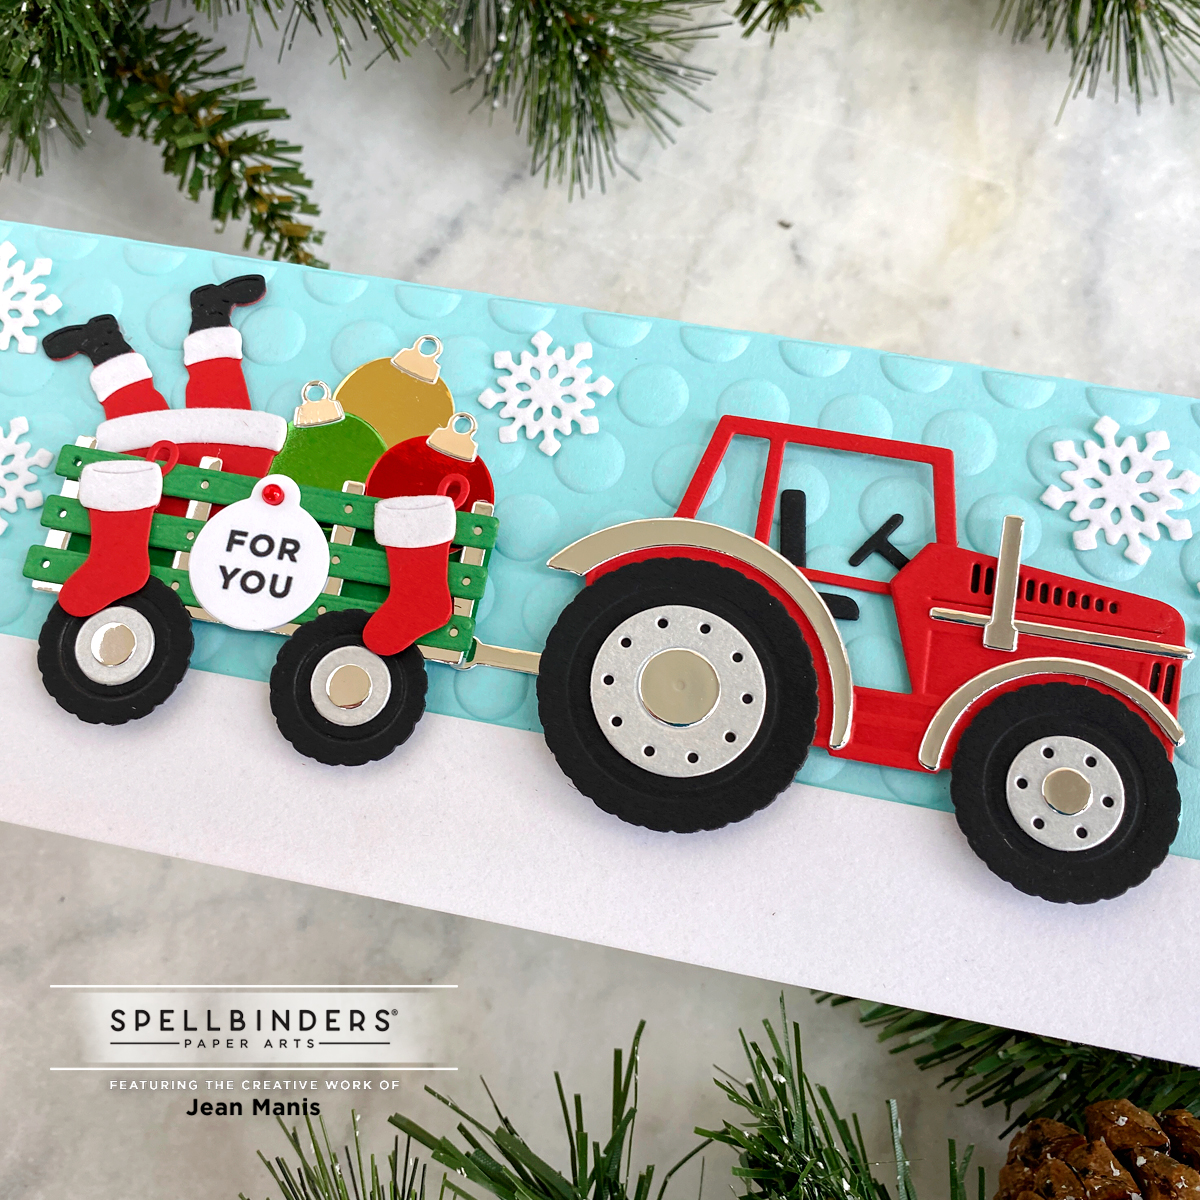
Hello! I am delighted to be participating in a blog hop celebrating the Spellbinders September 2022 Club Subscriptions. You should have reached me from the blog of Jennifer Kotas. (The entire list of participants is included at the end of my post.) For the hop, I created a whimsical, slimline Christmas card with this month’s Large Die of the Month “Thankful Tractor” and fall-themed gift tags with the Large Die of the Month and the Embossing Folder “Scattered Fall.”

Spellbinders is giving away a $25 gift certificate to three lucky blog readers – selected from the comments on the Spellbinders blog. Giveaway closes on Sunday, September 18, 11:59 pm MST. The winner will be announced in the blog hop post the following Wednesday. The winner is responsible for shipping cost, duties and taxes. Please note, store credit (gift certificate) cannot be applied to Club Subscriptions; store credit can be applied to shop past Club products, Club extras, and regular releases.
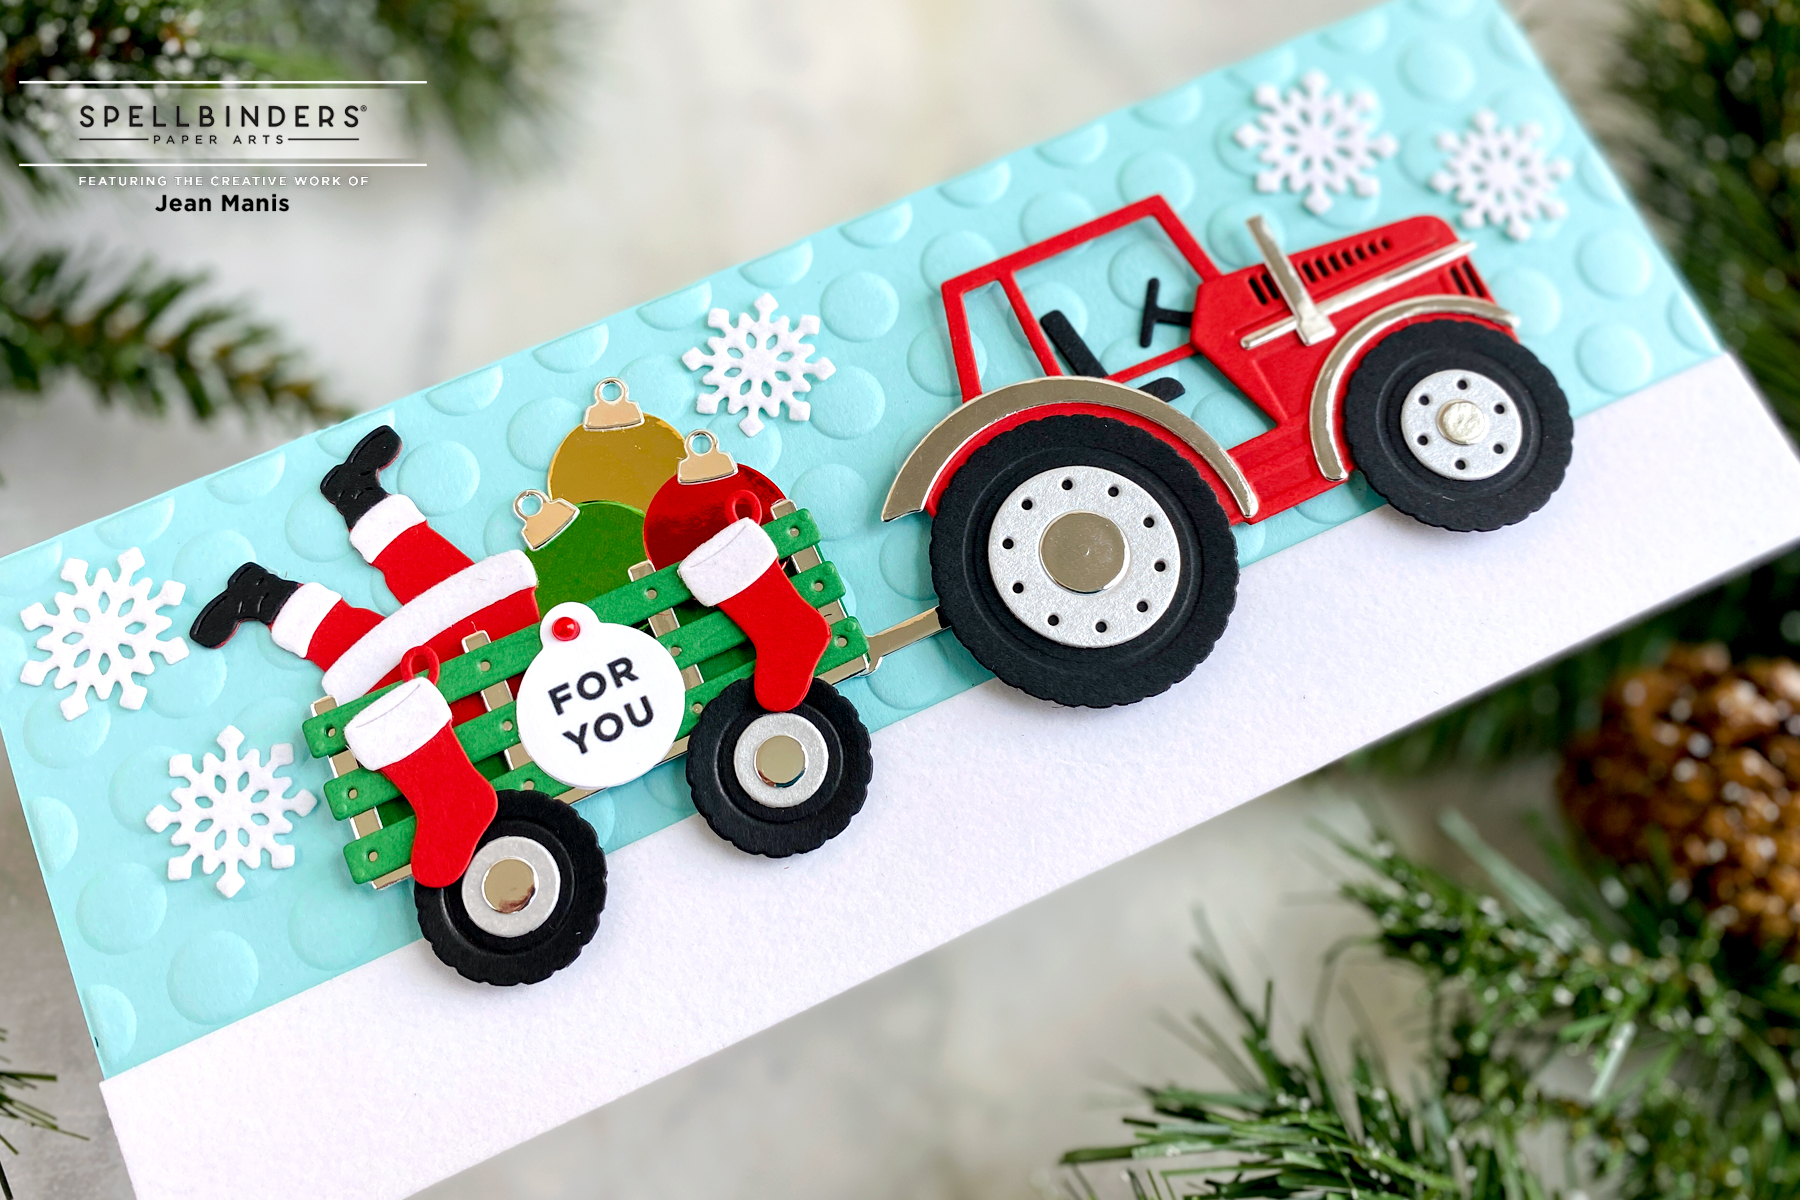
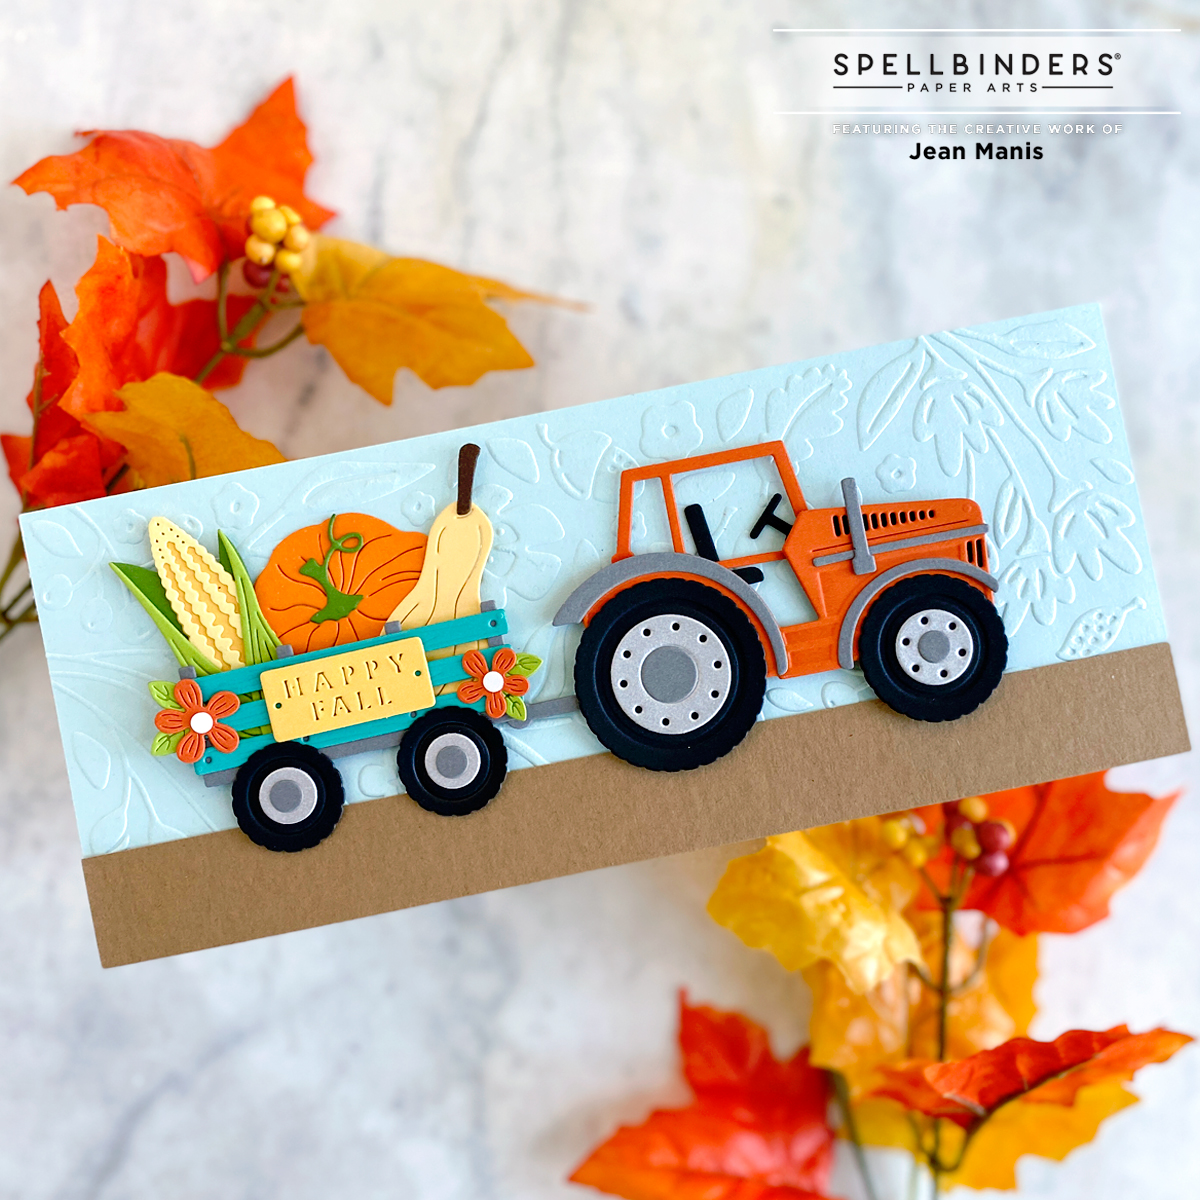
- Dry-emboss slimline panel of Waterfall cardstock with Puff Dotty embossing folder and add to slimline card base. Add 1″ tall white cardstock to bottom for snow. (I used flocked white cardstock.)
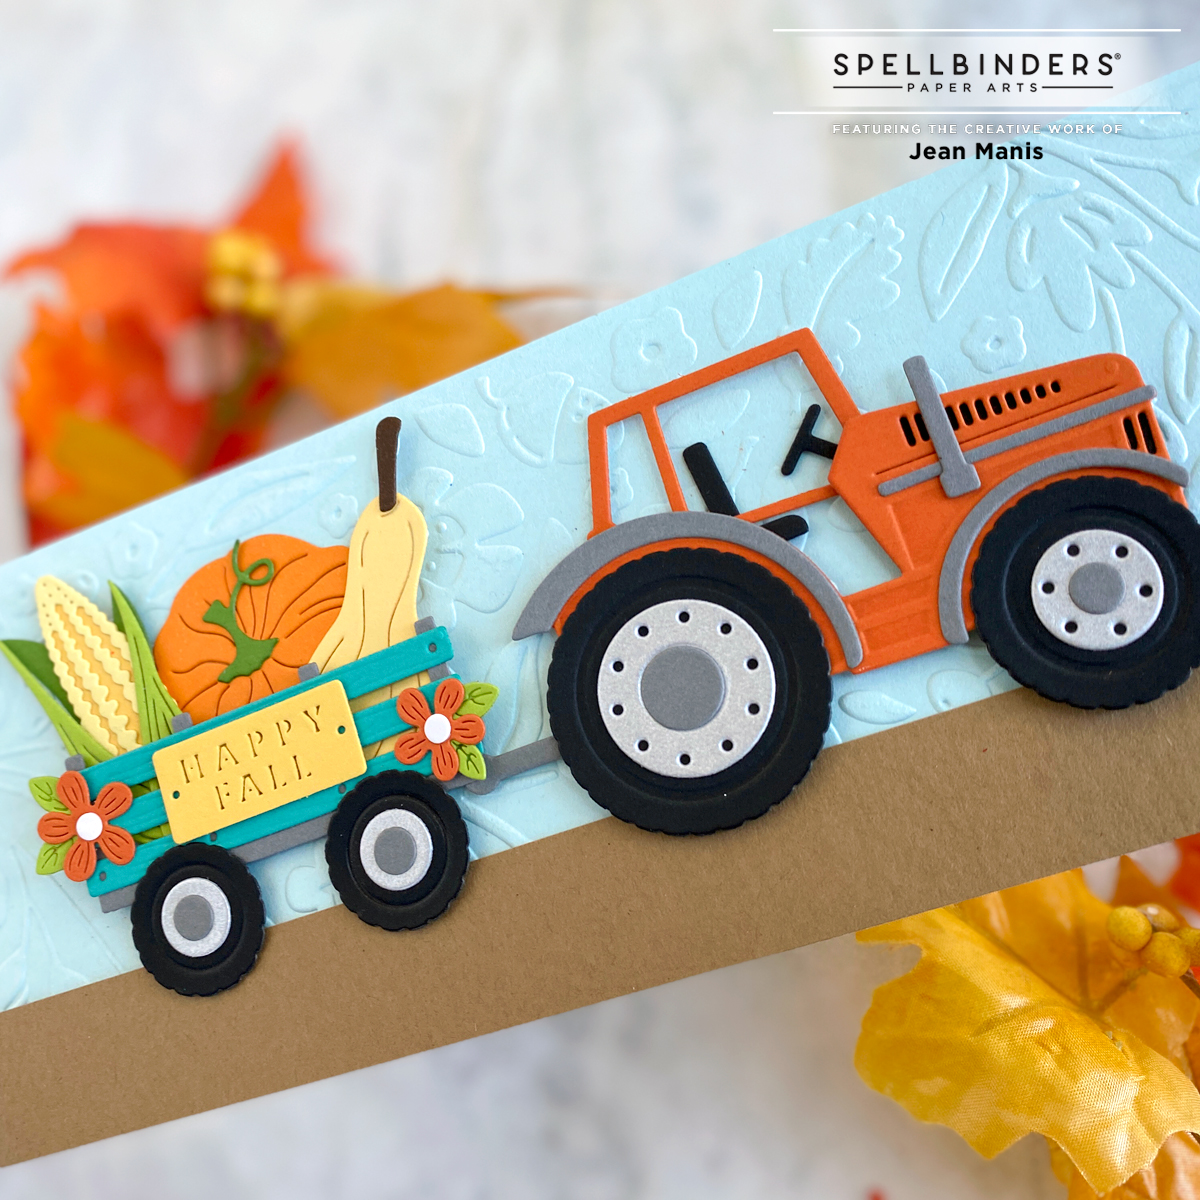
- Cut tractor and trailer with the Large Die of the Month from a variety of cardstock colors and assemble.
- Add Santa, Christmas balls, stockings, and sentiment tag to trailer.
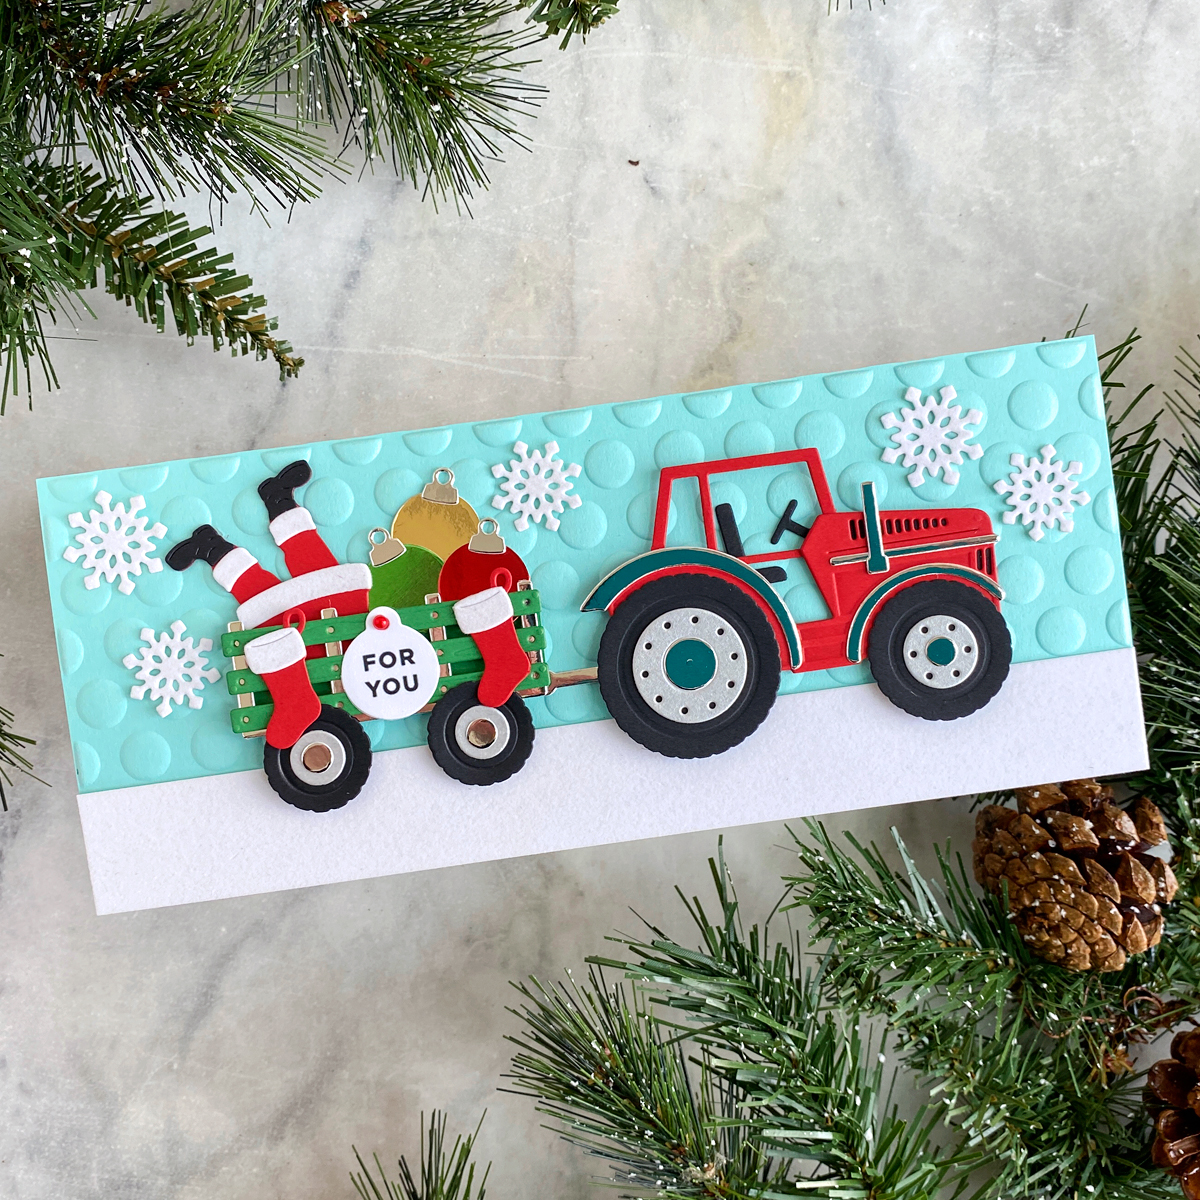
- Embellish scene with snowflakes cut with dies in the Let It Snowman set and a Poppy Pearl Dot to secure the sentiment tag.
Add a sweet tag to gifts this fall. I can think of dozens of things to which I could attach these – candles, coffee, baked goods, mugs, …!
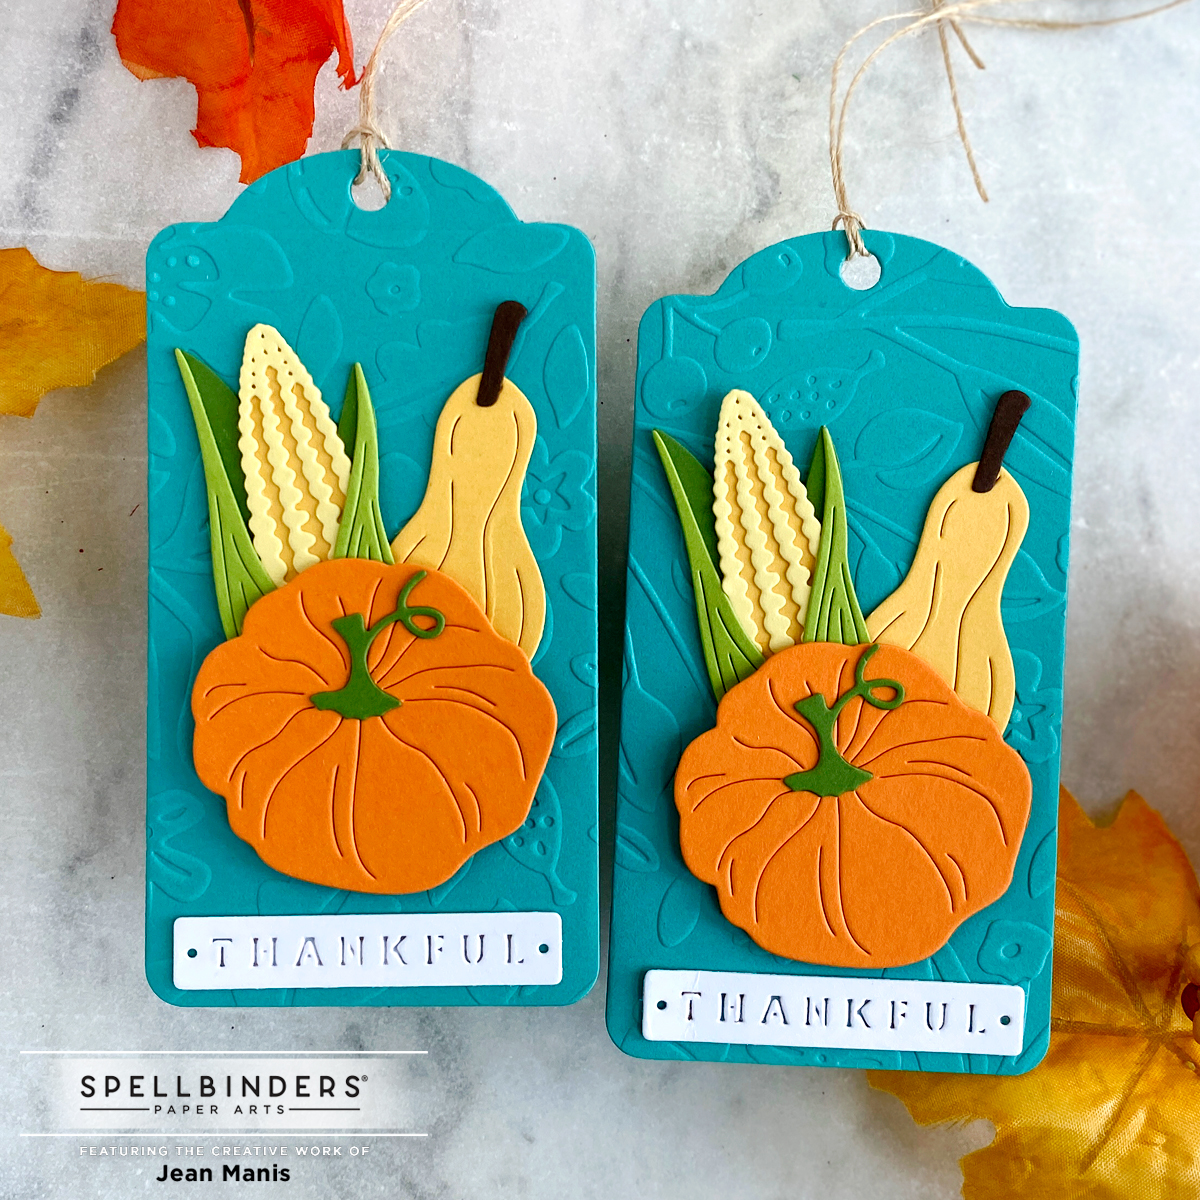
- Cut tag from Lagoon cardstock dry-embossed with the Embossing Folder “Scattered Fall.”
- Cut sentiment, pumpkin, corn, and gourd cut from a variety of cardstock colors with the Large Die of the Month set, assemble, add to tags.
Looking for more inspiration? I previously used the Large Die of the Month and the Embossing Folder on a slimline card here. I used the Embossing Folder on a friendship card here.
Head next to the blog of Rebecca Keppel. Scroll for the full blog hop list.

Jean Manis<–You are here