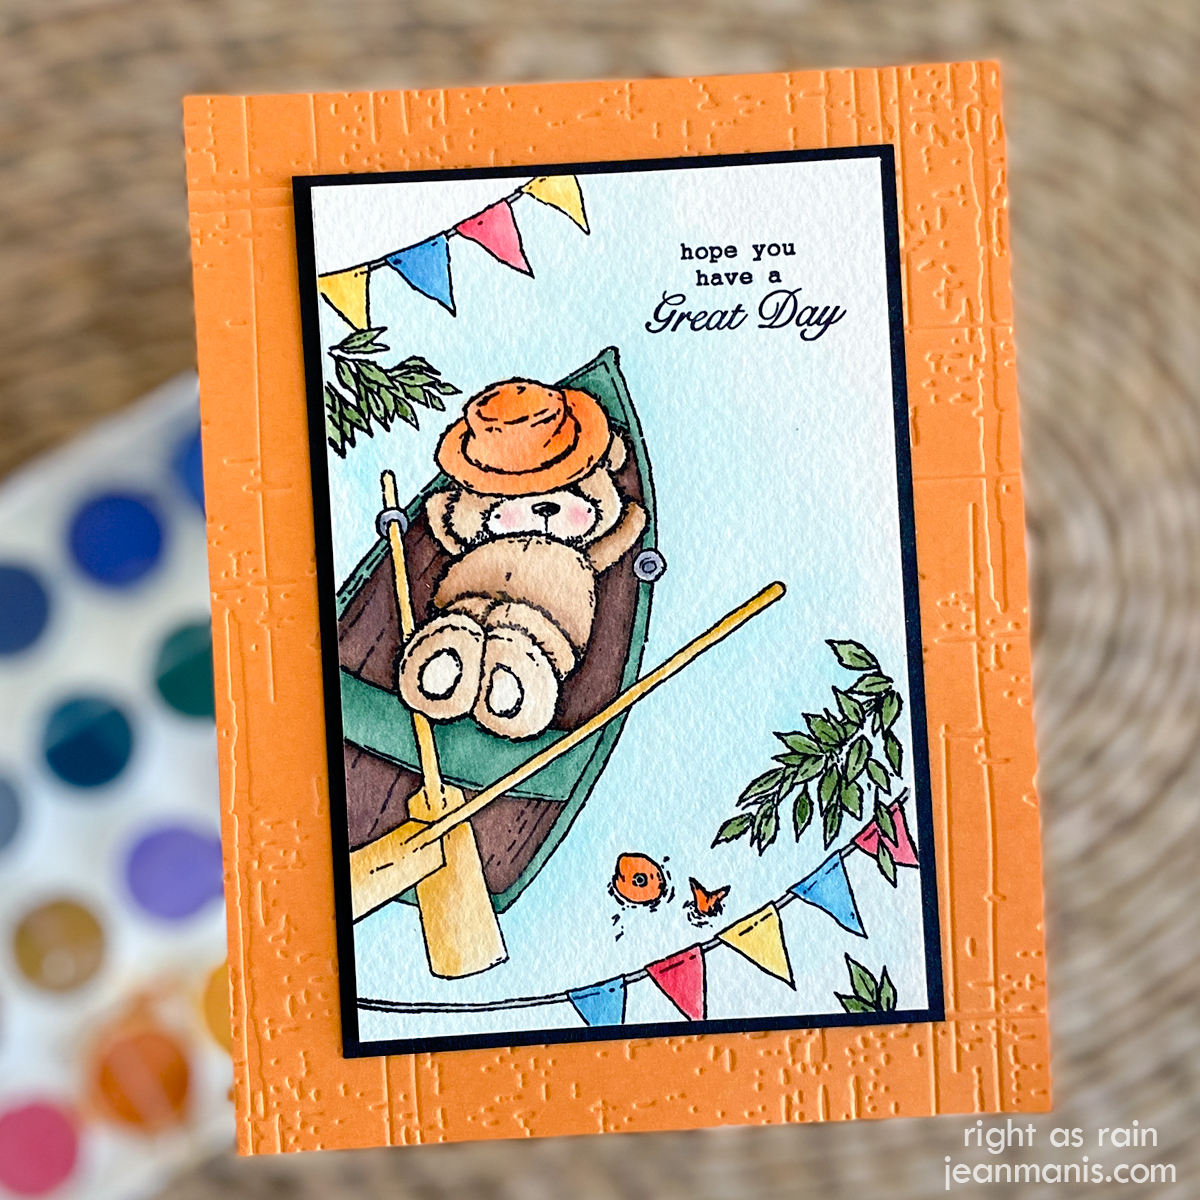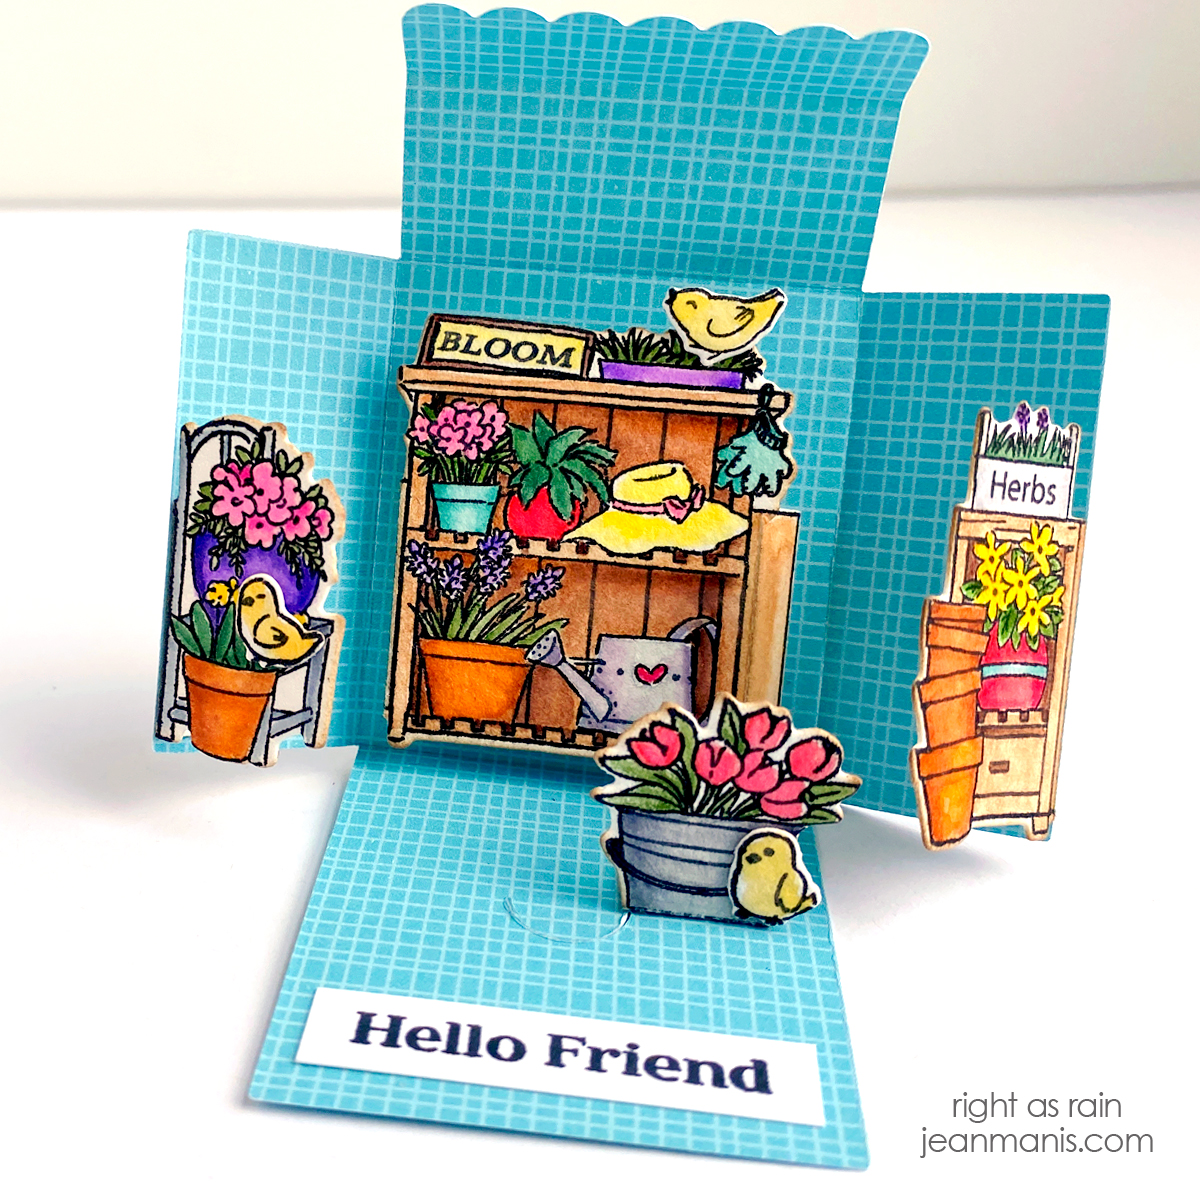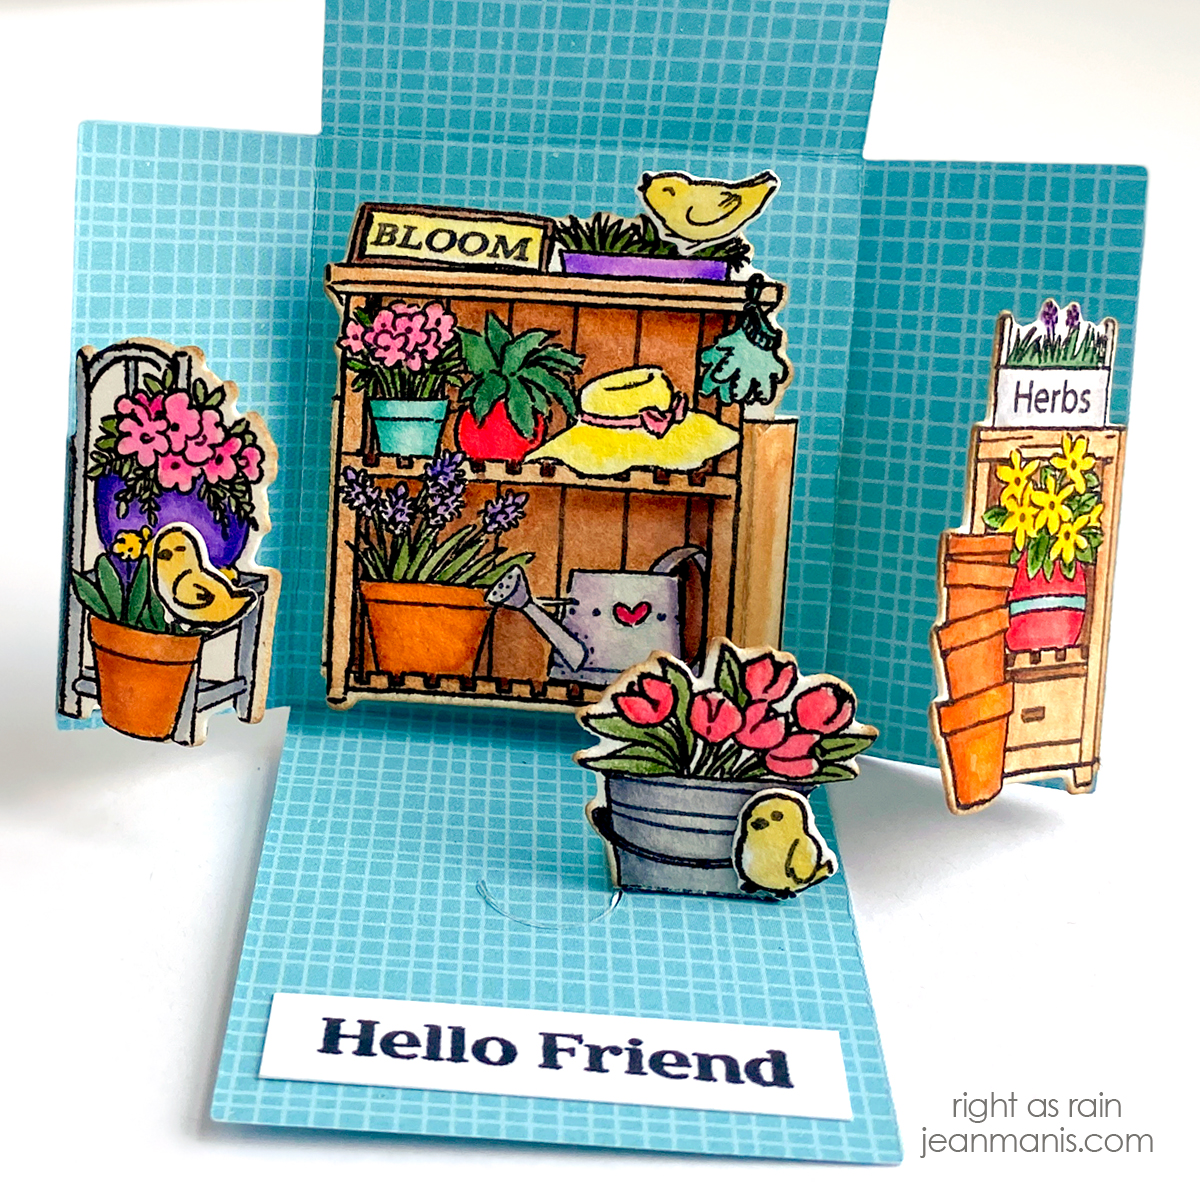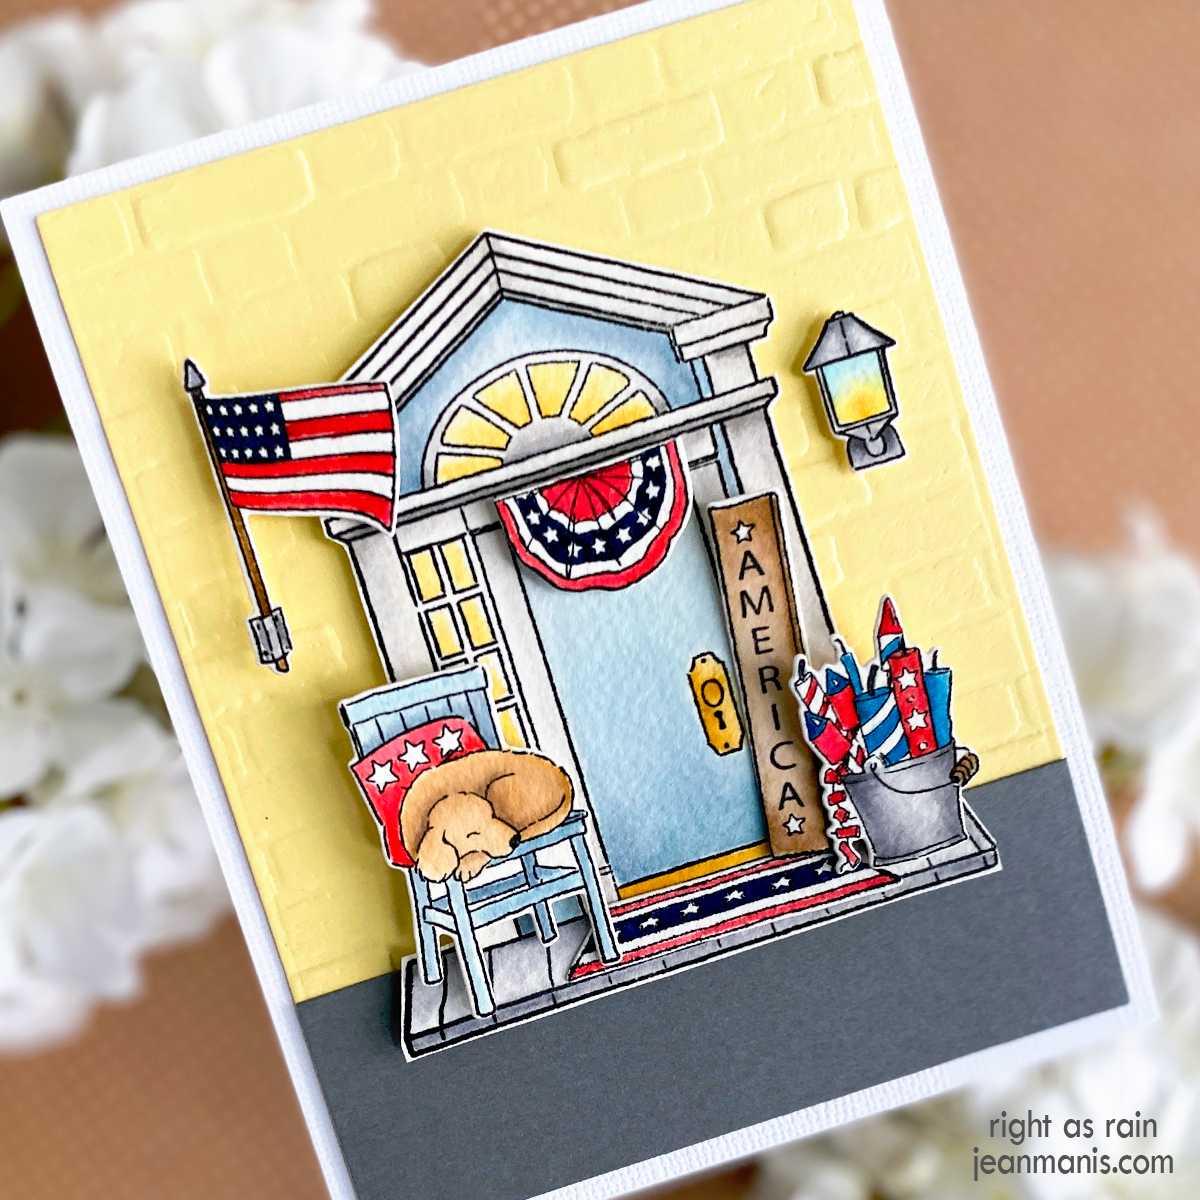
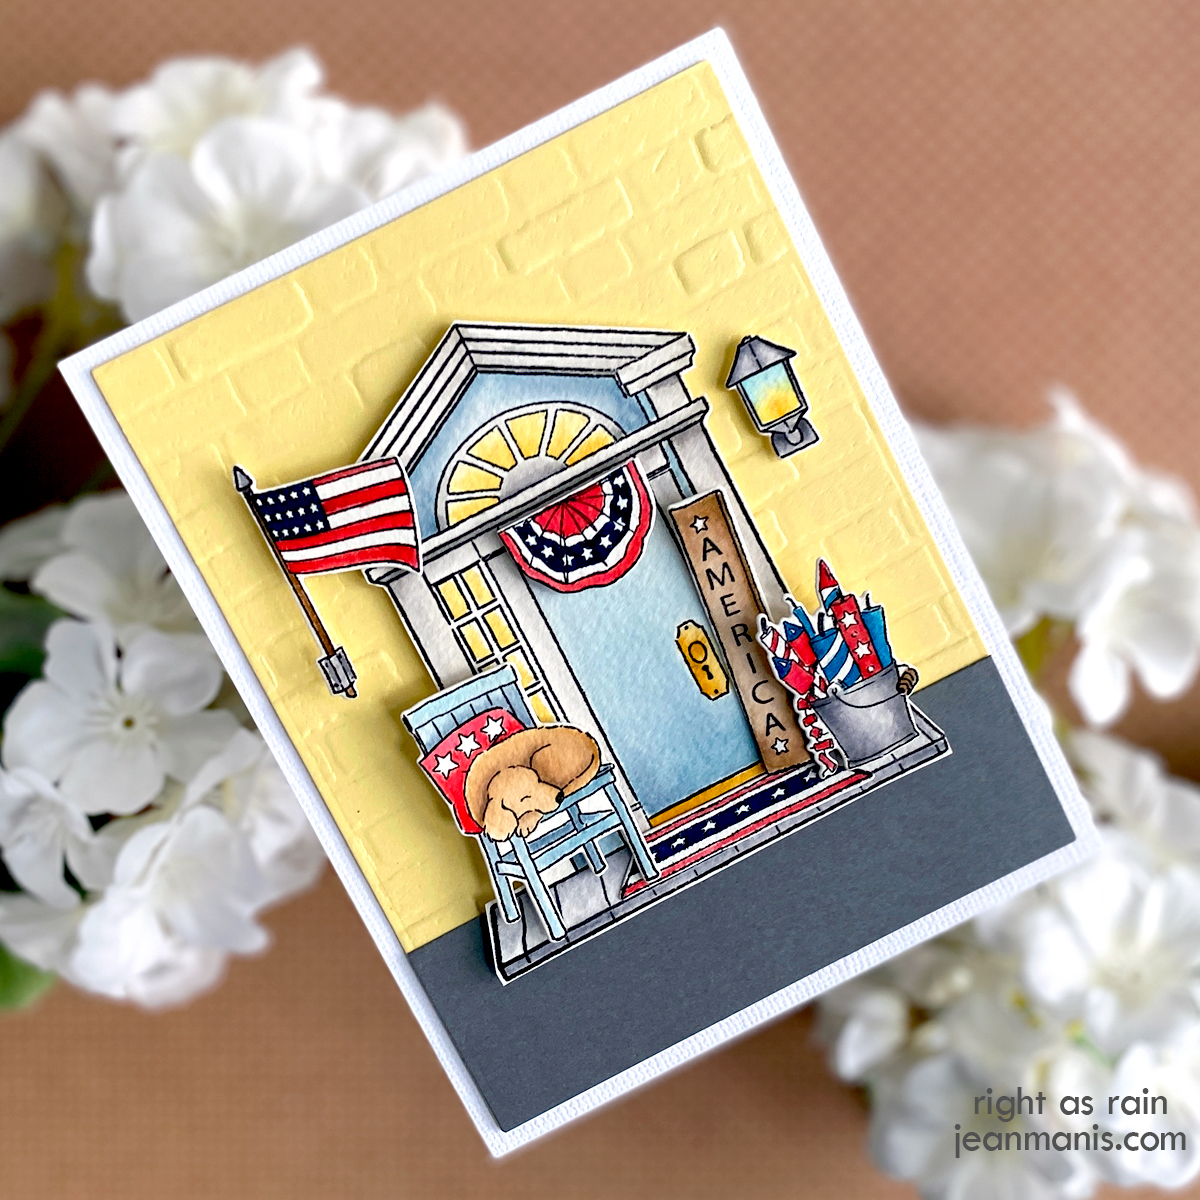
Hello! Today, I am sharing a card on which I have used the newest Art Impressions Front Porch stamp and die set – Patriotic. As I shared in this post, there is an entire Art Impressions Front Porch Series. This card showcases a charming front porch decorated for the Fourth of July with a sleeping dog in a chair, fluttering flag bunting, and a container of fireworks ready to light up the night sky. Read on for step-by-step instructions on how to create the card.
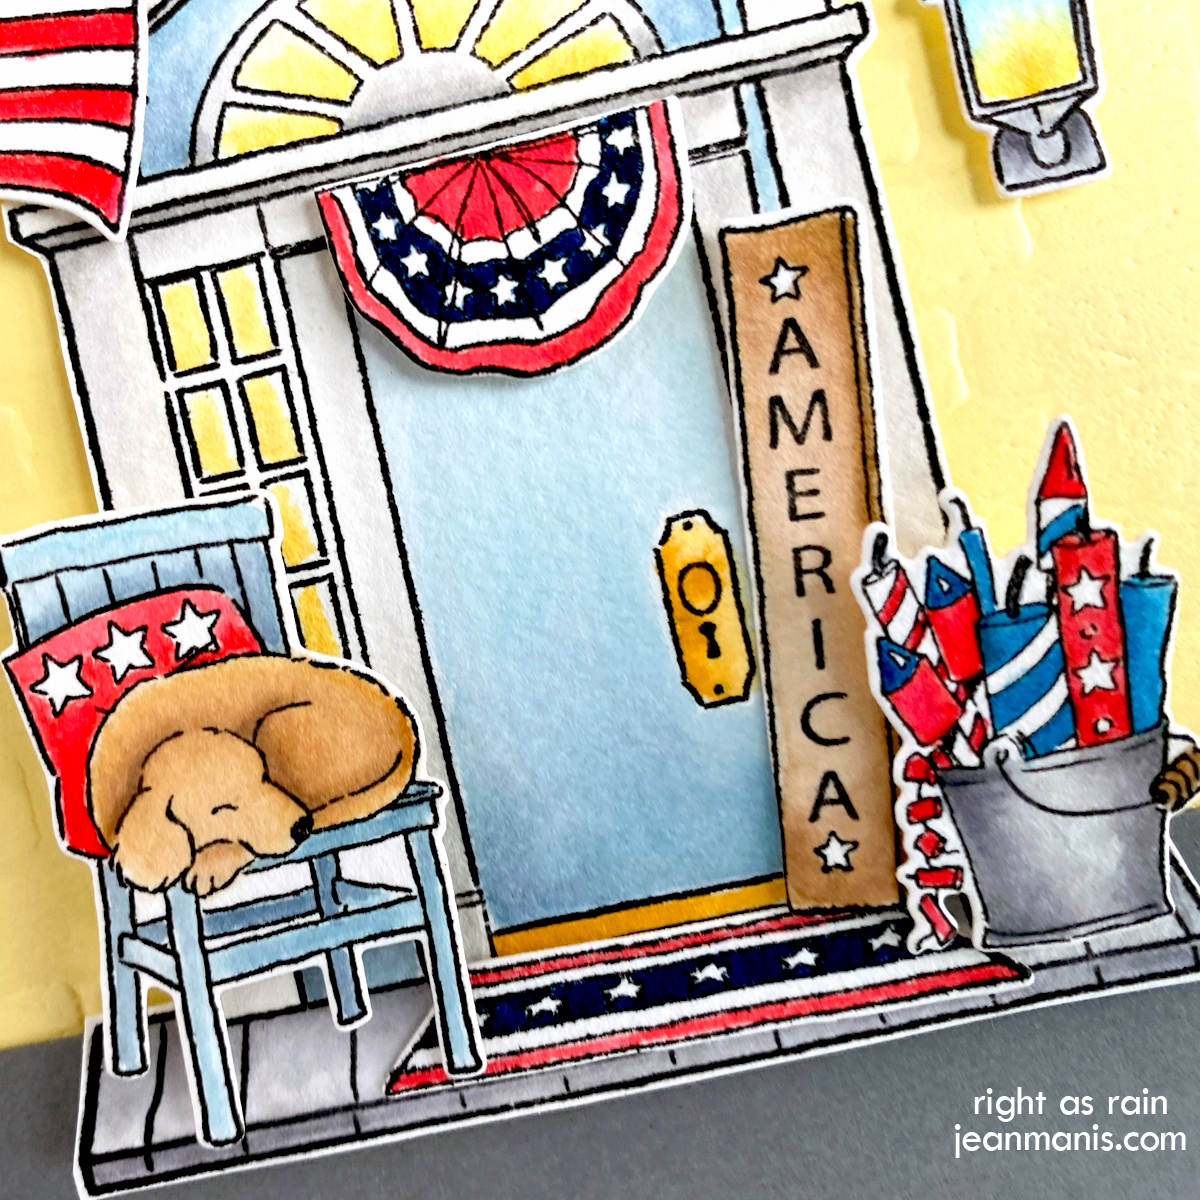
Stamp Front Porch and Front Porch Patriotic images with VersaFine ink on Arches Cold Press watercolor paper; heat set.
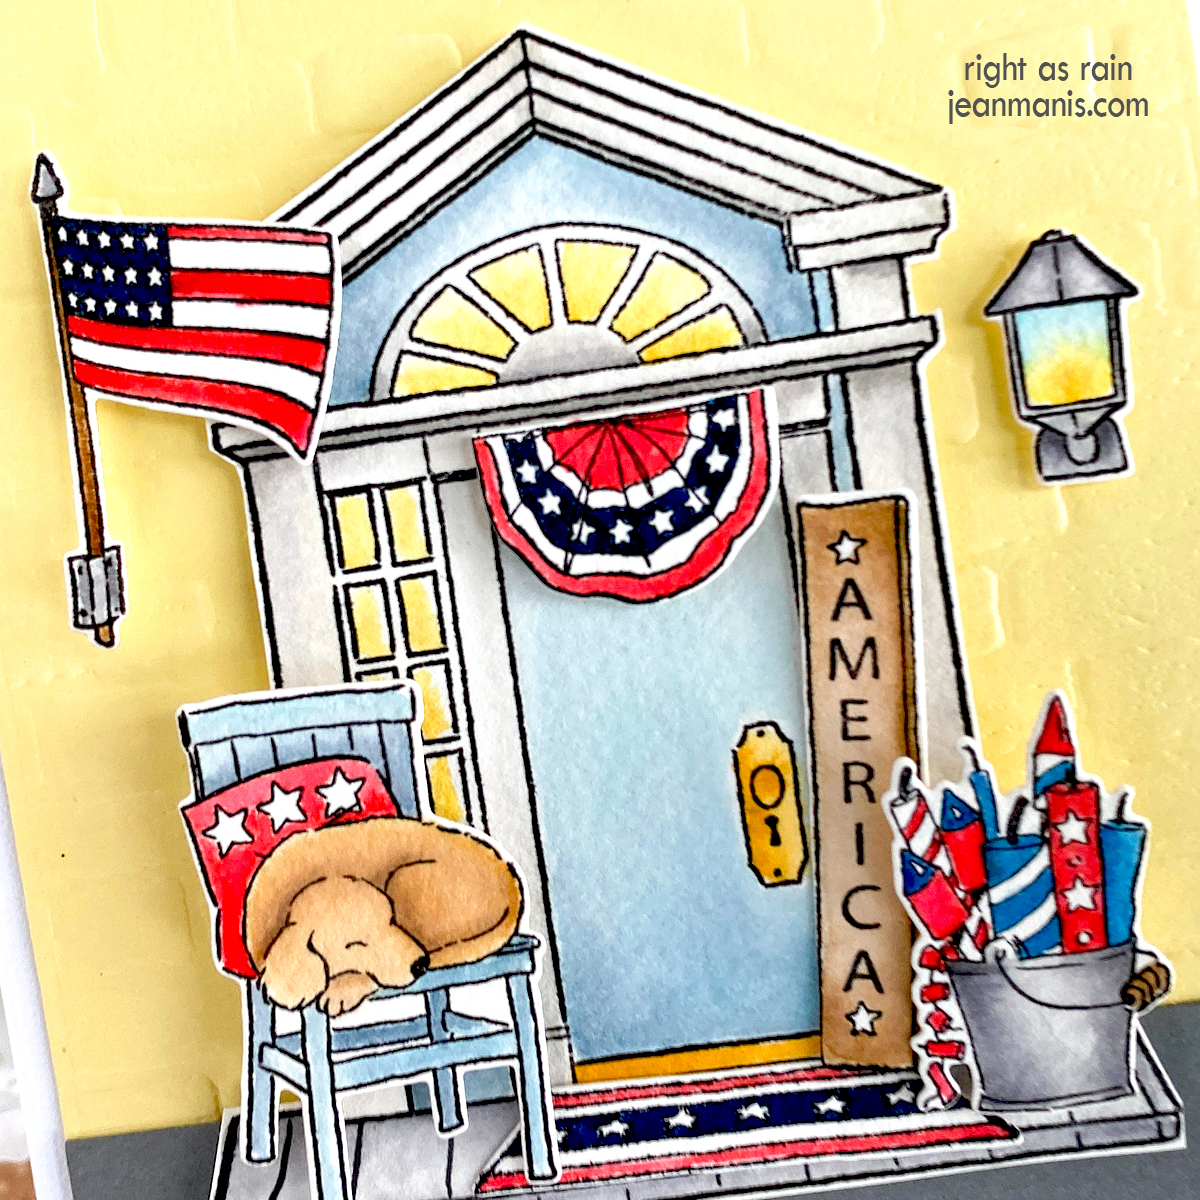
Color images with watercolor markers (Tombow and Zig) using the watercolor palette, No. 4, and No. 1 brushes. Once dry, cut with coordinating dies. Note: the Front Porch door die cuts the window panes. I chose to fussy-cut the door, as I had watercolored the window panes. For the flag, bunting, and doormat, I used the Tombow Navy marker (brush tip) directly on the watercolor paper.
Create a panel, measuring 4 x 5 1/4 inches, of dry-embossed Chamomile cardstock background (I used an older Stampin’ Up folder) and add a 1 1/4 inch strip of dark gray to the bottom to represent the ground. Add assembly to a card background of white Bazzill canvas cardstock (which has been added to an A2-size card base). Add elements to card with foam adhesive.