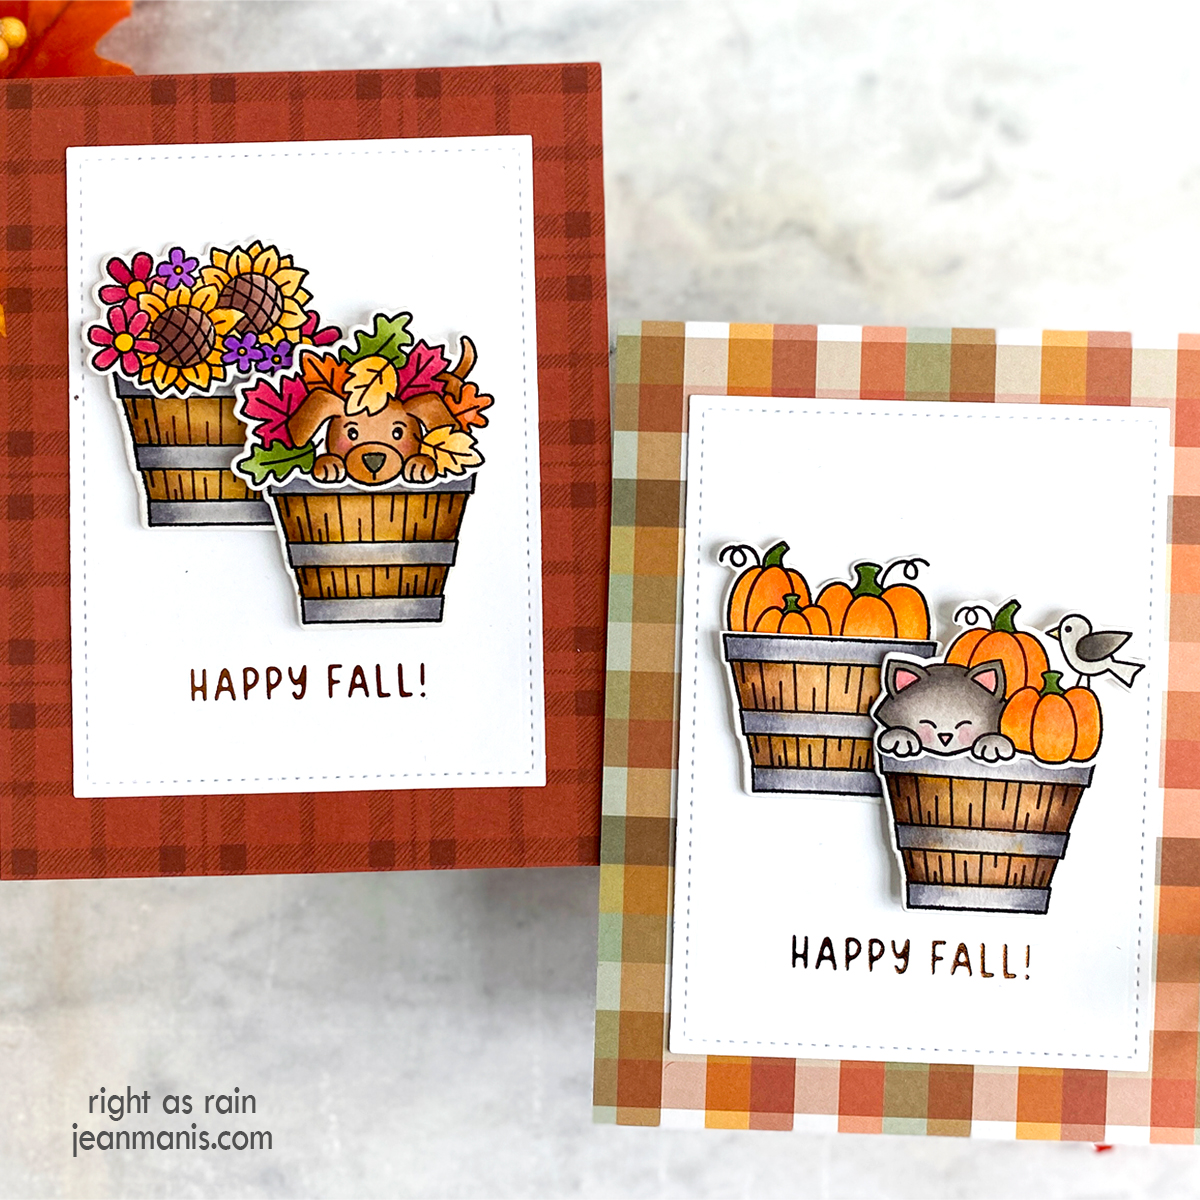
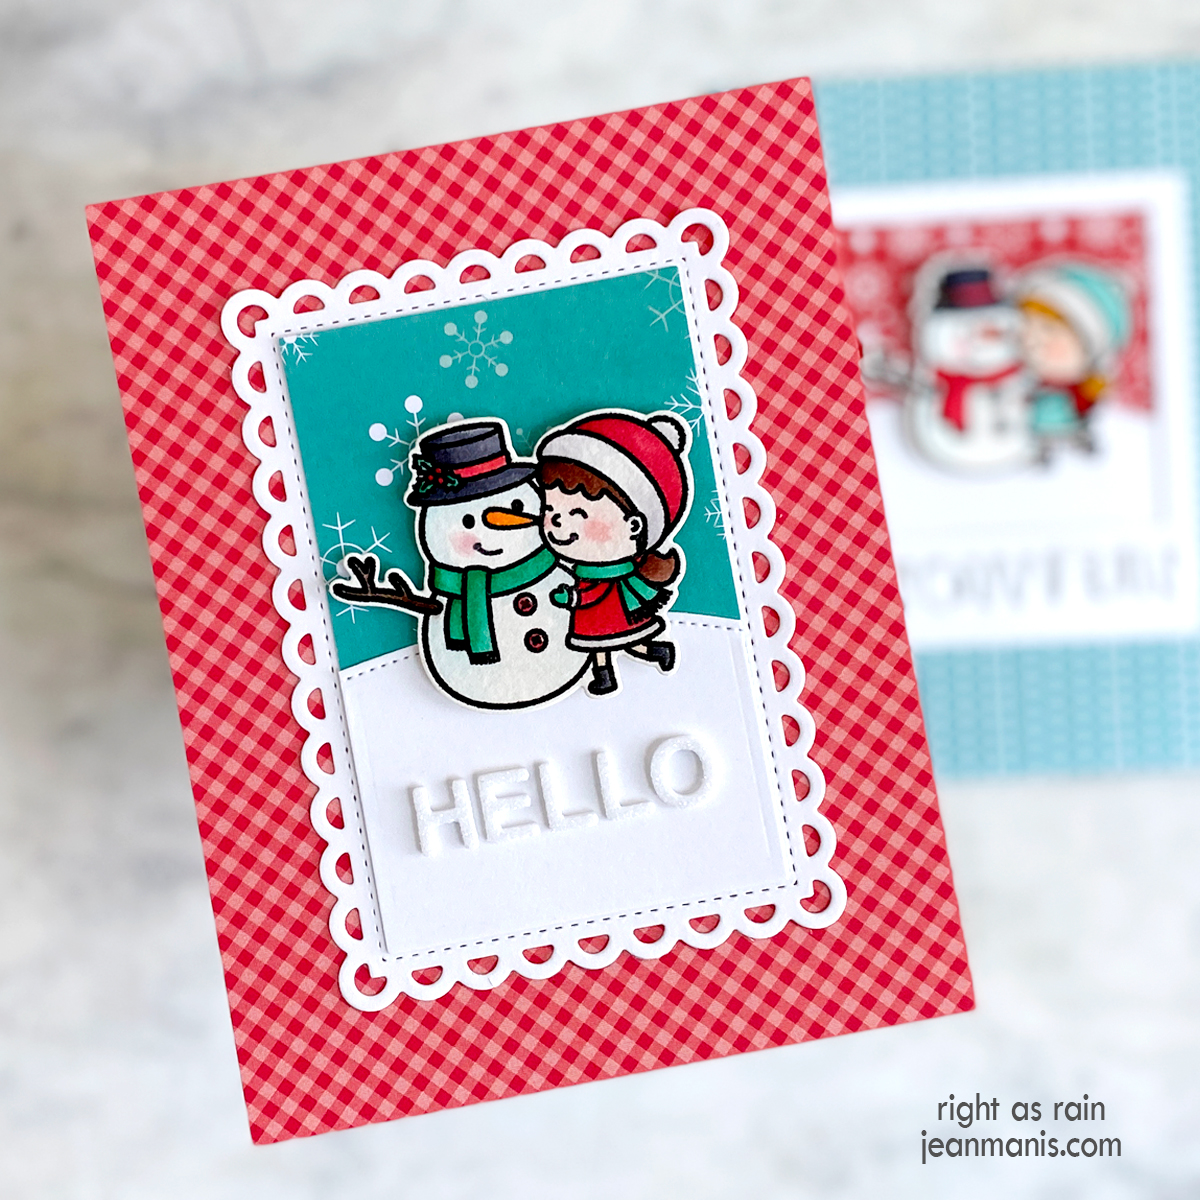
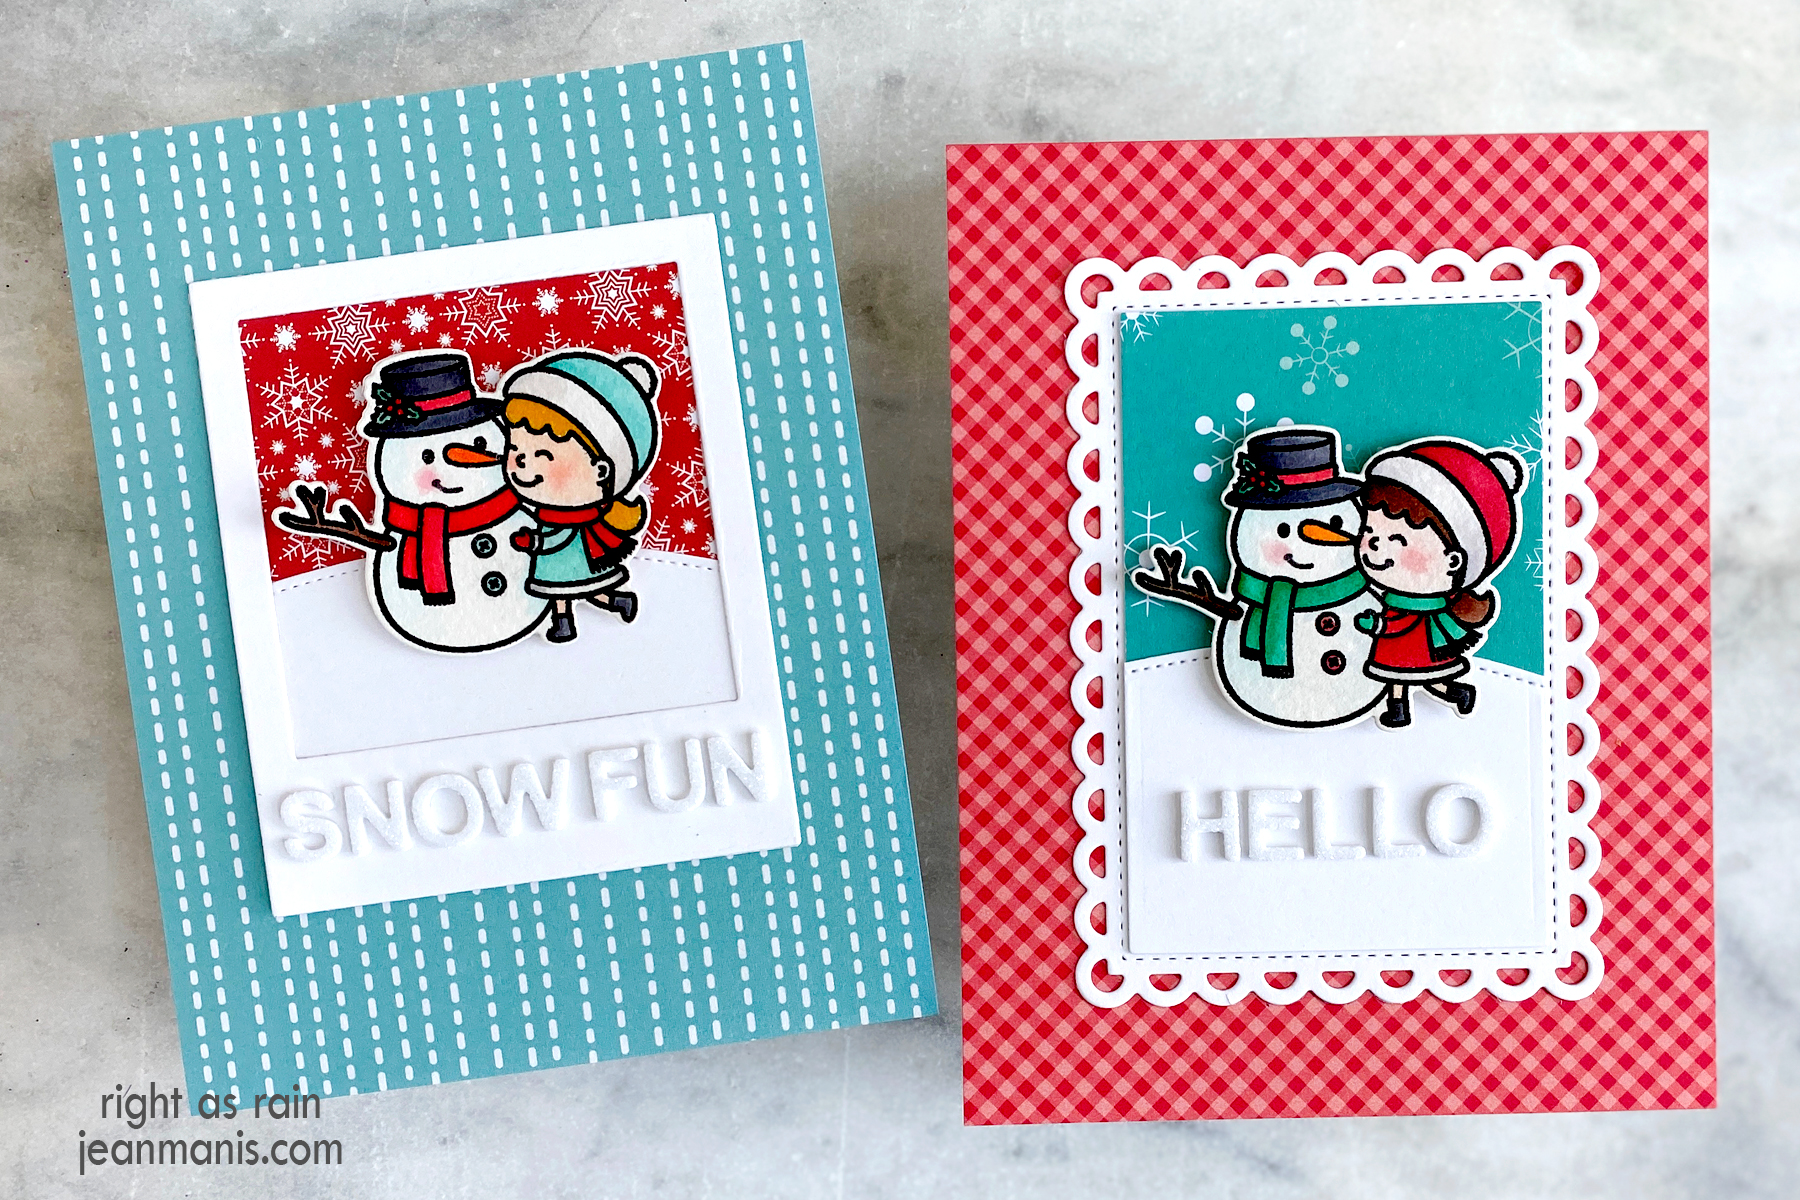
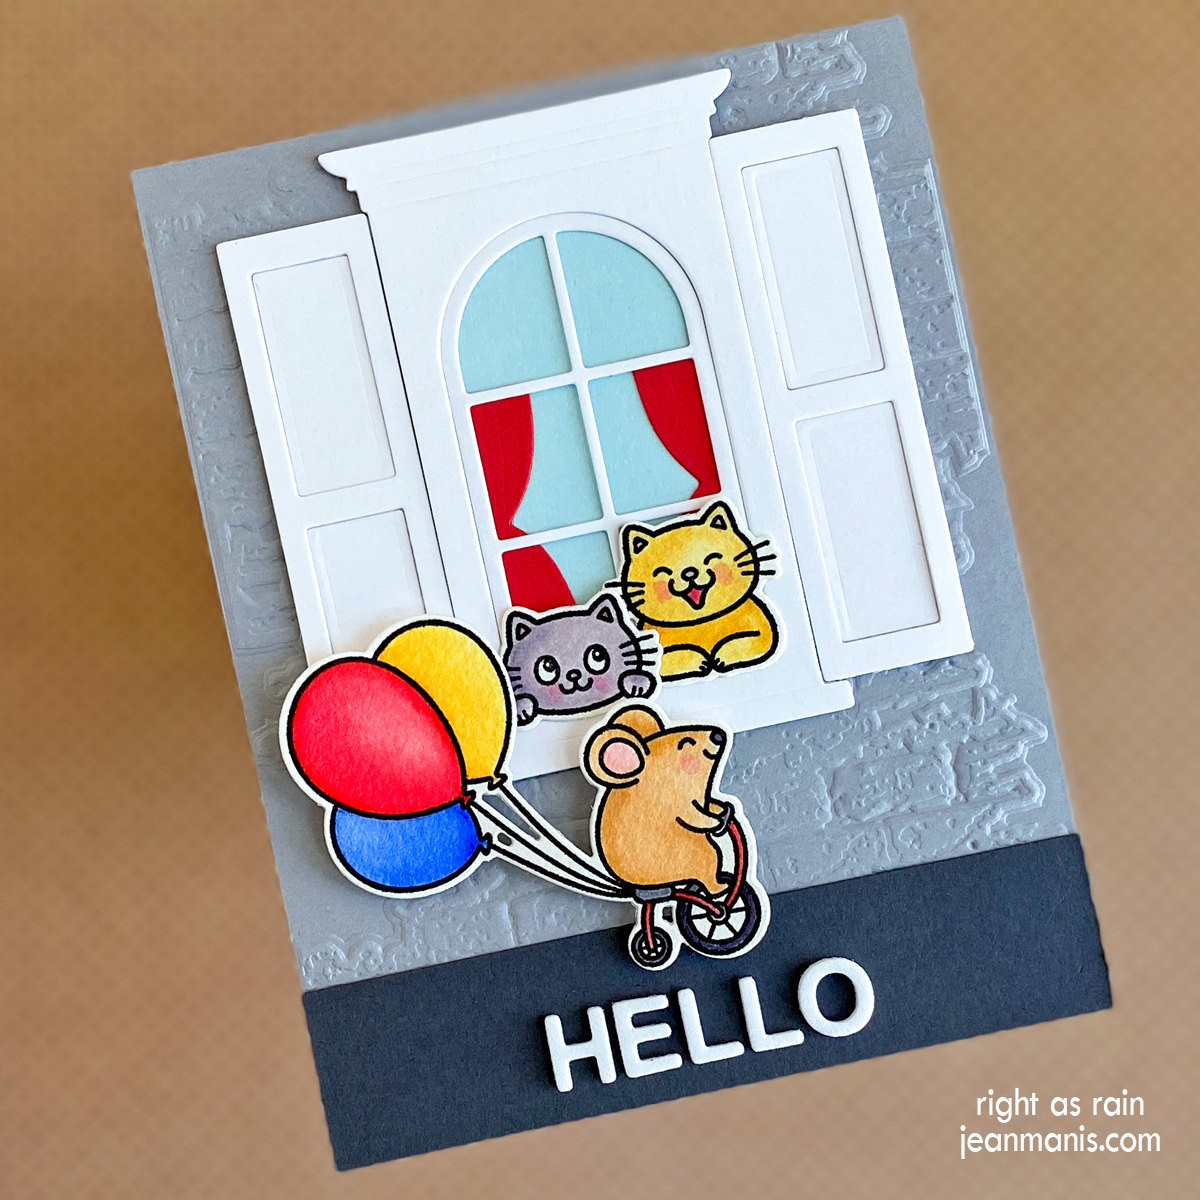
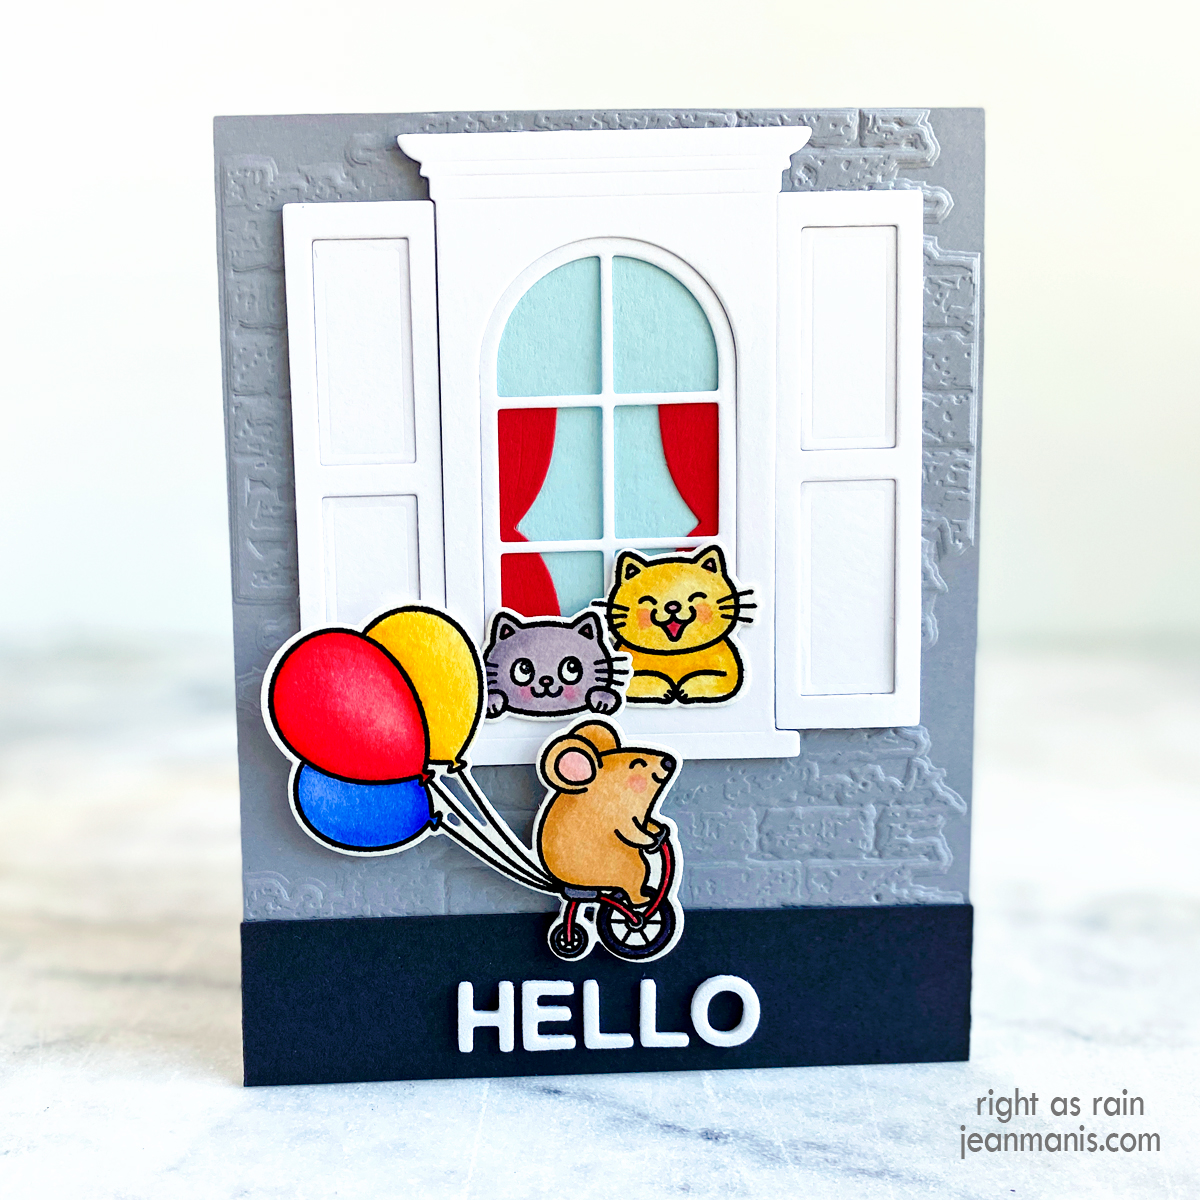
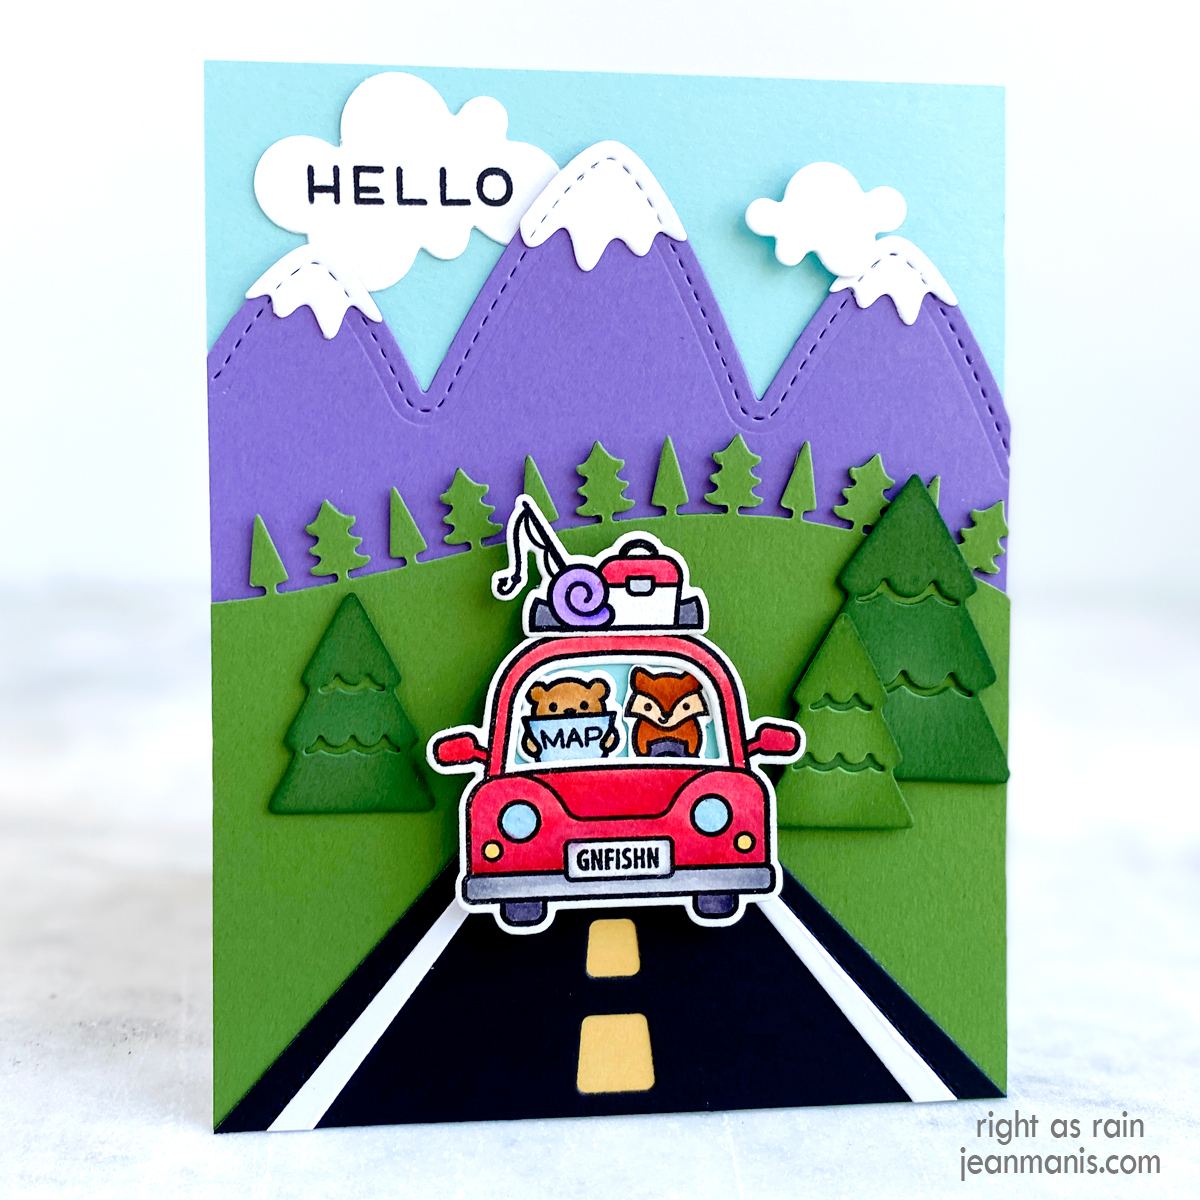
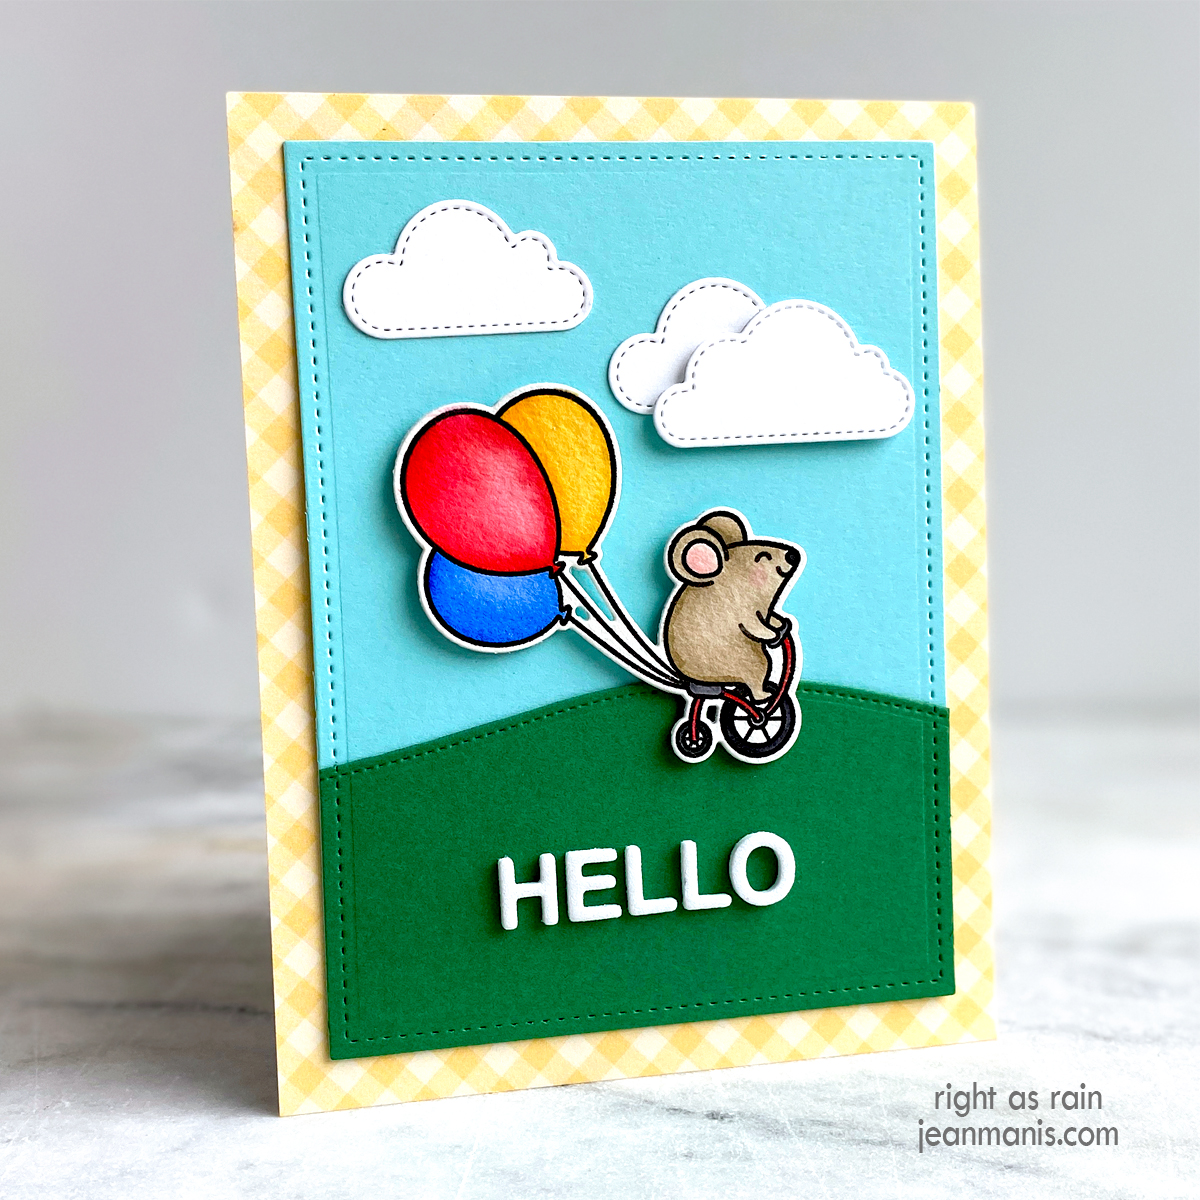
Hello! Today, I am discussing how to start a scene building collection. To explore the topic, I am using Sunny Studio Stamps products on a “Hello” card featuring the Birthday Mouse as the focal image.
I have only recently started to create with Sunny Studio Stamps products; I showcased the Birthday Cat stamp set HERE, HERE, and HERE. When I can, I like to use products from the same company on my cards for two main reasons: the products are designed to coordinate, and I like to support the company’s vision. Since my crafting budget is not endless, I started with a few key dies to create a simple scene.
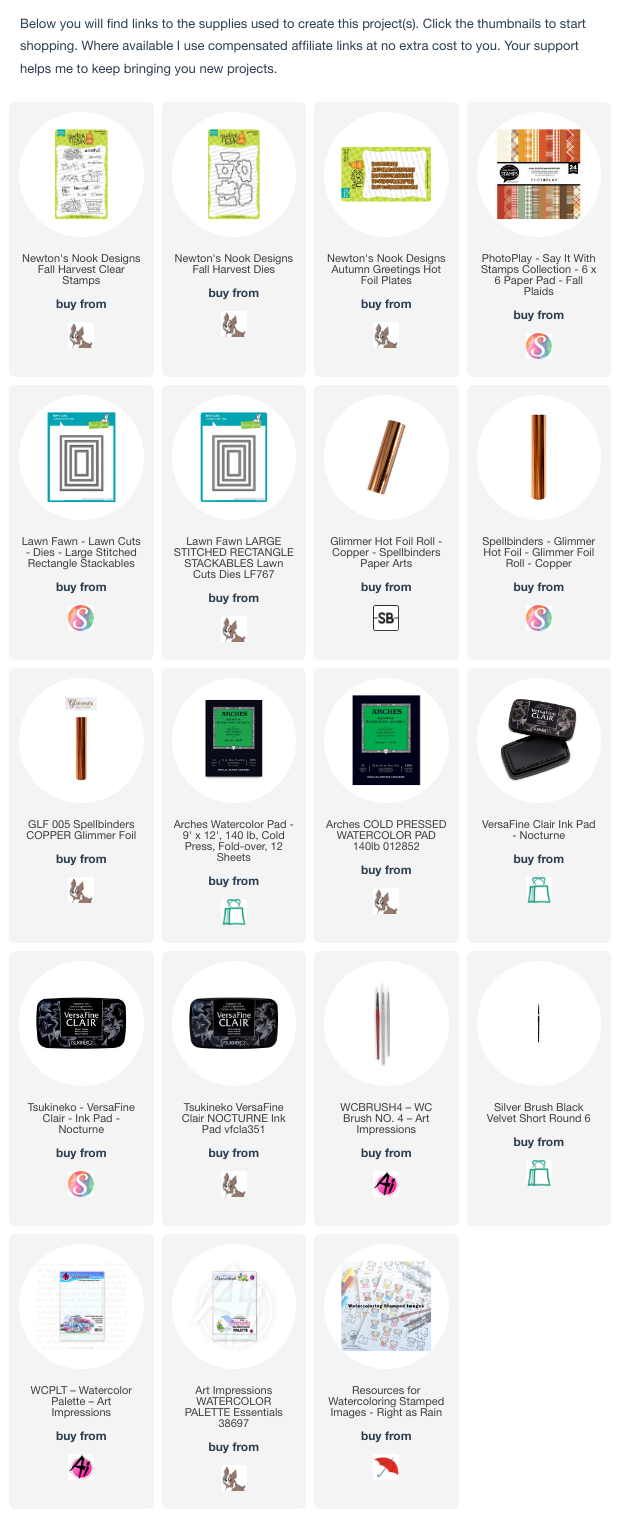
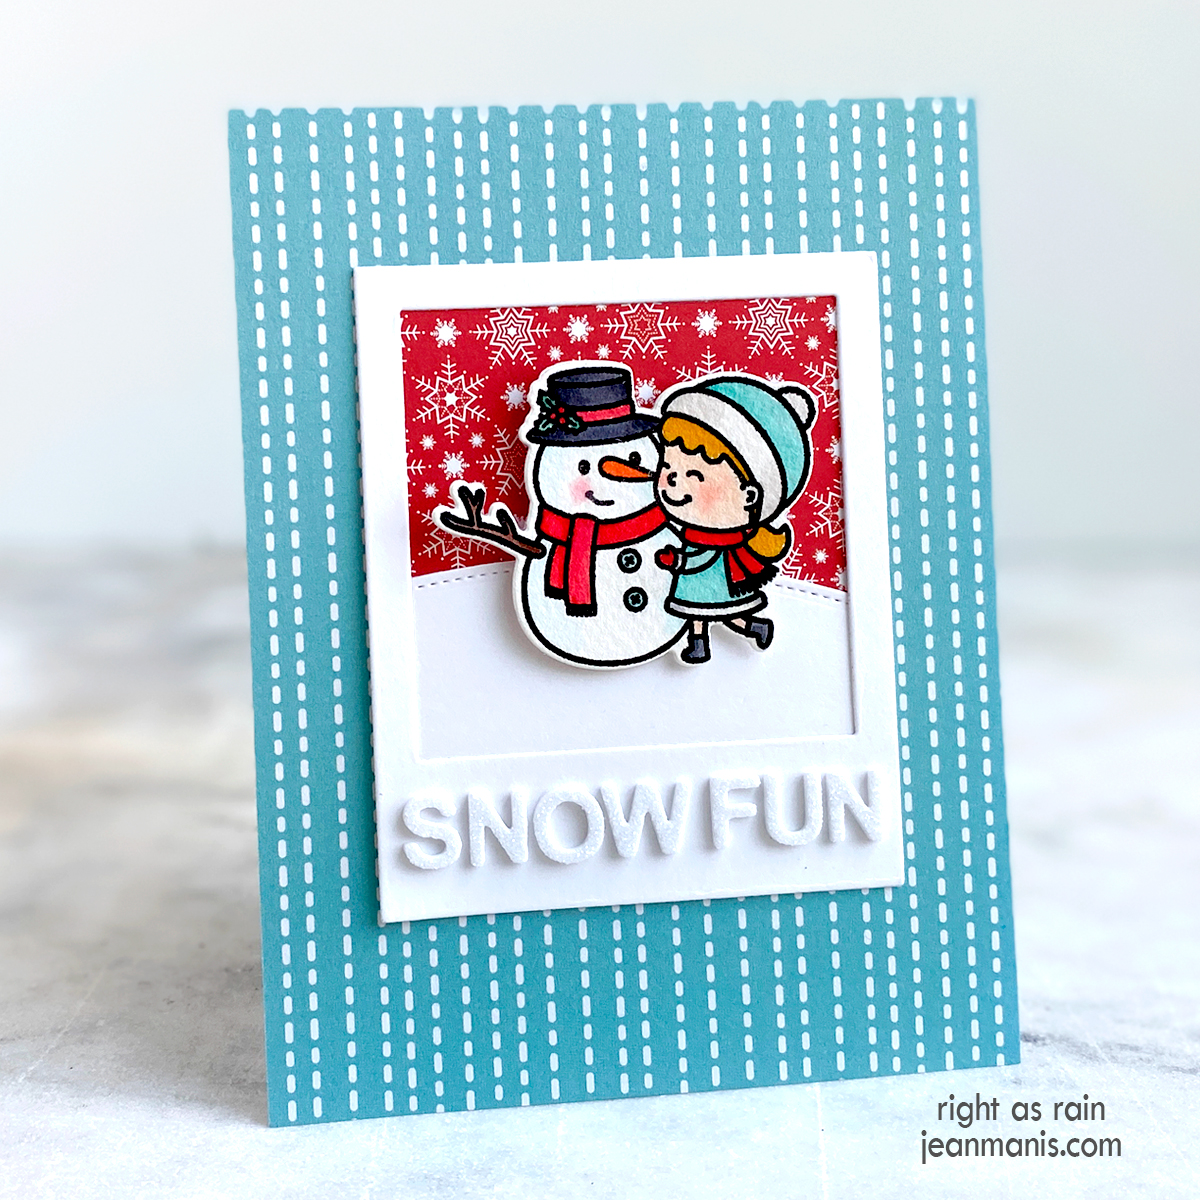
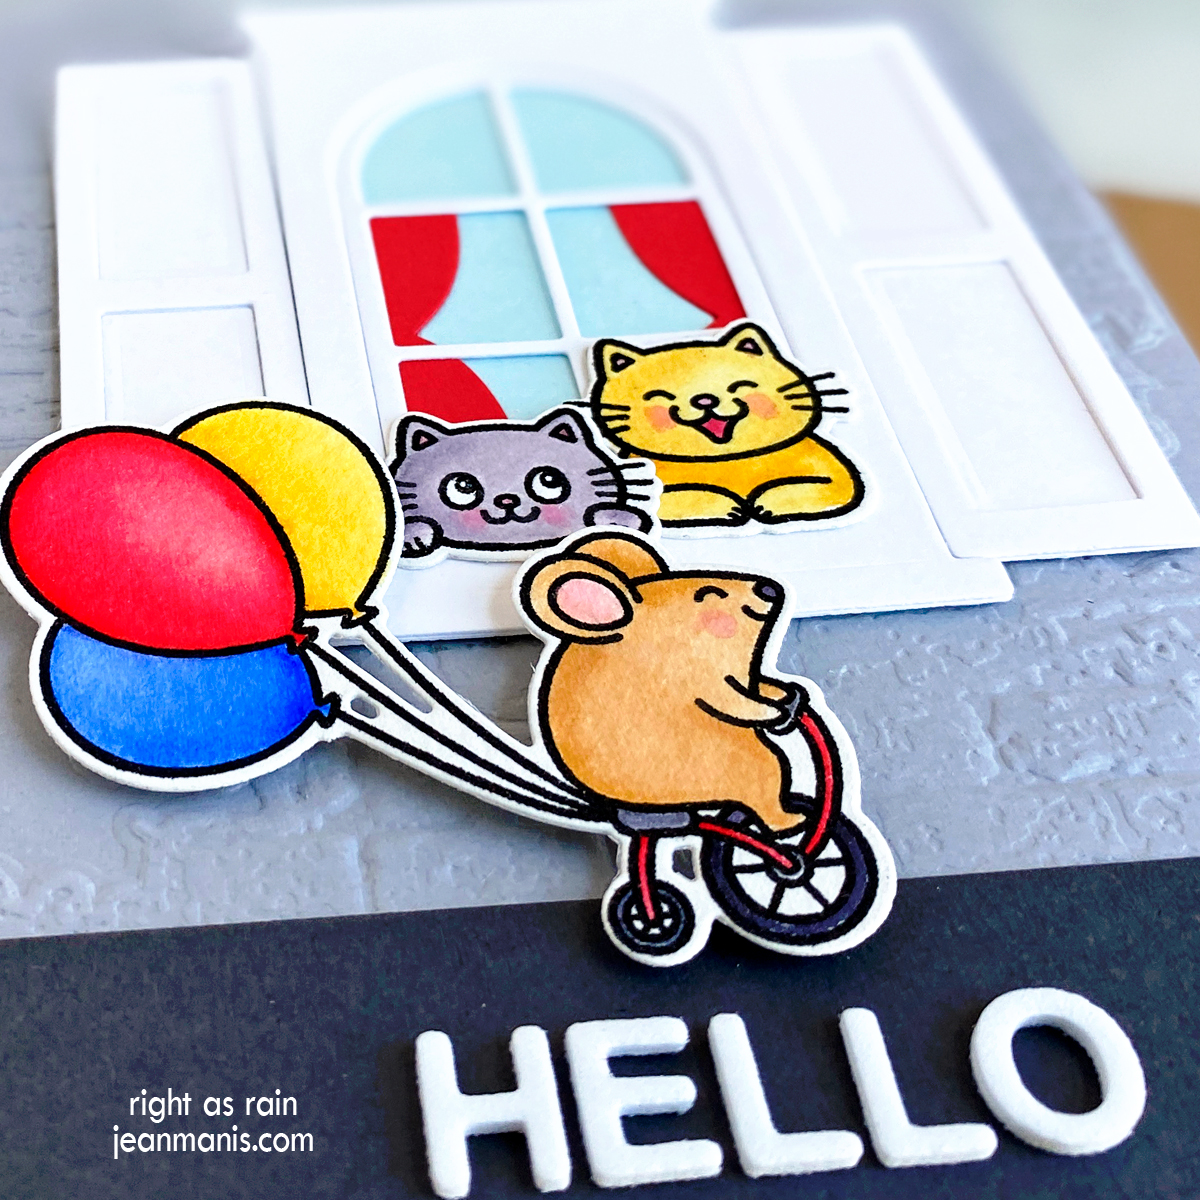
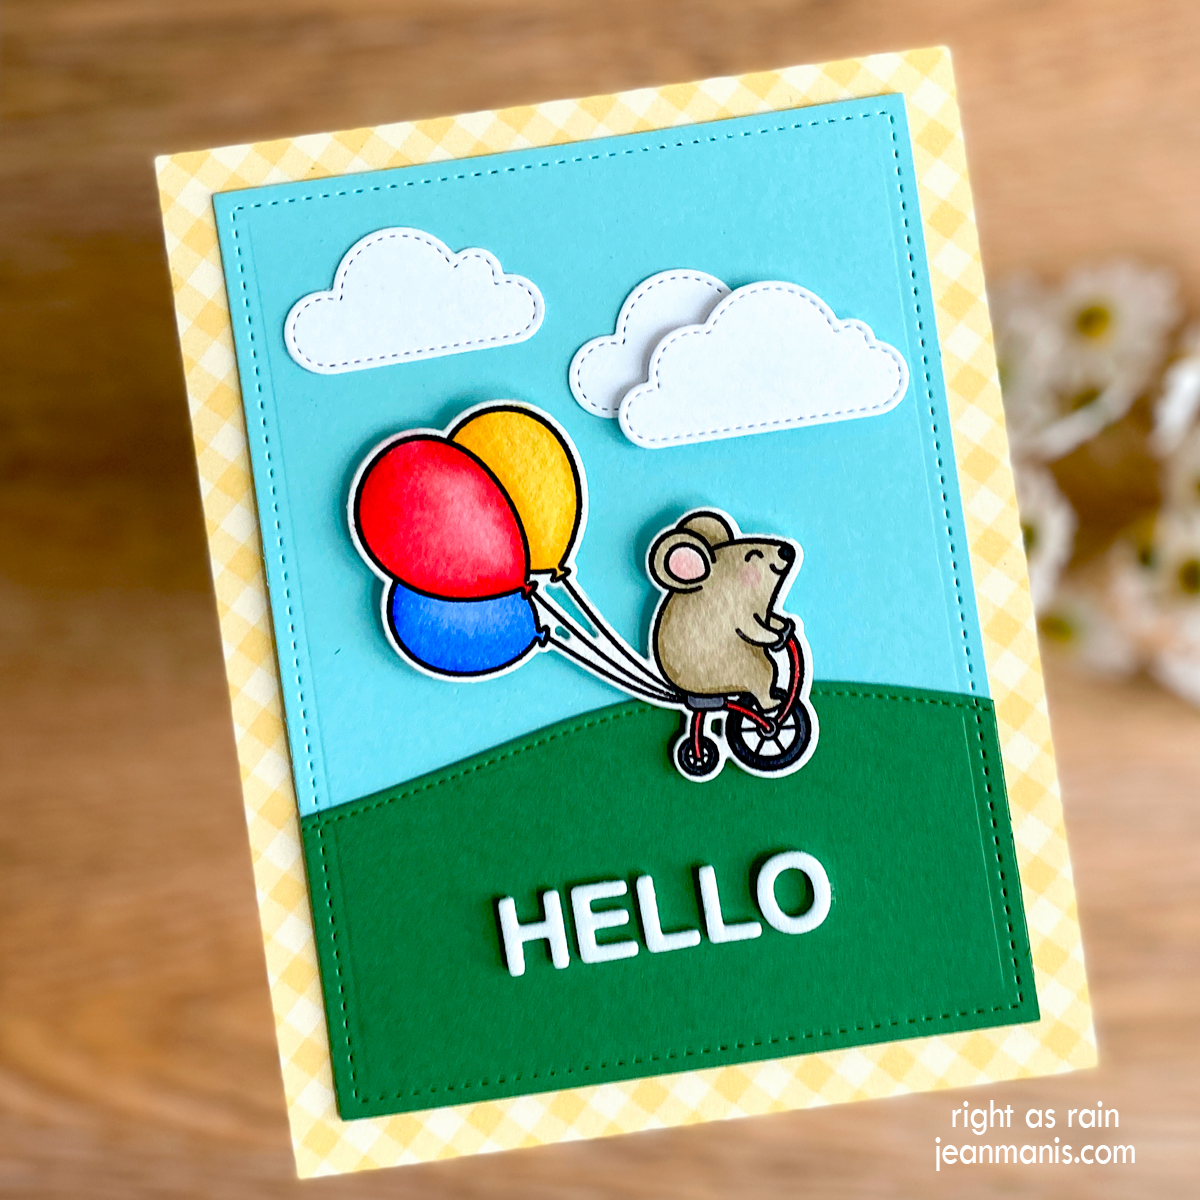
To begin, stamp the mouse with Versafine on Arches Cold Press watercolor paper; heat set. Color the mouse with watercoloring mediums of choice. (Check out my “Resources for Watercoloring Stamped Images” HERE.) Once dry, cut with the coordinating die.
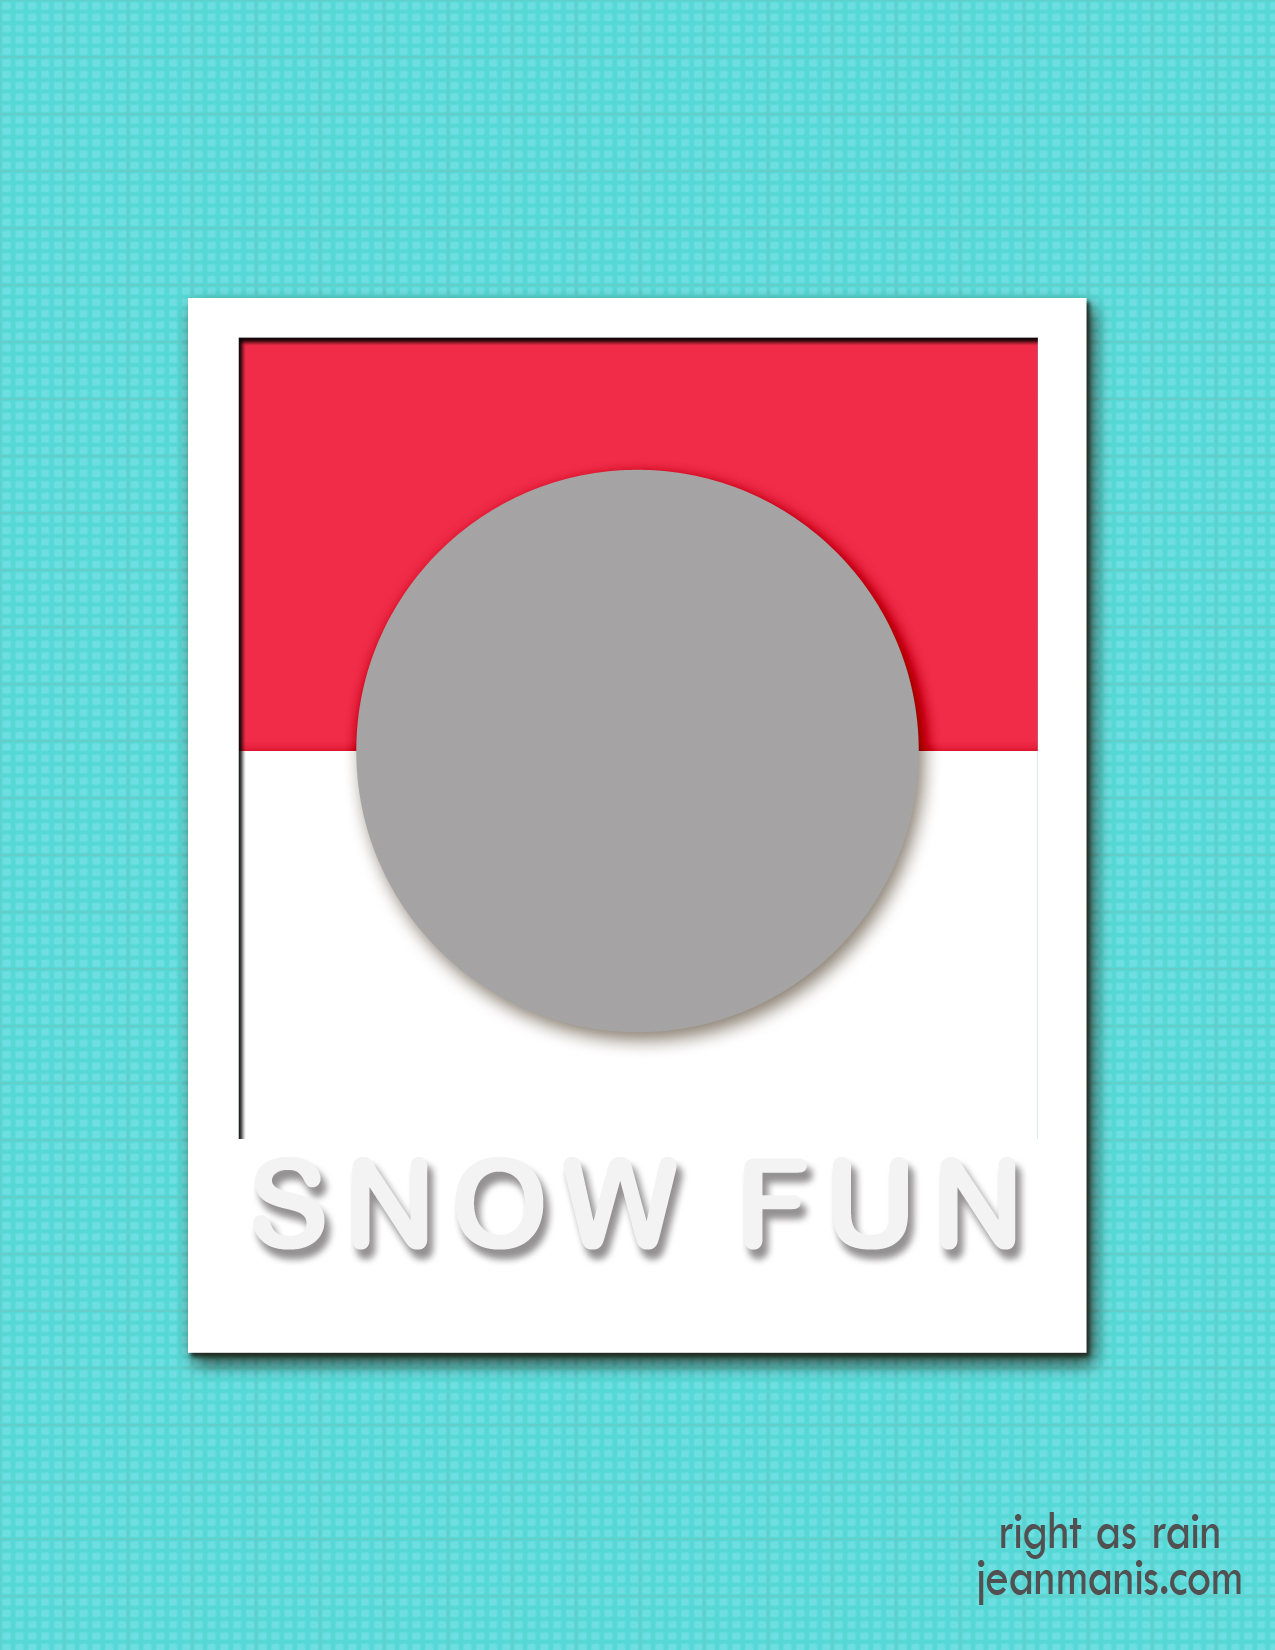
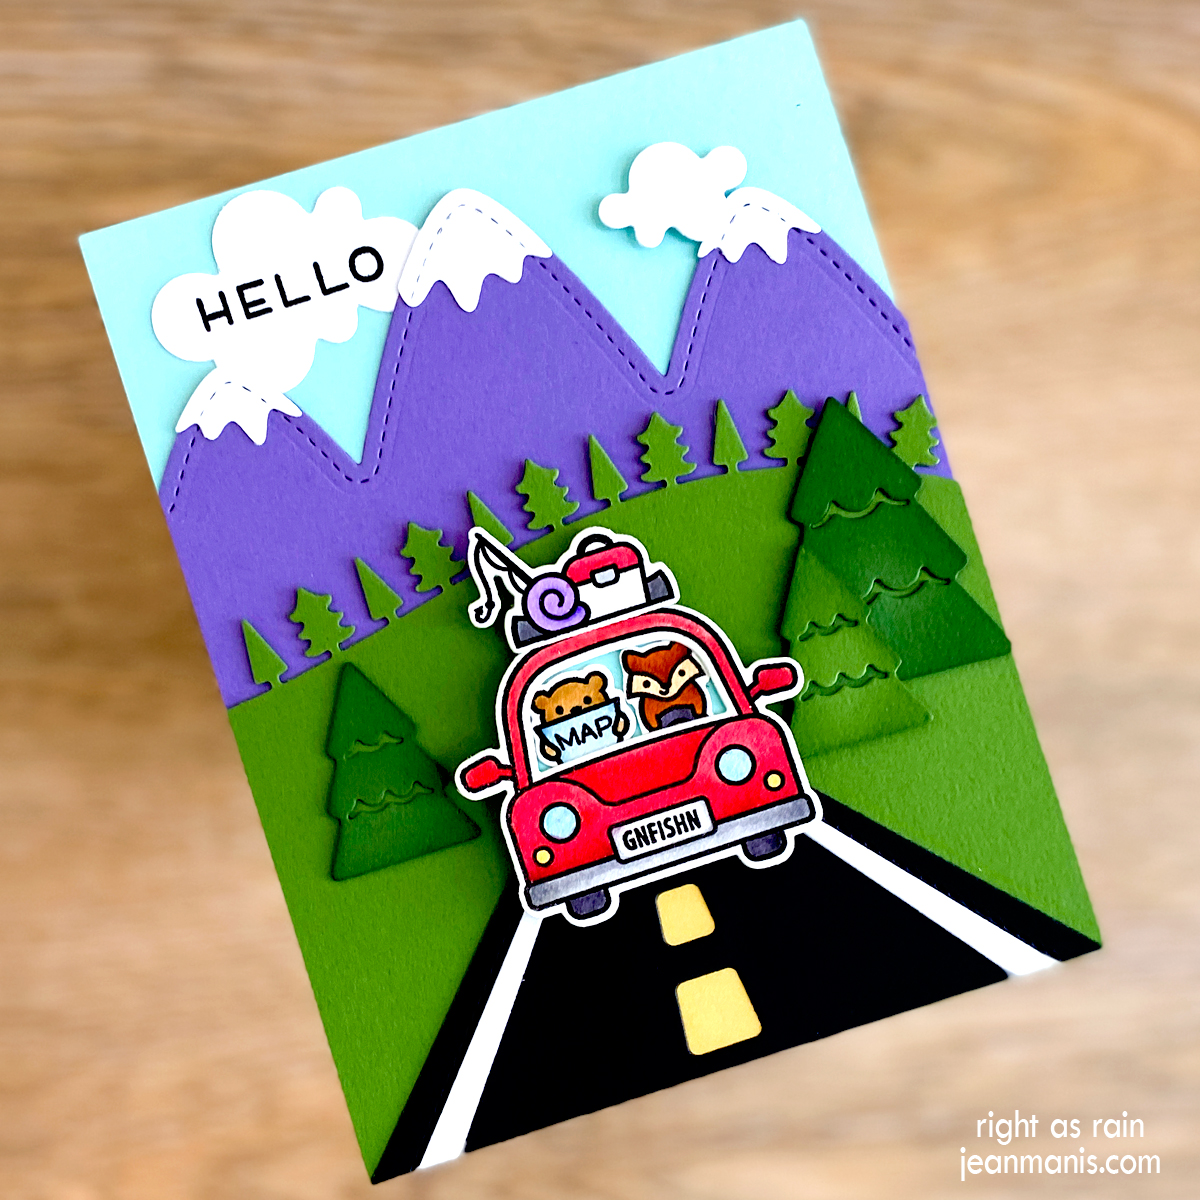
Next, establish ground and sky for the scene, which can be achieved with a straight line or hill, for example. I purchased the Sunny Studio Stamps Slimline Nature Borders to cut a hill from Field Day cardstock. This five-piece die set includes two hills (both can be used in two ways), a wave, a cloud, and a grassy hill. I considered both a portrait and a landscape orientation for the card, choosing the portrait one because the mouse was lost in the landscape one.
To add detail and depth to the scene, I cut clouds with the Fluffy Clouds set from Snowdrift cardstock. Other scene building options include a fence, trees, a sun, a road, grass, a cityscape, doors, and windows.
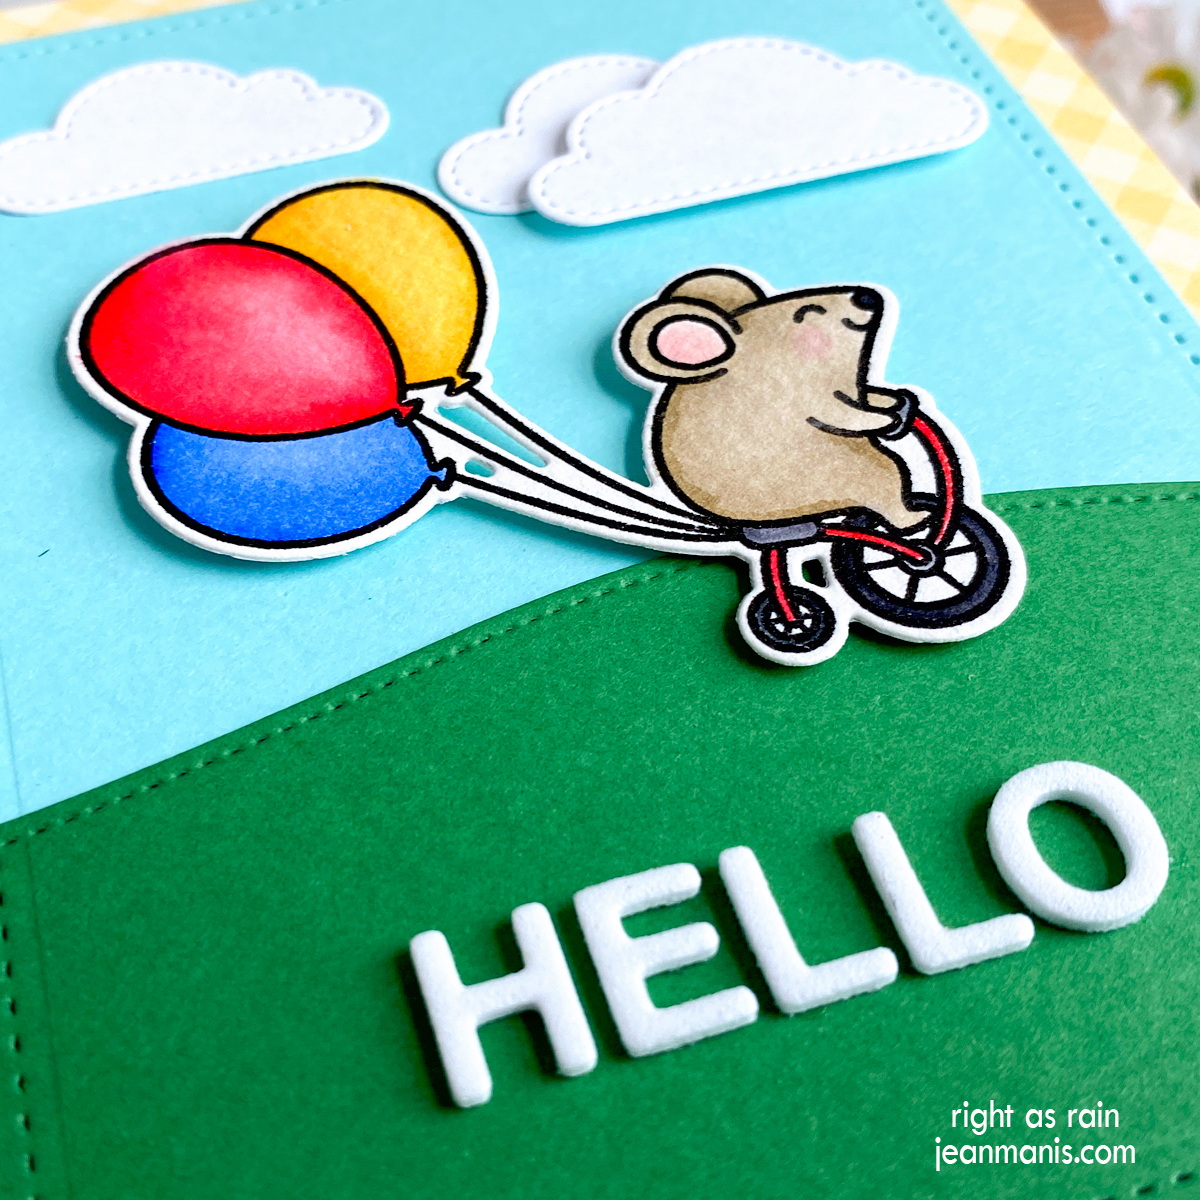
Since I wasn’t creating a birthday card, I didn’t use the sentiment included in the Birthday Mouse set. Instead, to create the sentiment, I cut white Pop-Up Die Cutting Glitter Foam with the Journal Letter Die Set (glitter side down). Alternatively, I could have used small sentiment alpha stickers (of which I have plenty from my scrapbooking days).
What are your go-to scene building dies? What’s on your list to purchase next?