Capturing Holiday Magic: Spellbinders Santa’s Here

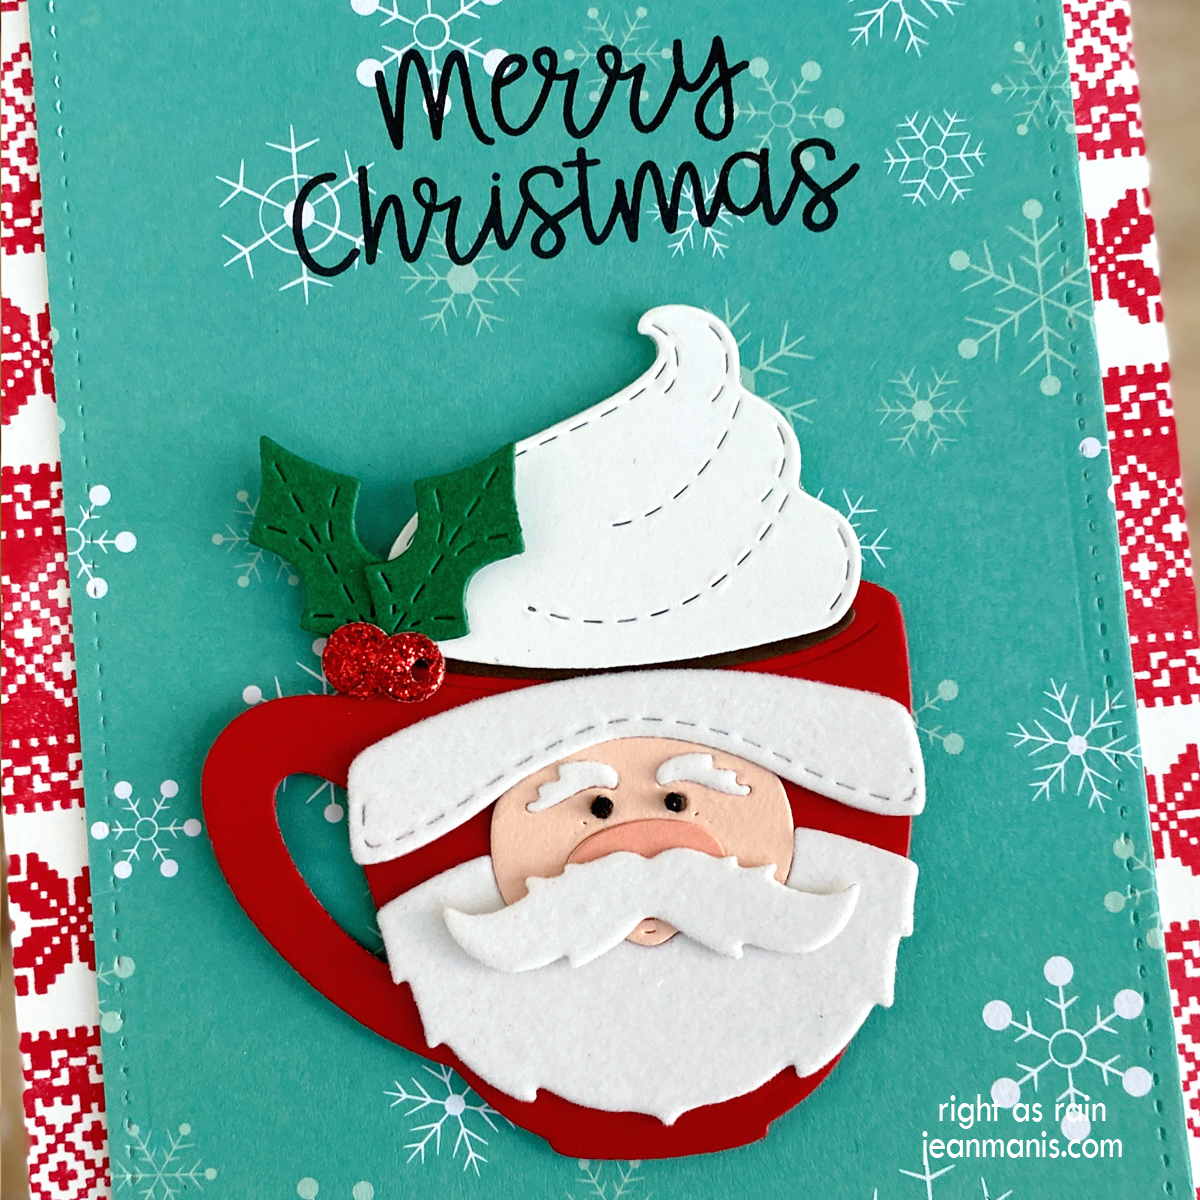
Welcome! Today, I am thrilled to showcase the Santa’s Here die set, part of the Classic Christmas Collection at Spellbinders on a delightful Christmas card featuring the beloved Santa Claus himself.

Capturing Holiday Magic: Spellbinders Santa's Here

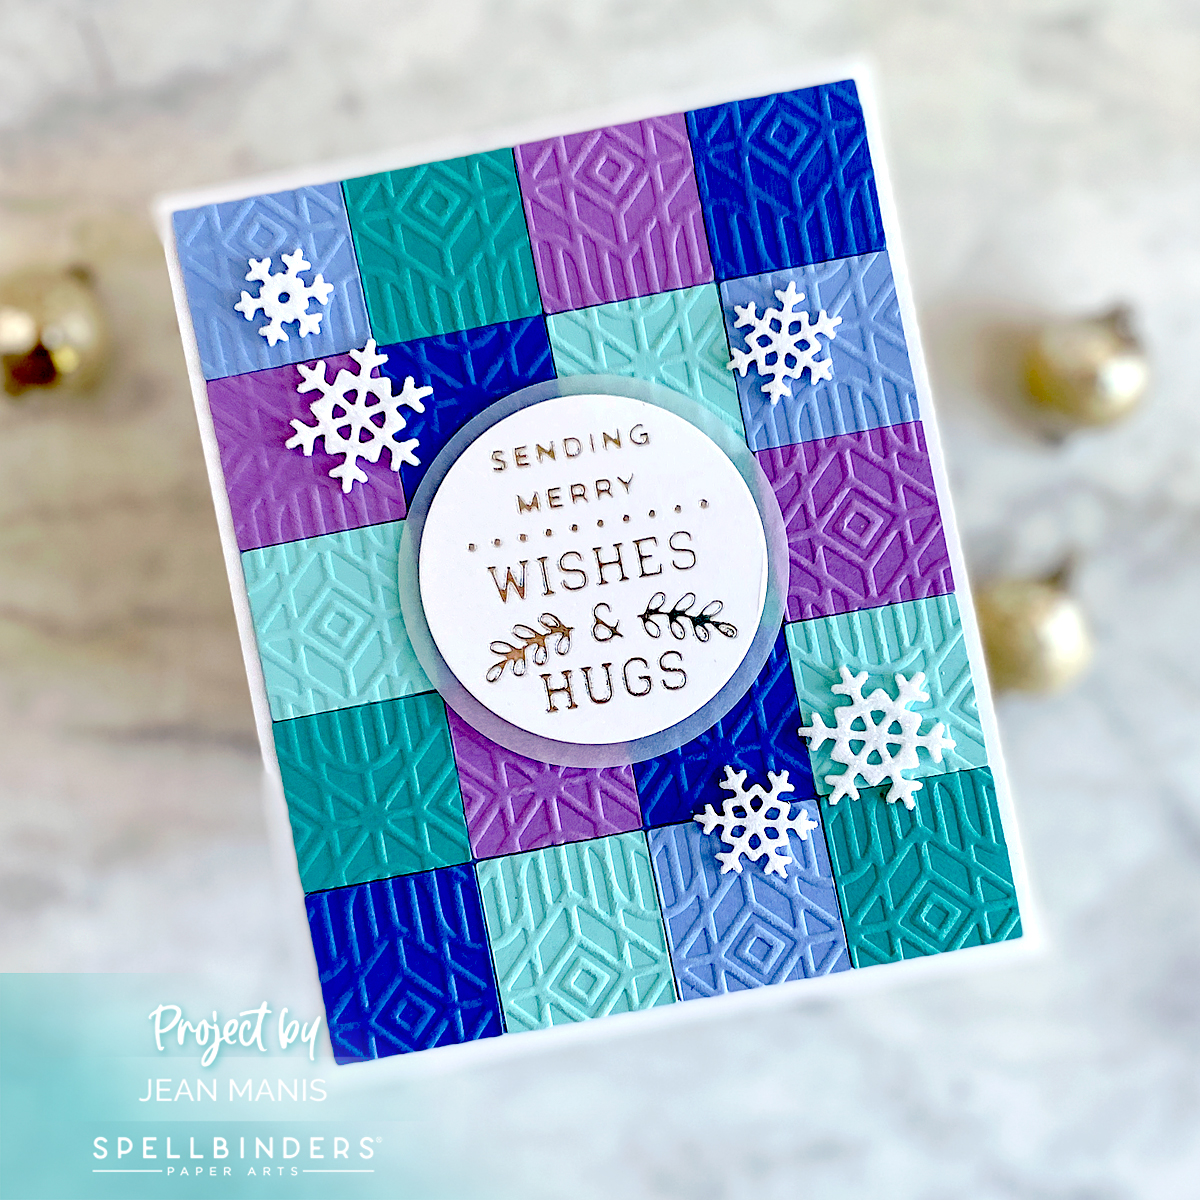
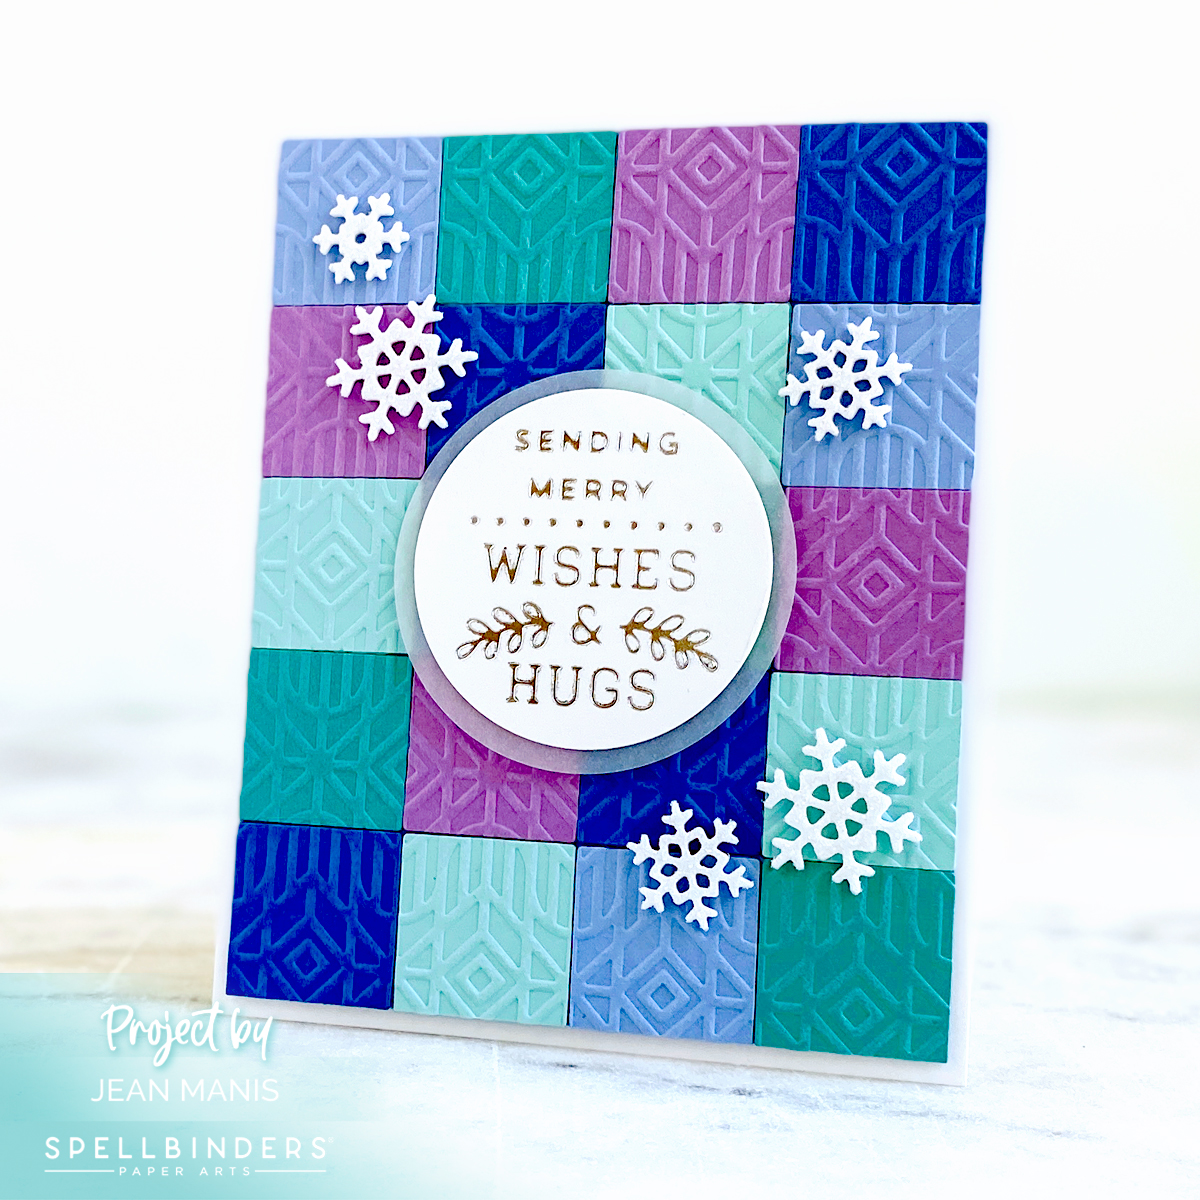
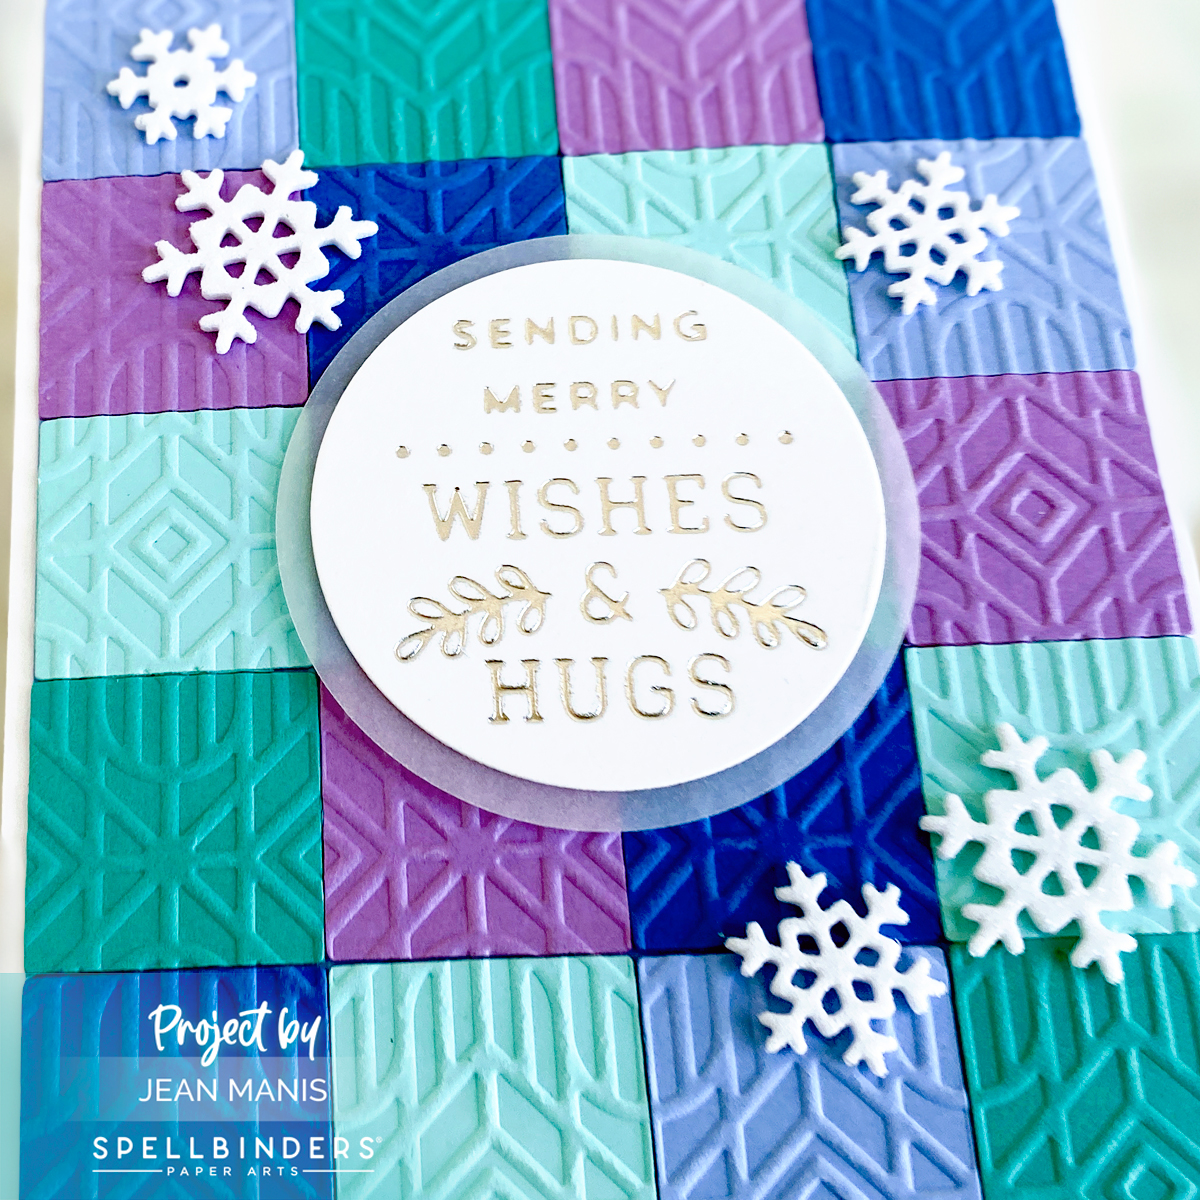
With a touch of elegance and a dash of whimsy, I have assembled Santa from a variety of materials, including sumptuous velvet cardstock, to make him truly enchanting. Nestled upon a snowbank-shaped die-cut, glimmer foiled with the heartwarming words “Joy to the World” in gold, Santa takes center stage against a background of sage cardstock, arched to capture the magic of the season. The assembly is placed upon an A2-size snowflake-embossed card base, adding a touch of wintry wonder. Completing the scene, snowflakes crafted from white glitter foam dance around.

Capturing Holiday Magic: Spellbinders Santa's Here


Spellbinders | Stitched Christmas Tree Card

Hello! I’m thrilled to share a Christmas card featuring the delightful Stitched Christmas Tree die set from the Stitched for Christmas Collection by Spellbinders. Scroll for info on the Christmas in July Sale at Spellbinders – now through July 16.

Spellbinders | Stitched Christmas Tree Card

With its intricate details, the Stitched Christmas Tree set of dies allows you to create a festive holiday tree. As a creative touch, I cut the tree from rich purple cardstock and stitched it with gold thread, lending sparkle. The base, cut from teal cardstock, and the star, cut from brushed gold, were also stitched with the same gold thread. The stitched pieces were backed with solid brushed gold pieces.

To complement the tree, I glimmer foiled the sentiment “Joy to the World” in gold on Snowdrift cardstock, using a glimmer foil plate from the A Merry Little Christmas Sentiments set. You can see another card using a different sentiment in that set HERE. I cut the sentiment panel in the shape of a snowbank using a die from the Warm Wishes Camper set, providing a ground for the tree. The light teal background adds a touch of serene elegance, thanks to the dry embossing achieved with the Flurry of Snowflakes 3D embossing folder.

To add an extra dose of winter magic, the card is adorned with snowflakes using dies from the Holiday Decorations set cut from white glitter foam.

Spellbinders | Stitched Christmas Tree Card

Save up to 50% on select Christmas products until July 16. You can read my exploration of Christmas-themed products from Spellbinders HERE.

Christmas in July


Spellbinders | Merry and Bright

Today, I’m thrilled to showcase a card that captures the essence of a Merry Little Christmas crafted with products in the Spellbinders De-Light-Ful Collection by Yana Smakula.

I’ve crafted a card featuring glimmer foiling, embossing, and charming die-cut elements.

  • In gold, glimmer foil the sentiment “May Your Days Be Merry and Bright” with a plate in the A Merry Little Christmas Sentiments set on green cardstock.
  • To create a frame for the large sentiment, cut a brushed gold A2-size panel with the three-inch Everlasting Circles die and dry-emboss with the Holly & Foliage 3D folder. The beautiful holly and foliage pattern adds a touch of elegance to the card.
  • Position the glimmer-foiled sentiment behind the frame, ensuring it is centered and aligned to your liking. Adhere it securely to the card and add to an A2-size card base.

Spellbinders | Merry and Bright

  • To enhance the holiday theme and add a touch of natural beauty, incorporate greenery cut with dies from the Winter Welcome Sled and Parcel and Post Christmas Decorations sets. Arrange and adhere elements around the sentiment frame.
  • Lastly, add the finishing touches by embellishing with snowflakes cut using dies from the Holiday Decorations set from white glitter foam. Arrange the snowflakes around the sentiment and greenery, placing them strategically to create a balanced and visually appealing composition.

Spellbinders | Merry and Bright

Christmas in July


Lawn Fawn | Snowman Valentine

If Punxsutawney Phil is right, there will be snowmen for a while longer (Northern Hemisphere). Since I enjoyed playing with the Lawn Fawn Build-A-Snowman die for holiday cards (here and here), I figured I would use the same set for a Valentine combining Lawn Fawn products!

Lawn Fawn | Snowman Valentine

  • Cut patterned paper with A2-size die in the Large Stitched Rectangle Stackables set.  (The paper is from an old pad in my stash.) Add to card base.
  • Stamp Simply Celebrate Hearts sentiment (a new set from Lawn Fawn) in navy ink on white cardstock. To create the snowbank, cut with the A2-size die in the Large Stitched Rectangle Stackables set and then with a die in the Simple Stitched Hillside Borders set. Add to card background.
  • Cut snowman with Build-A-Snowman from flocked white, Light Brown Woodgrain, Black Licorice, orange, and patterned paper. Assemble and add to card background.
  • Use heart dies in the Speech Bubbles set to cut hearts from silver, navy, and red cardstock. (The Build-A-Snowman set includes a smaller heart; for the banner, I preferred this size and shape.) Adhere hearts to red-and-white twine. Position strand of hearts in the hands of the snowman; secure with glue.

Lawn Fawn | Snowman Valentine


Lawn Fawn | Winter Cabin Take Two

Hello! Today I am sharing a winter-themed card showcasing the Lawn Fawn Build-a-Cabin die set. This combination of elements works for a variety of occasions including Christmas or friendship. I previously shared a card featuring this die set here. On the card I am sharing today, I changed the orientation, the sentiment, and the color scheme.

Lawn Fawn | Winter Cabin

  • Create A2-size card base from navy cardstock.
  • Cut Snow Flurries Backdrop from white cardstock. Add strip of white cardstock to the bottom of the navy cardstock for snow. Glue Snow Flurries Backdrop to base. Previously, I have tucked the card elements under the snow frame. Given the number of elements, I decided to have the snow frame take a back seat and added the elements above the frame.
  • Cut Build-a-Cabin pieces from Light Brown Woodgrain, Chocolate Bar, dark brown, brushed silver, yellow, gray, and white cardstock. I used the Build-a-House Christmas Add On to cut a doorknob. Assemble cabin; cover back of windows and door with the yellow cardstock.
  • Stamp Snowball Fight sentiment in black on Noble Fir cardstock and cut with die in the Everyday Sentiment Banners set; add to card.
  • Cut evergreen trees from white and Noble Fir cardstock with dies in the Forest Backdrop set; assemble.
  • Apply Snowfall Grit Paste to cabin roof and trees; set aside to dry.
  • Add assembled Build-a-Cabin and trees, using foam adhesive as necessary for depth.

Lawn Fawn | Winter Cabin