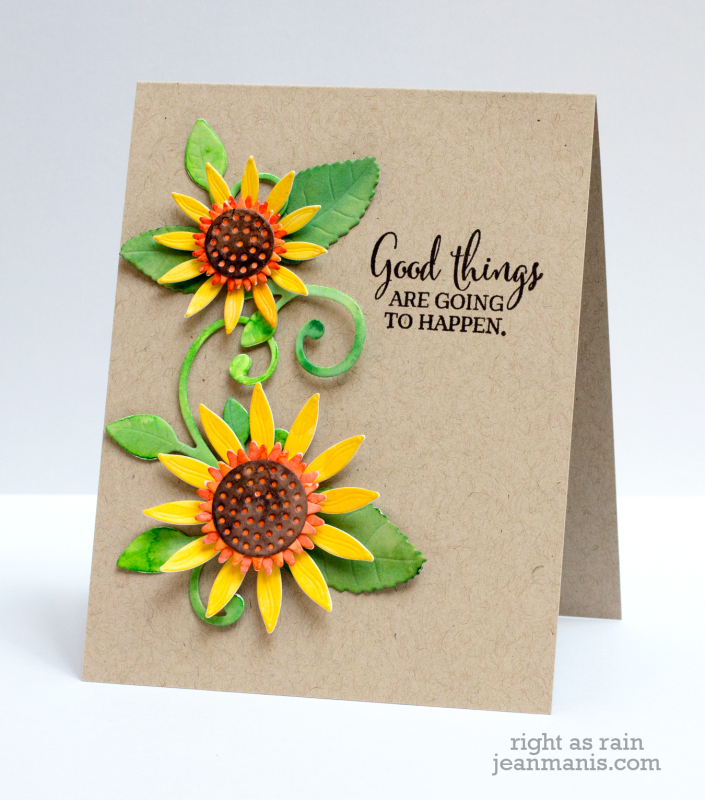
It’s September, and with that, we begin the fall season! I know that the equinox, marking the beginning of fall, isn’t until later in the month. But to me, the season has arrived, and after a summer drought, the leaves here in the Pacific Northwest are already turning gold and red. My CAS card features the 51-072 Autumn Jewels die cut set from Penny Black paired with a sentiment cut with word die in the 51-040 Hello Frame set.
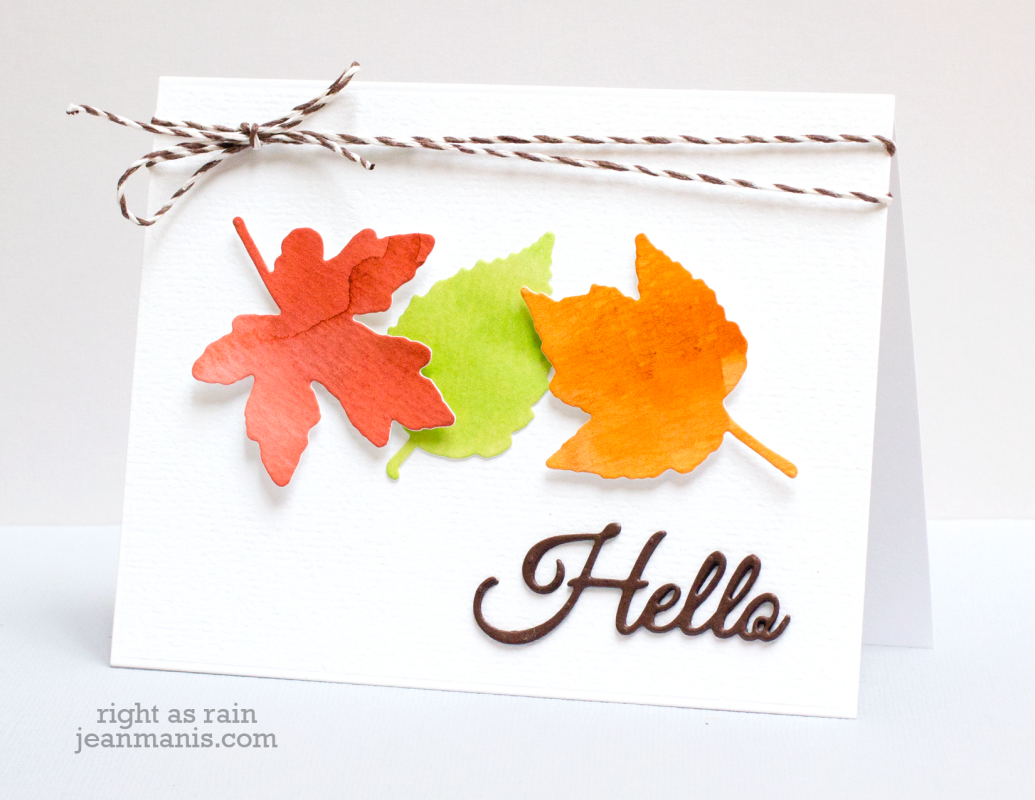
I painted watercolor paper with Peerless watercolors. Once dry, I cut out the leaves with the Autumn Jewels dies. I cut the Hello out of brown cardstock three times for additional depth. For additonal interest and texture, I adhered the leaves and sentiment onto textured cardstock and added twine.