Art Impressions | Happy Harvest Front Porch

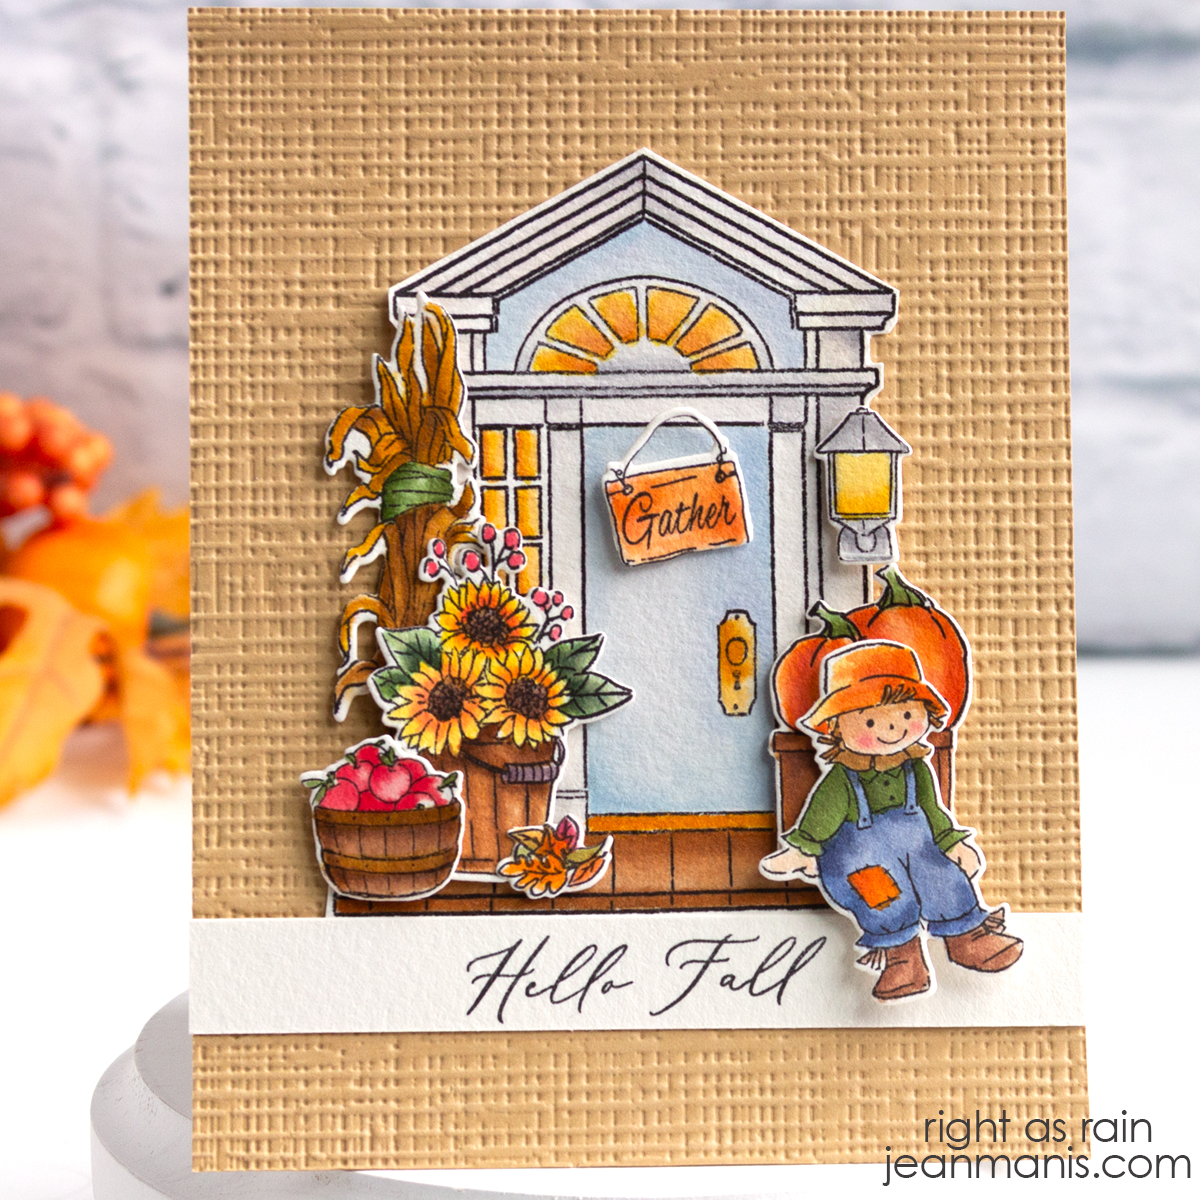
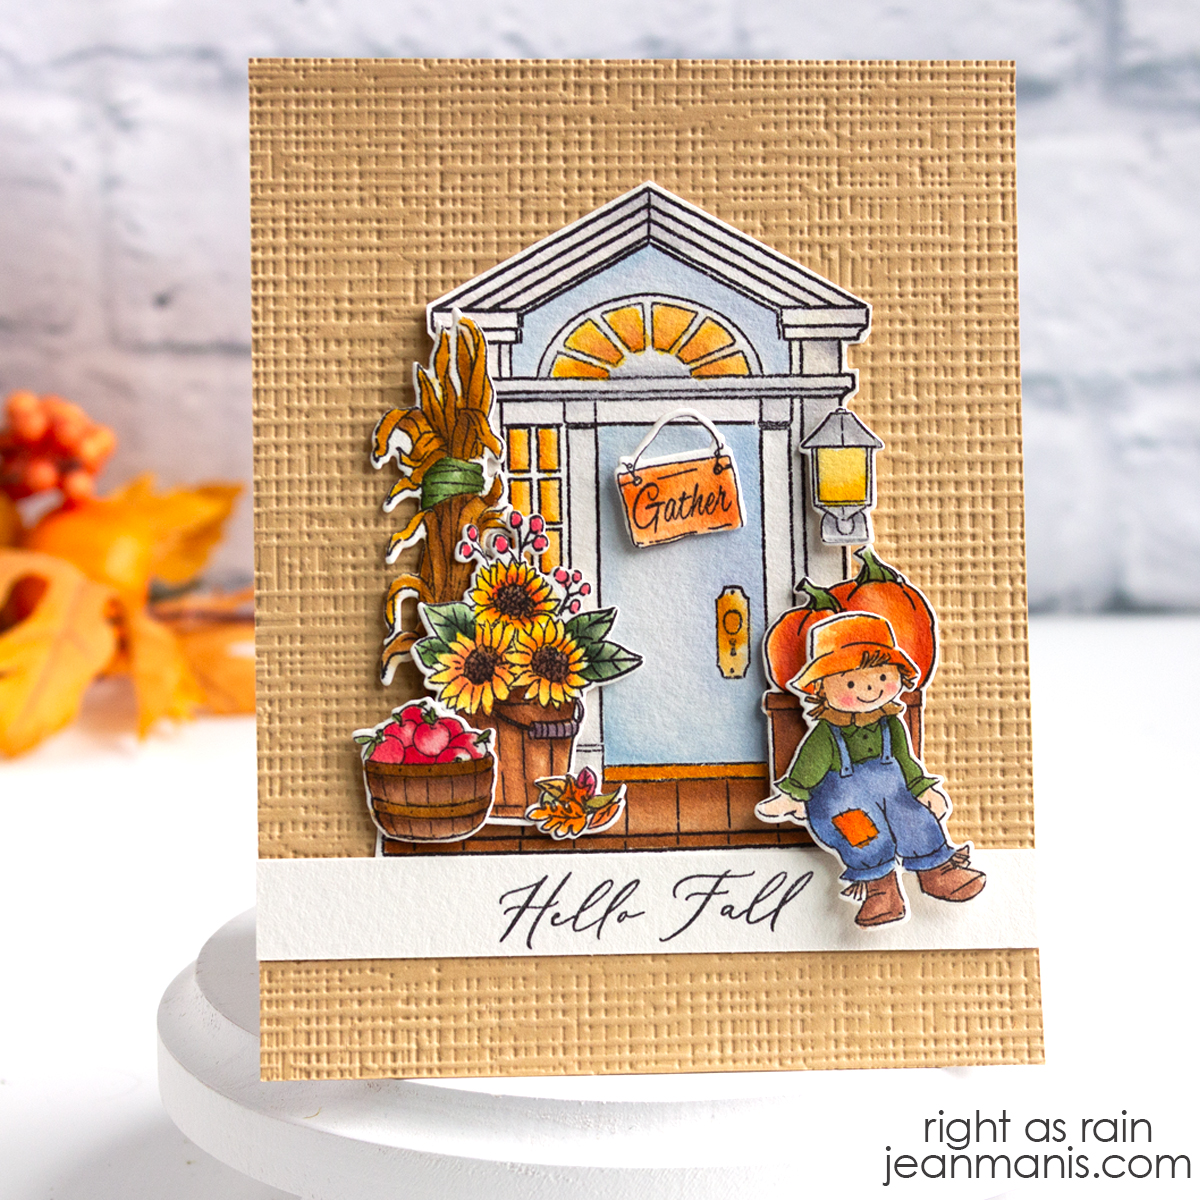
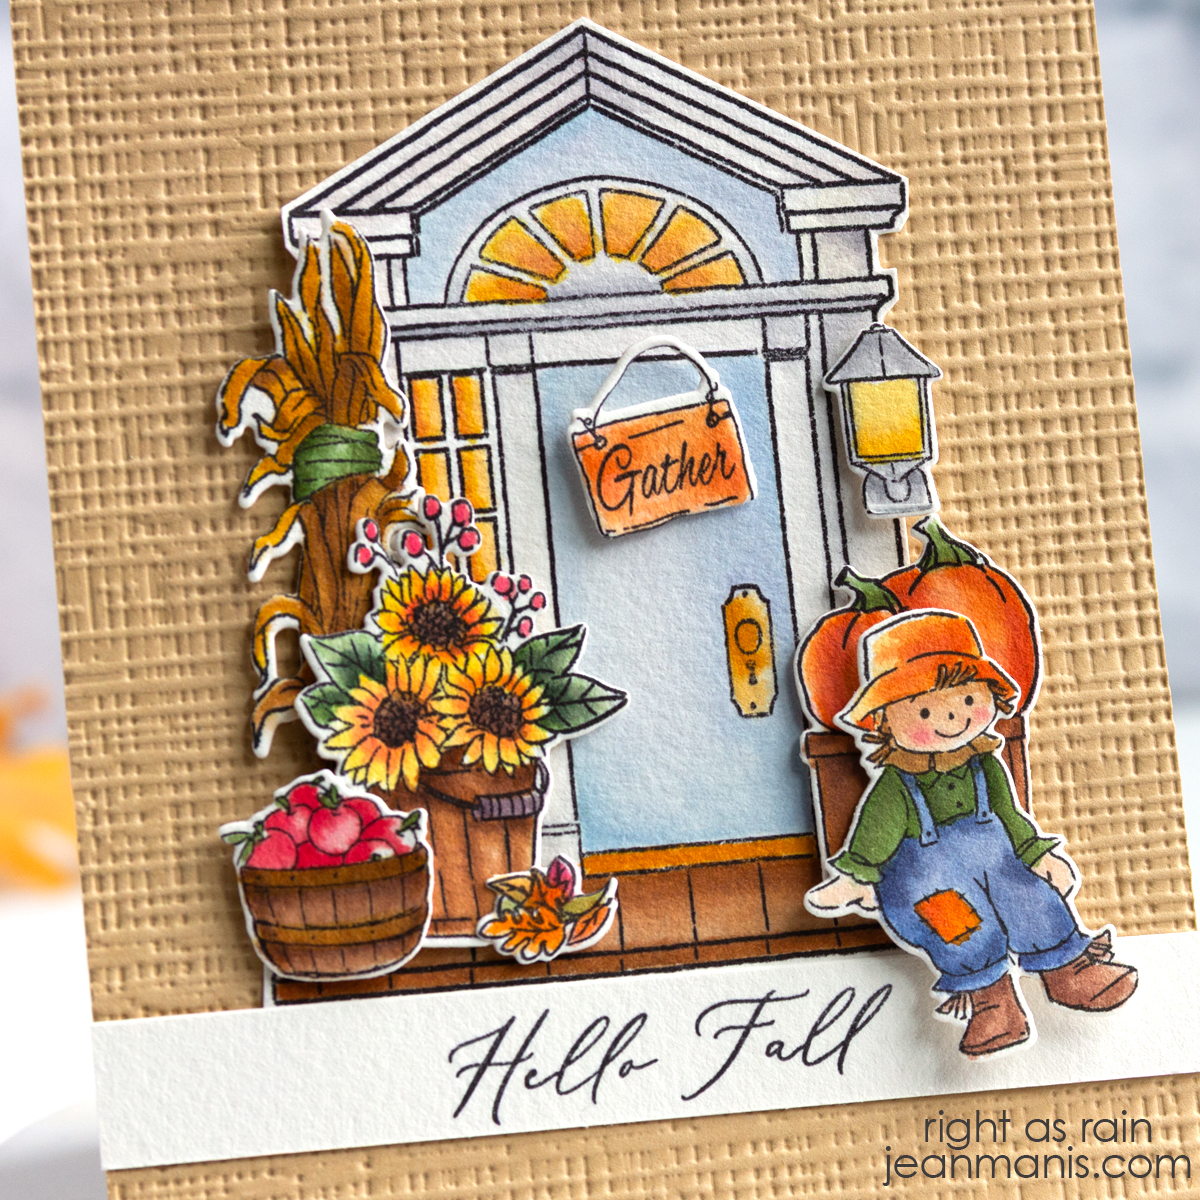
Hello! There’s nothing quite like a front porch dressed up for the season! Today, I’m sharing a handmade card created with supplies from Art Impressions , featuring a welcoming door and porch decorated for fall. I stamped and watercolored the image to bring out all the cozy autumn details and finished the design with a heartfelt sentiment.

Art Impressions | Happy Harvest Front Porch

    • Dry-emboss the Fawn cardstock base with the Honey Bee Burlap folder. Add to an A2-size card base.
    • Stamp the Front Porch Door and Harvest Set elements on to Arches Cold Pressed Watercolor paper with Archival Ink. Watercolor with media of choice. I used Tombow markers. Die-cut elements with the coordinating dies. I fussy-cut the door as the coordinating die punches out the windowpanes.
    • Add elements to the prepared card base, using foam adhesive as needed.
    • Stamp the sentiment on to a watercolor paper strip. I used the now-retired Elizabeth Craft Designs Autumn Words stamp set. Add sentiment strip below the porch.

Art Impressions | Happy Harvest Front Porch

I’d love to know—do you decorate your front porch for the season?


Art Impressions | Watercolored Tropical Scene

Hello! At this time of year, with summer winding down and fall and Christmas on the horizon, my cardmaking is all over the place—jumping from sunny beach scenes to Halloween ghosts to holiday sparkle. Today’s project captures the best of summer with a watercolored tropical sunset. I used a stamp set from Art Impressions to create the layered scene. Instead of making the set interactive, I stacked the layers for depth and added the sentiment on top—turning this card into a peaceful little getaway on paper.

Art Impressions | Watercolored Tropical Scene

    • To begin, cover a 4 1/4″ square card base with patterned paper (I cut the paper with a now-retired stitched die).
    • Stamp the Tropical Circlet Mini Tryfold images on Arches Cold Pressed Watercolor paper with Archival Ink. Watercolor with Tombow markers. Cut the images with the dies in the set and circle dies. Stamp the image in the set with the sentiment on to white cardstock and cut with two circle dies to create a ring. Assemble the stack of images and include a circle cut from vellum on the bottom. I also cut rings from foam, which I glued between the layers for additional depth.
    • Add the assembly to the prepared card base.


Easter Bunnies Matchbook Card

Hello! There’s something so delightful about creating miniature scenes, and this Easter matchbook card is no exception! I used products in the Art Impressions Matchbook series to craft a tiny world where bunnies are busy painting eggs in a scene that includes hutches, pottery, and paintbrushes. Capture the joy of the season with a playful, pocket-sized creation!

Art Impressions Easter Bunnies Matchbook Card

The Art Impressions Matchbook series has many different options. You can see an intro video here.

    • Stamp Easter Bunnies images in VersaFine ink on Arches Cold Press watercolor paper; heat set.
    • Watercolor the images with watercolor markers. I used Tombow markers. You can read more about watercoloring stamped images here.
    • Once dry, cut the images with the coordinating dies included with the Easter Bunnies set.
    • Cut matchbook from patterned paper with the MB Template. Add watercolored Easter Bunnies elements.
    • Stamp Easter Bunnies sentiment on white cardstock, trim, and add to scene.

Art Impressions Easter Bunnies Matchbook Card


Stuck on You: Watercolored Hedgehog Card

Hello! I usually reach for dies when making cards, but sometimes it’s fun to switch things up with a bit of watercoloring. This adorable hedgehog from Art Impressions was the perfect chance to do just that! Since the stamp set does not have a coordinating die for the images, after watercoloring the stamped image, I masked the hedgehog and cactus to add the sky and ground.

Stuck on You: Watercolored Hedgehog Card

    • Create an A2-size card base from off-white cardstock. With the Burlap folder, dry-emboss a Chocolate Bar cardstock panel measuring 4″ x 5 1/4″. Add panel to card base.
    • Stamp the hedgehog in VersaFine ink on Arches Cold Press watercolor paper; heat set.
    • Watercolor the image with watercolor markers. I used Tombow markers and Derwent Inktense Watercolor Pencils. You can read more about watercoloring stamped images here. Tombow markers: Brown 879, Burnt Sienna 947, Rhodamine Red 725, Dusty Rose 772, Navy Blue 528, Dark Jade 177.
    • Once dry, mask image and add Distress Inks for sky and ground. Cut image with one of the Hexagon Double Stitched Dies. With the next larger die in the set, cut a larger hexagon from Blue Jay cardstock. Add stamped hexagon to mat.
    • Stamp sentiment in Potting Soil ink on off-white cardstock and cut with a 1 1/4″ circle die.
    • Add elements to prepared base.

Stuck on You: Watercolored Hedgehog Card

Masking might sound intimidating, but it’s actually a simple technique that makes a big impact. All you need is a bit of masking paper or a sticky note to cover your stamped image while adding the sky and ground. As for the watercoloring, don’t worry about being perfect — the beauty of watercolor is in its softness and unpredictability. A little practice goes a long way, and the results are so rewarding!


Watercolored Chickens for Spring

Hello! Spring is in the air, and what better way to celebrate than with a fun, interactive card? I used products in the Art Impressions Matchbook series to create a miniature scene featuring watercolored chickens and their coop. With the playful sentiment Spring Chicken, it’s perfect for sending a little joy!

Watercolored Chickens for Spring

The Art Impressions Matchbook series has many different options. You can see an intro video here.

    • Stamp Chicken images in VersaFine ink on Arches Cold Press watercolor paper; heat set.
    • Watercolor the images with watercolor markers. I used a combination of Tombow markersZig markers, and a Derwent Inktense Watercolor Pencil. You can read more about watercoloring stamped images here. In addition to the markers linked below, I used two new Zig marker colors —Mid Yellow 501 and Yellow Ochre 505—purchased from Paper and Ink Arts (a small business dedicated to the calligraphy industry).
    • Once dry, cut the images with the coordinating dies included with the Chicken set.
    • Cut matchbook from patterned paper with the MB Template. Add watercolored Chicken elements.
    • Stamp Chicken sentiment on white cardstock, trim, and add to scene.

Watercolored Chickens for Spring

While I primarily create die-cut cards, watercoloring offers a refreshing change of pace. This relaxing, low-tech approach engages the brain differently, often activating the right hemisphere, which is associated with creativity, intuition, and fluid thinking. Since watercolor flows and blends in organic ways, it encourages spontaneity and adaptability, making it a fun and freeing way to add a hand-painted touch to my cardmaking!