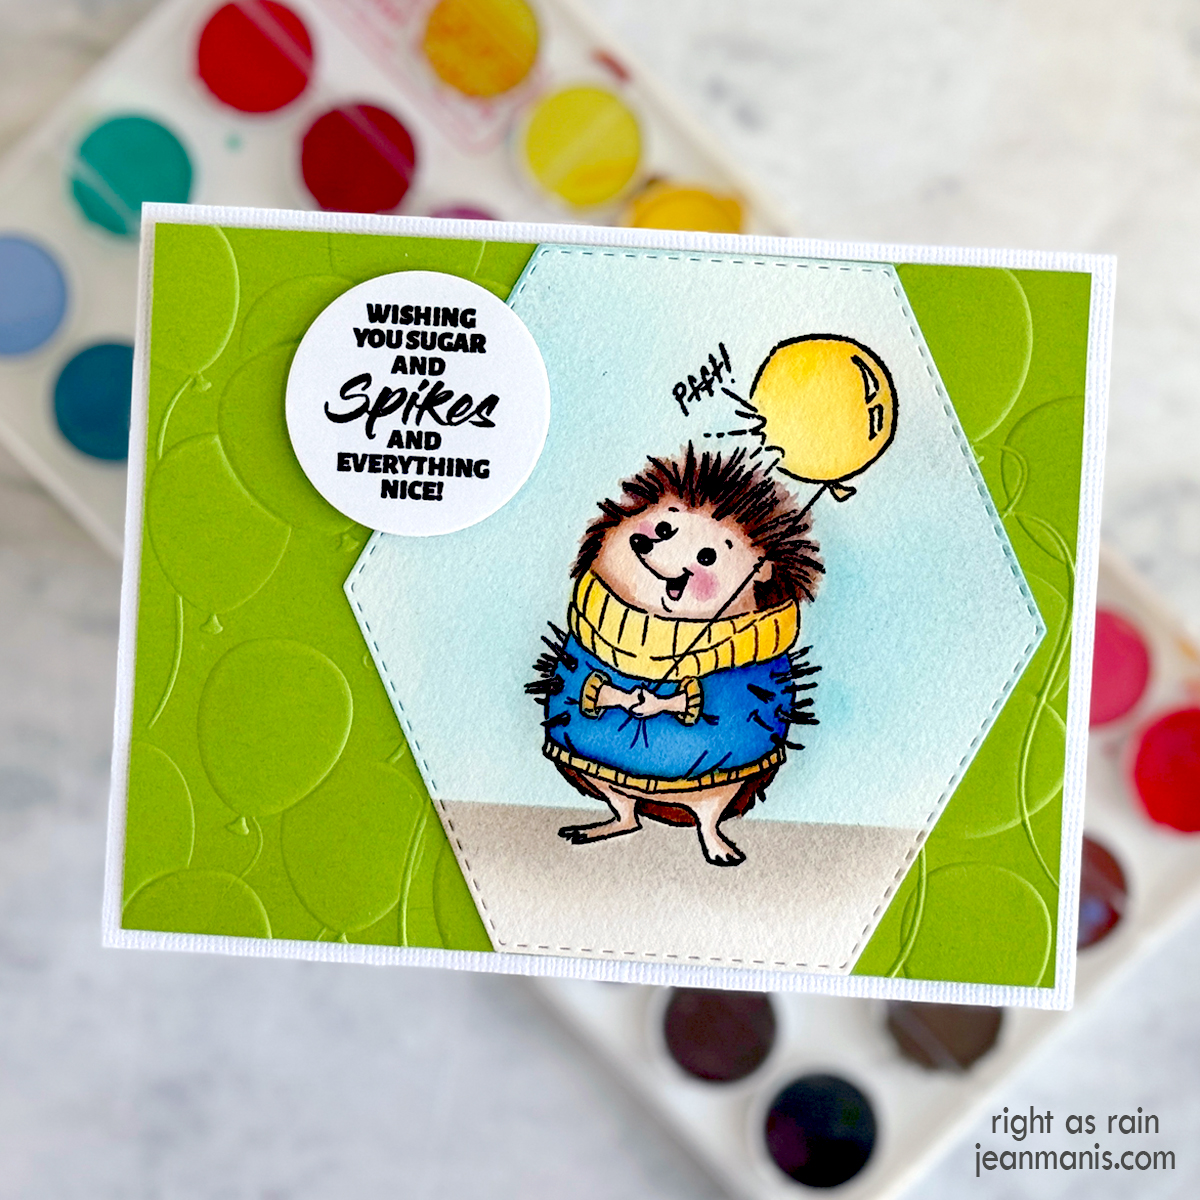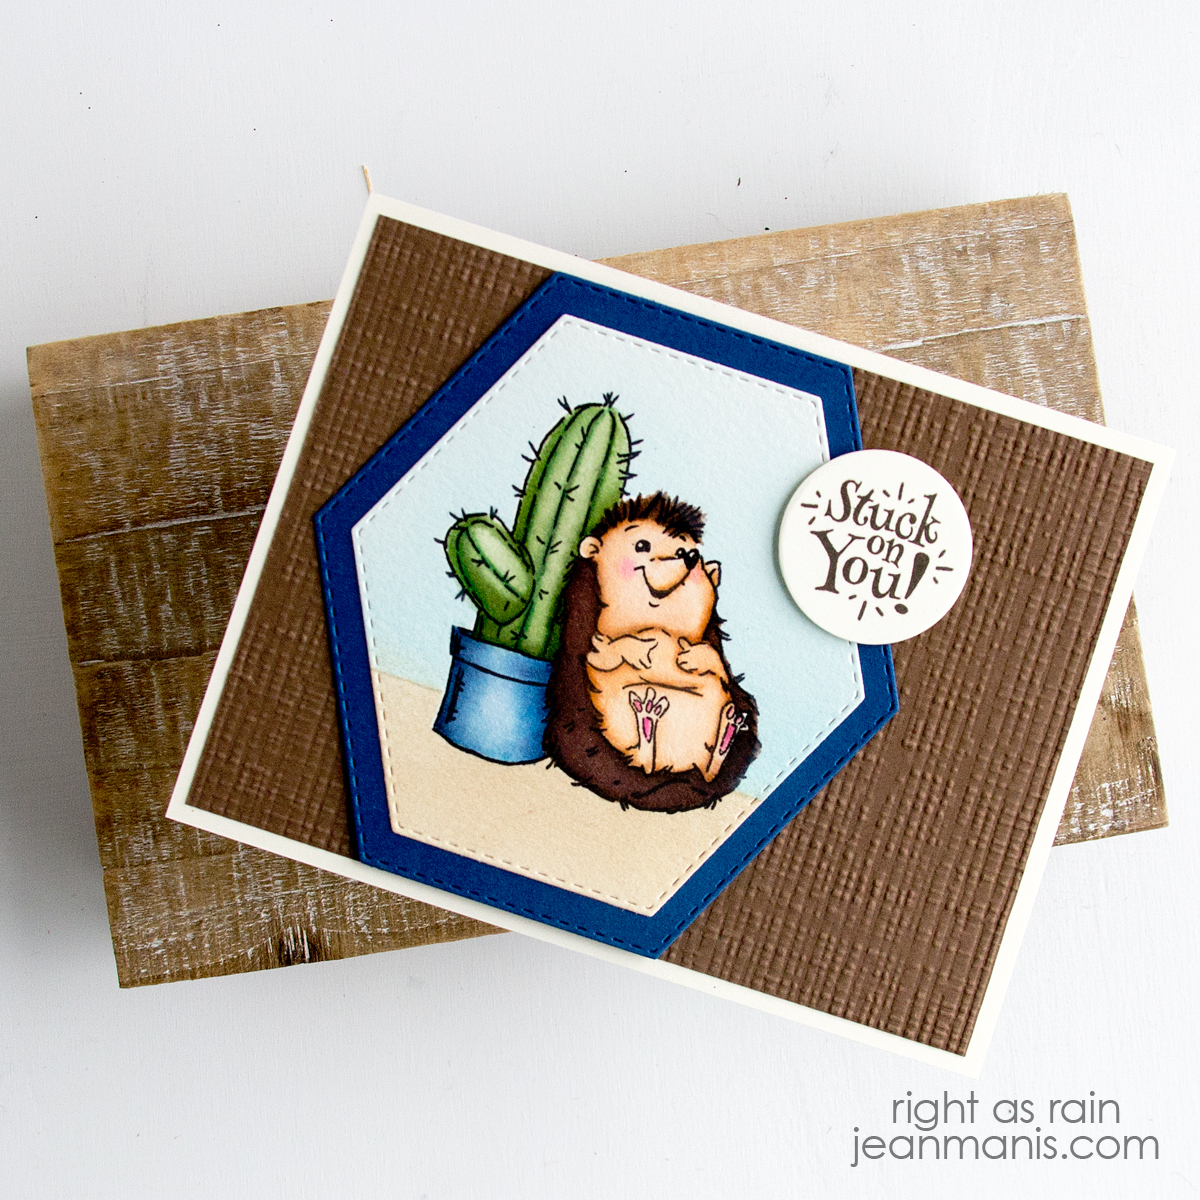
Hello! I usually reach for dies when making cards, but sometimes it’s fun to switch things up with a bit of watercoloring. This adorable hedgehog from Art Impressions was the perfect chance to do just that! Since the stamp set does not have a coordinating die for the images, after watercoloring the stamped image, I masked the hedgehog and cactus to add the sky and ground.
-
- Create an A2-size card base from off-white cardstock. With the Burlap folder, dry-emboss a Chocolate Bar cardstock panel measuring 4″ x 5 1/4″. Add panel to card base.
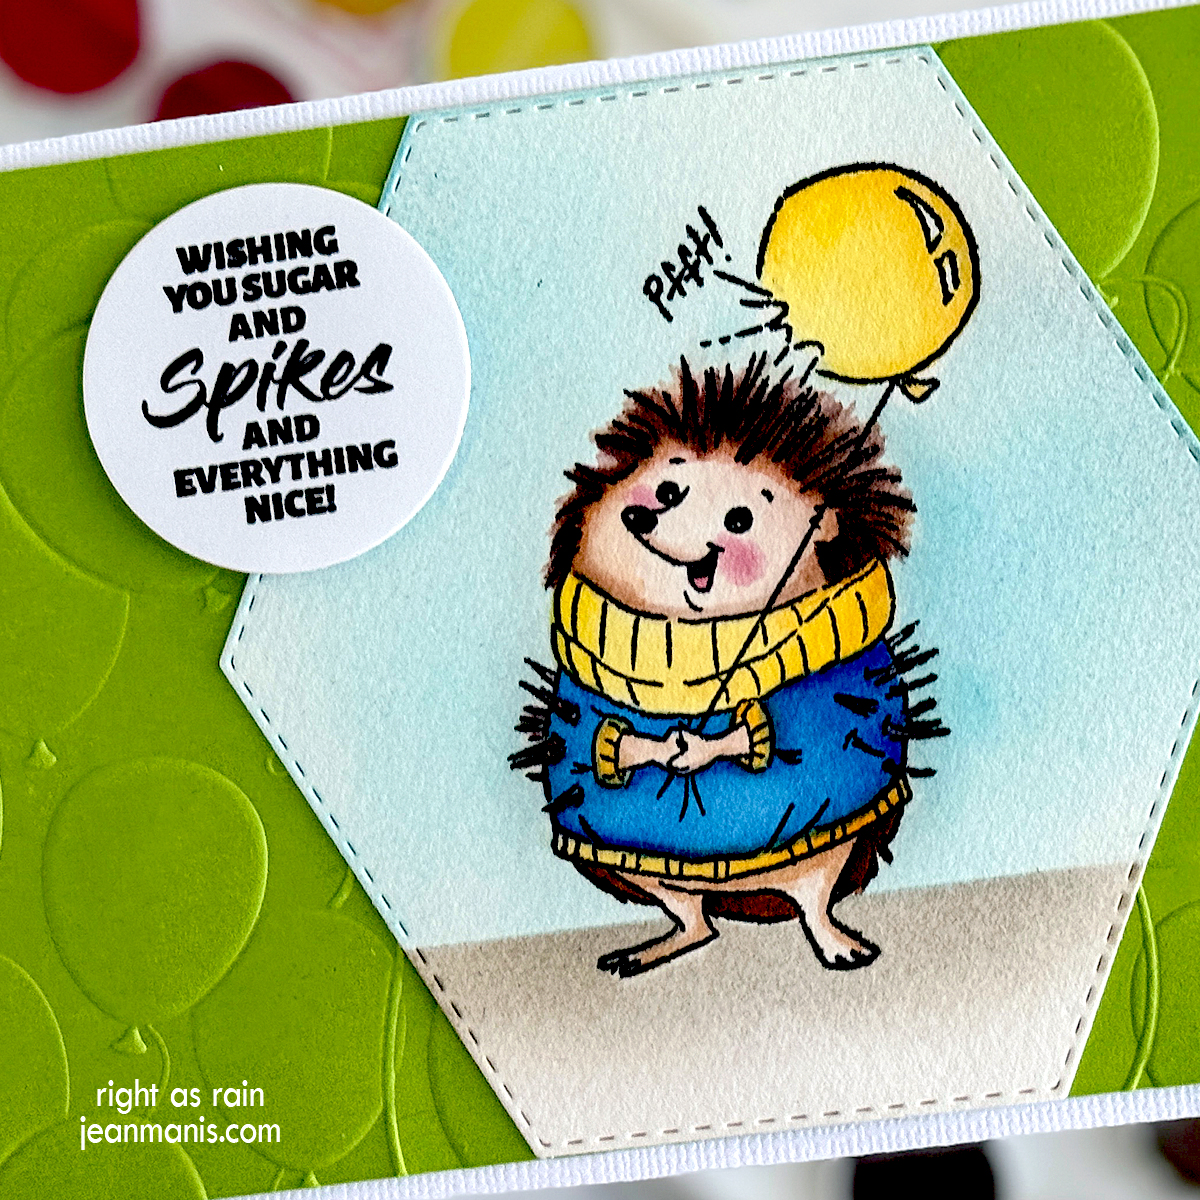
- Stamp the hedgehog in VersaFine ink on Arches Cold Press watercolor paper; heat set.
- Watercolor the image with watercolor markers. I used Tombow markers and Derwent Inktense Watercolor Pencils. You can read more about watercoloring stamped images here. Tombow markers: Brown 879, Burnt Sienna 947, Rhodamine Red 725, Dusty Rose 772, Navy Blue 528, Dark Jade 177.
- Once dry, mask image and add Distress Inks for sky and ground. Cut image with one of the Hexagon Double Stitched Dies. With the next larger die in the set, cut a larger hexagon from Blue Jay cardstock. Add stamped hexagon to mat.
- Stamp sentiment in Potting Soil ink on off-white cardstock and cut with a 1 1/4″ circle die.
- Add elements to prepared base.
Masking might sound intimidating, but it’s actually a simple technique that makes a big impact. All you need is a bit of masking paper or a sticky note to cover your stamped image while adding the sky and ground. As for the watercoloring, don’t worry about being perfect — the beauty of watercolor is in its softness and unpredictability. A little practice goes a long way, and the results are so rewarding!