Rubbernecker | Whimsical Die-cut Christmas Scene

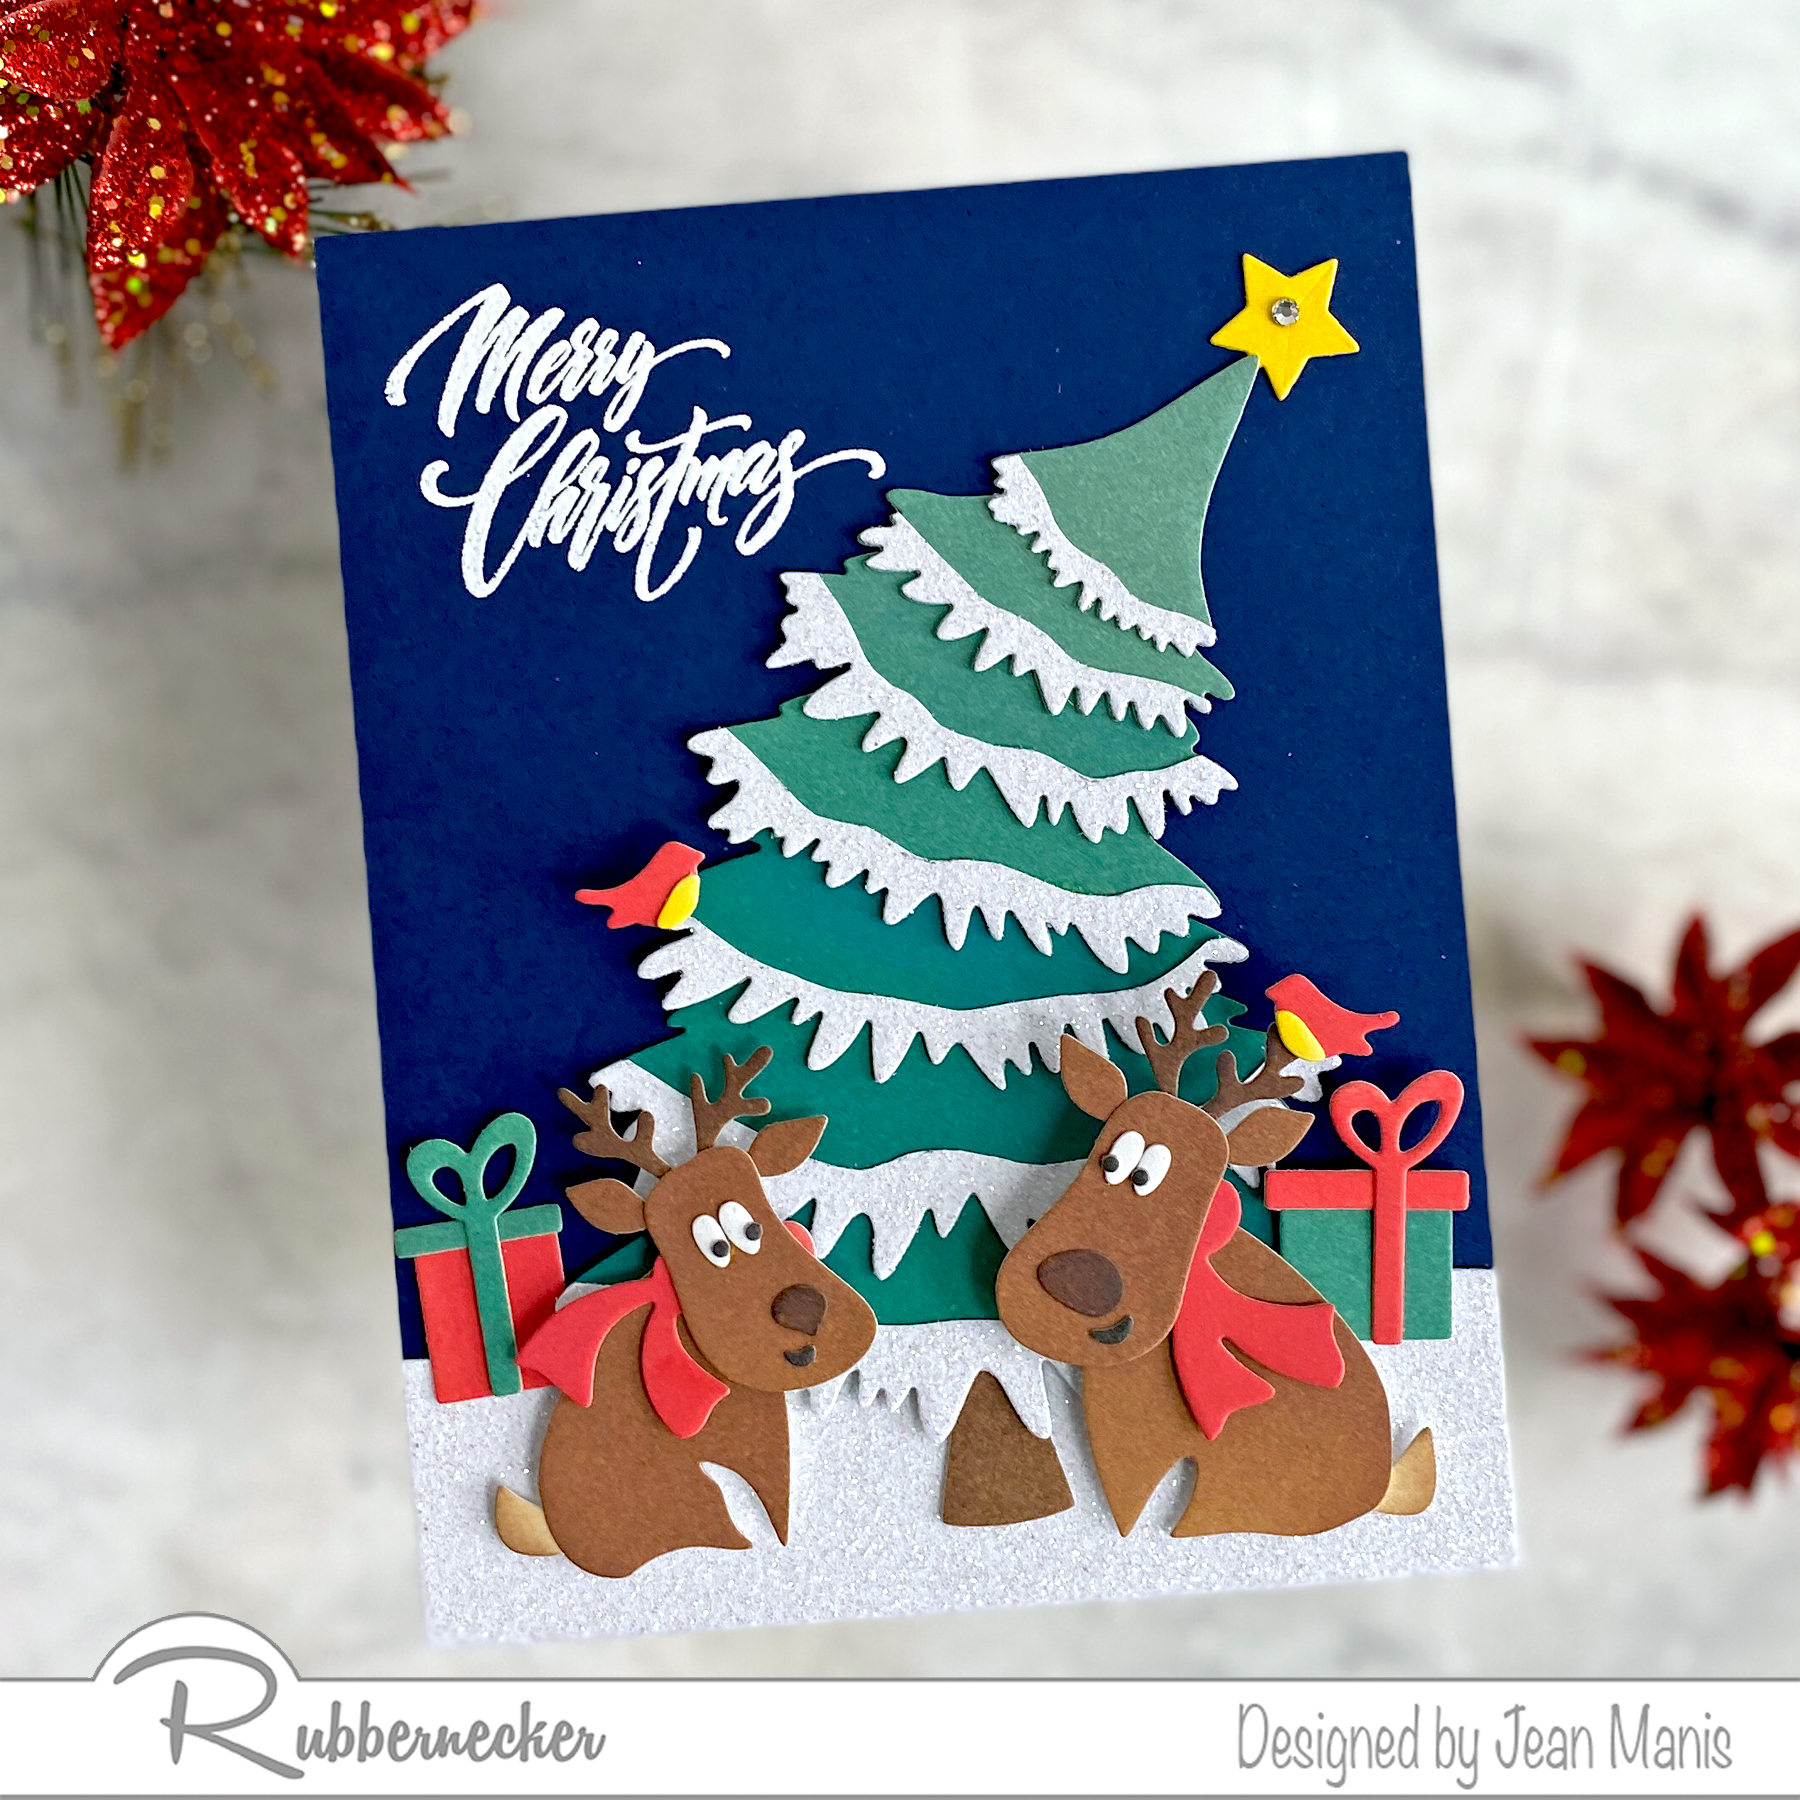
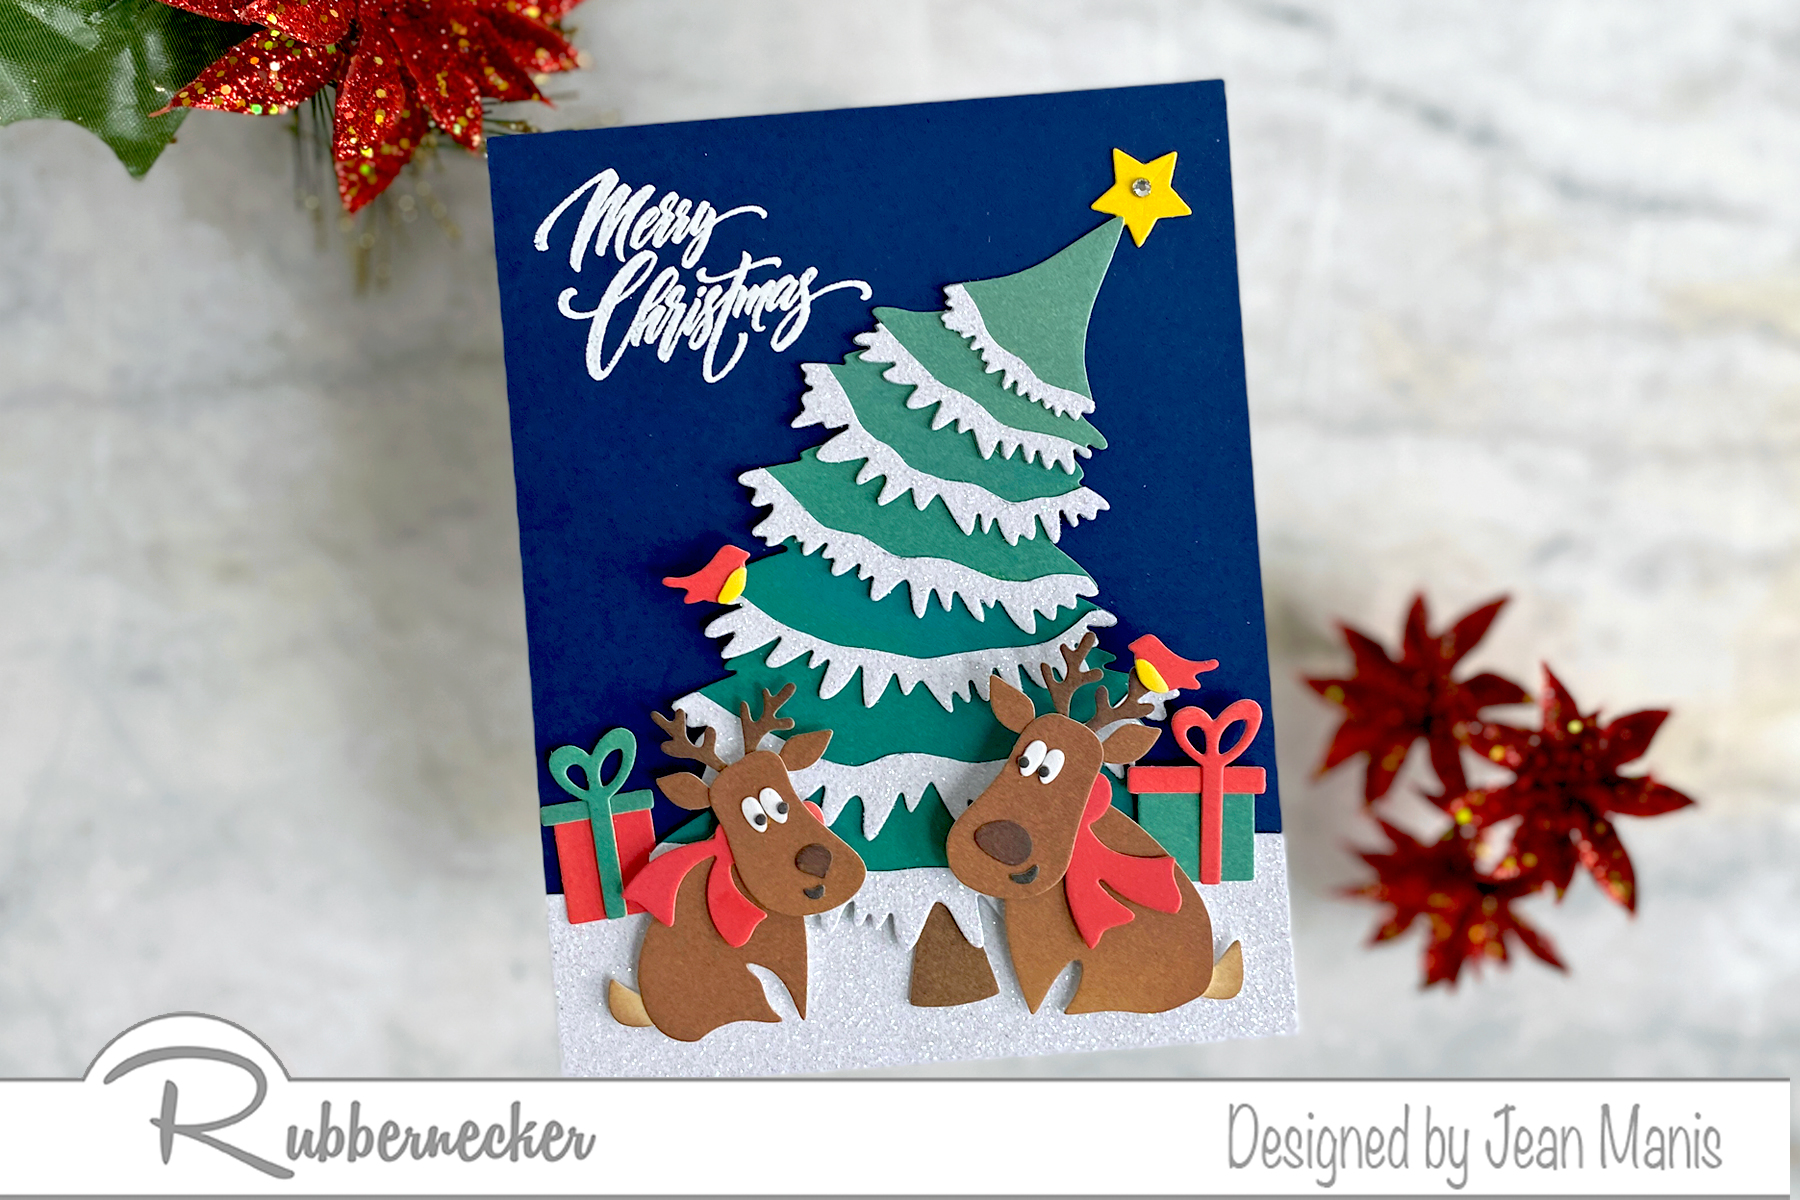
Hello! Today, I am sharing a whimsical, Christmas scene created with Rubbernecker stamp and die sets. Rubbernecker has been sharing Christmas inspiration all month; head to their blog for more inspiration.

Rubbernecker | Whimsical Die-cut Christmas Scene

Here’s how you can make this card:

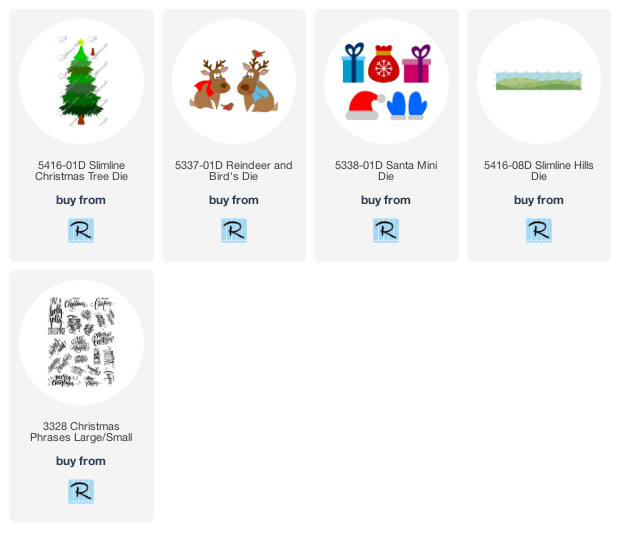
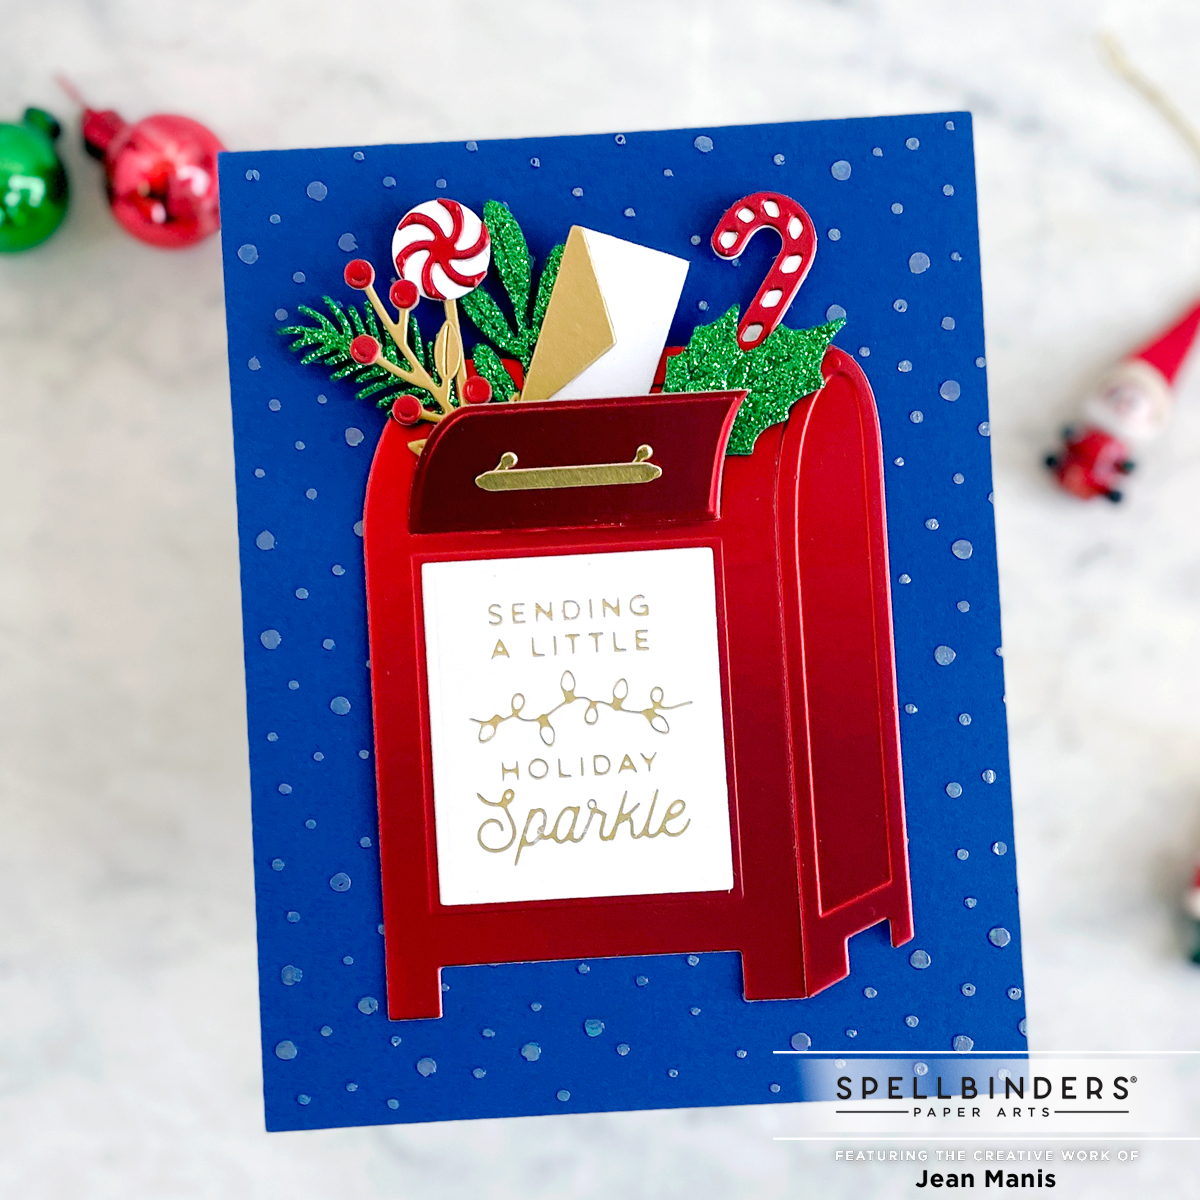
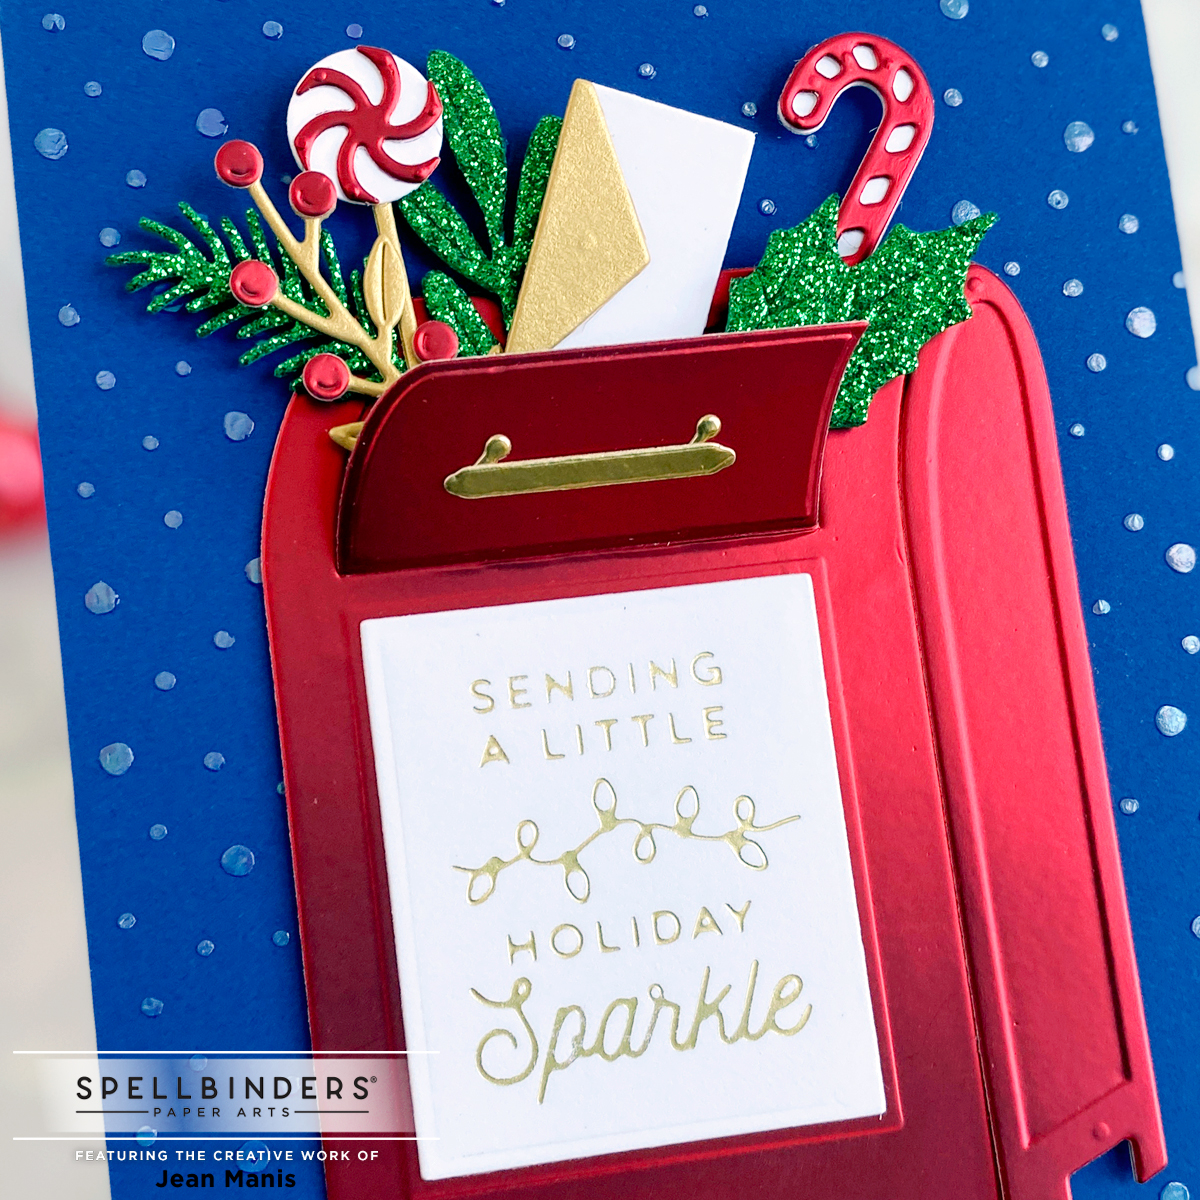
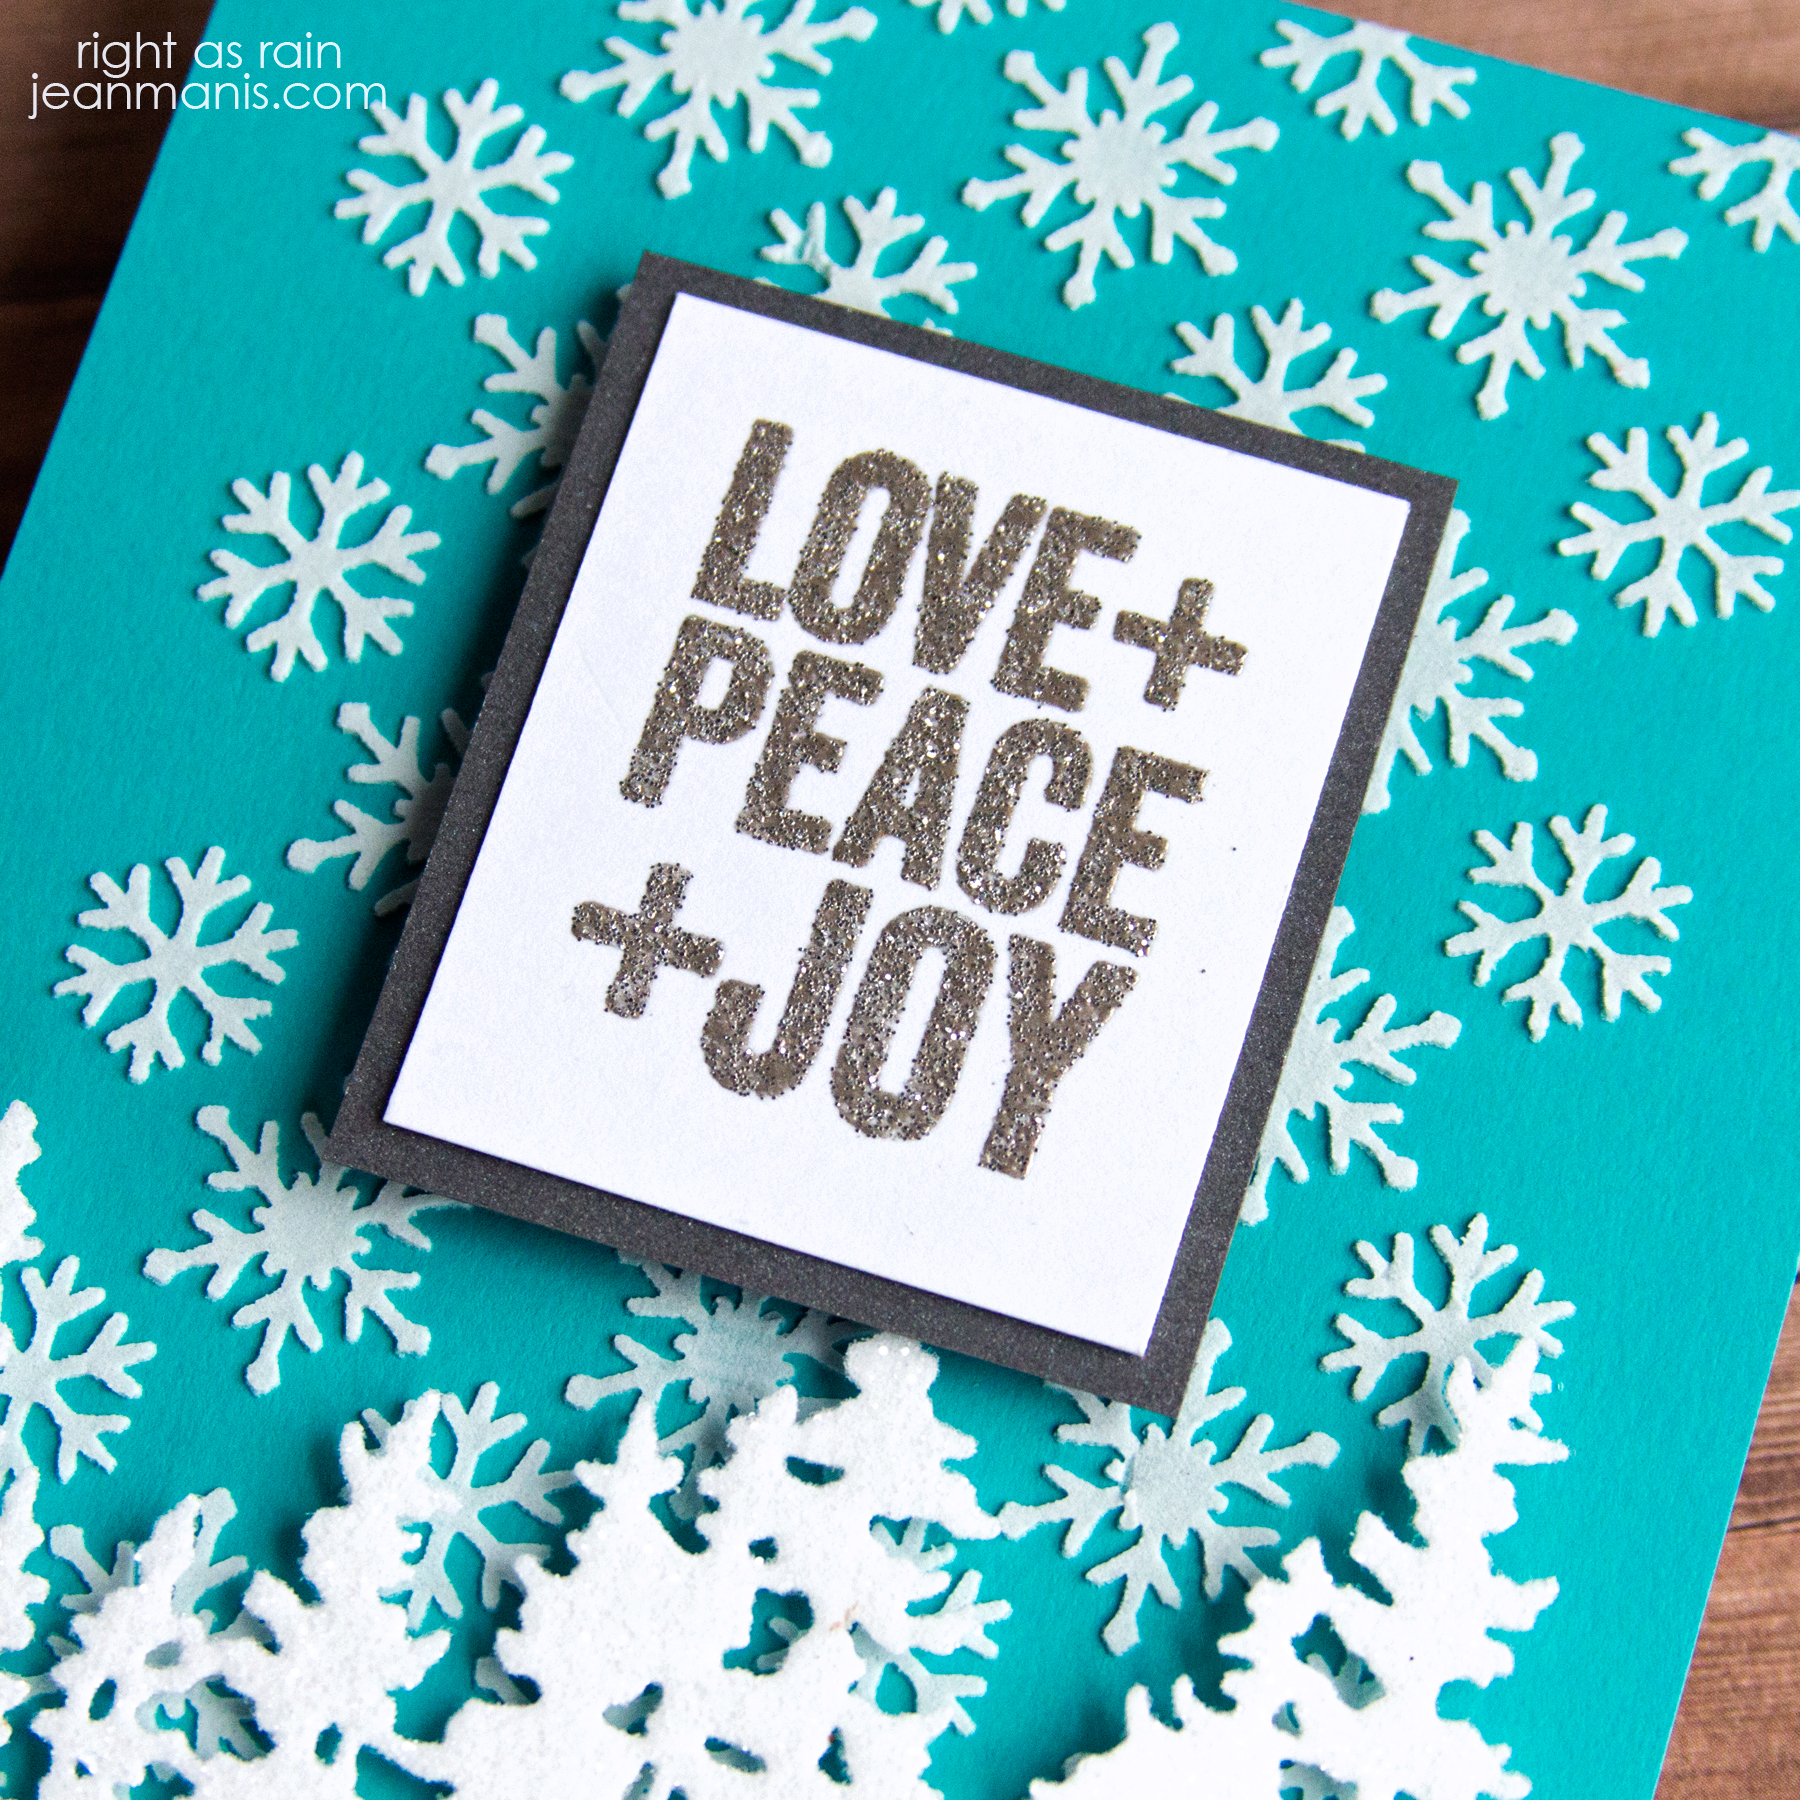
  • Stamp and heat-emboss the Christmas Phrases Large/Small sentiment, (this stamp set is filled with wonderful sentiments), on a dark blue A2-size cardstock panel. Cut glitter cardstock with die in the Slimline Hills set and add to bottom for snow.
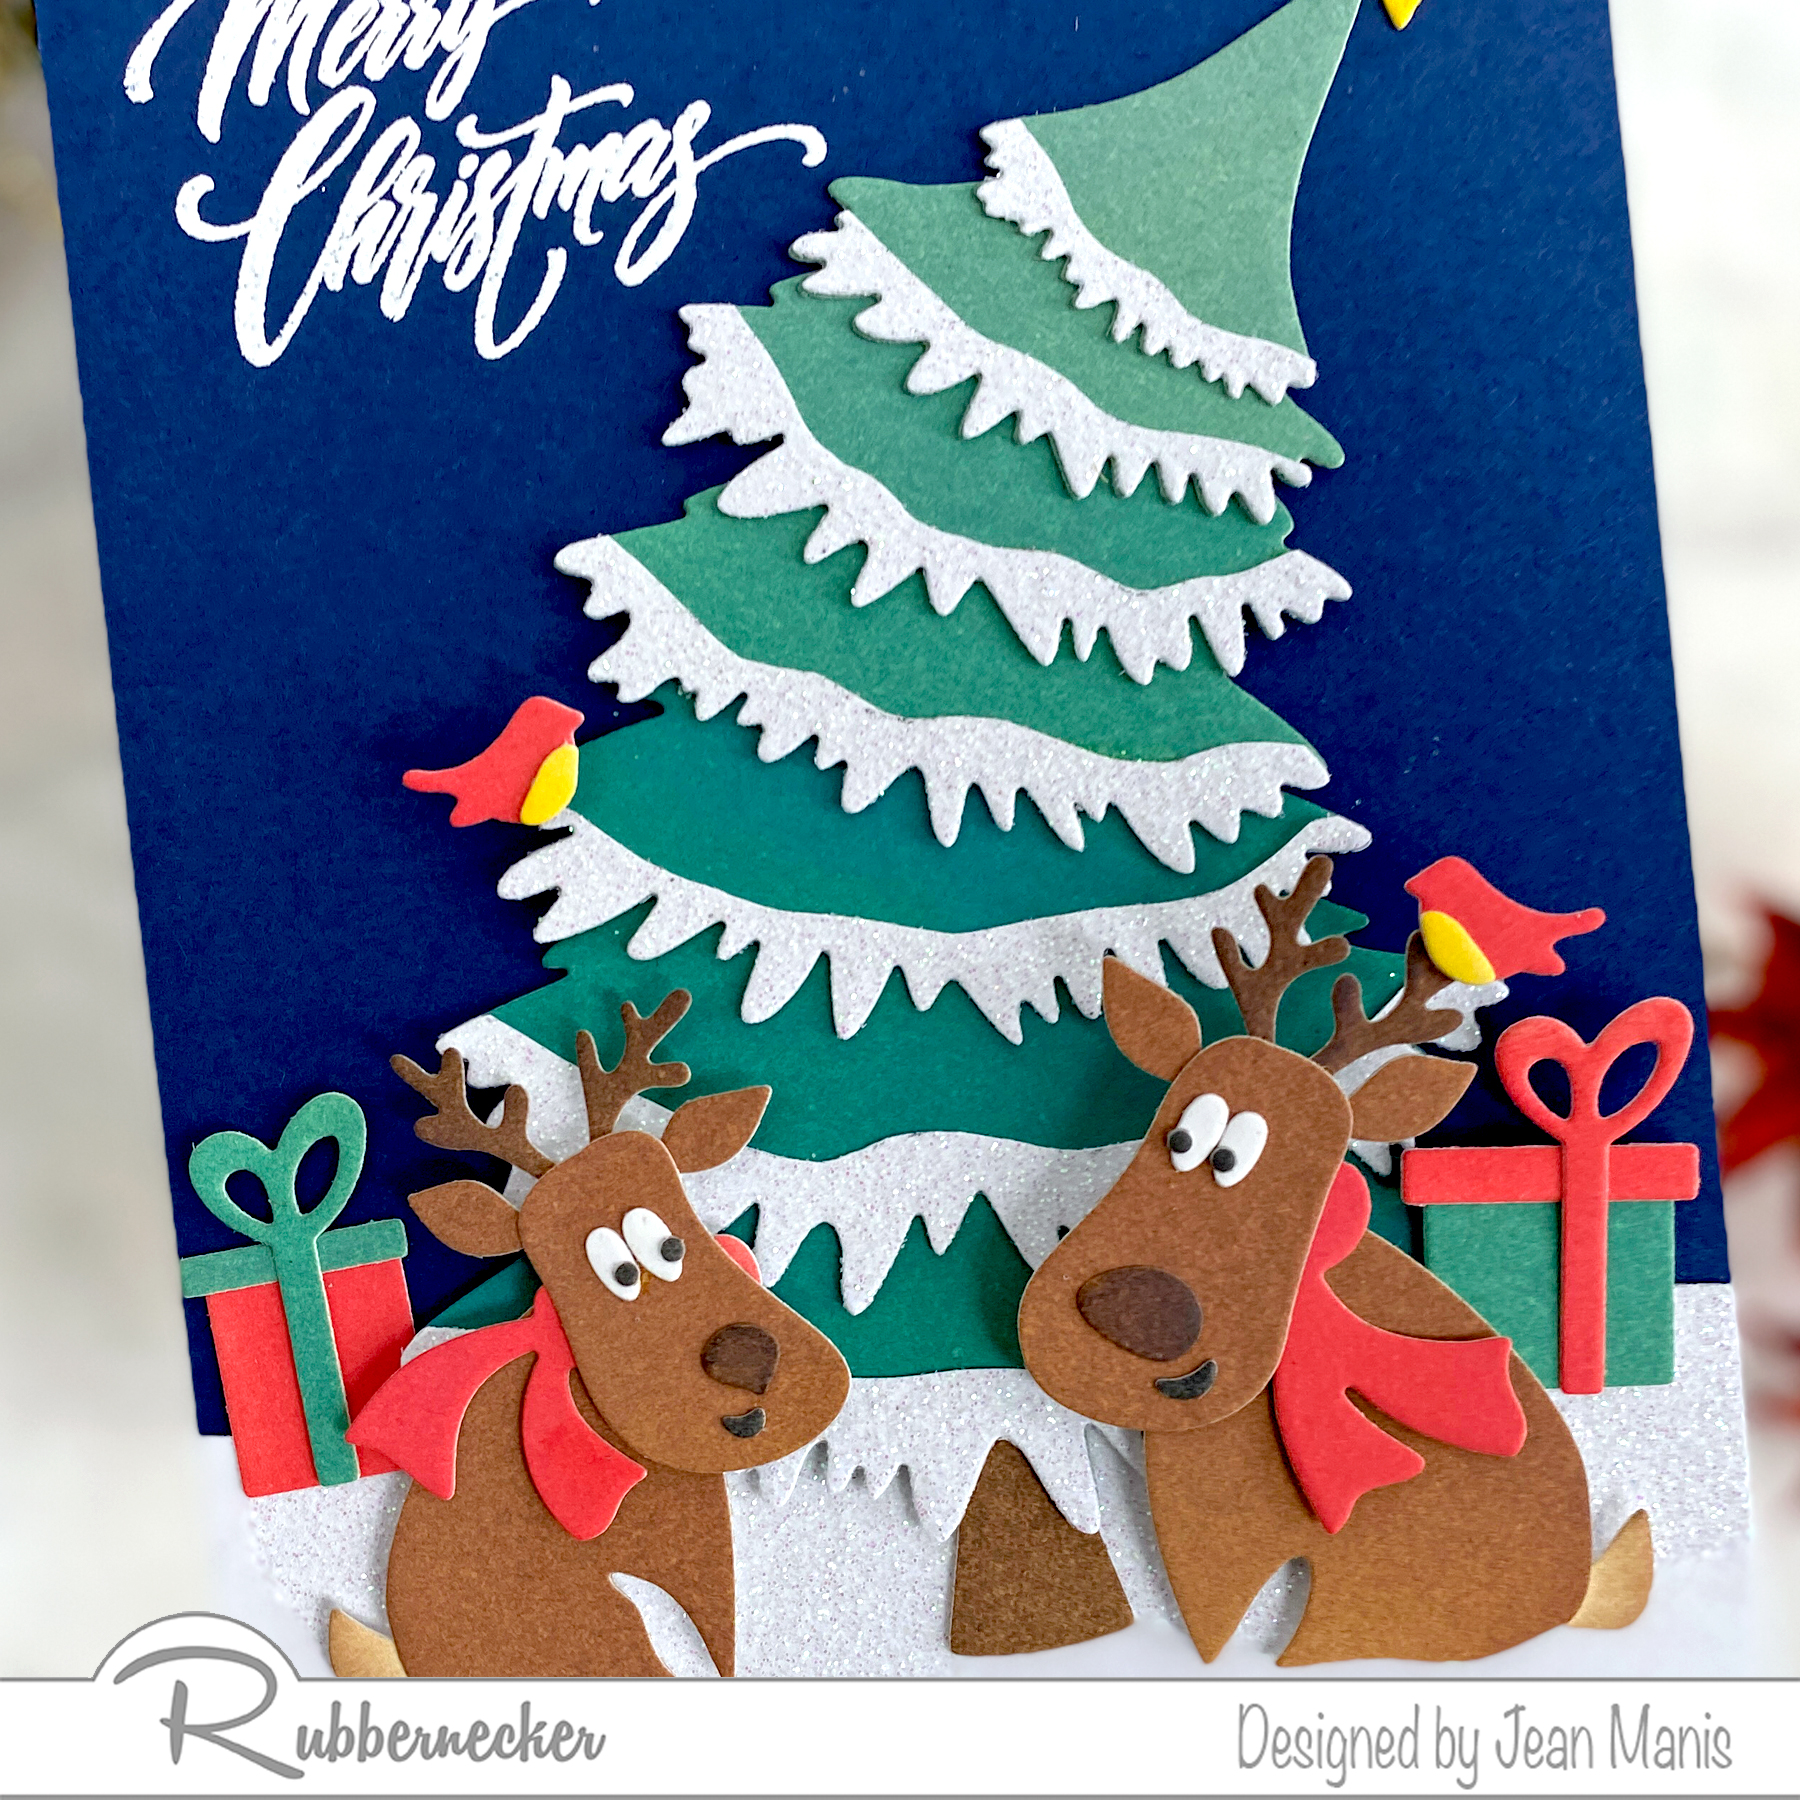
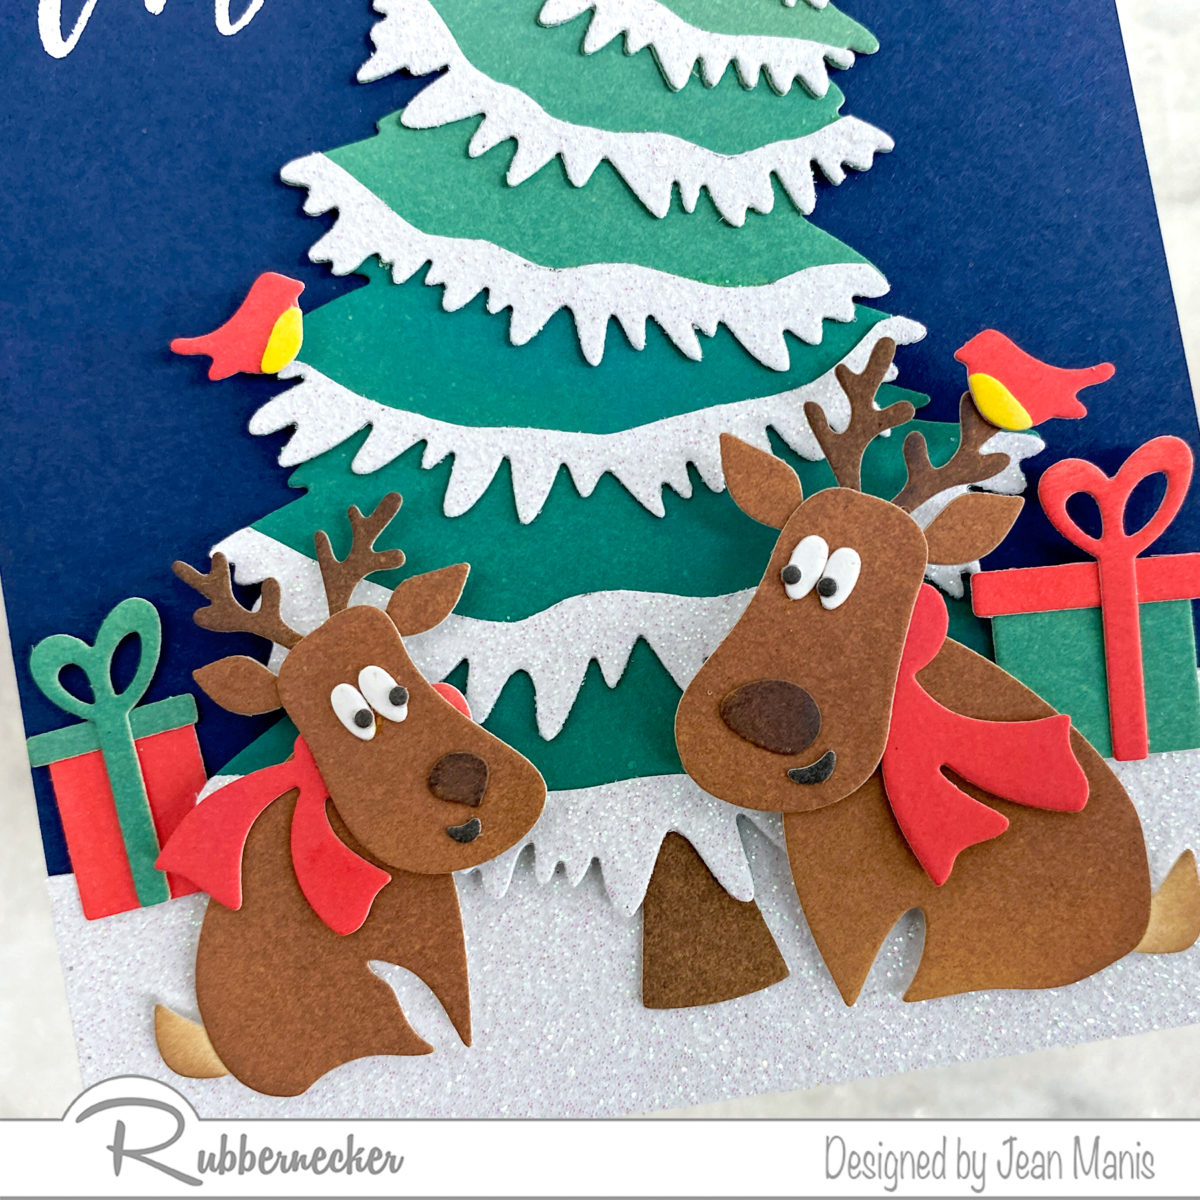
  • Cut Slimline Christmas Tree layers from ink-colored cardstock. Cut snow from glitter cardstock with the tree layer dies and fussy-cut along the top. Adhere snow to tree layers. Assemble tree, titling the layers towards the right. Add star to top and add assembled tree to scene.
  • Cut deer and birds from ink-colored cardstock with Reindeer and Bird’s die set. Assemble and add to scene.
  • To embellish, cut packages from ink-colored cardstock with the Santa Mini set.

Rubbernecker | Whimsical Die-cut Christmas Scene

Rubbernecker | Whimsical Die-cut Christmas Scene


Spellbinders | Celebrate the Season “Winter Welcome Sled”

Hello! I have more Christmas inspiration to share from the recent releases at Spellbinders with a card that showcases the adorable Winter Welcome Sled die set, part of the Celebrate the Season Collection.

Spellbinders | Celebrate the Season "Winter Welcome Sled"

Here’s how you can make this card:

Spellbinders | Celebrate the Season "Winter Welcome Sled"

Thanks for dropping by!

Spellbinders Christmas in July


Spellbinders | Parcel and Post Collection

Hello! Christmas inspiration continues at Spellbinders, and today I am sharing a card to showcase the Parcel and Post Collection.

Spellbinders | Parcel and Post Collection

Here’s how you can make this card:

Spellbinders | Parcel and Post Collection

Thanks for dropping by!


Lawn Fawnatics Challenge 128 – Christmas in July

Hello! Today, I am sharing a Christmas card that I created for the Lawn Fawnatics Challenge 128 – Christmas in July. I enjoy house scenes and often create them. I particularly like the pairing of the large house with the small village border.

Lawn Fawnatics Challenge 128 – Christmas in July

  • Create blue A2-size card base.
  • Stamp Simply Winter Sentiments sentiment on white cardstock and cut with the Little Town Border. Back house windows with yellow cardstock. Add to card base.
  • Cut house pieces with the Build-A-House and Christmas Add-On die sets. Add glitter glue to light pieces. Assemble when dry and add the decorated house to the card.
  • Embellish with snowflakes cut with dies in the Mini Snowflakes set.

Lawn Fawnatics Challenge 128 – Christmas in July

Lawn Fawnatics Challenge 128 – Christmas in July


Tim Holtz Bold Tidings Mini

Hello! Today, I am sharing a CAS Christmas card created with Tim Holtz supplies that combines my favorite techniques: stenciling, die-cutting, and heat-embossing.

Tim Holtz Bold Tidings Mini

  • I applied white embossing paste through the Flurries stencil on an A2 teal card base.
  • I heat-embossed the Bold Tidings Mini sentiment with Wow silver glitter powder on white cardstock. I trimmed the sentiment and backed it with a silver cardstock mat.
  • I die-cut the Tree Line from white cardstock to which I had applied double-sided sheet adhesive. I added Clear Rock Candy glitter to the exposed trees. I like using Clear Rock Candy glitter as it does not have an undertone (some premade glitter sheets are blueish, yellowish, or pinkish).
  • Once the background was dry, I added the trees and the sentiment panel with foam adhesive.

Tim Holtz Bold Tidings Mini