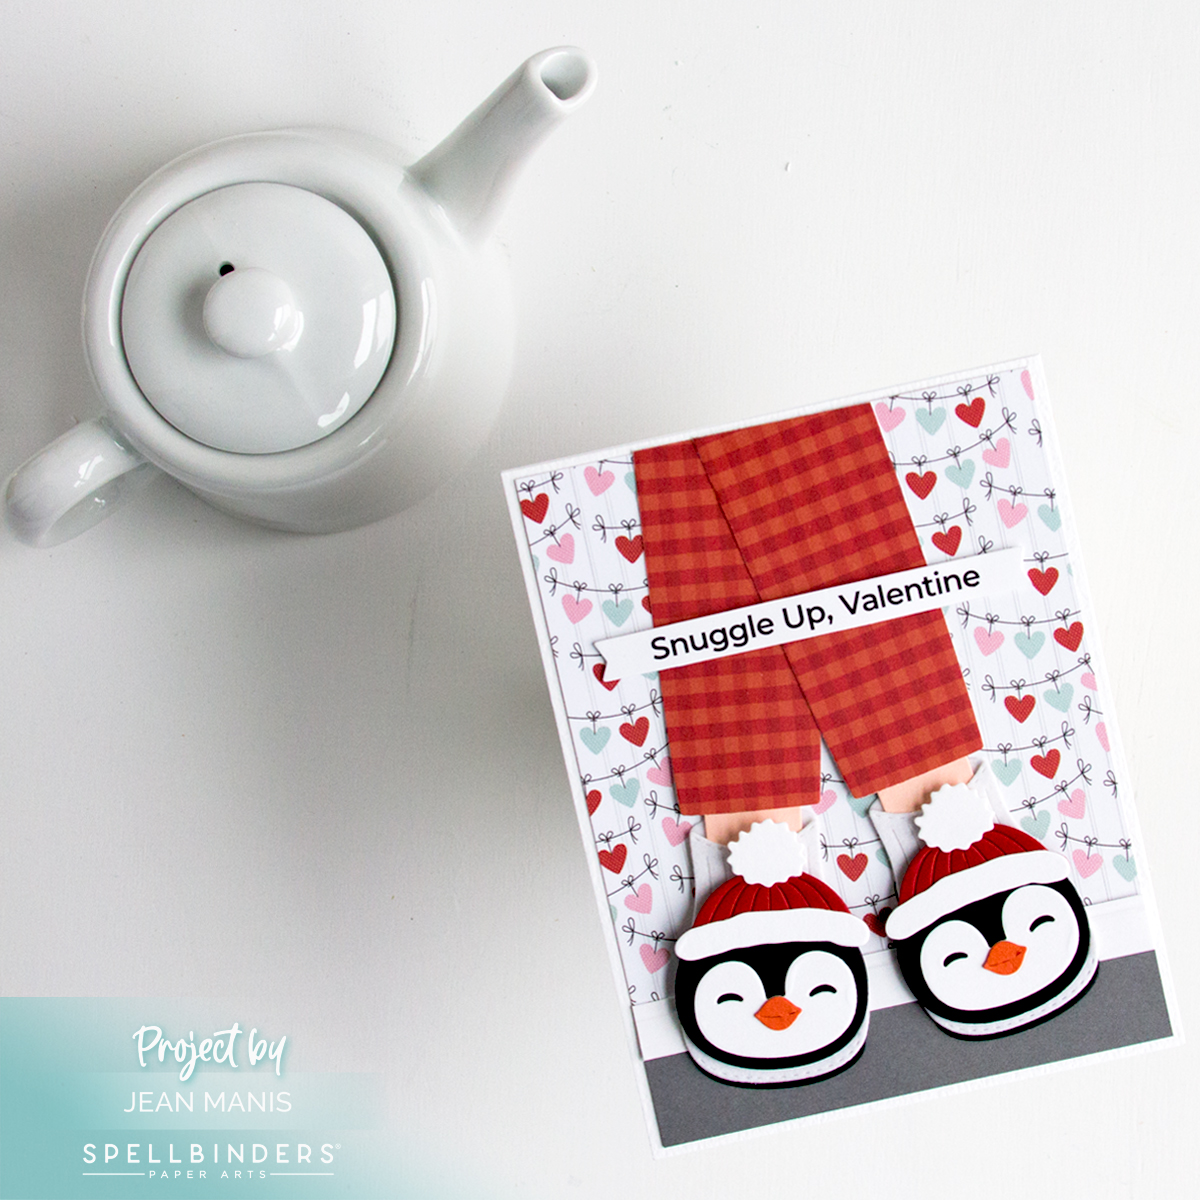
Hello! While the Cozy Toes Slippers set (the October 2024 Large Die of the Month offering at Spellbinders) is designed with the holidays in mind, its versatility makes it perfect for a variety of occasions. For Valentine’s Day, I paired penguin slippers with a charming custom sentiment. This project showcases how a single die set can inspire many creative possibilities, adapting the same design for different themes.
-
- Cut a 4″ x 5 1/4″ panel of Echo Park Love Notes patterned paper.
- Add a strip of gray cardstock and white cardstock along the bottom of the patterned paper panel to simulate a floor and baseboard.
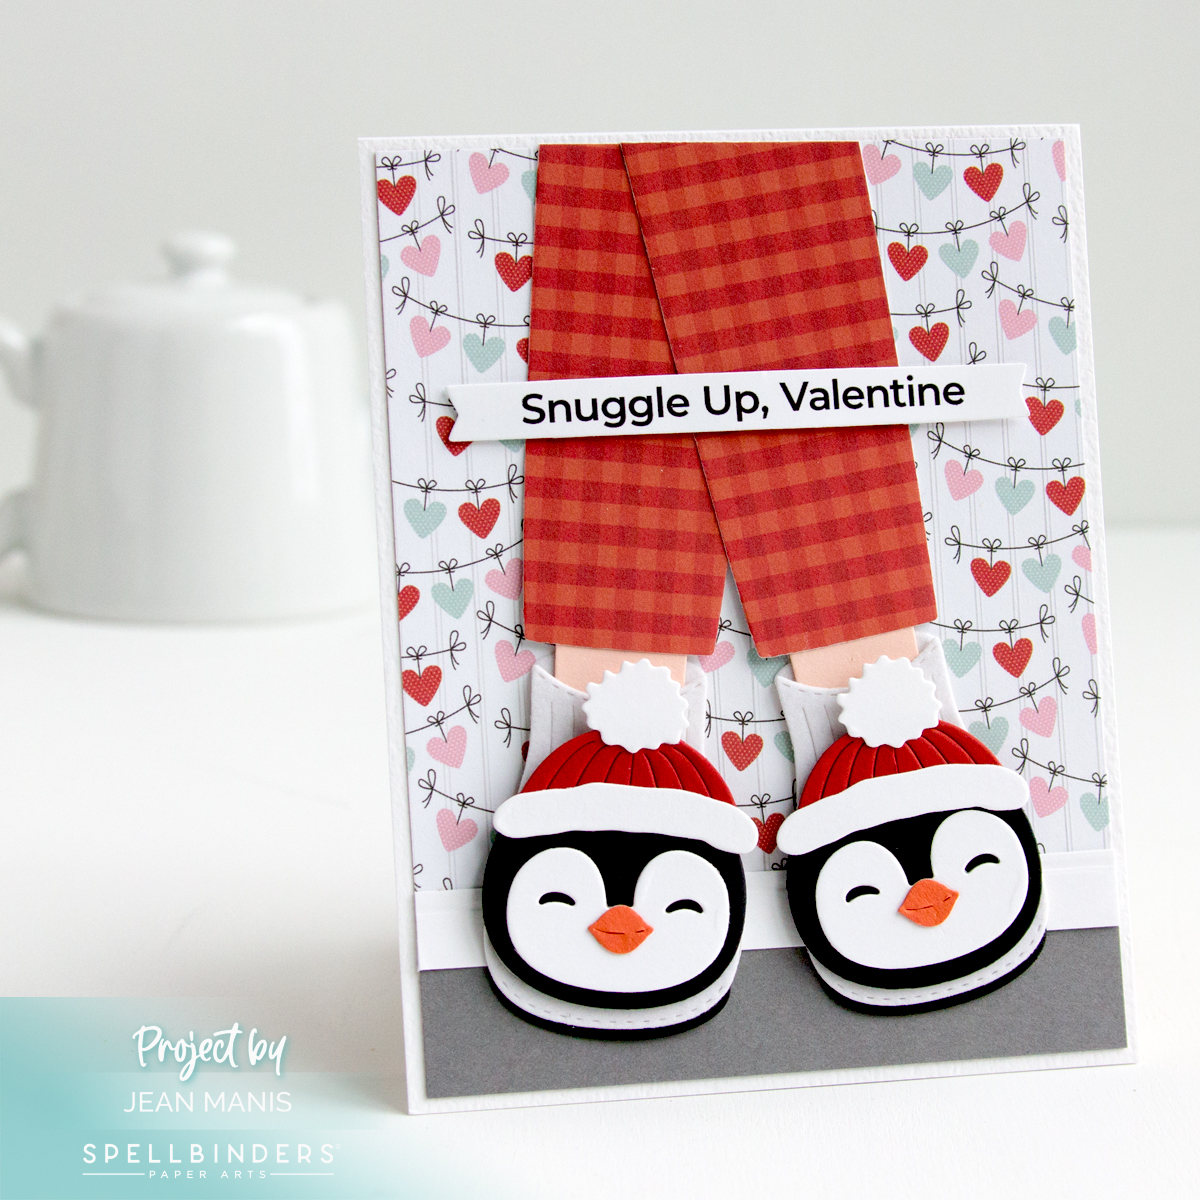
- Cut the Cozy Toes Slippers from a variety of cardstock colors. Assemble.
- Add the slippers to the patterned paper panel. Trim along the top as necessary and add to an A2-size card base.
- Create a custom sentiment on your computer and cut with the banner die in the Cozy Toes Slippers set. Add to the card front with foam adhesive.

See the other cards I created with the Cozy Toes Slippers set HERE, HERE, and HERE.