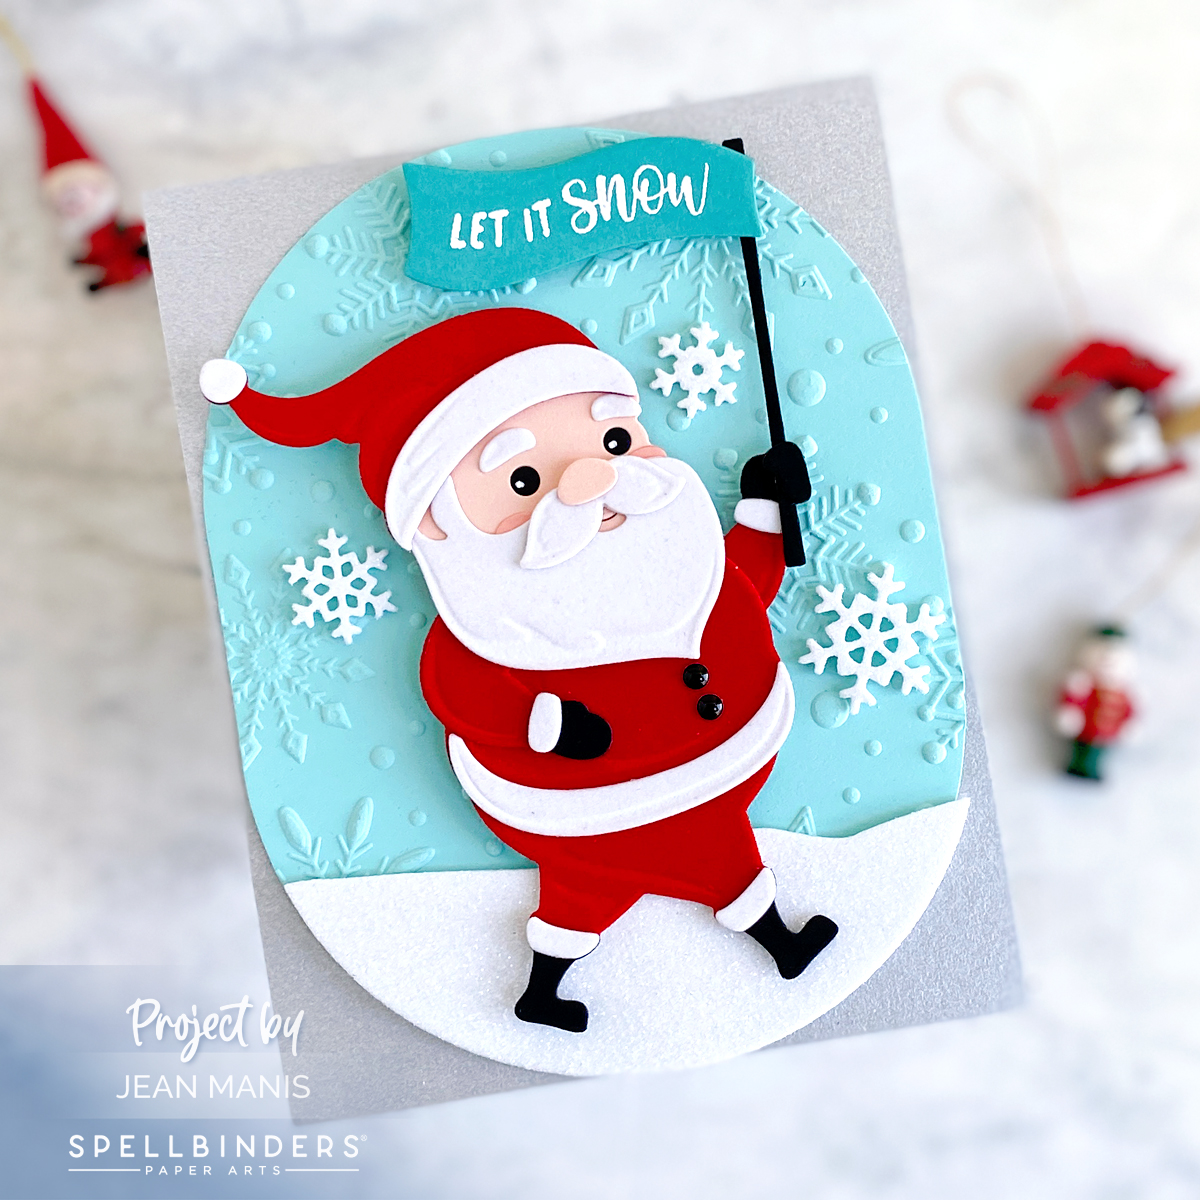
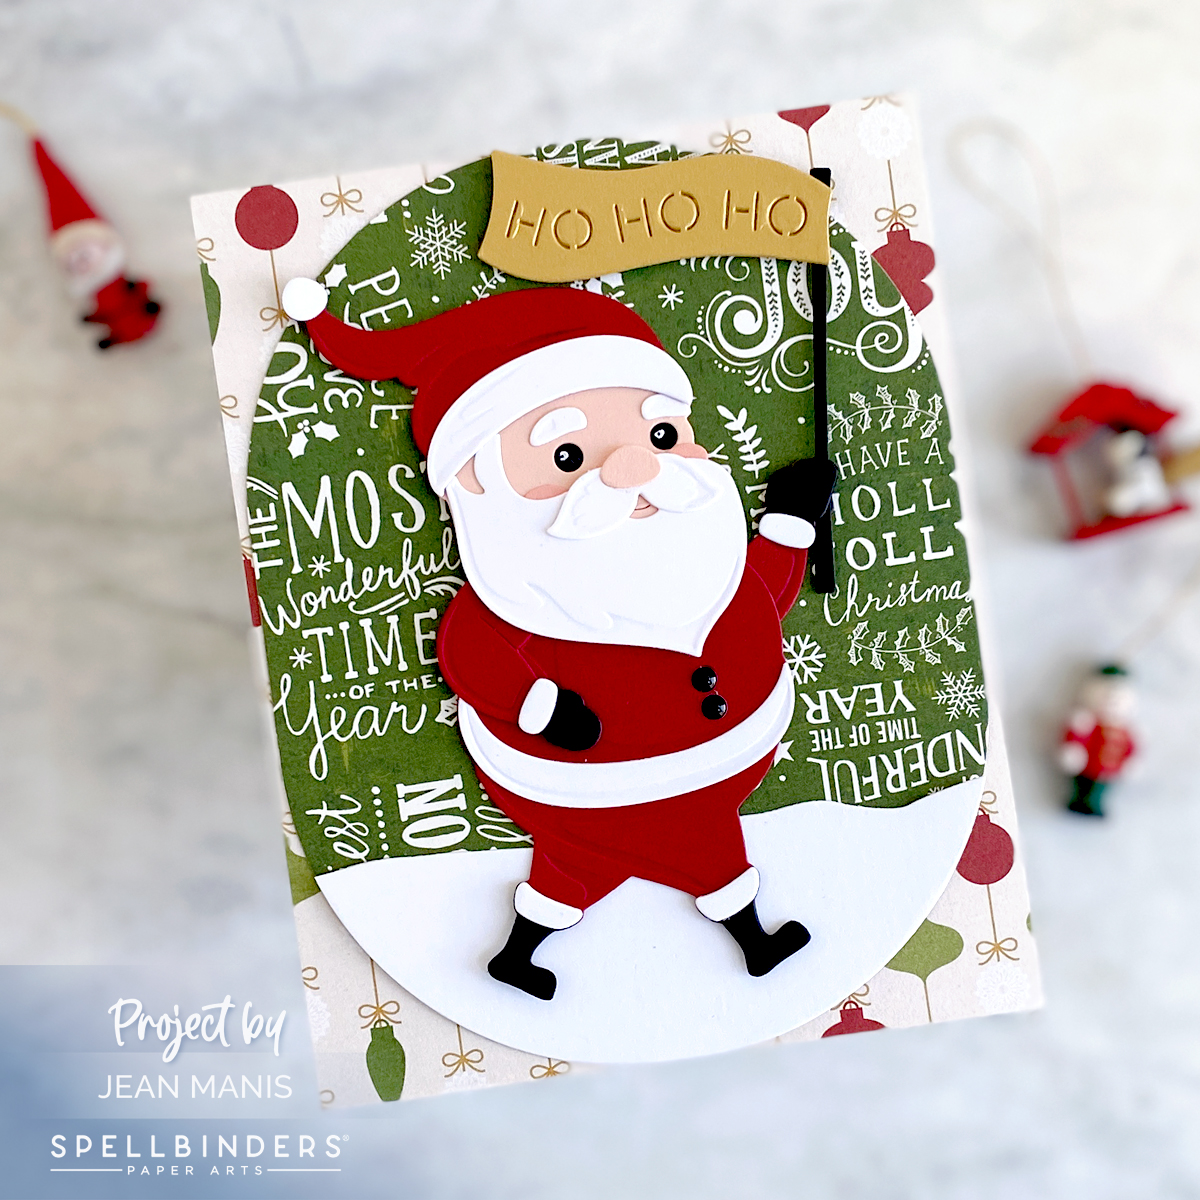
Spellbinders | October 2022 Large Die + Embossing Folder of the Month

Hello and happy October! I am sharing a 3D holiday project created with the Spellbinders October 2022 Large Die of the Month “Stitched Ornament & Display” paired with the Embossing Folder “Scattered Christmas.” (See more inspiration with the large die here and the folder here.) For my project, I chose a dramatic color combination of copper, dark navy, and white, taking my color cues from the patterned paper.

Spellbinders | October 2022 Large Die + Embossing Folder of the Month

  • To create the back of the display, dry-emboss navy cardstock with the “Scattered Christmas” folder and trim to 5 inches x 7 inches.
  • Cut the Large Die of the Month display pieces from patterned paper, navy cardstock, and copper foil; assemble according to directions.
  • Cut the Large Die of the Month ornament from Snowdrift and stitch with DMC 435 floss. The ornament can be used with the display or as a focal point on a card.
  • Add the additional pieces to the ornament and position it in the center of the display.
  • Embellish the display with floral clusters cut with the Large Die of the Month from Snowdrift cardstock and copper foil.

Spellbinders | October 2022 Large Die + Embossing Folder of the Month


Spellbinders | Winter Tales Nordic Ornaments

Hello! I am delighted to share a winter-themed CAS card showcasing the Nordic Ornaments die set, part of the Spellbinders Winter Tales Collection by Zsoka Marko, inspired by Norwegian folk art. I shared a card with a different die from the collection here. See all of the September 2022 Spellbinders arrivals here.

Spellbinders | Winter Tales Nordic Ornaments

Spellbinders | Winter Tales Nordic Ornaments


Spellbinders | Christmas Delivery

Hello! Today I am sharing Christmas-themed projects created with the Spellbinders Christmas Delivery Printed Die Cuts, part of the Oh! What Fun Collection. The Christmas Delivery set includes sentiment banners and focal items including gift-givers with bodies and legs that can move. I created two tags and three A2-size cards with the die cuts.

Spellbinders | Christmas Delivery

I added textural interest to the backgrounds with embossing folders and a stencil. I used the Puff Dotty 3D Embossing Folder and the Faux Stitch Embossing Folder. For the snow, I used white embossing paste through the Layered Christmas Tree Stencil and sprinkled on Sparkle Dust Glitter.

Spellbinders | Christmas Delivery

I created hills for the tags and cards with a die in the Warm Wishes Camper set and with the Color Block Scenic Scape dies.

Spellbinders | Christmas Delivery

Additional snowflakes were cut with dies in the Let It Snowman, Chill Bear, and Holiday Decorations sets. I embellished the Christmas tree and the coats on the gift-givers with Poppy Pearl Dots.

Spellbinders | Christmas Delivery

I trimmed the sentiment banners with a die in the Holiday Sentiments Series 2 set.

Spellbinders | Christmas Delivery


Elizabeth Craft Designs | Halloween Gnome

Hello! Today, I am sharing a Halloween-themed card featuring a combination of Elizabeth Craft Designs supplies.

Elizabeth Craft Designs | Halloween Gnome

  • I colored Soft Finish cardstock in a variety of Distress Oxide ink colors from which I cut the Gnome, cauldron (included in the Halloween Accessories set), and pumpkin (in the Hay Ride set). I used a die in the Scarecrow set to cut the eyes.
  • I stamped the Autumn Words sentiment on white cardstock to which I applied Hickory Smoke and Tumbled Glass ink for the ground and sky.
  • I added the inked sentiment panel to a card base covered with paper in the Halloween pad to reinforce the theme.

Elizabeth Craft Designs | Halloween Gnome


Spellbinders | Christmas Flourish Let It Snowman

Hello! Today I am sharing a winter-themed card created with the Let It Snowman die set from the Spellbinders Christmas Flourish Collection by Becca Feeken. See all of the new arrivals here. Everything you need to make a card is included in the Let It Snowman set – frame, focal image, and two sentiment options. Scroll for information about the Spellbinders Warehouse Sale.

Spellbinders | Christmas Flourish Let It Snowman

  • Cut Let It Snowman frame, snowflakes, sentiment, and snowman from Onyx, Snowdrift, Persimmon, and Royal Amethyst cardstock. Back snowman with Onyx and Lagoon cardstock. Cut the curved scarf piece twice, trimming one for the hat. Assemble snowman and sentiment.
  • Apply paste through the Layered Christmas Tree stencil (snow portion) on an A2-size panel of light purple cardstock within the ring of the Let It Snowman frame. Once dry, add to card base.
  • Cut snowbank from Snowdrift cardstock with die in the Color Block Scenic Scape set.  Trim and add to back of frame with foam adhesive. Add assembly to card base.
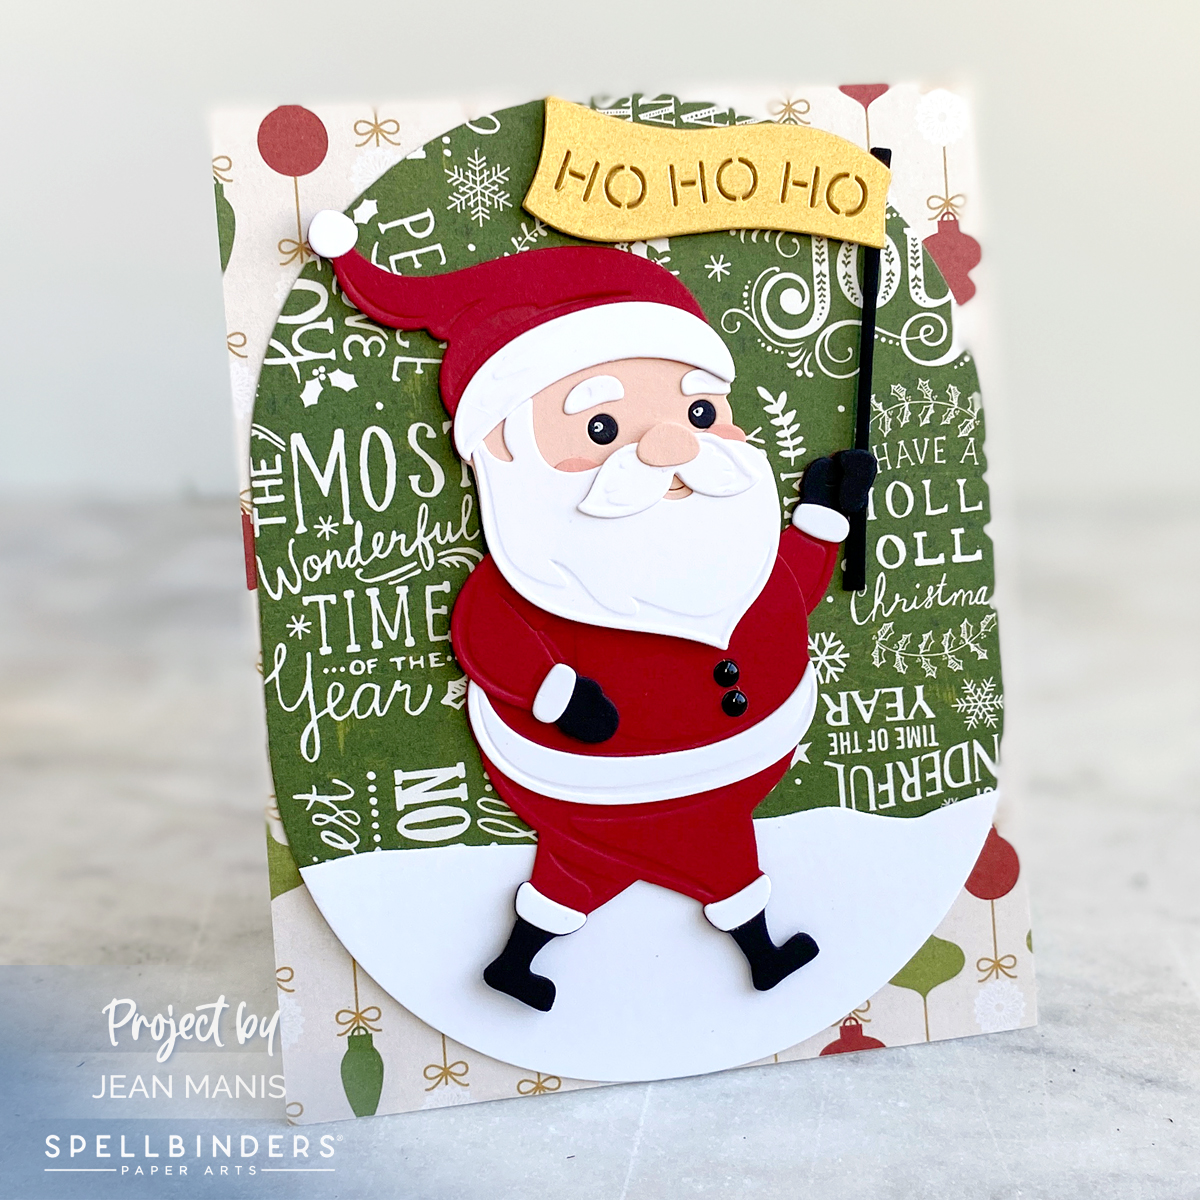
  • Add snowman, sentiment, and snowflakes to scene.

Spellbinders | Christmas Flourish Let It Snowman

Help clean out the Spellbinders warehouse with big savings. Shop $1, $2, $3, $5, and $10 deal buckets that range from embellishments and accessories to stamp sets, past club kits, bundles, and so much more!

Spellbinders Fall Warehouse Sale 2022