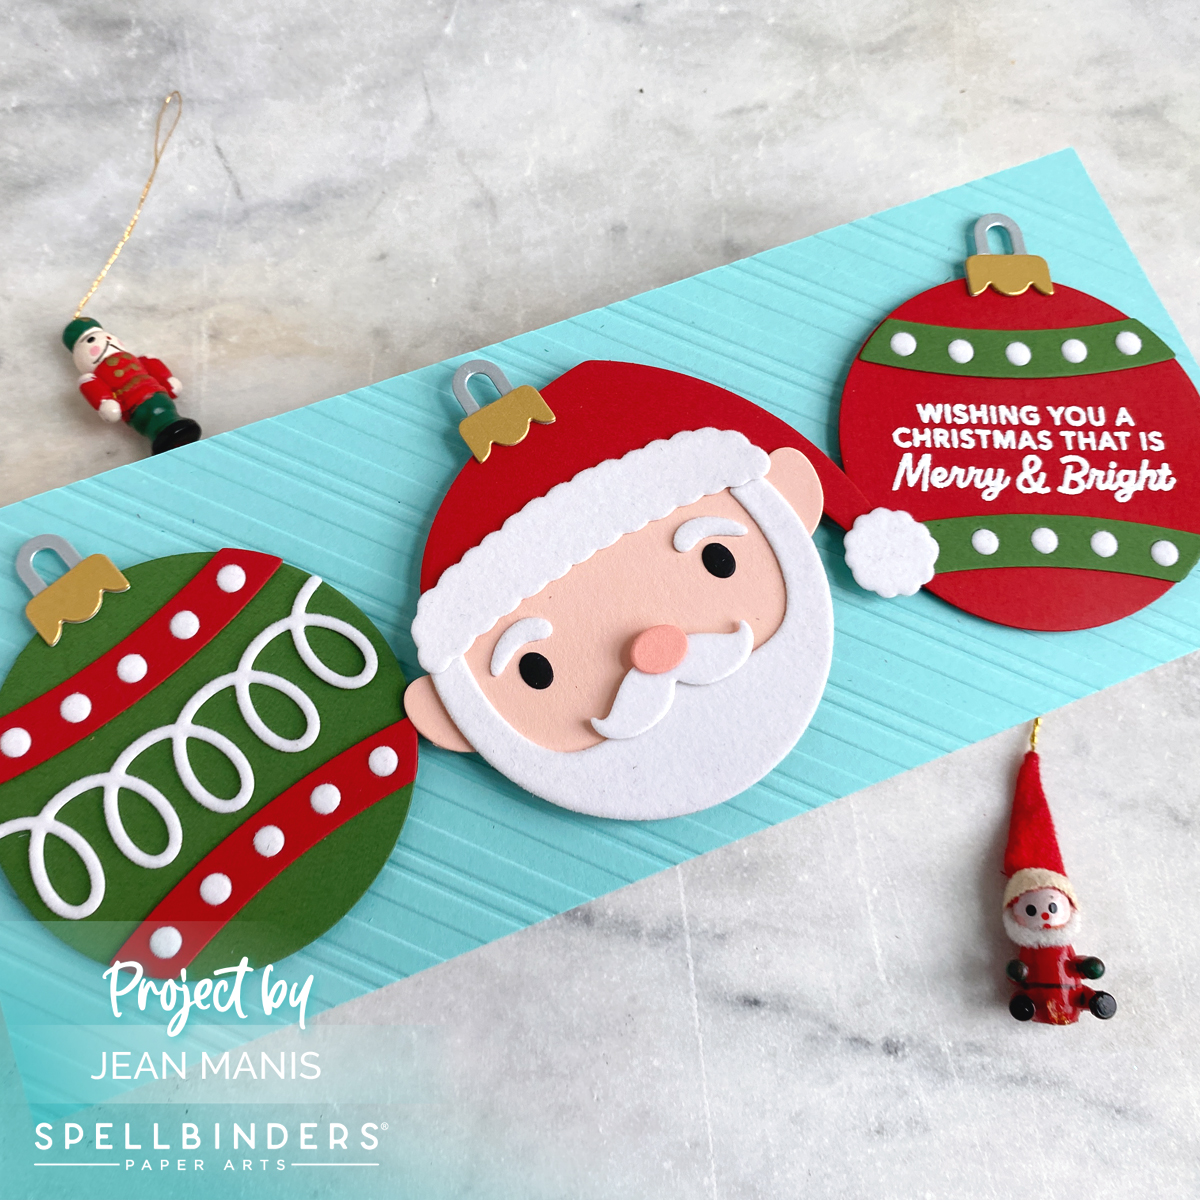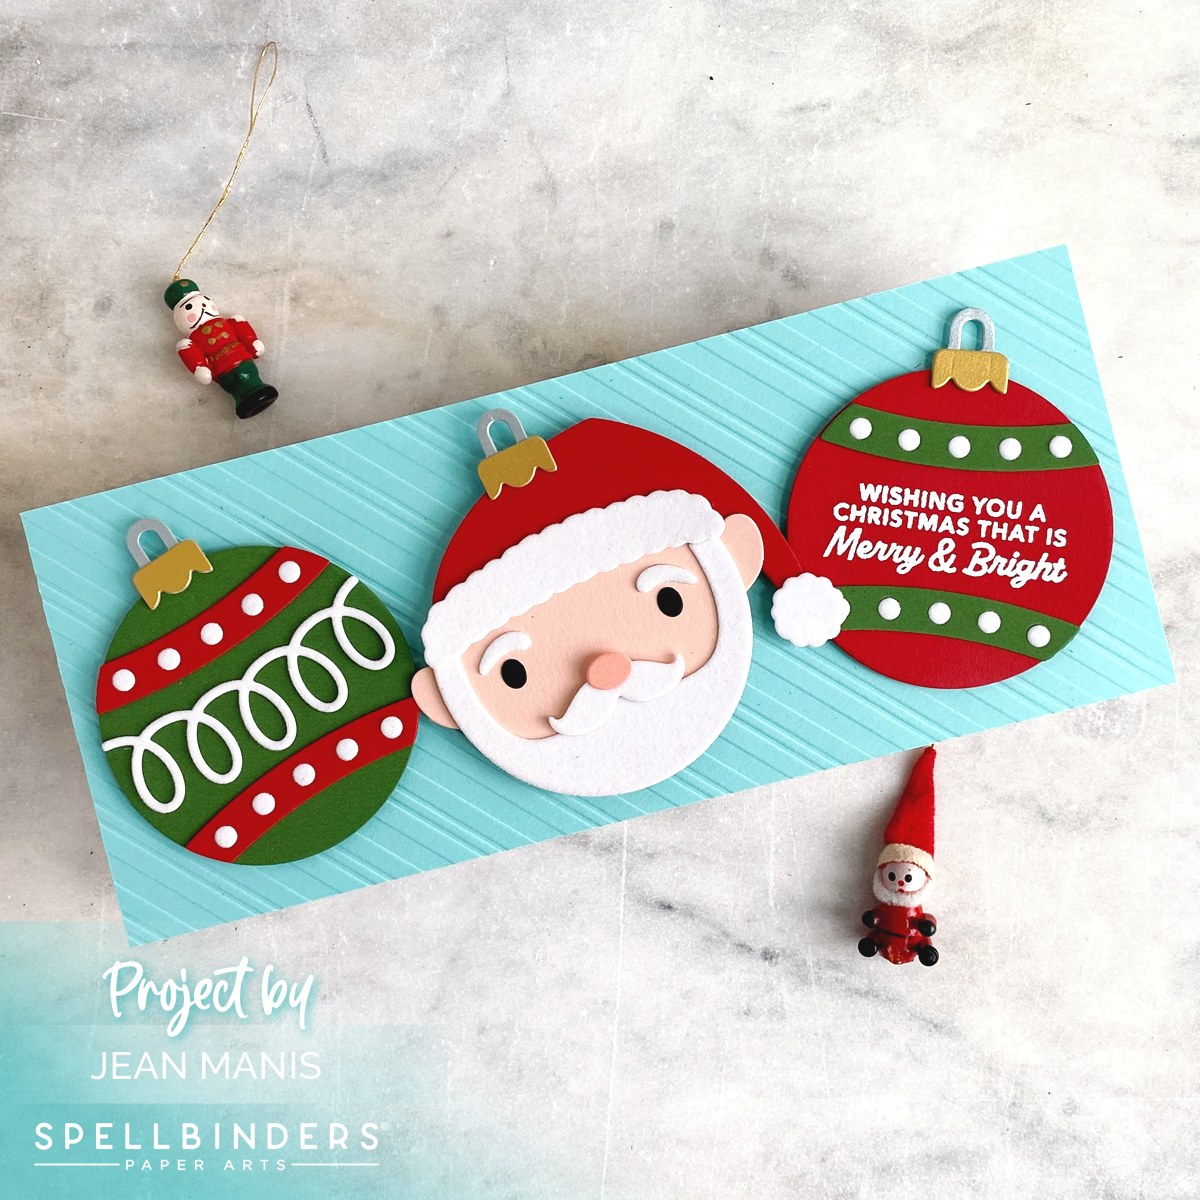
Hello! Today, I am delighted to share a whimsical and festive holiday card featuring new die sets and stamp set from the Merry Mugs & Circle Delights Collection at Spellbinders by Nichol Spohr. Adorned with three charming ornaments, including a jolly Santa Claus, this slimline card is sure to bring a smile to its recipient’s face.
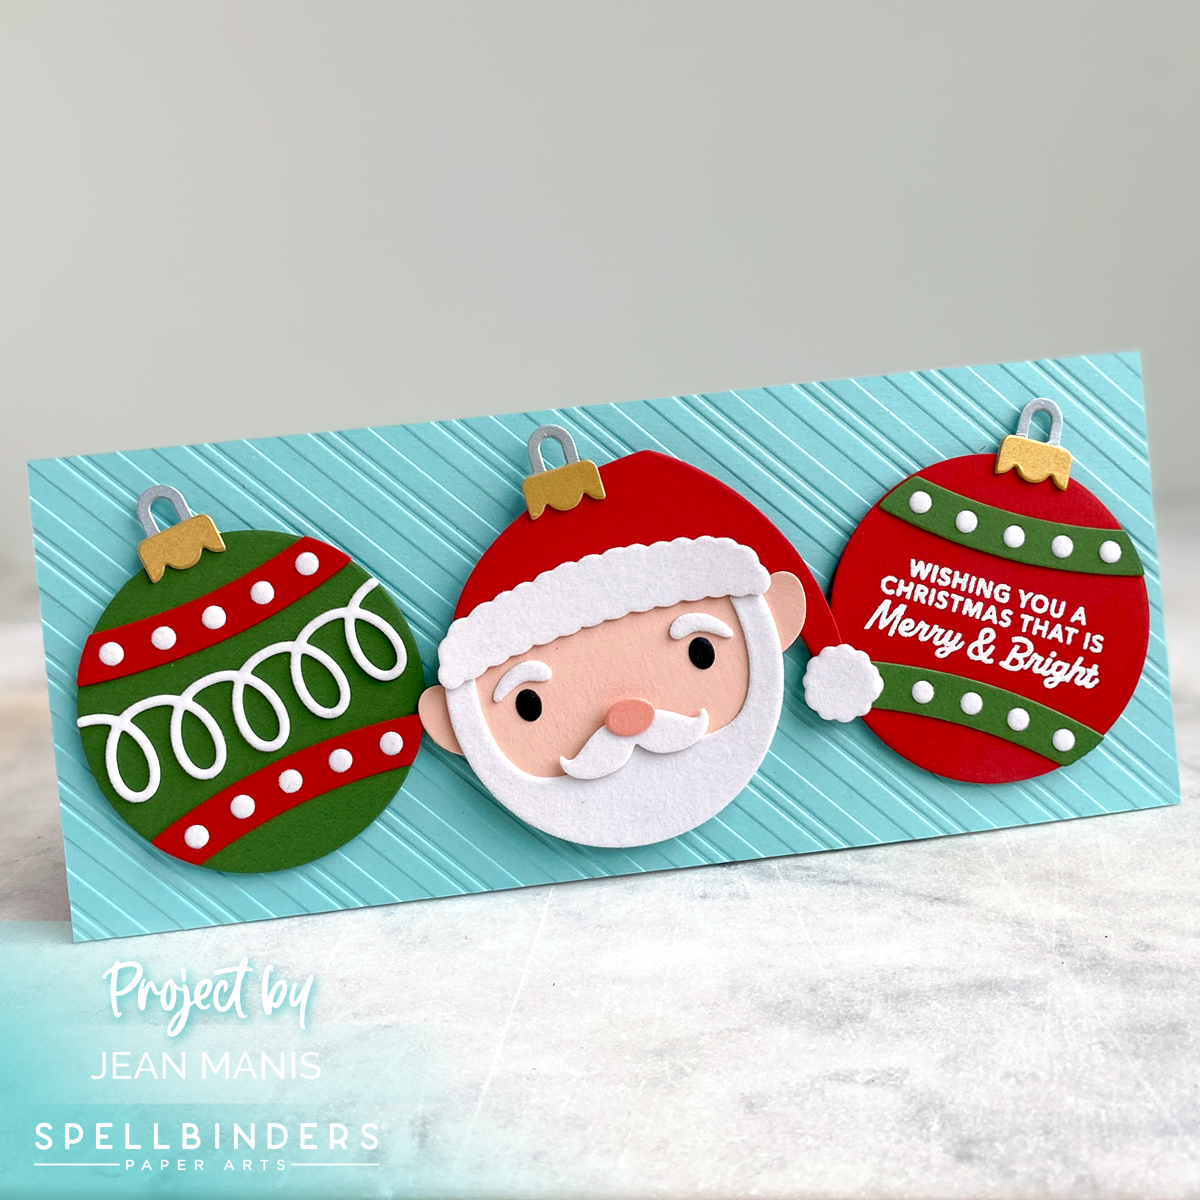
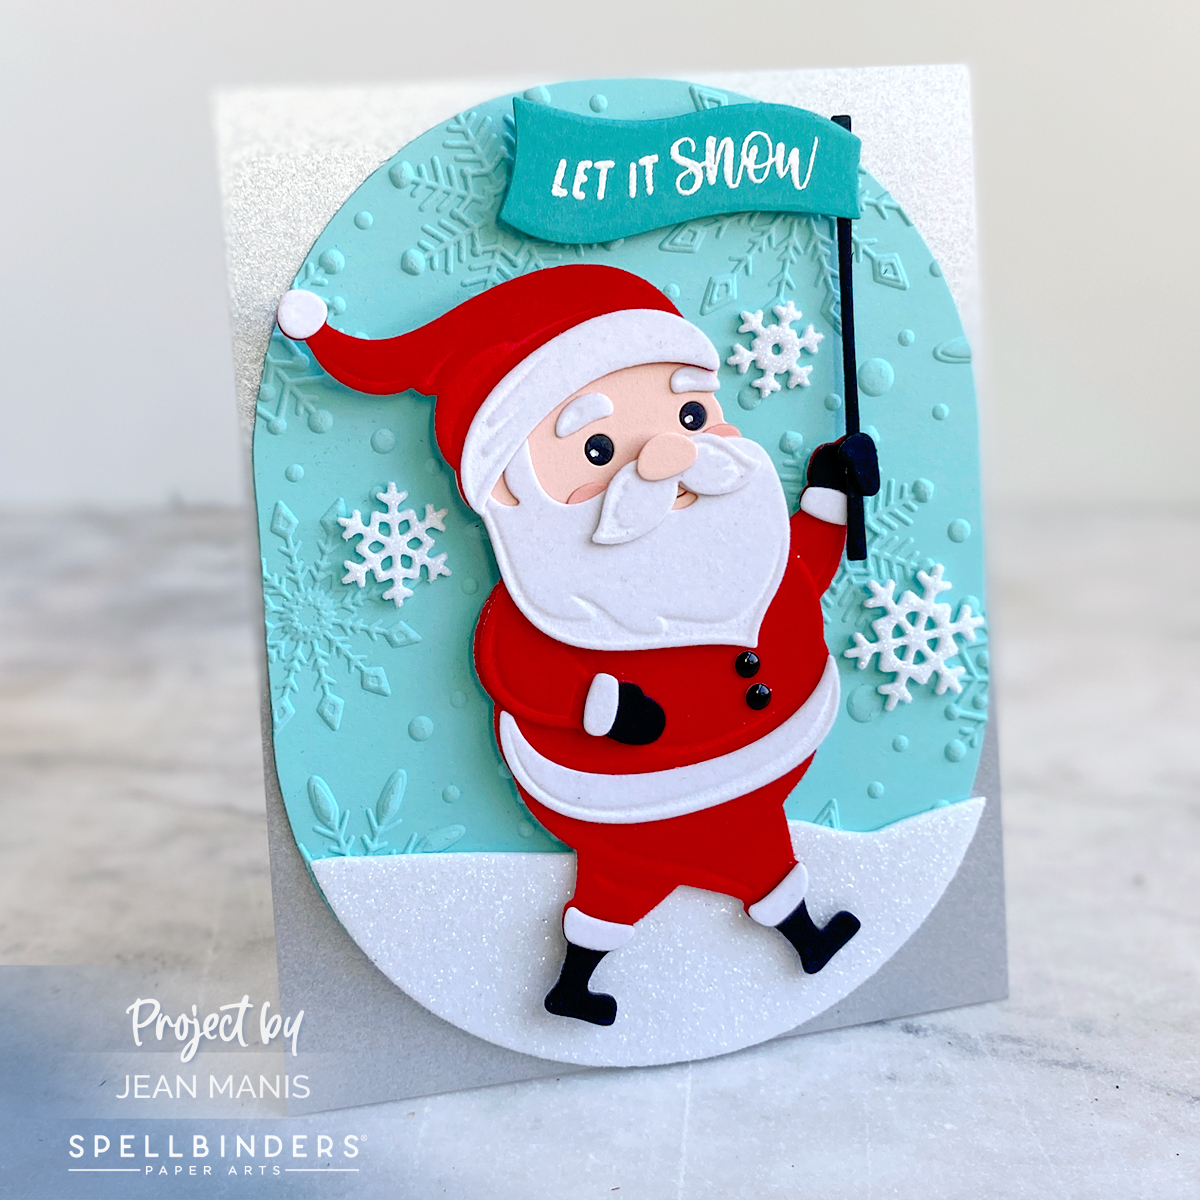
- Cut slimline panel, 3 1/2″ x 8 1/2″, from Waterfall cardstock. Dry emboss with the Peppermint Stripes folder and add to card base.
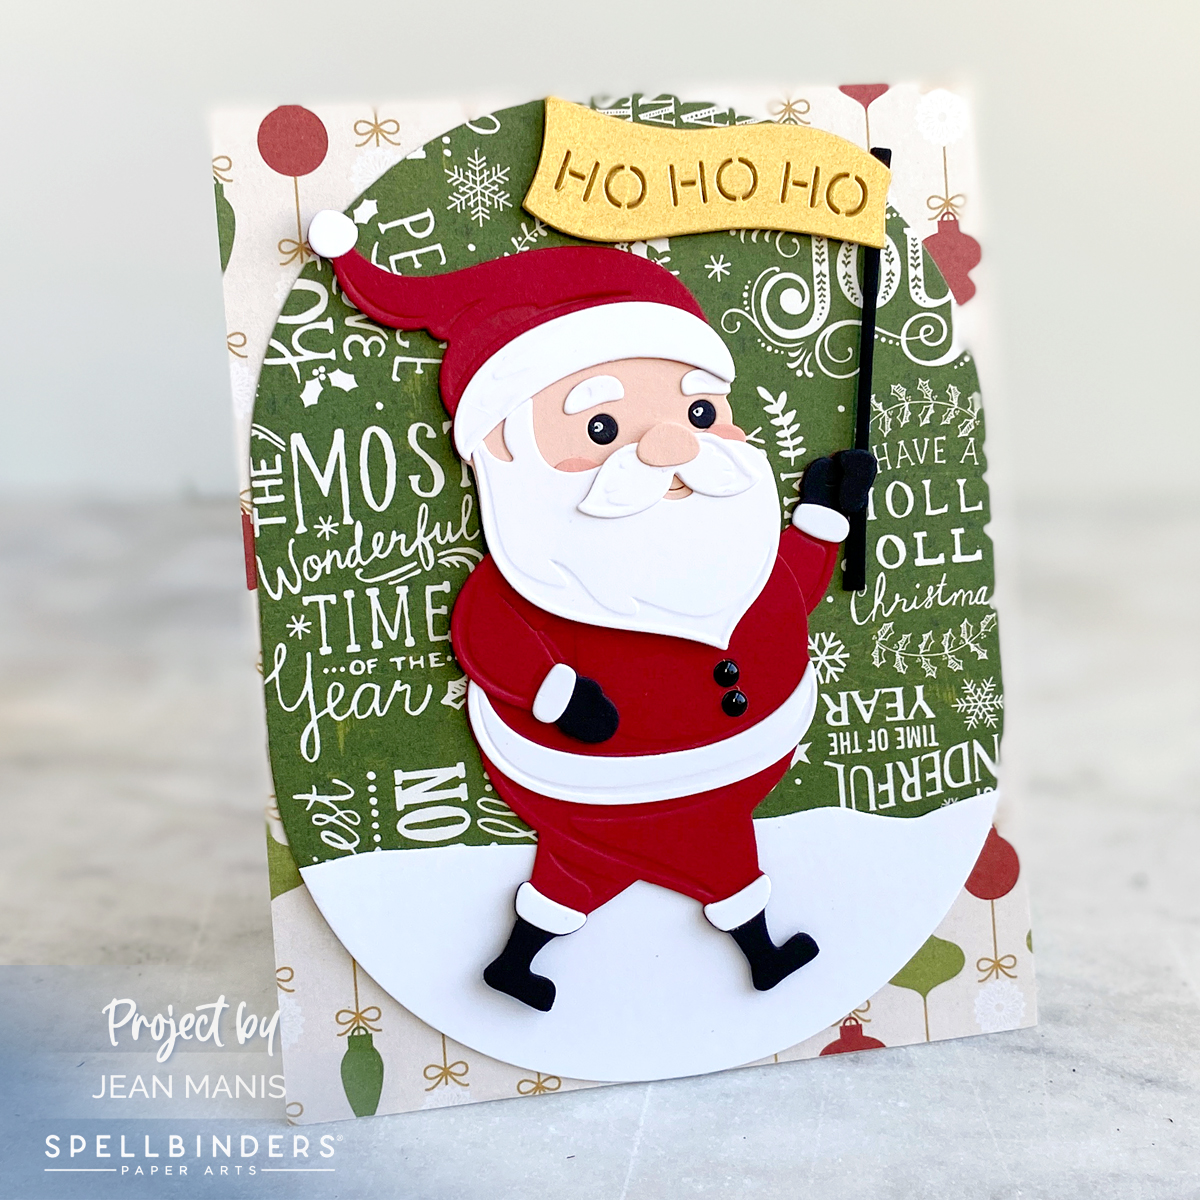
- With the Festive Ornaments set, cut three ornament bases from Fern, blush, and Pomegranate cardstock. With the same set, cut ornament holders from Brushed Gold and Brushed Silver.
- Cut decorative items for the ornaments on the left and right. Heat-emboss in white the Santa’s Sippin’ Sayings sentiment on the Pomegranate ornament. Add decorative items.
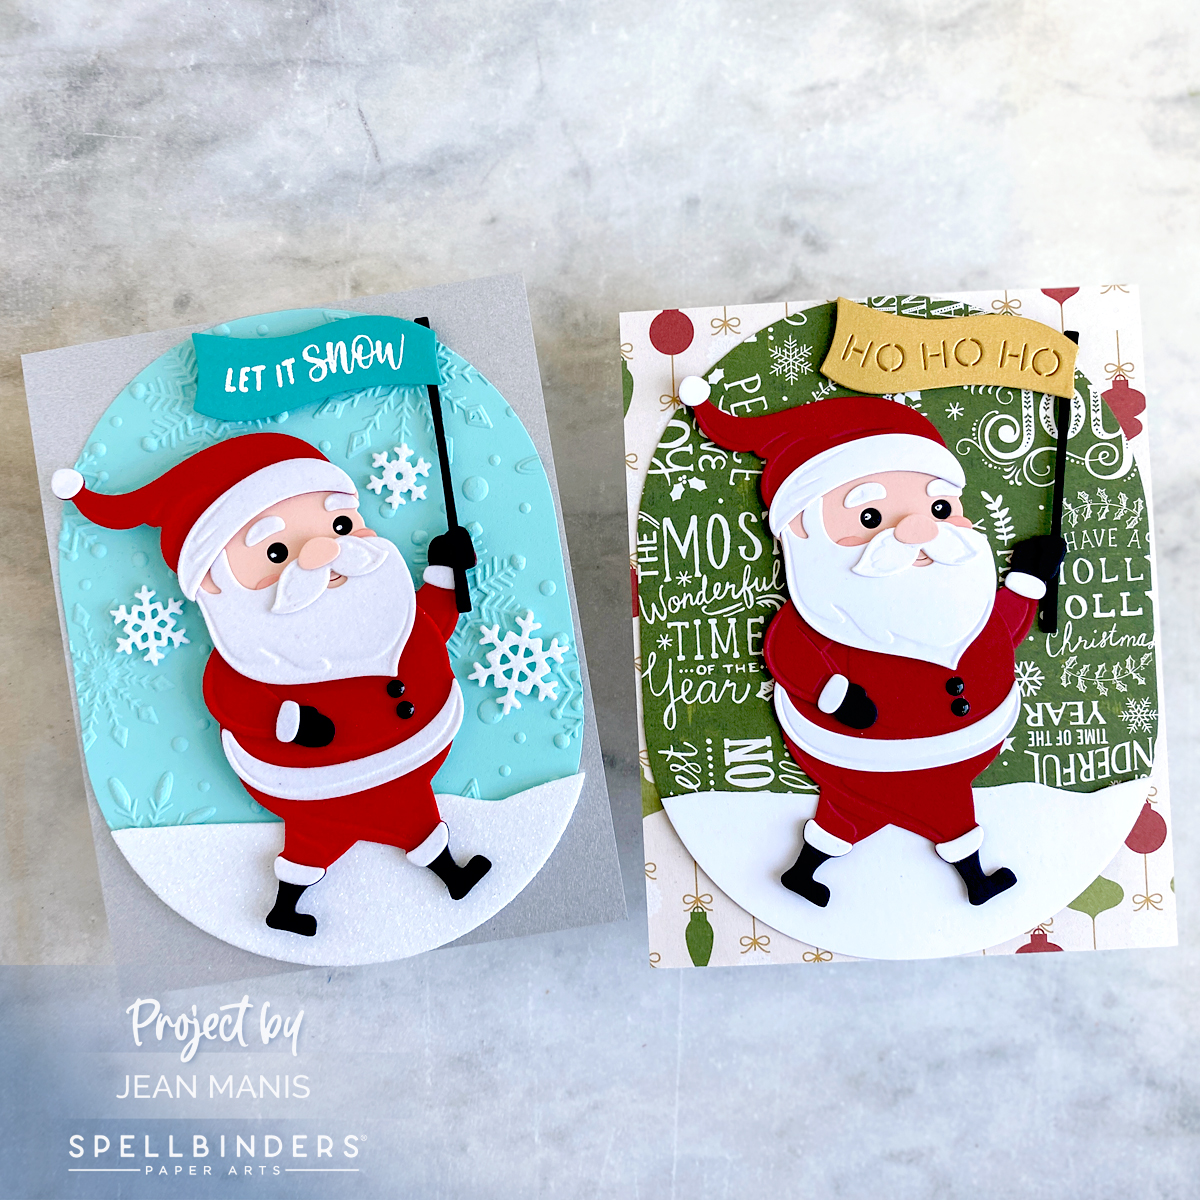
- Cut Santa elements with dies in the coordinating Santa’s Festive Circle Crew set. Adhere to flesh cardstock ornament.
- Add ornaments to card base with foam adhesive, doubling for the Santa ornament in the center.