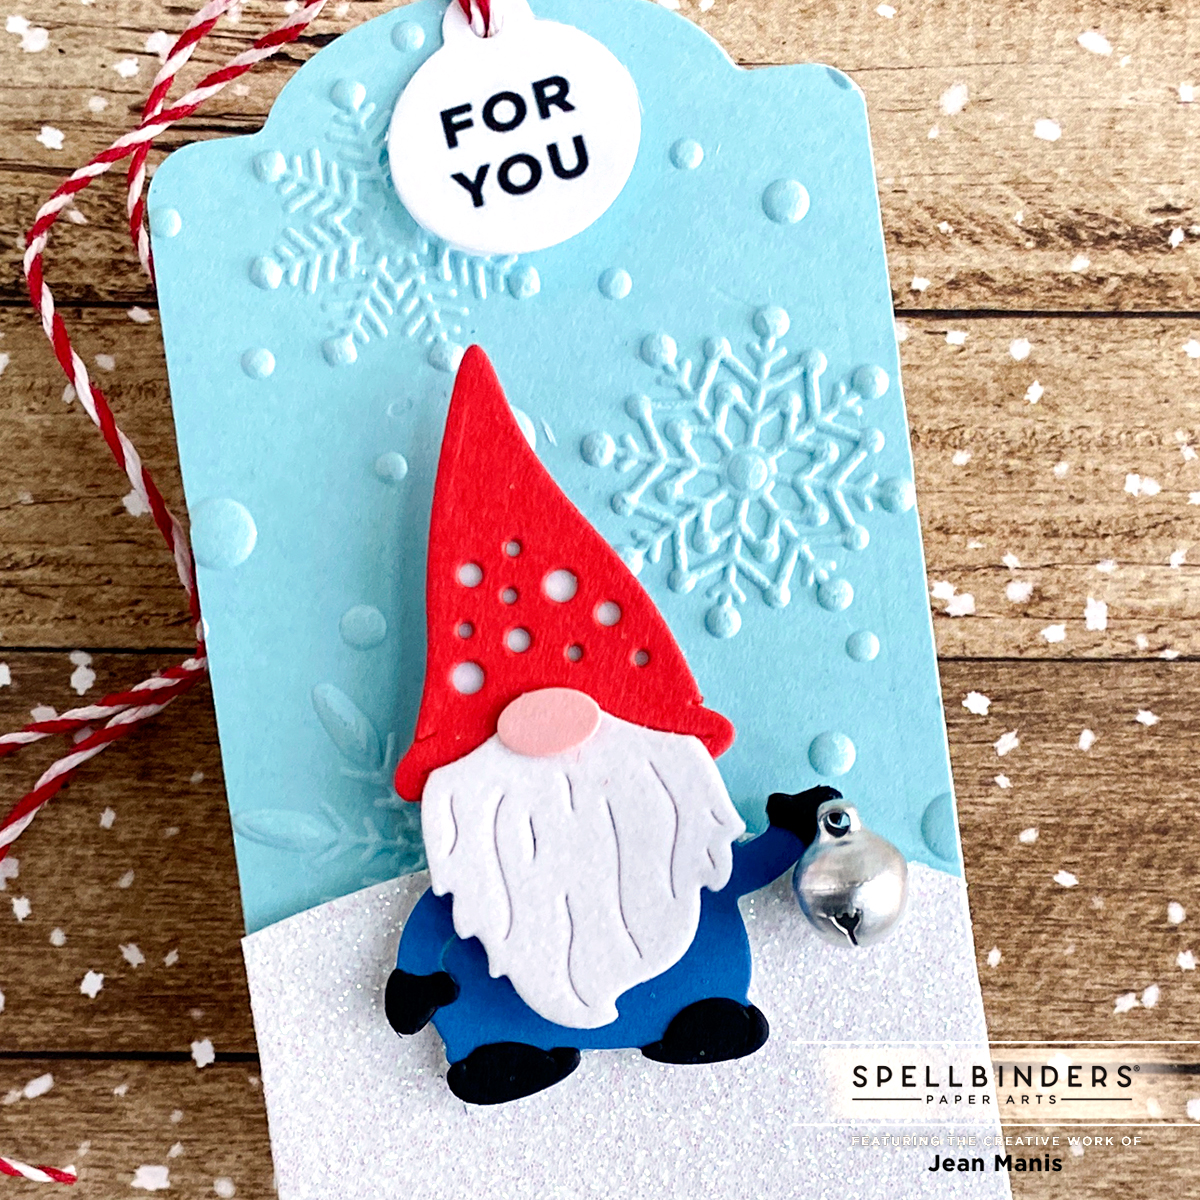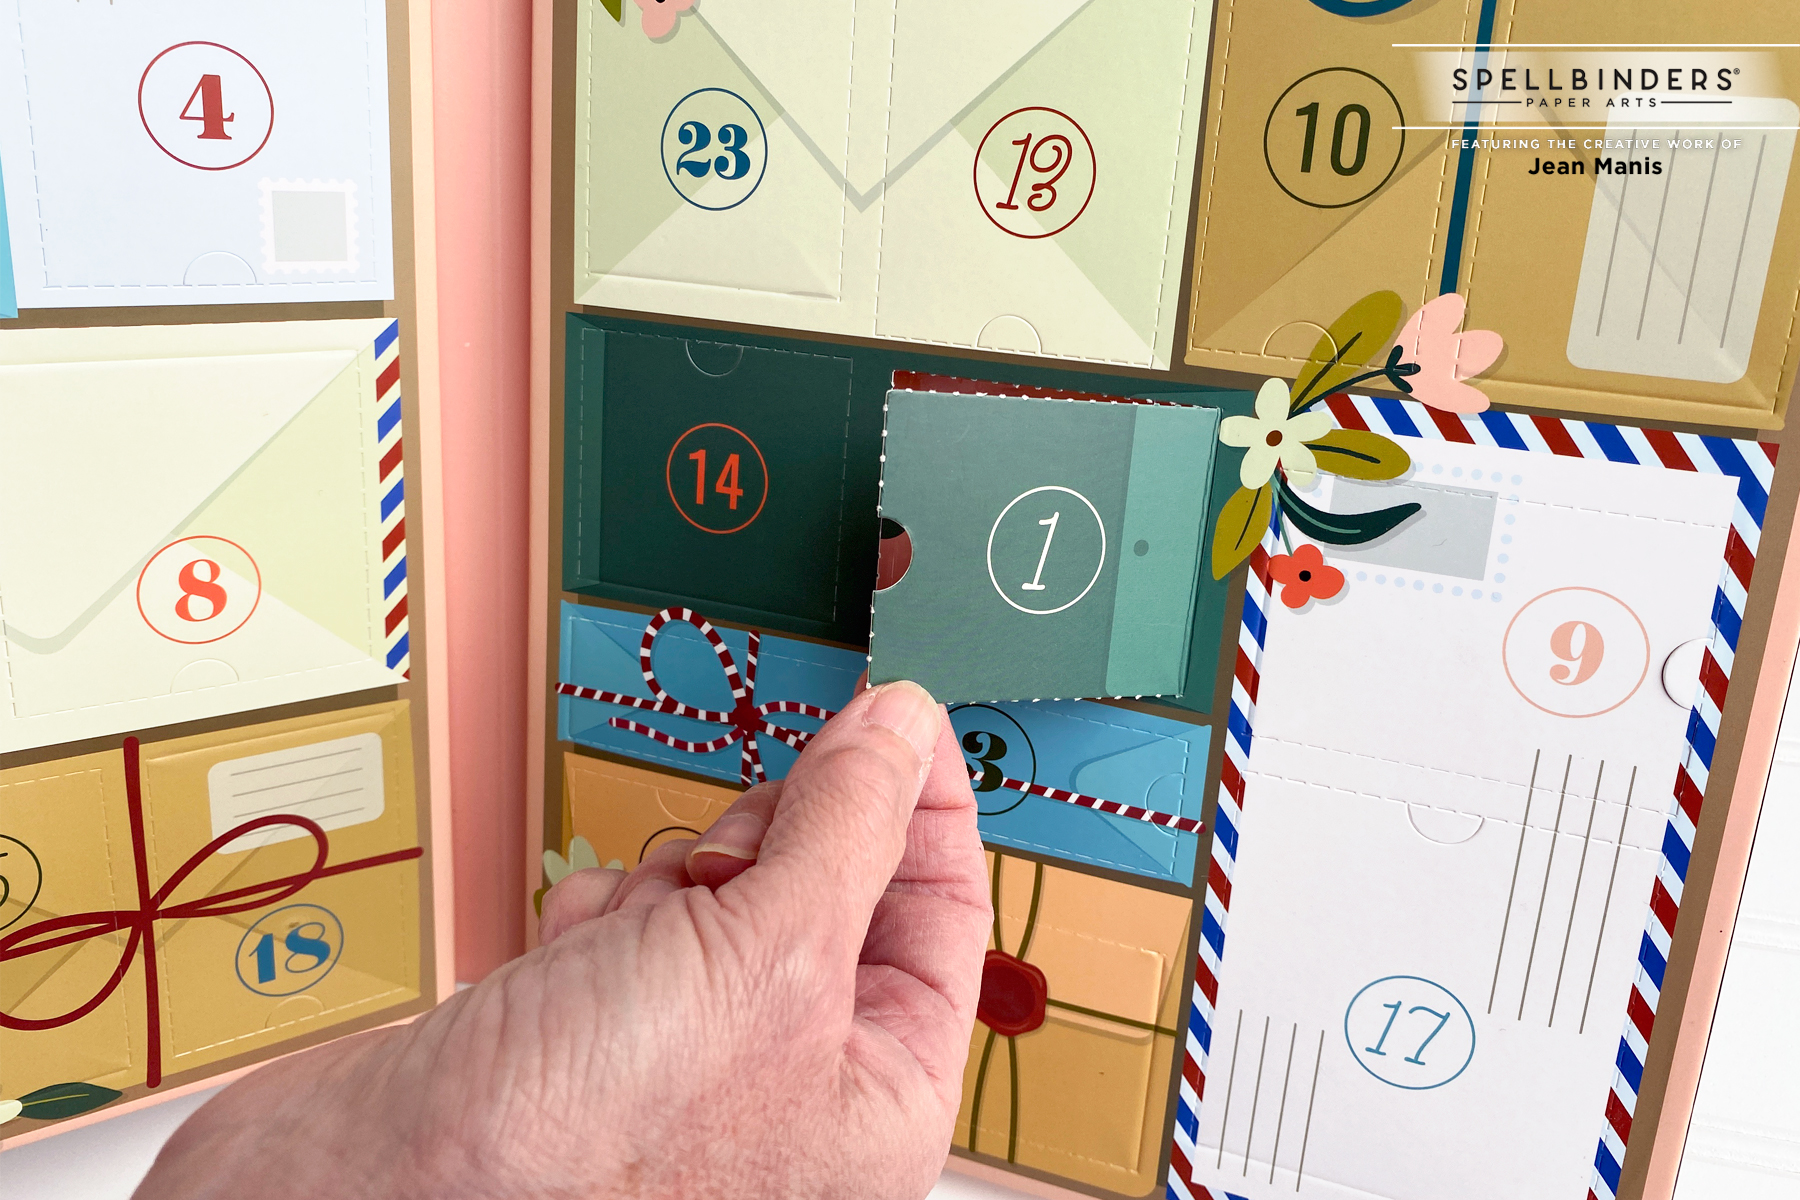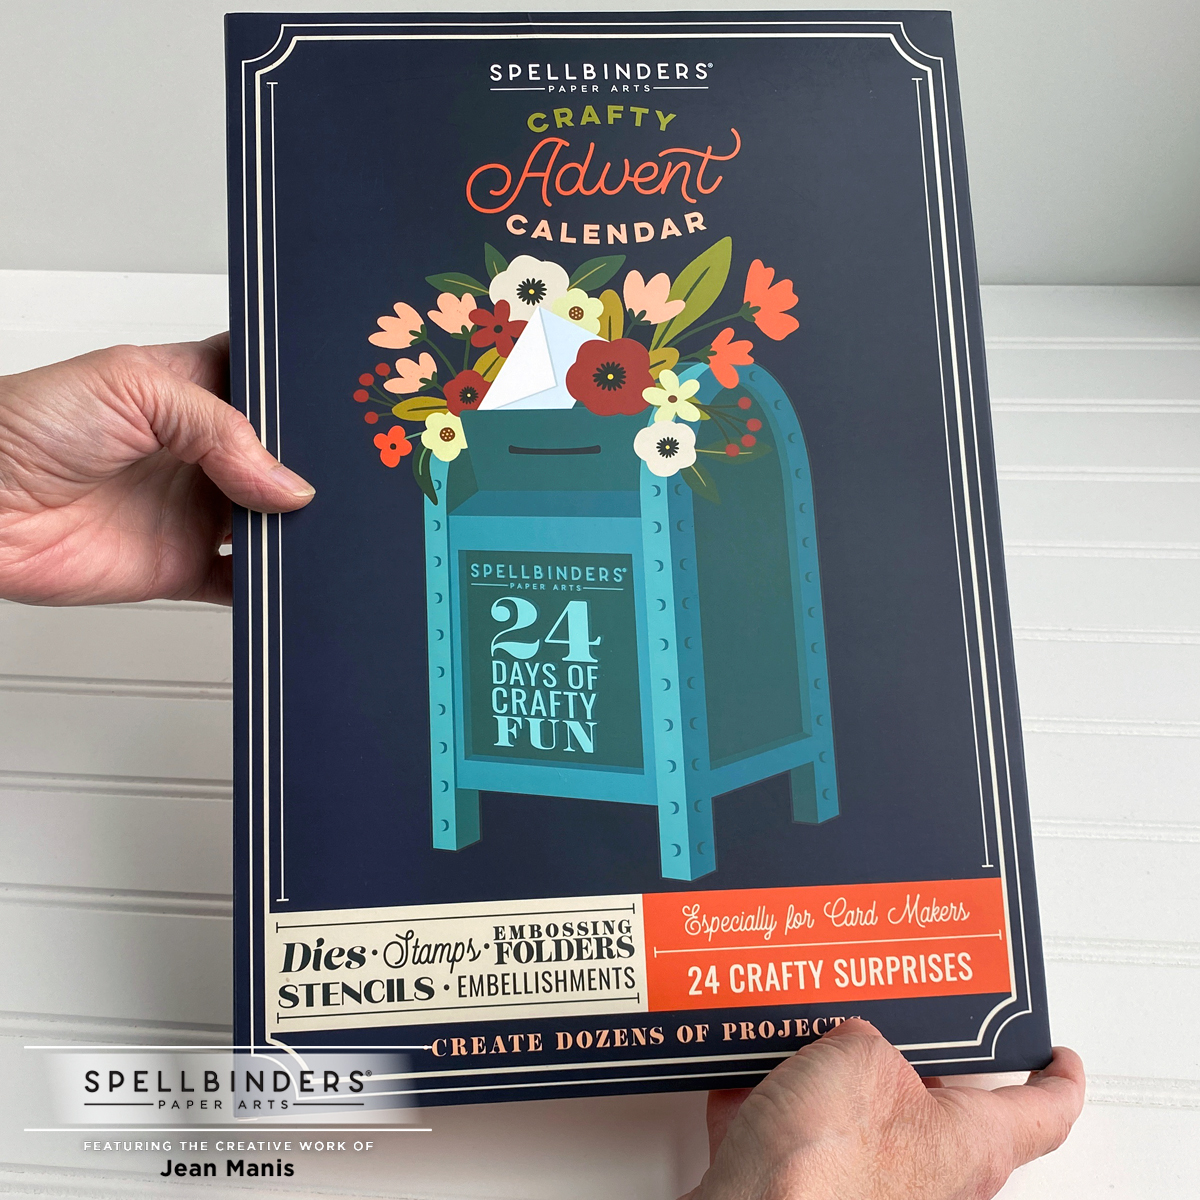
Hello! Today I am sharing a holiday tag created with the Day Six surprise in the Crafty Advent Calendar from Spellbinders– a gnome die set. Follow along on the Spellbinders blog for daily inspiration. (I took Day Five off; the surprise was a peppermint-stripe embossing folder.)
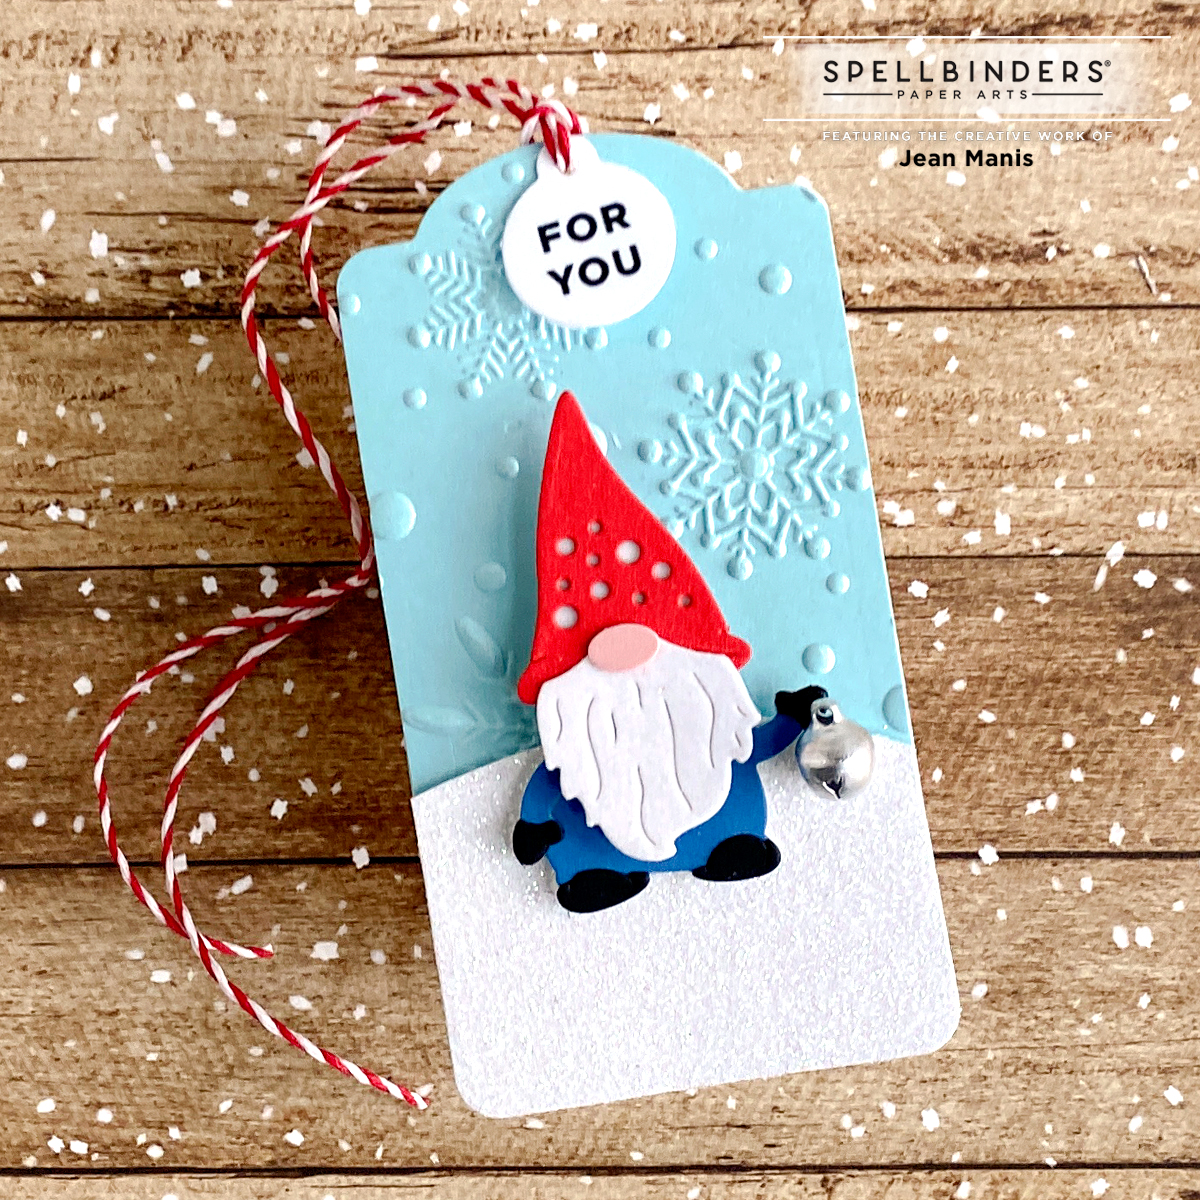
- Die-cut Raindrop cardstock with the Create a Decorative Tag die and dry-emboss with the Flurry of Snowflakes folder.
- Die-cut glitter with die in the Color Block Scenic Scape set and Create a Decorative Tag die. Add to tag.
- Die-cut gnome from Onyx, Lipstick Red, Snowdrift, and Cosmic Sky cardstock.
- Stamp Let’s Celebrate sentiment on Snowdrift cardstock and cut with die in the Assorted Tags set.
- Add gnome to tag with foam adhesive. Glue silver bell in gnome’s hand. Attach sentiment tag with Peppermint Cord.