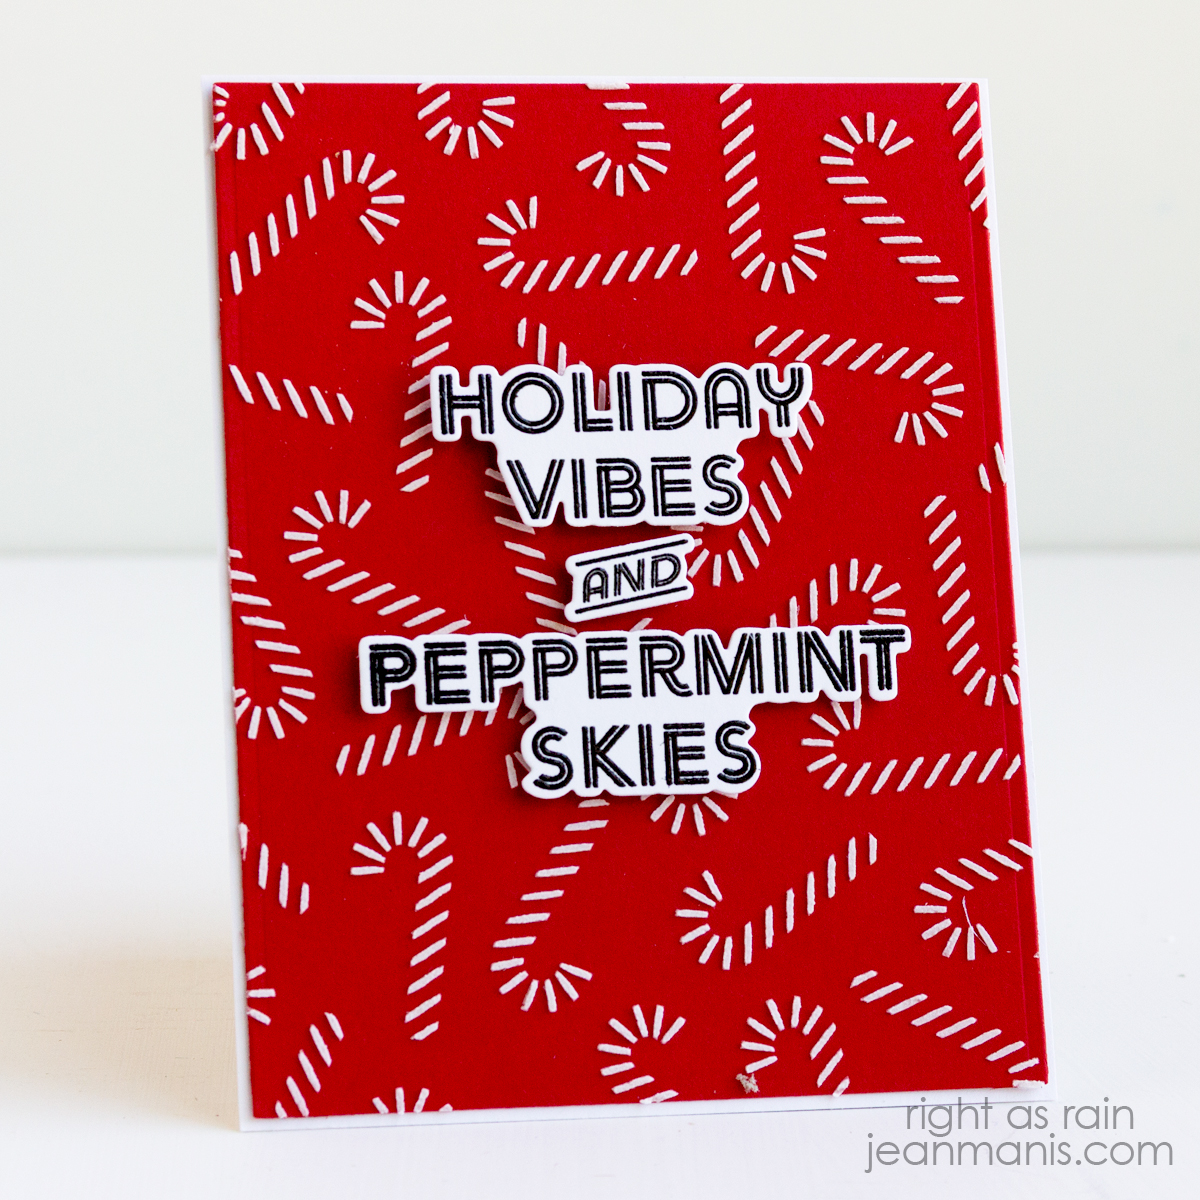
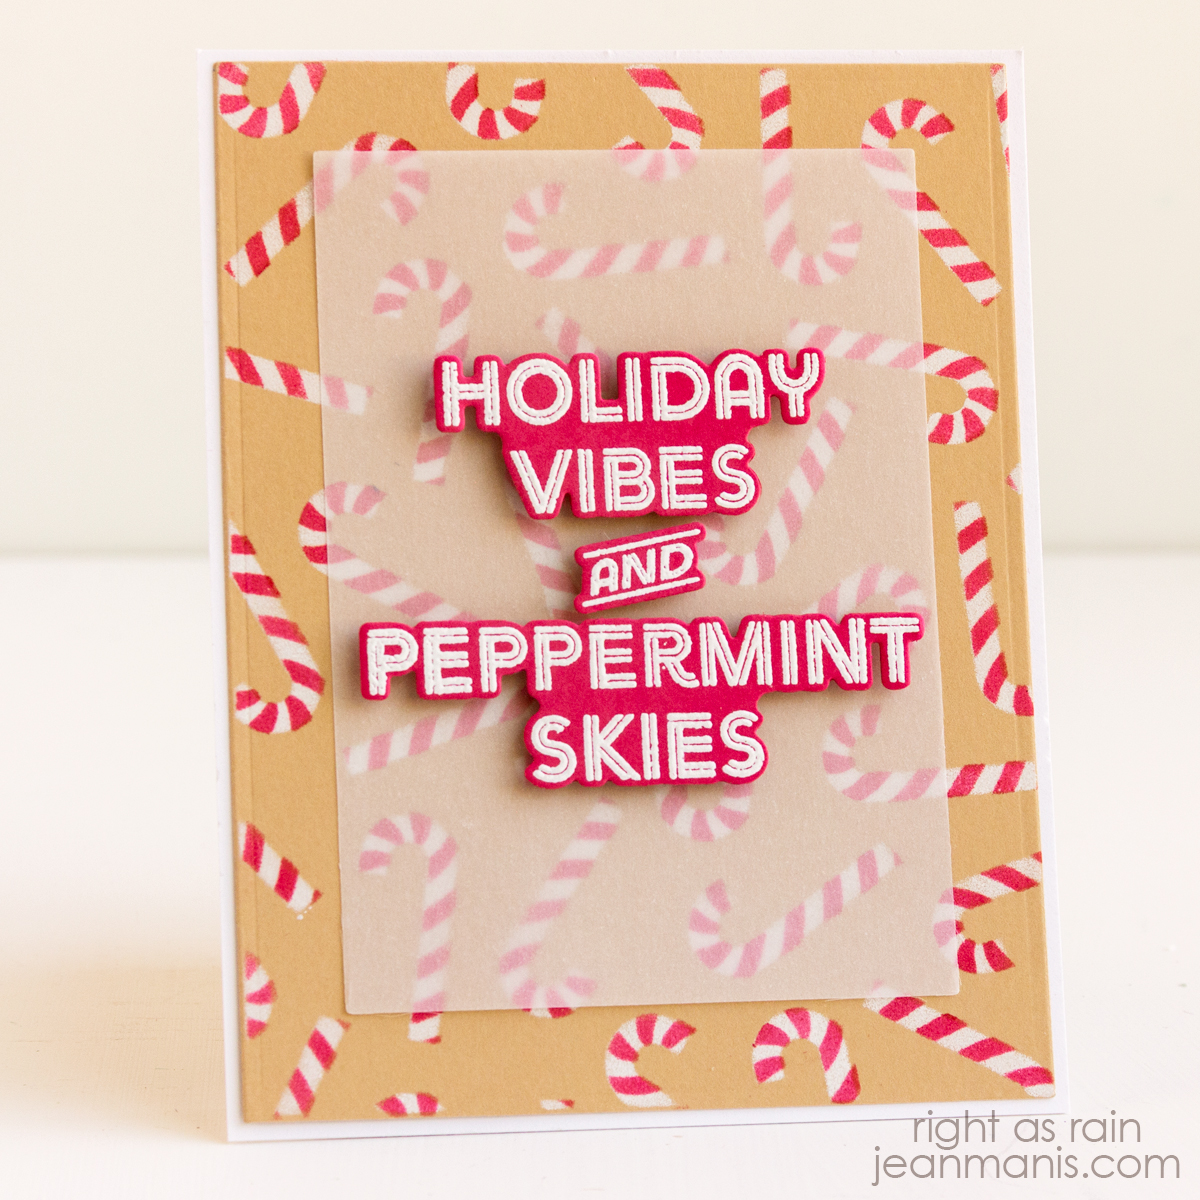
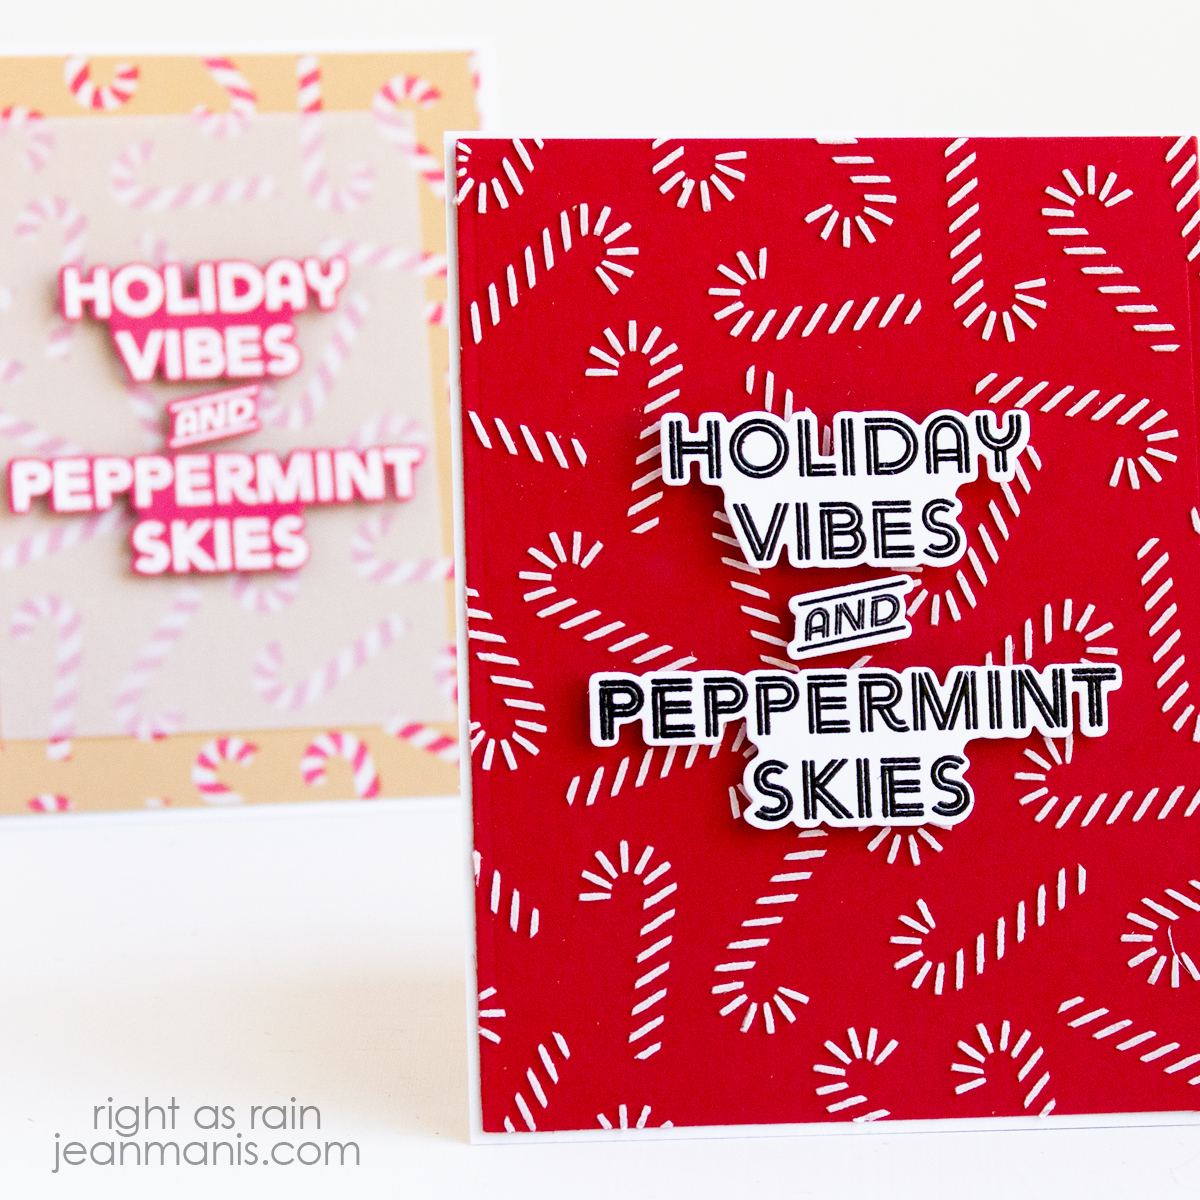
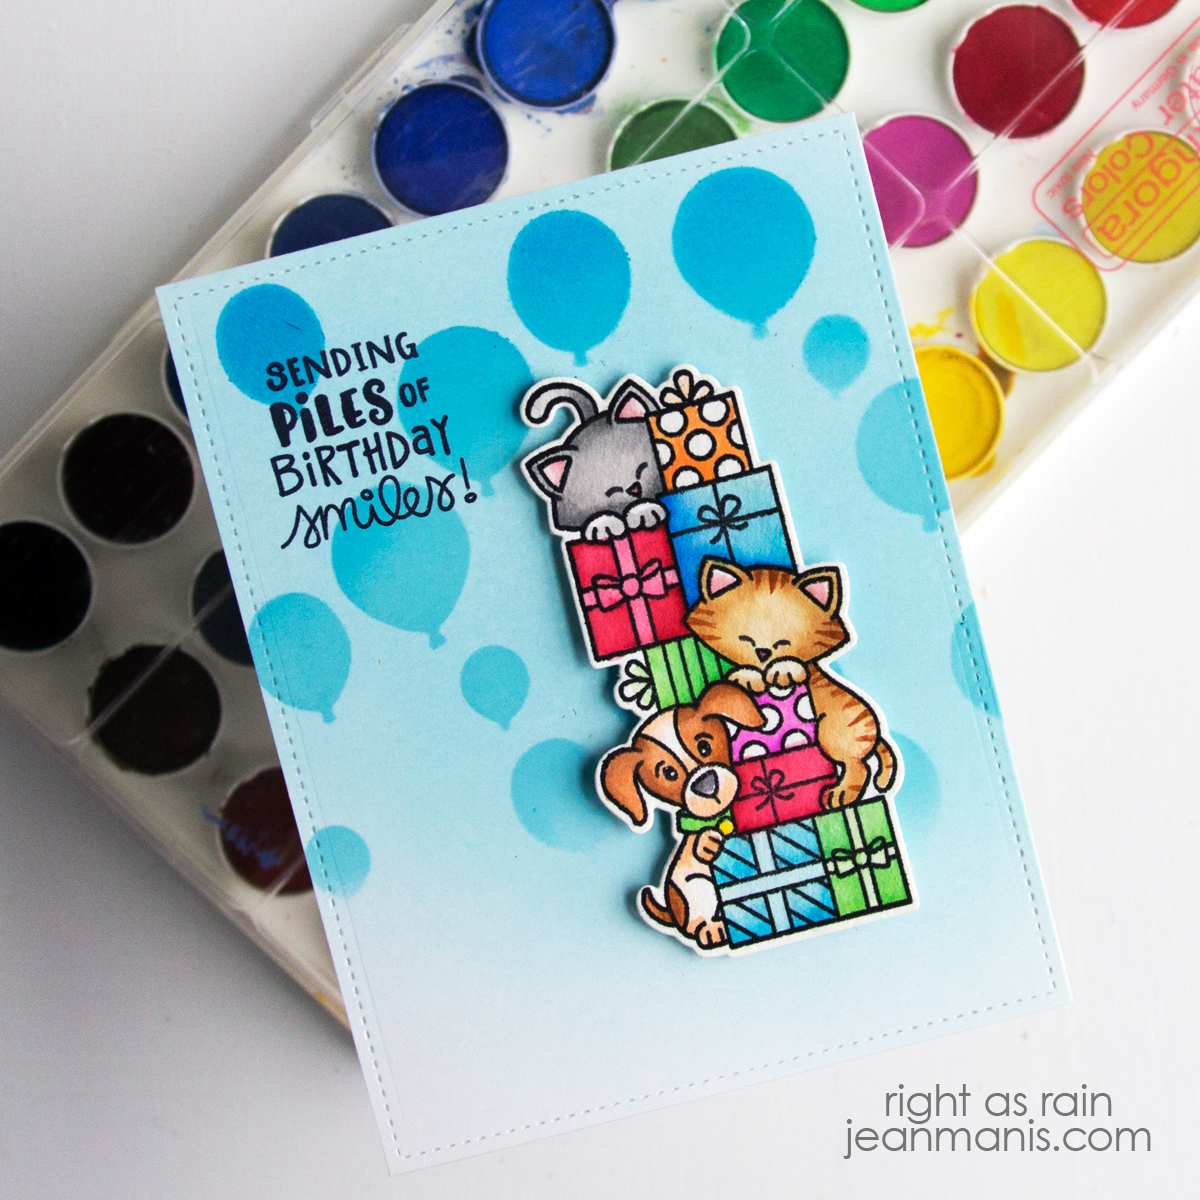
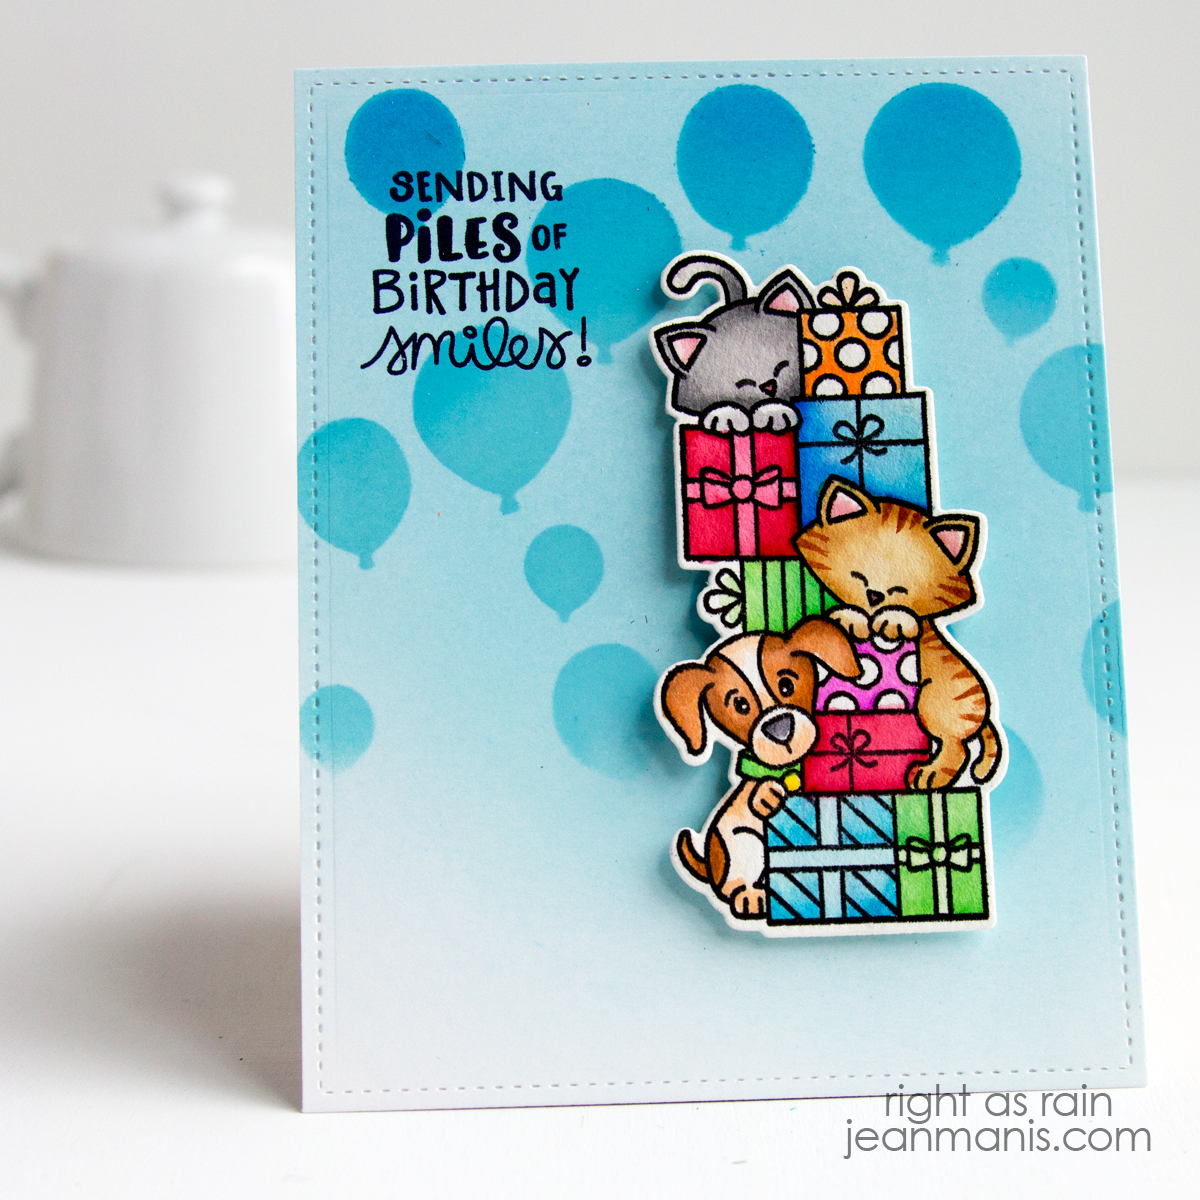
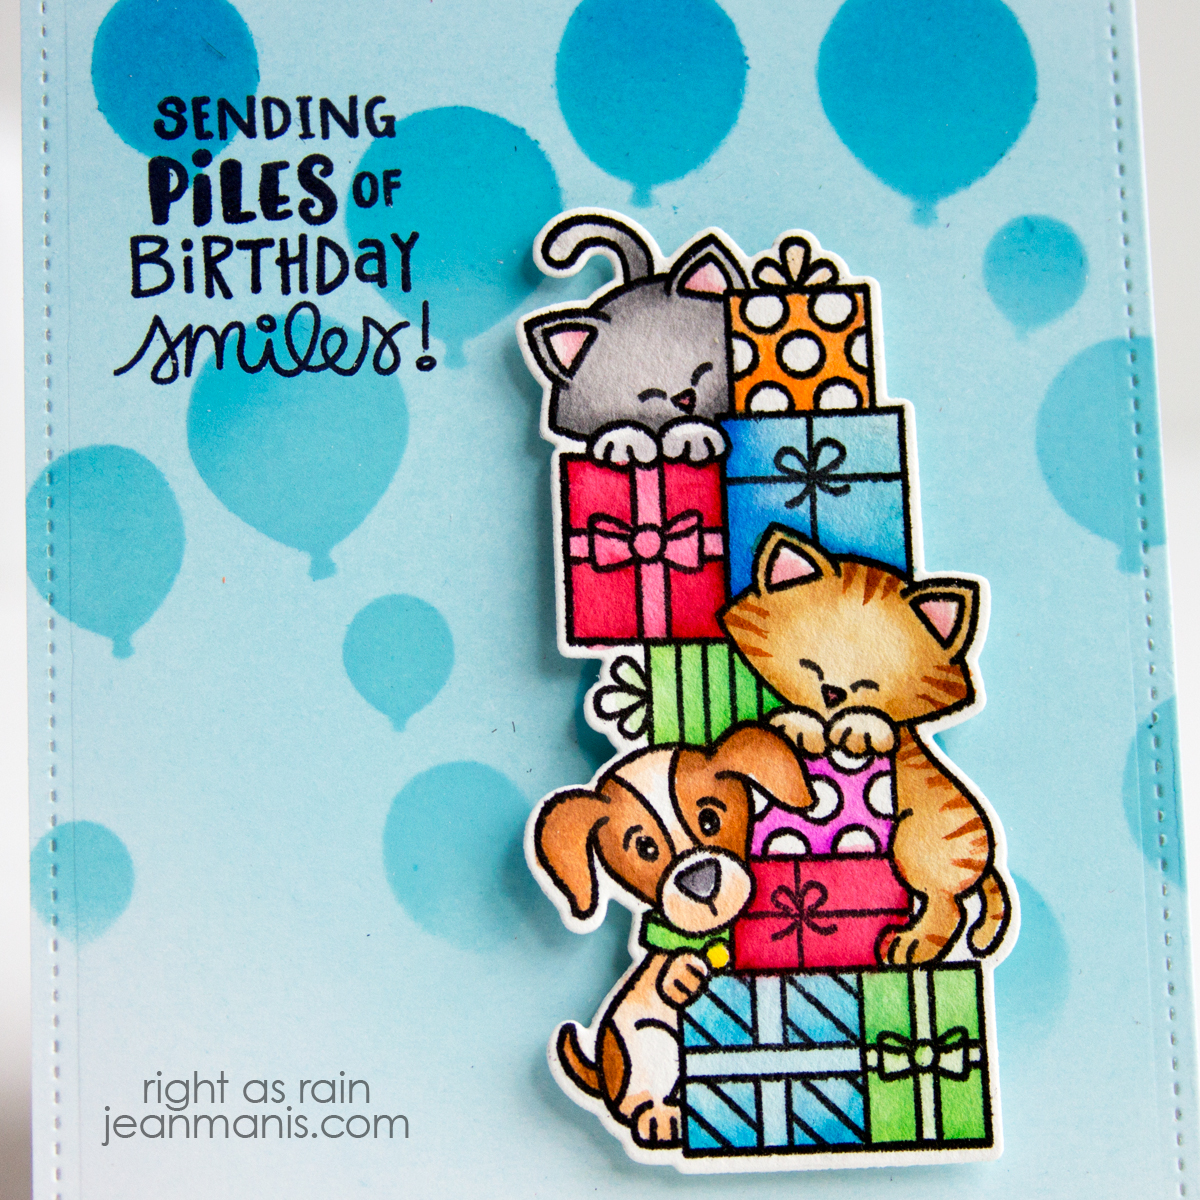
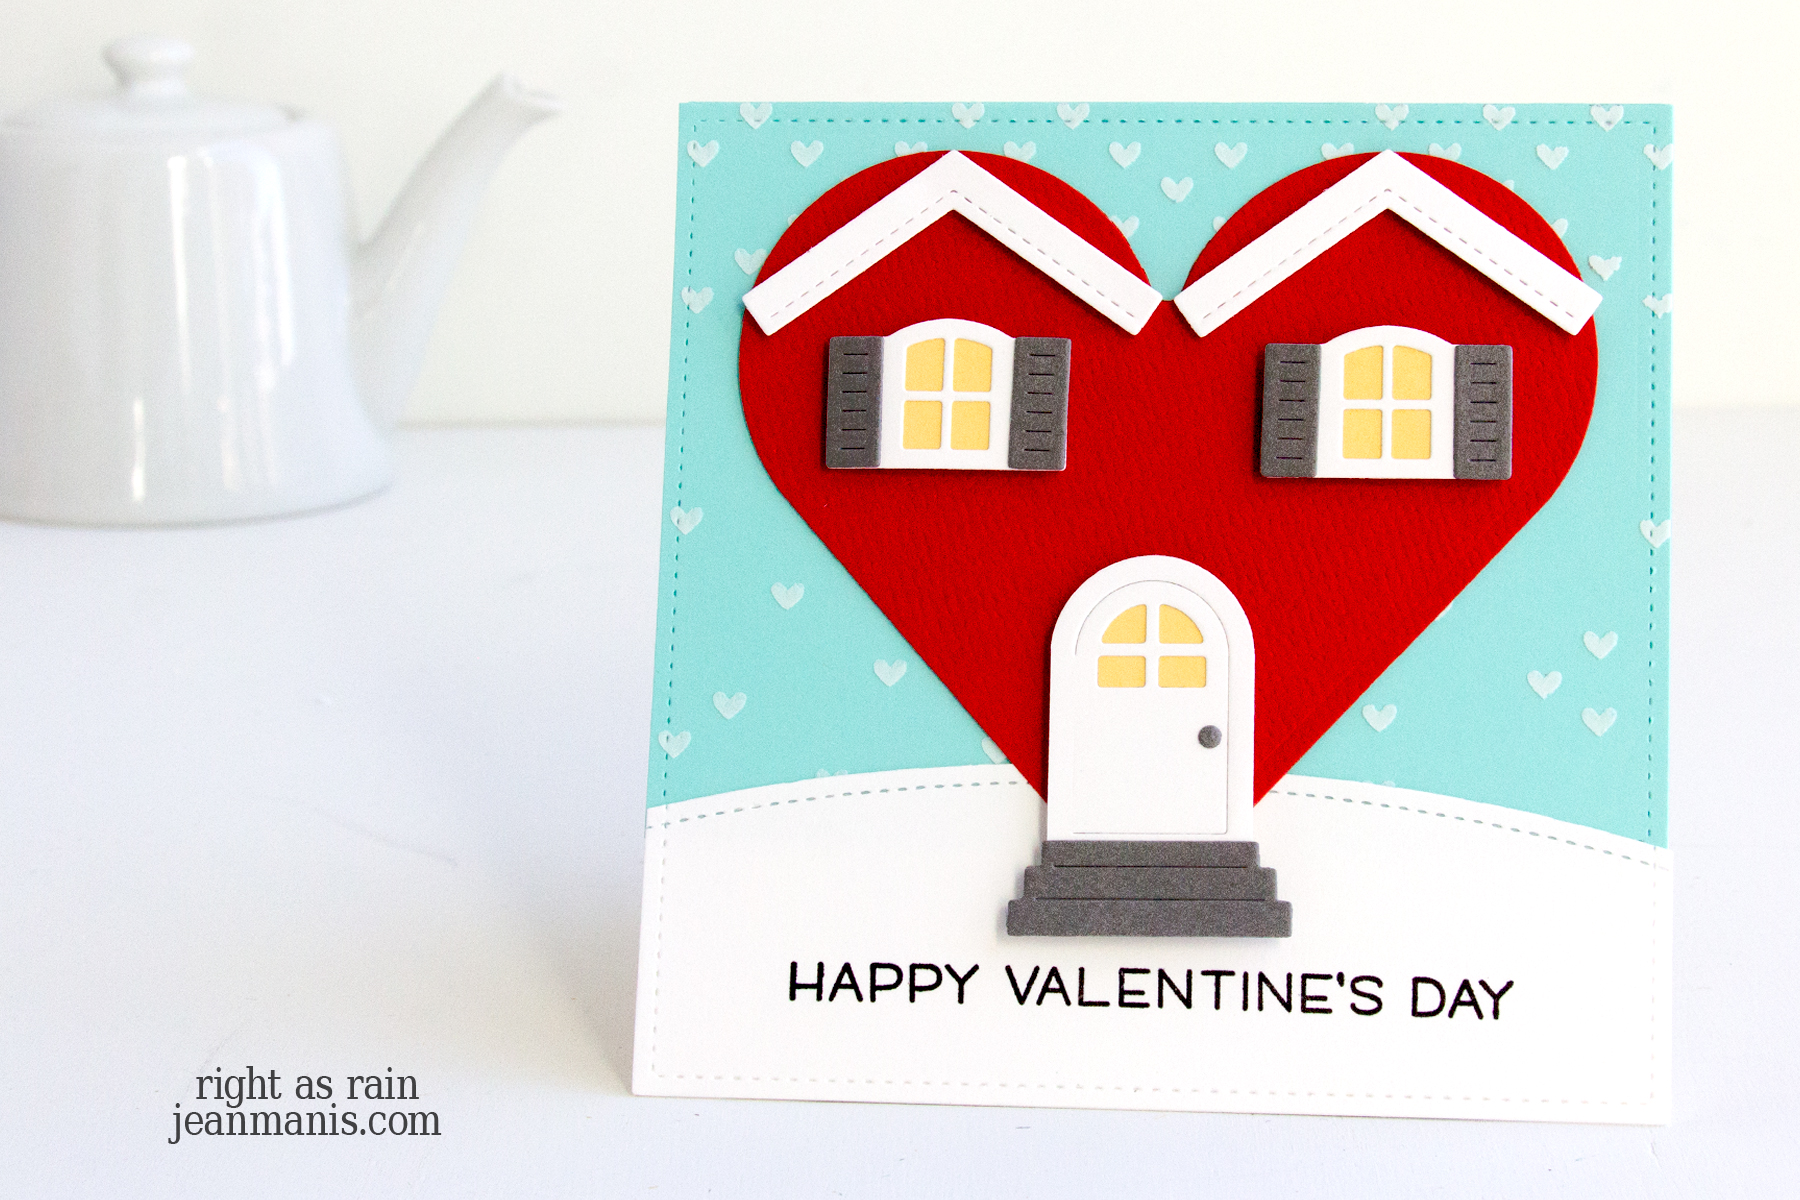
Hello! I am delighted to be a guest on the Spellbinders blog discussing how to create stenciled backgrounds with modeling paste and white glitter. I hope you will head on over to take a look at the three projects I created with Light & Fluffy Modeling Paste and Art Glitter Baby Baubs White Glitter.
Tag: stenciling
Penny Black | Blooming into a New Season
Hello! As the festivities of Christmas fade away, I find myself drawn to new cardmaking themes. I decided to revisit some Penny Black products, several of which I previously used on this card.
-
- Through the circle stencil in the Background Basics set, I applied Tumbled Glass ink. I stamped the Blooming Sentiments sentiment in black ink at the top of the circle and trimmed the panel as needed. I added the sentiment panel to an A2-size card base.
- To begin, I cut the Boots, Burst of Blooms, Daisy Delight, and butterfly (Flight of Fancy set) from Soft Finish cardstock. I colored the boots, Burst of Blooms floral sections, and butterfly with Distress Inks. I colored the stems of the flowers and the daisy centers with Copic markers. I adhered centers cut from white cardstock with the Dots die.
- I trimmed the floral pieces and added them to the boots, taping them in place on the back of the boots.
- I added the butterfly and filled boots to the card front with foam adhesive.
Impression Obsession | Frosty Fun
Hello! Experience the magic of winter beyond the holidays! As I mentioned HERE, I am looking to extend the use of my winter-themed supplies beyond the holidays. Today, I am sharing a CAS, winter-themed card perfect for a birthday, a thank you, or to brighten someone’s day. The card features a die cut of a boy sledding in the mountains, set against a stenciled sky that can transport anyone into a winter wonderland of joy and exhilaration.
- Apply white embossing paste through the Lawn Fawn Snow Flurries Stencil on to an A2-sized panel of Taylored Expressions Blue Corn cardstock. Sprinkle on Spellbinders Sparkle Dust Glitter and set aside to dry. Once dry, add to card base.
- Cut trees from Spellbinders Snowdrift cardstock with one of the dies in the Impression Obsession Tree Line set. The die cuts along the top but not at the bottom. Trim as necessary and add to card base.
- Stamp and heat-emboss in silver a sentiment from the Rubbernecker Snowmen with Presents set. Cut a snowbank on the heat-embossed panel with a curved die (now-retired MFT Stamps Snow Drifts set). Trim at the bottom and add to card base.
- Cut the Impression Obsession Sled from Spellbinders Brushed Silver cardstock several times and adhere together for extra depth. I used a Sizzix Release Sheet to help with the cut as the end of the sled was not easily releasing. Attach sled to card front.
- Cut a frame with the largest die in the MFT Stamps A2 Rectangle Frames set from Spellbinders Snowdrift cardstock and add to the card.
Spellbinders | Timeless Botanical Elegance
Hello! Today, I am sharing a card, where simplicity meet sophistication, that showcases the Spellbinders Coneflower stencil set. This five-piece stencil set makes it possible to easily create a stunning floral background.
- Create an A2-size card base from Brushed Gold cardstock.
- Using the five-piece Coneflower stencil set, apply Distress Oxide inks through each stencil on Snowdrift cardstock. I used Mowed Lawn and Rustic Wilderness for the green, Picked Raspberry for the petals, and Squeezed Lemonade for the flower centers. I used Picked Raspberry (non-oxide ink) for the final layer that adds dots to the flower centers and lines to the petals.
- Cut stenciled panel with a die in the A-2 Matting Basics A set. Add to Brushed Gold card base.
- Glimmer-foil in Gold the “Thank You” sentiment in the Sentiments for Everyday set. Cut with a banner die and add to the card with foam adhesive.
Newton’s Nook Designs | Fall Harvest Take Two
Hello! Today I am sharing two more cards created with the Newton’s Nook Designs Fall Harvest stamp set. I previously shared cards with this stamp and coordinating die set HERE. This time, I am using stenciled pumpkin backgrounds rather than patterned paper ones, applying ink through a stencil on to coordinating cardstock for a tone-on-tone background. You can read my post about creating stenciled backgrounds for cards HERE.
- To create the focal images, stamp the Fall Harvest images with Versafine on Arches Cold Press watercolor paper and heat set. Color the images with watercoloring mediums of choice. Once dry, cut the images with the dies in the coordinating set. (Check out my “Resources for Watercoloring Stamped Images” HERE.)
- To create the card backgrounds, apply ink through the Pumpkin Patch stencil. For the background with the dog, I used Dried Marigold ink on SU Pumpkin cardstock, and on the other background with the cat, I used Wild Honey ink on SU More Mustard cardstock. Trim panels to A2-size and attach to card bases. (Next time, I will cut the cardstock to A2 size before applying ink through the stencil. The stencil pattern is 5 1/2″ square.)
- Glimmer foil the sentiment in the Autumn Greetings set with Copper foil on white cardstock (I used Taylored Expressions Sugar Cube, as it is not stark white). Cut panel with a 2 3/4″ die in the Everlasting Circles set. Cut another circle from vellum with a 3″ die in the same set.
- Assemble the focal images, add the images to the circle mats, and adhere to the card fronts.