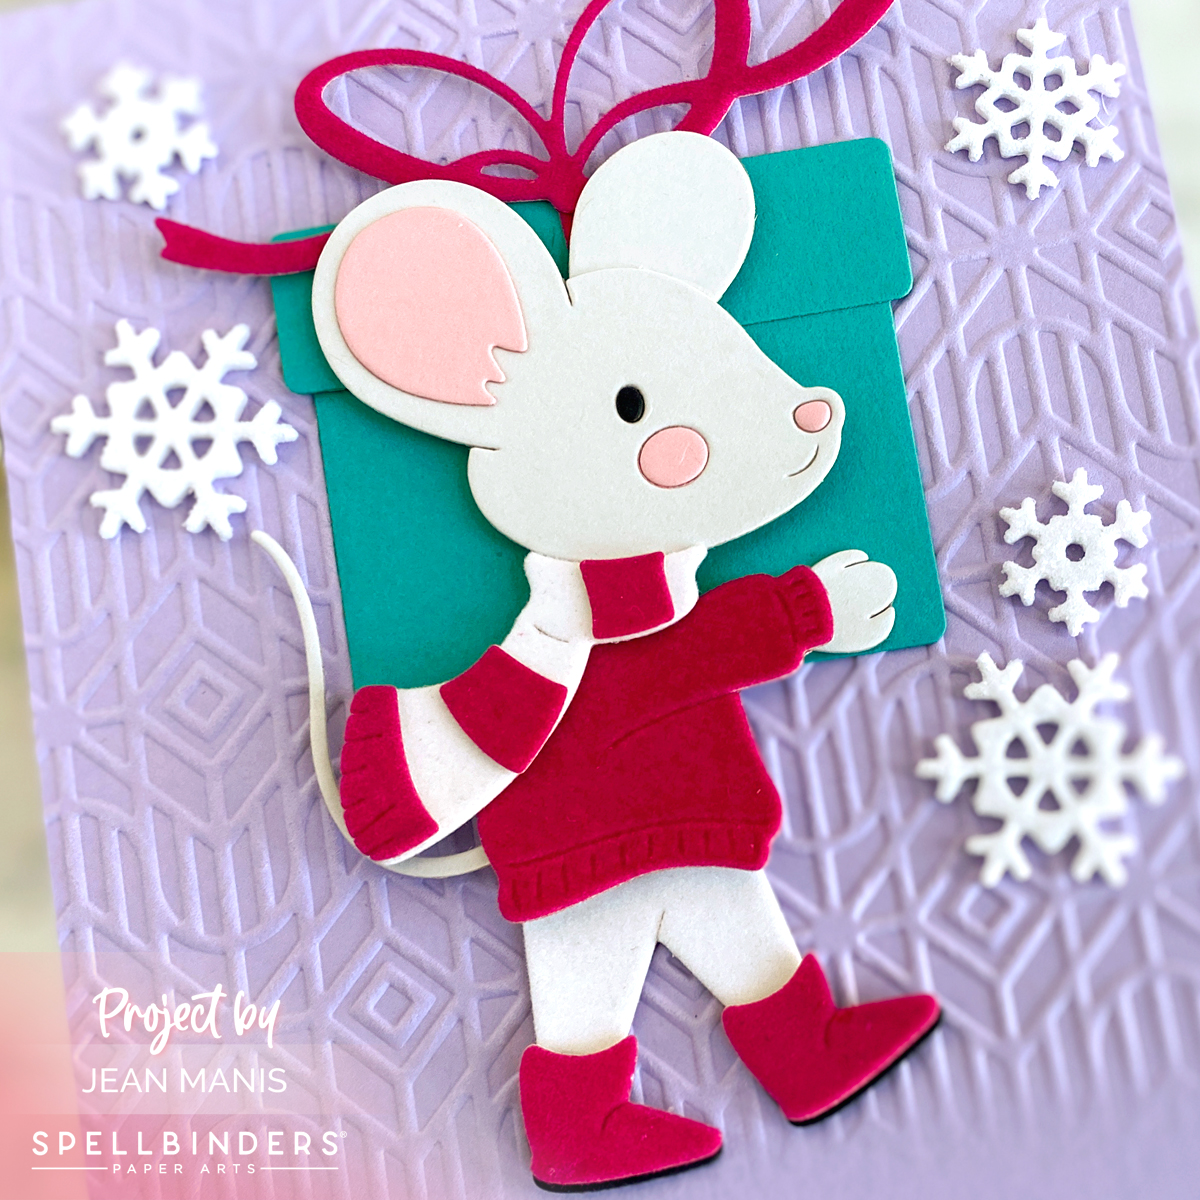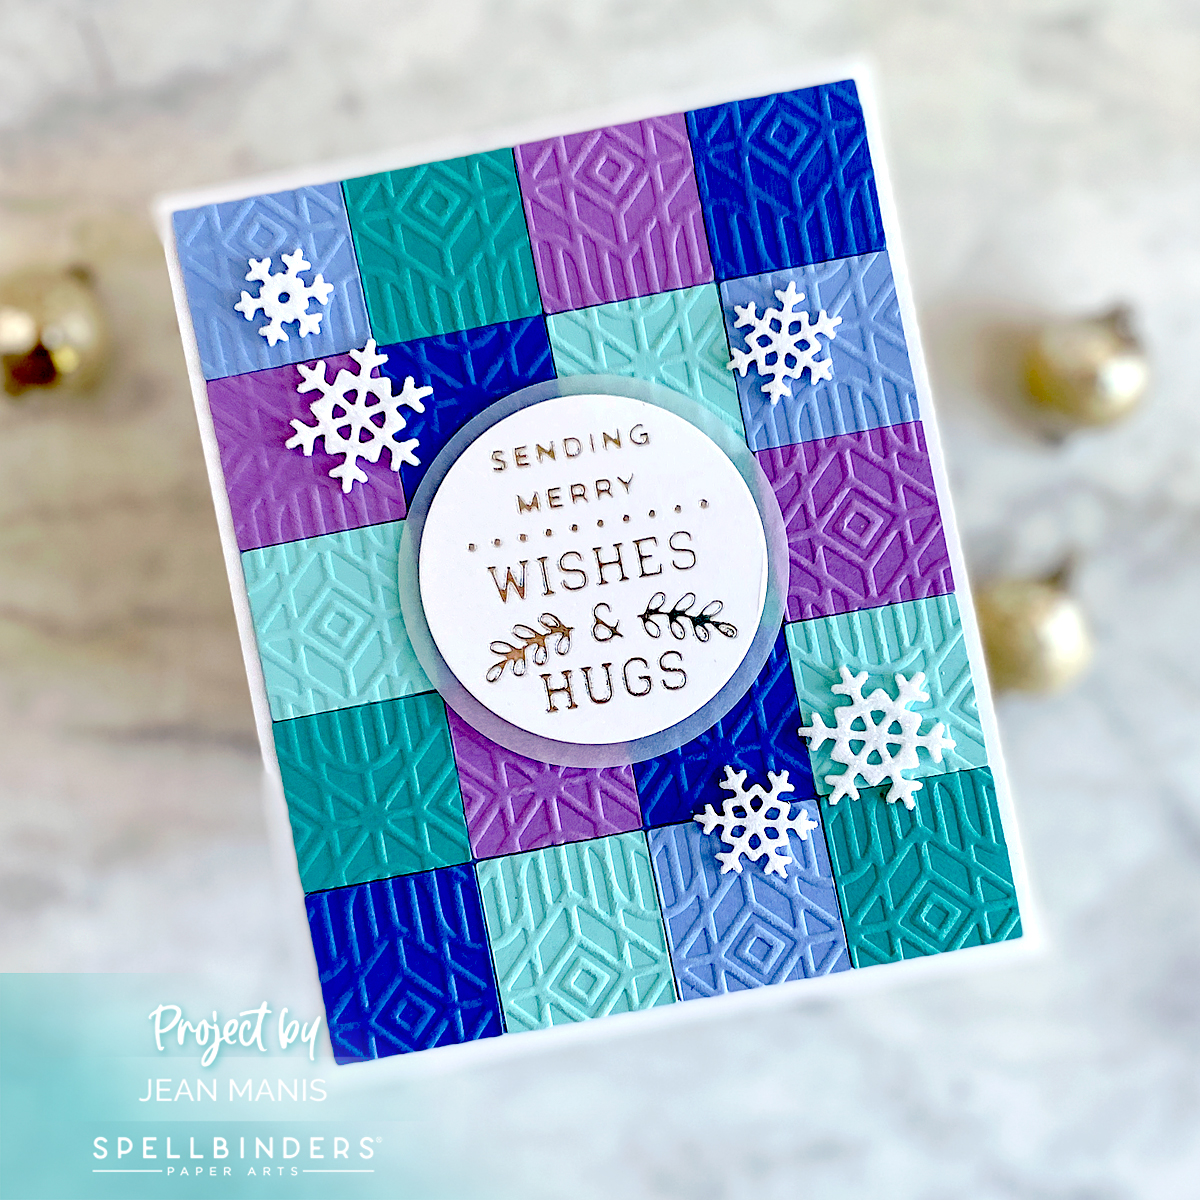
Hello! Today, I am sharing a CAS, holiday card showcasing the Spellbinders Deco Holiday embossing folder, used to dry-emboss a pattern of squares and paired with a glimmer-foiled sentiment.

- Using the 1″ die in the Everlasting Squares set, I cut twenty cardstock squares of purple, teals, and blues. I arranged the squares and taped them together on the back before dry embossing with the Deco Holiday folder. I added the panel to a Snowdrift cardstock base measuring 4 1/4″ x 5 1/4″.
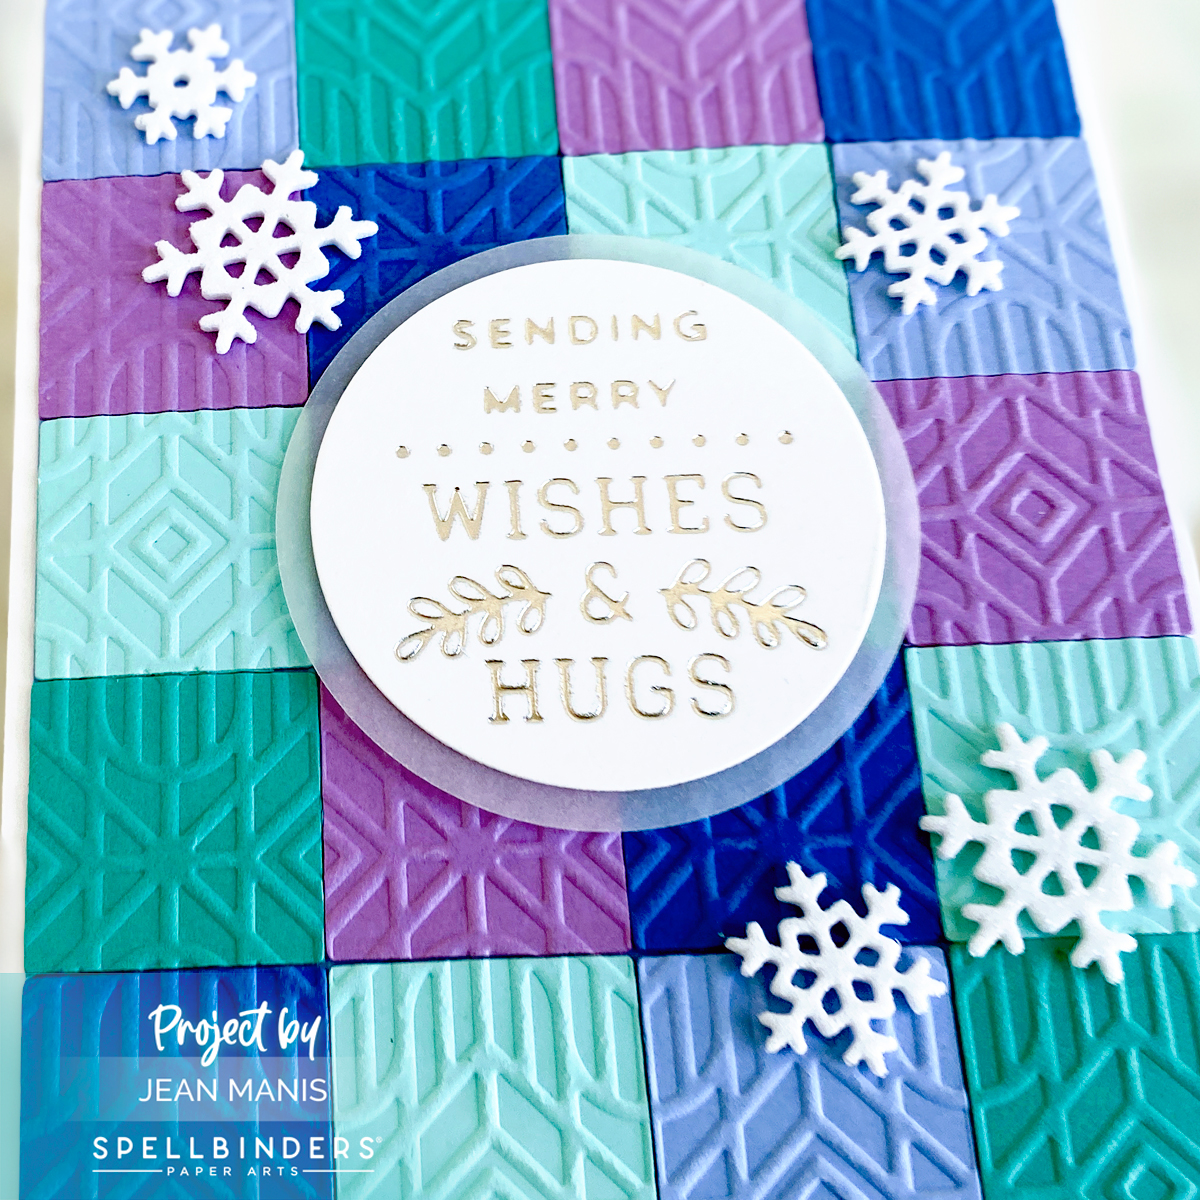
- Using one of the sentiments in the Christmas Mailbox Greetings set, I glimmer foiled Snowdrift cardstock in silver. I cut the sentiment with the 2″ die in the Everlasting Circles set and attached it to a circle cut from vellum with the 2 1/4″ die.
- I attached the sentiment circle to the card center with foam adhesive and embellished with snowflakes cut with the Holiday Decorations set from white foam glitter.
You can read more about card backgrounds created with embossing folders HERE.
Take advantage of the Spellbinders Fall Warehouse Sale that runs now through September 21!