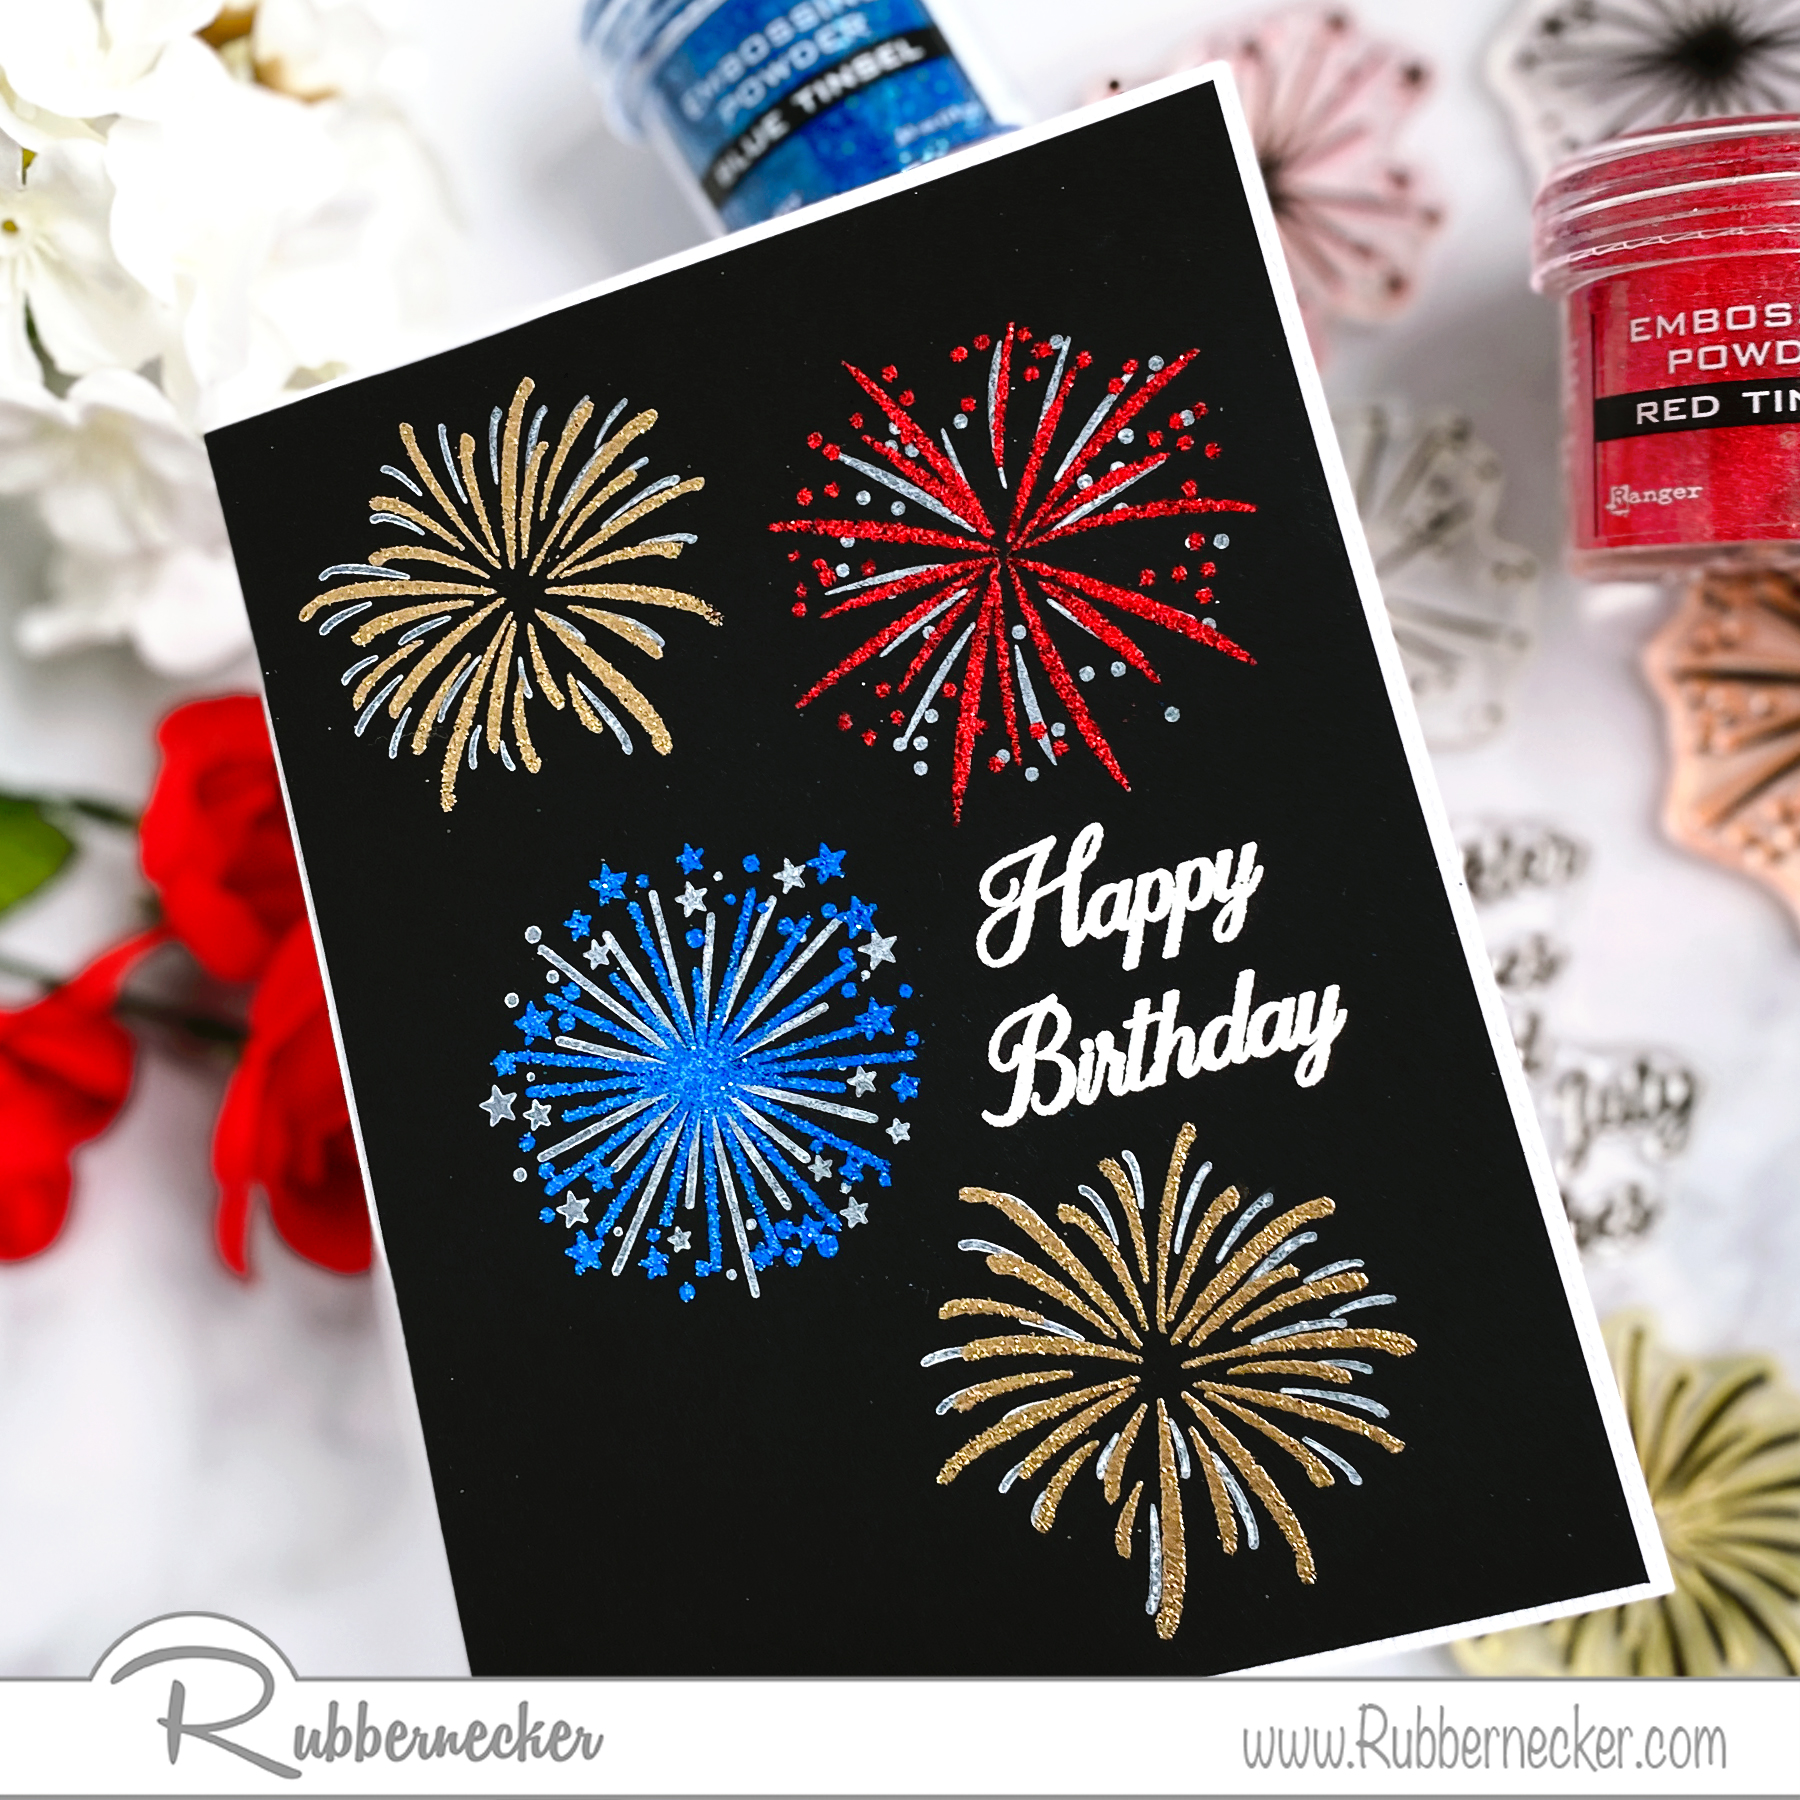
Today Rubbernecker is celebrating their Summer Release! Head over to see the stamp sets designed with summer in mind, suitable for a wide variety of occasions. I created a single-layer, fireworks-themed, birthday card showcasing the 4th of July Fireworks set.

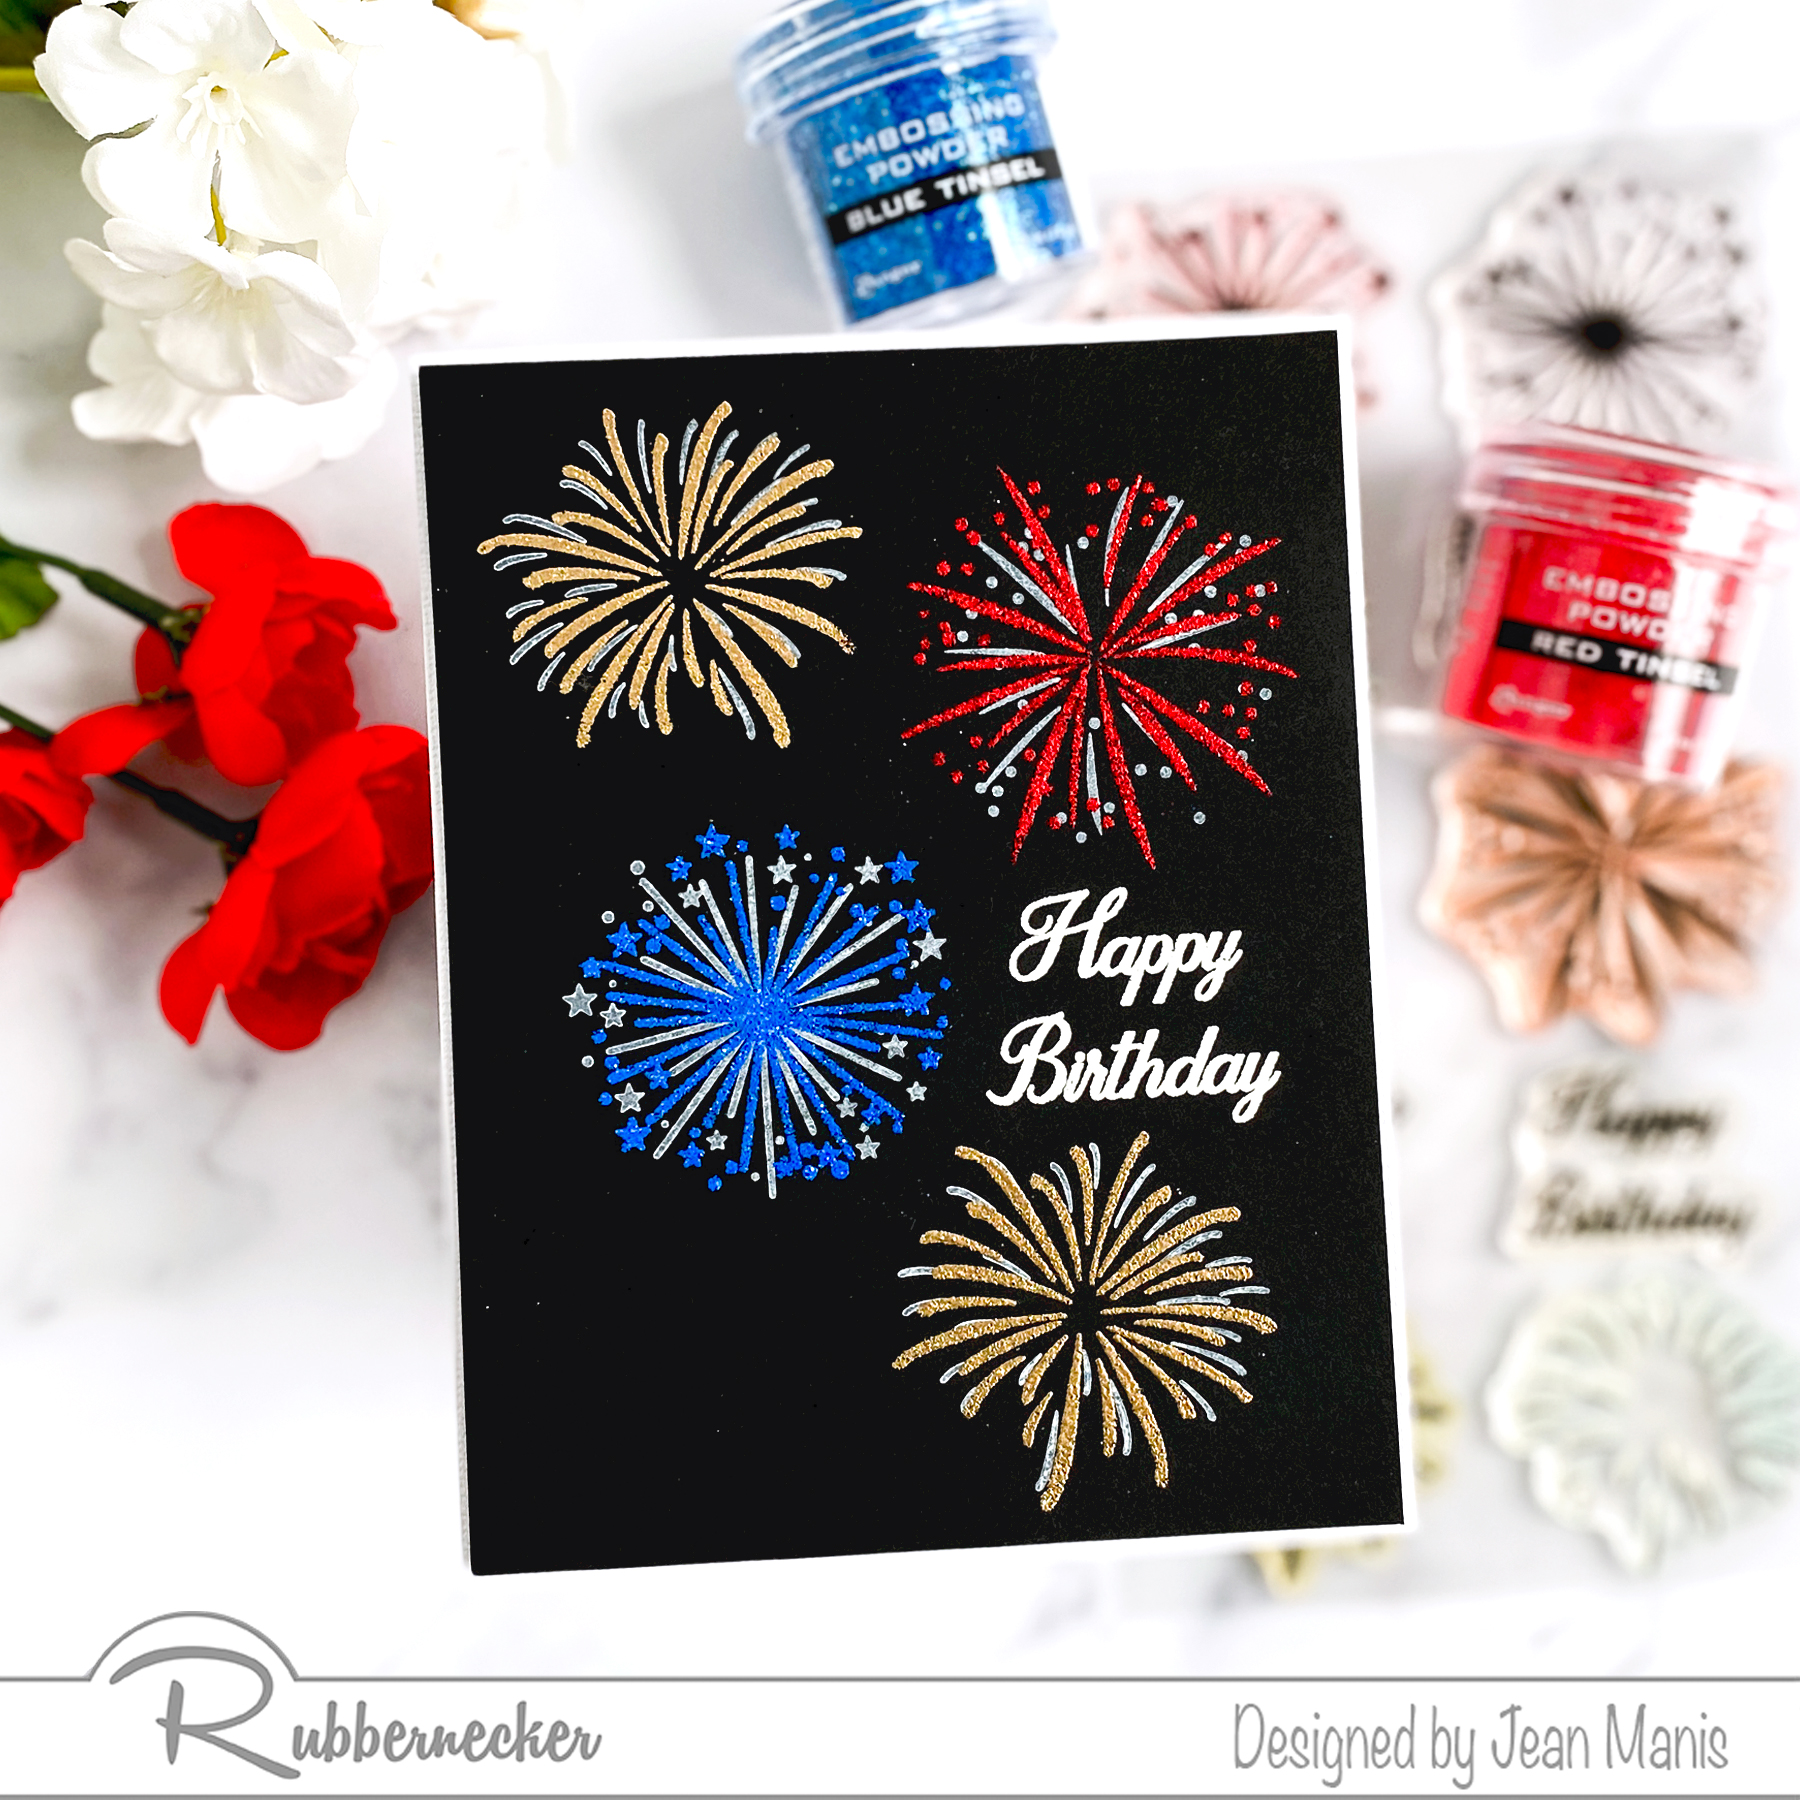
- Heat-emboss the 4th of July Fireworks sentiment in white on black cardstock.
- Stamp the first layer of the images of 4th of July Fireworks with white pigment ink. (One of the set’s images is repeated.) Let white pigment ink dry or dry with heat embossing tool.
- Heat-emboss the second layer of the fireworks with tinsel embossing powders; gold, red, and blue shown.
- Trim panel and add to white cardstock A2-size base.