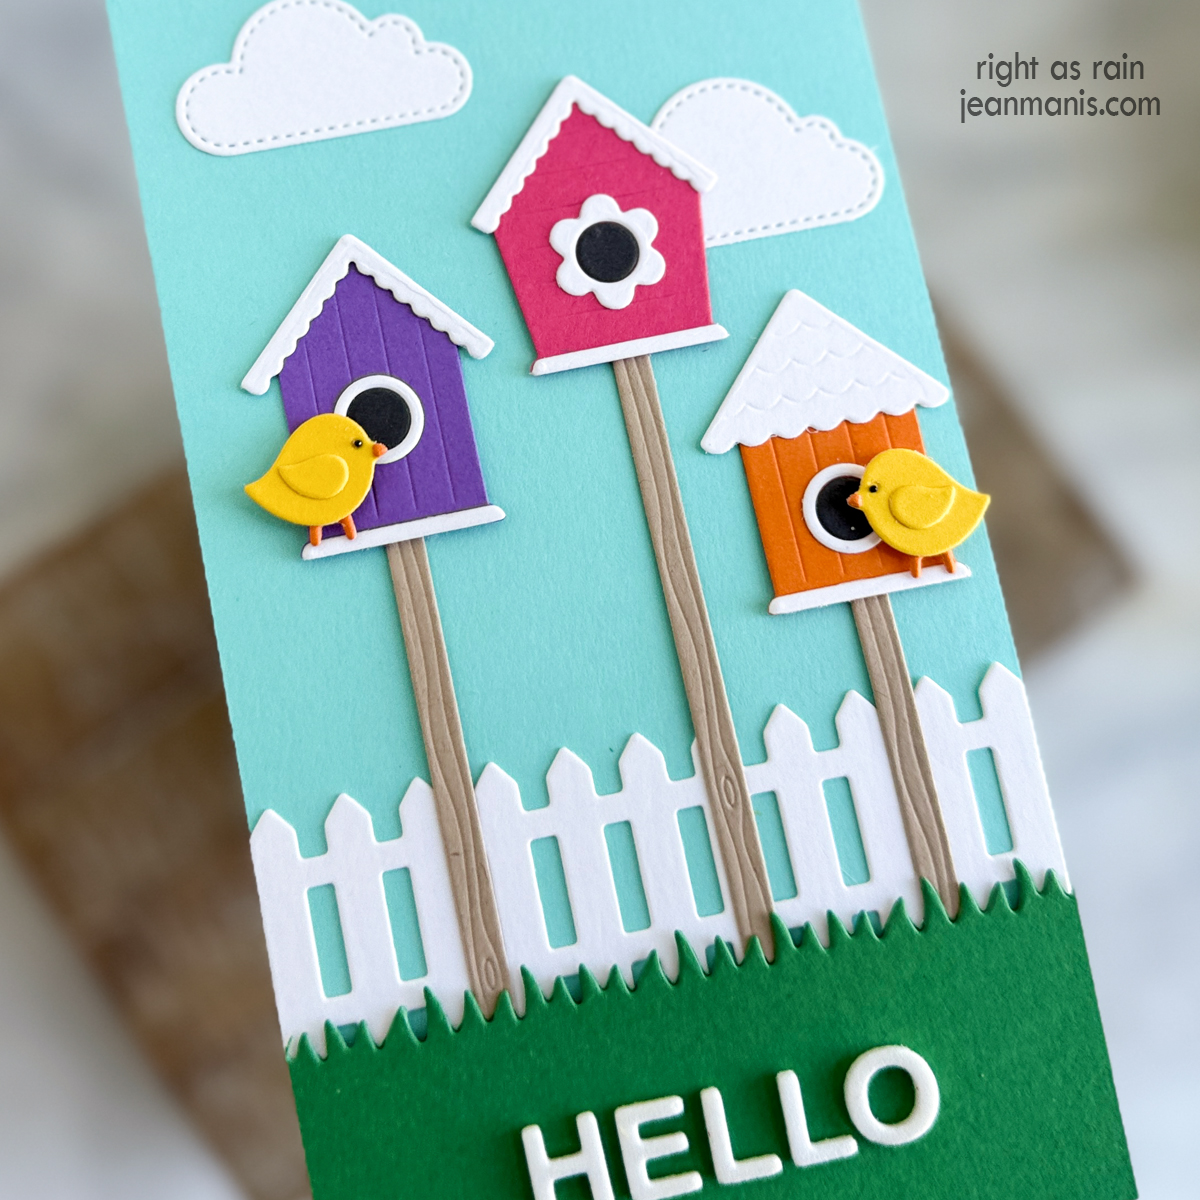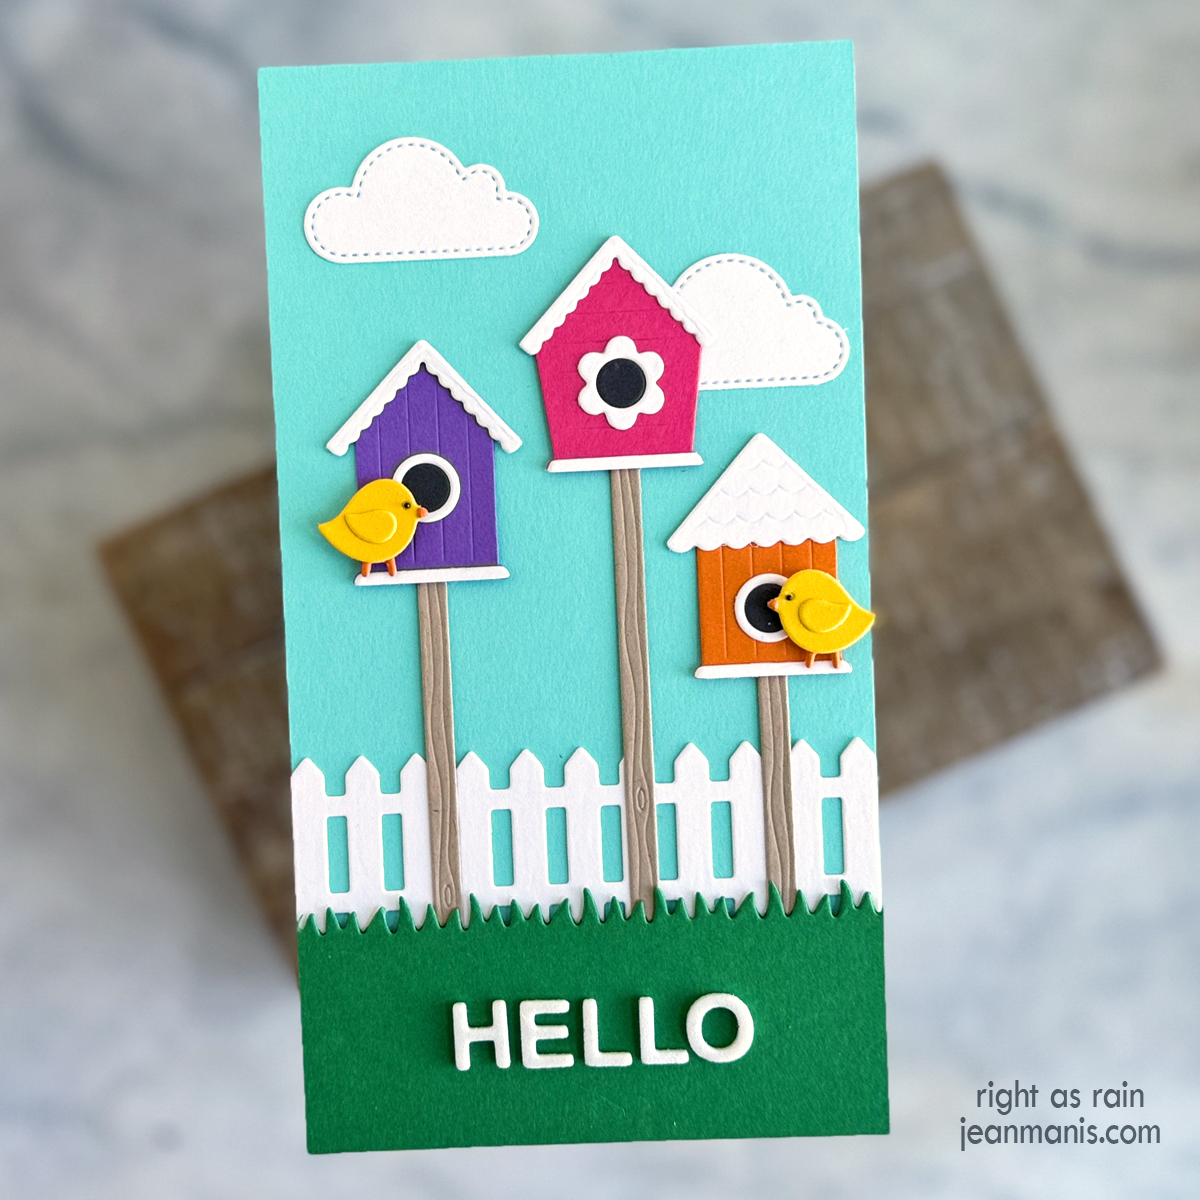
Hello! Today, I am sharing a spring-themed “Hello” card combining several Sunny Studio Stamps die sets. It has been a delight to hear the return of the birds singing now that it is spring.
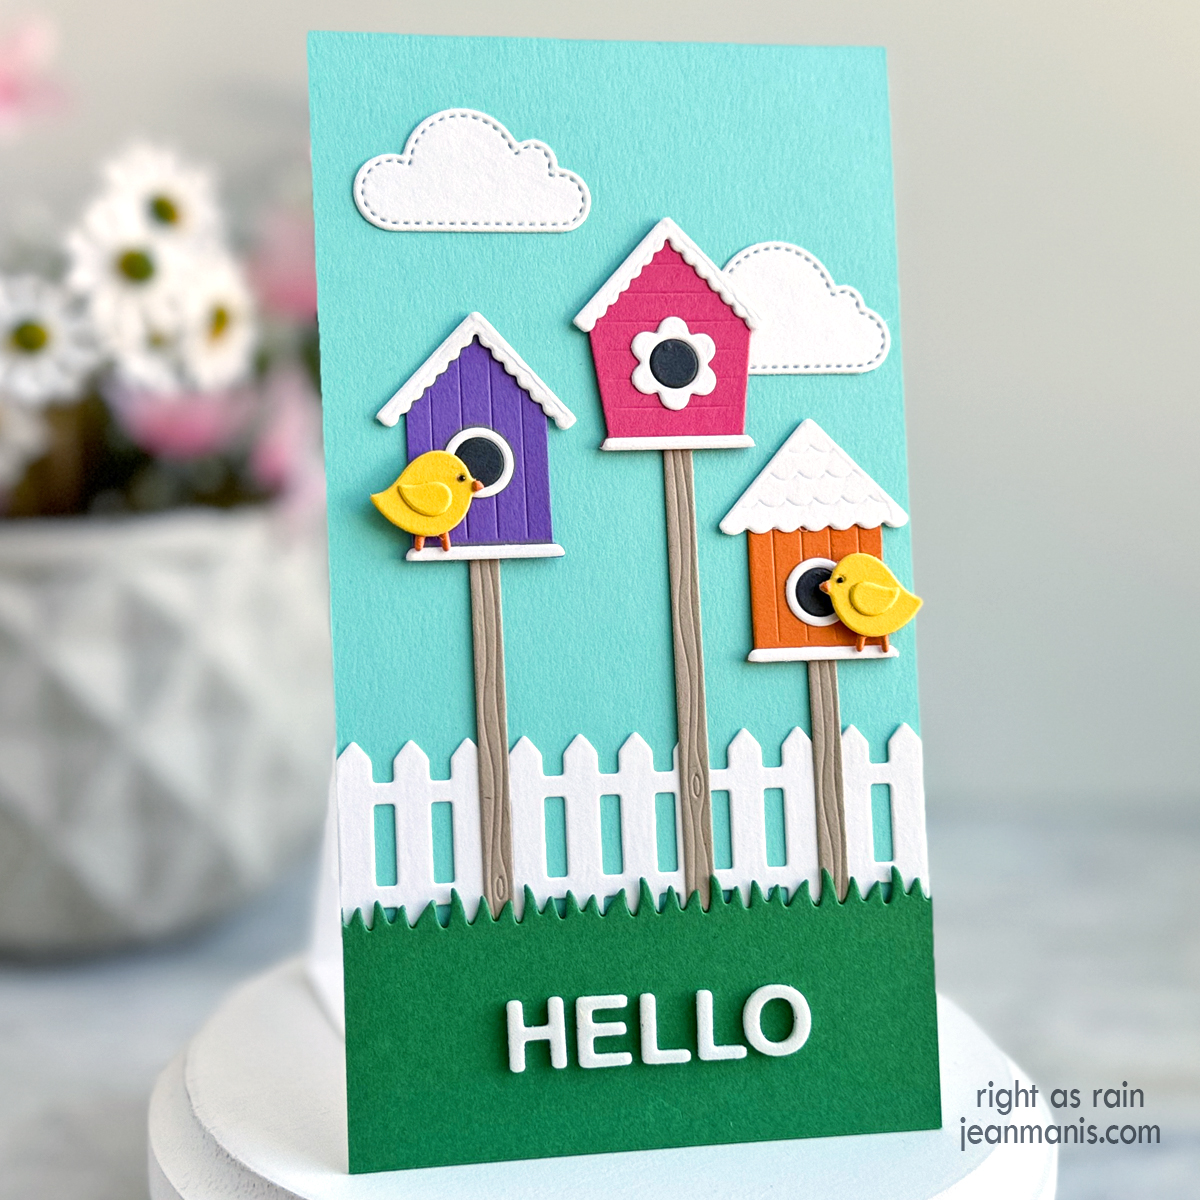
- Cut a mini-slimline panel (3 1/2″ x 6 1/2″) of Waterfall cardstock and add to card base.
- Cut a strip of green cardstock (I used now-retired SU Cucumber Crush) with the grass die in the Picket Fence set.
- Cut fence with the Picket Fence set from Snowdrift cardstock.
- Cut birdhouses and birds with dies in the Build-A-Birdhouse set from a variety of cardstock colors. Assemble.
- Cut clouds from Snowdrift cardstock with dies in the Fluffy Clouds set.
- Cut sentiment from white glitter foam (glitter side down) with the Art Impressions Journal Letter set.
- Add clouds and fence to card base. Add birdhouses and birds. Lastly affix grass and add sentiment.