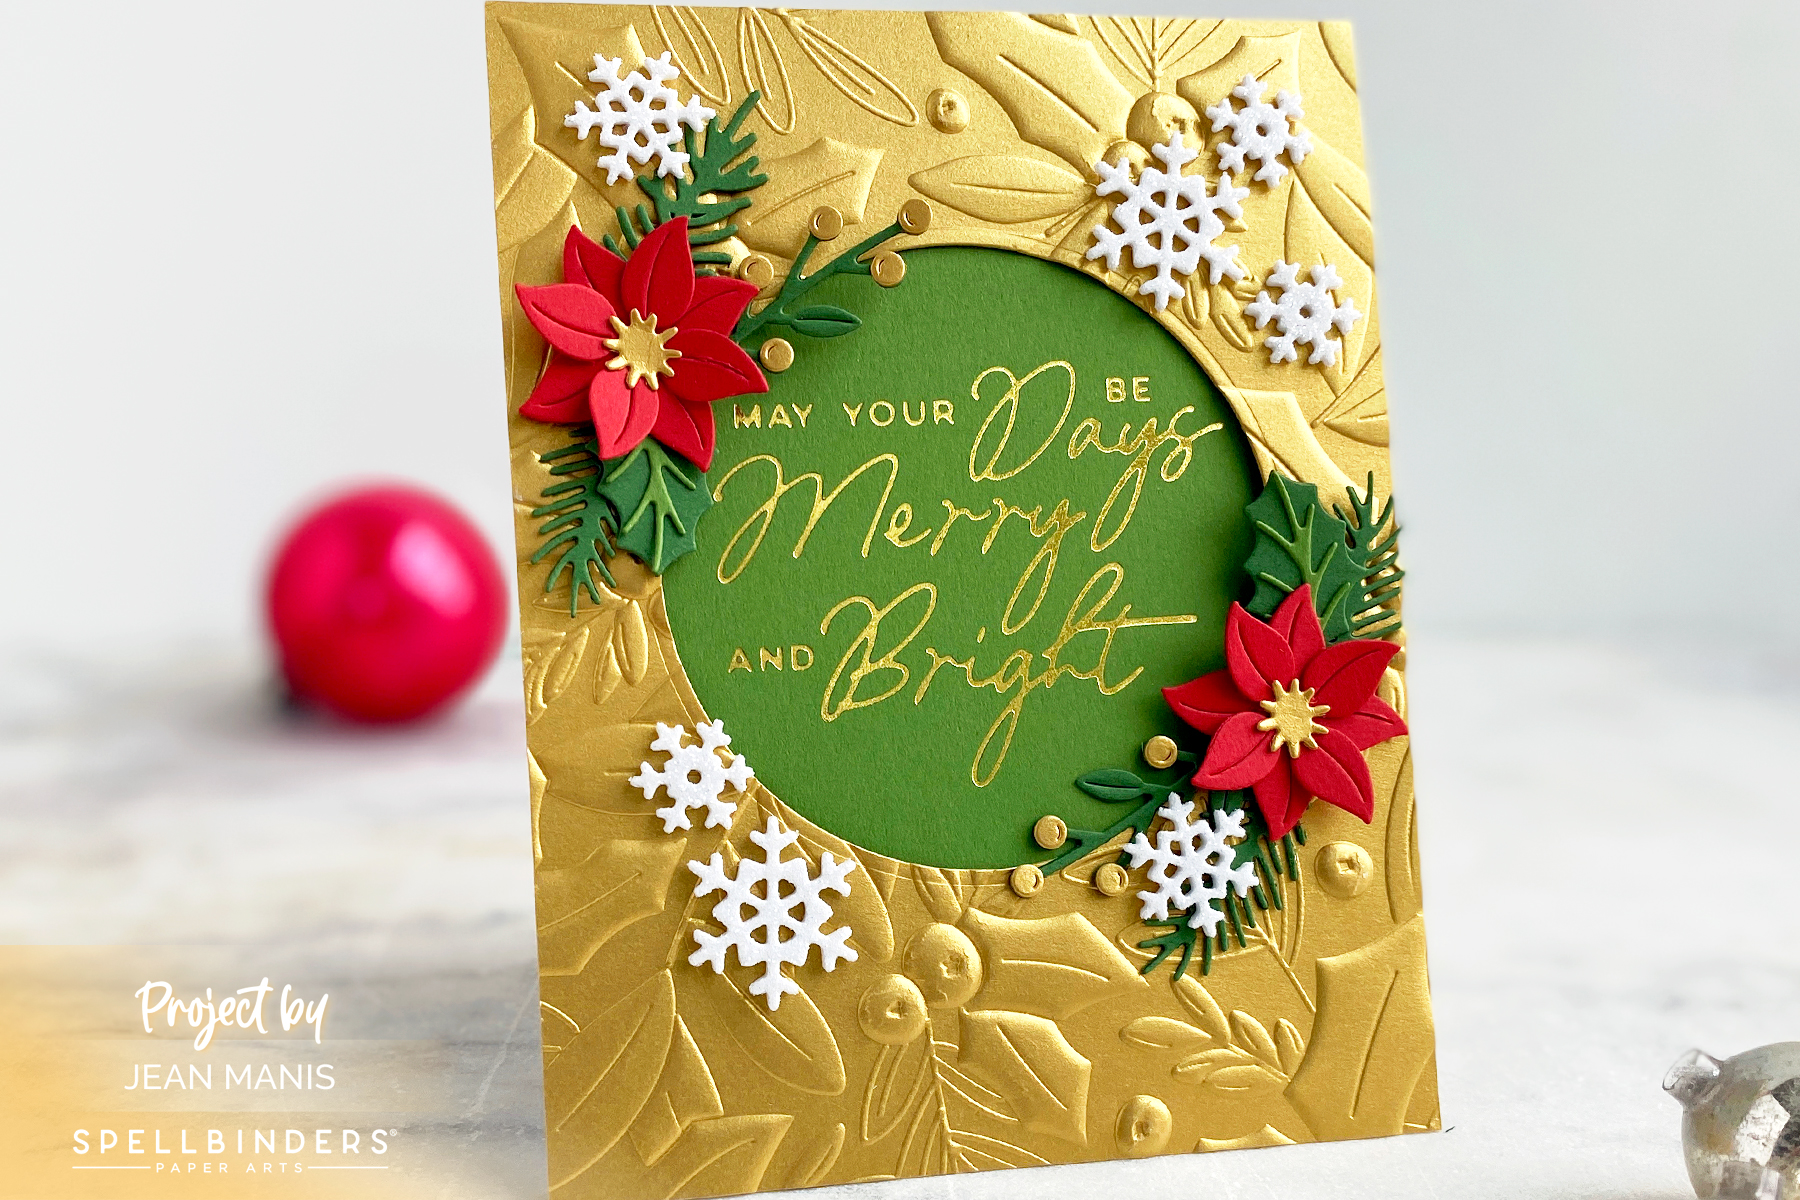
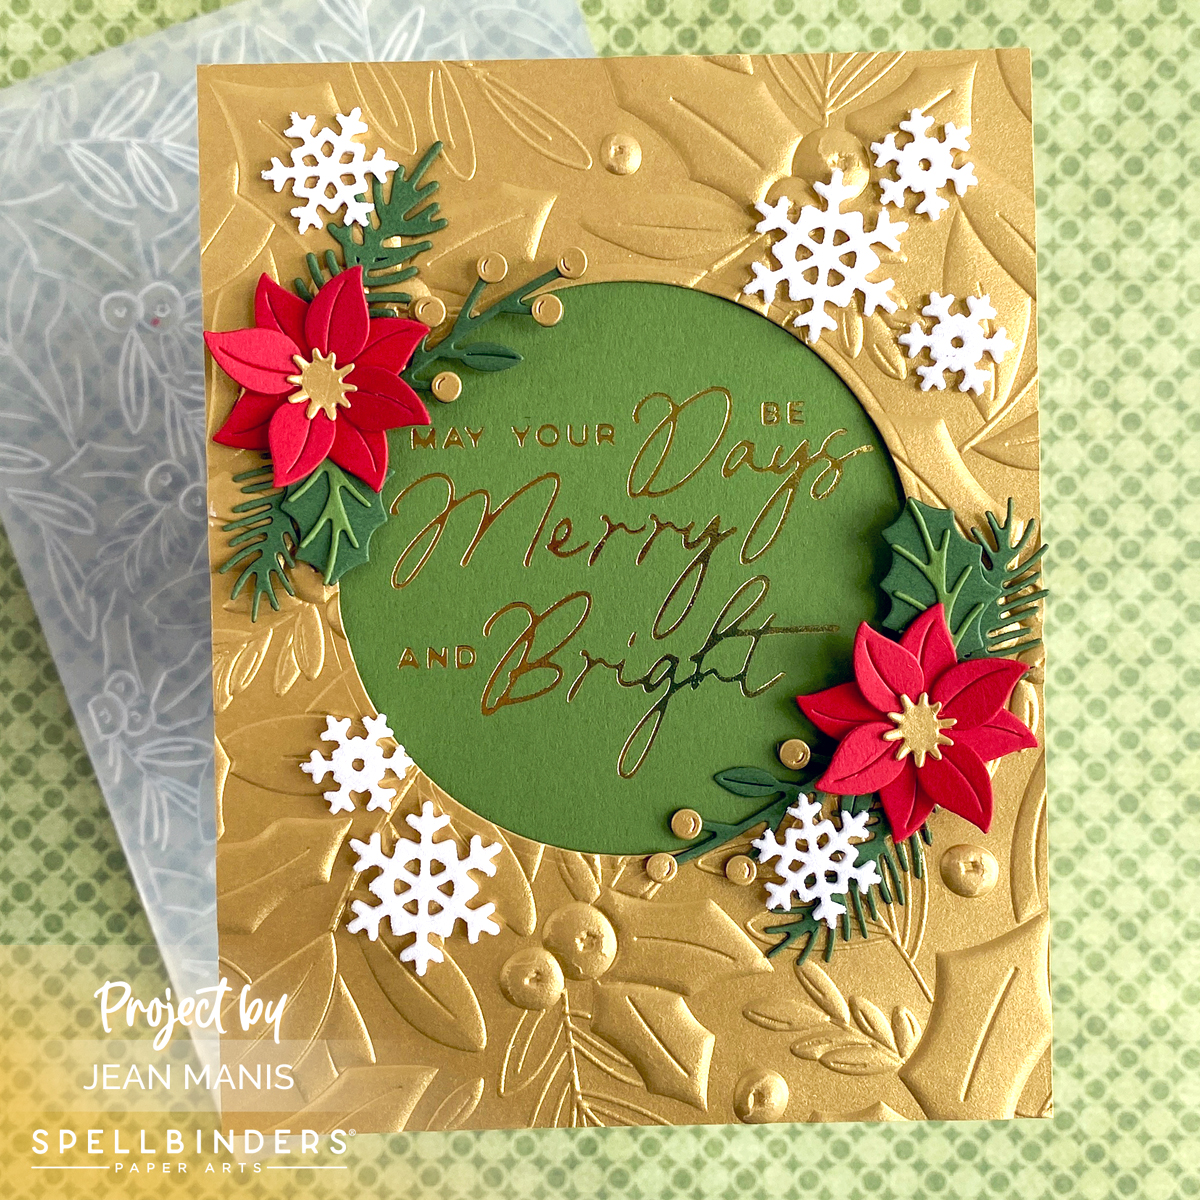
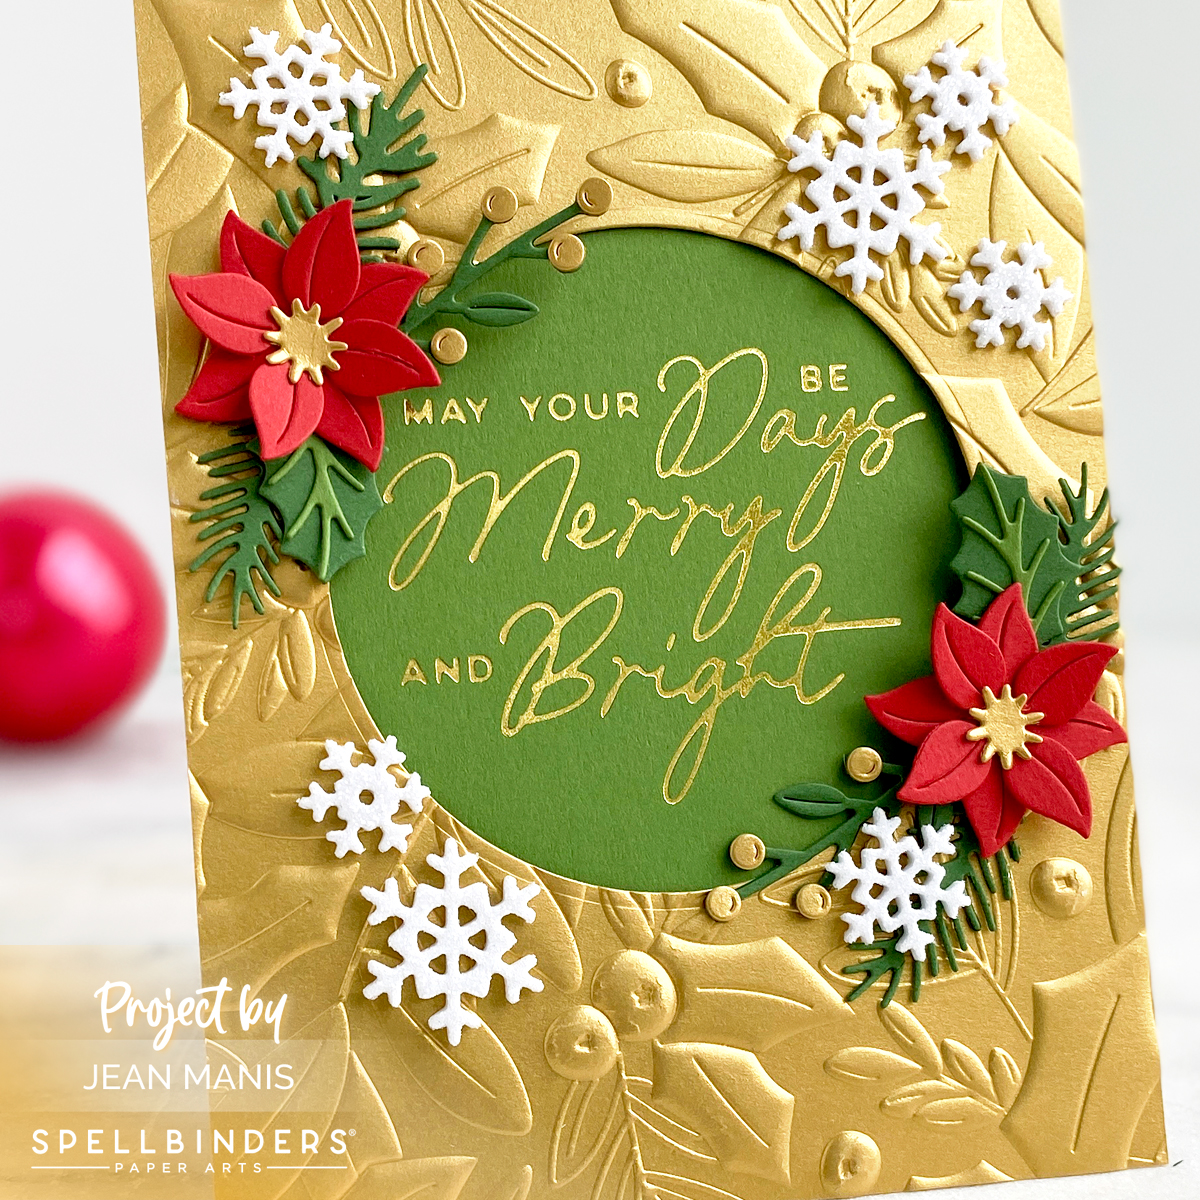
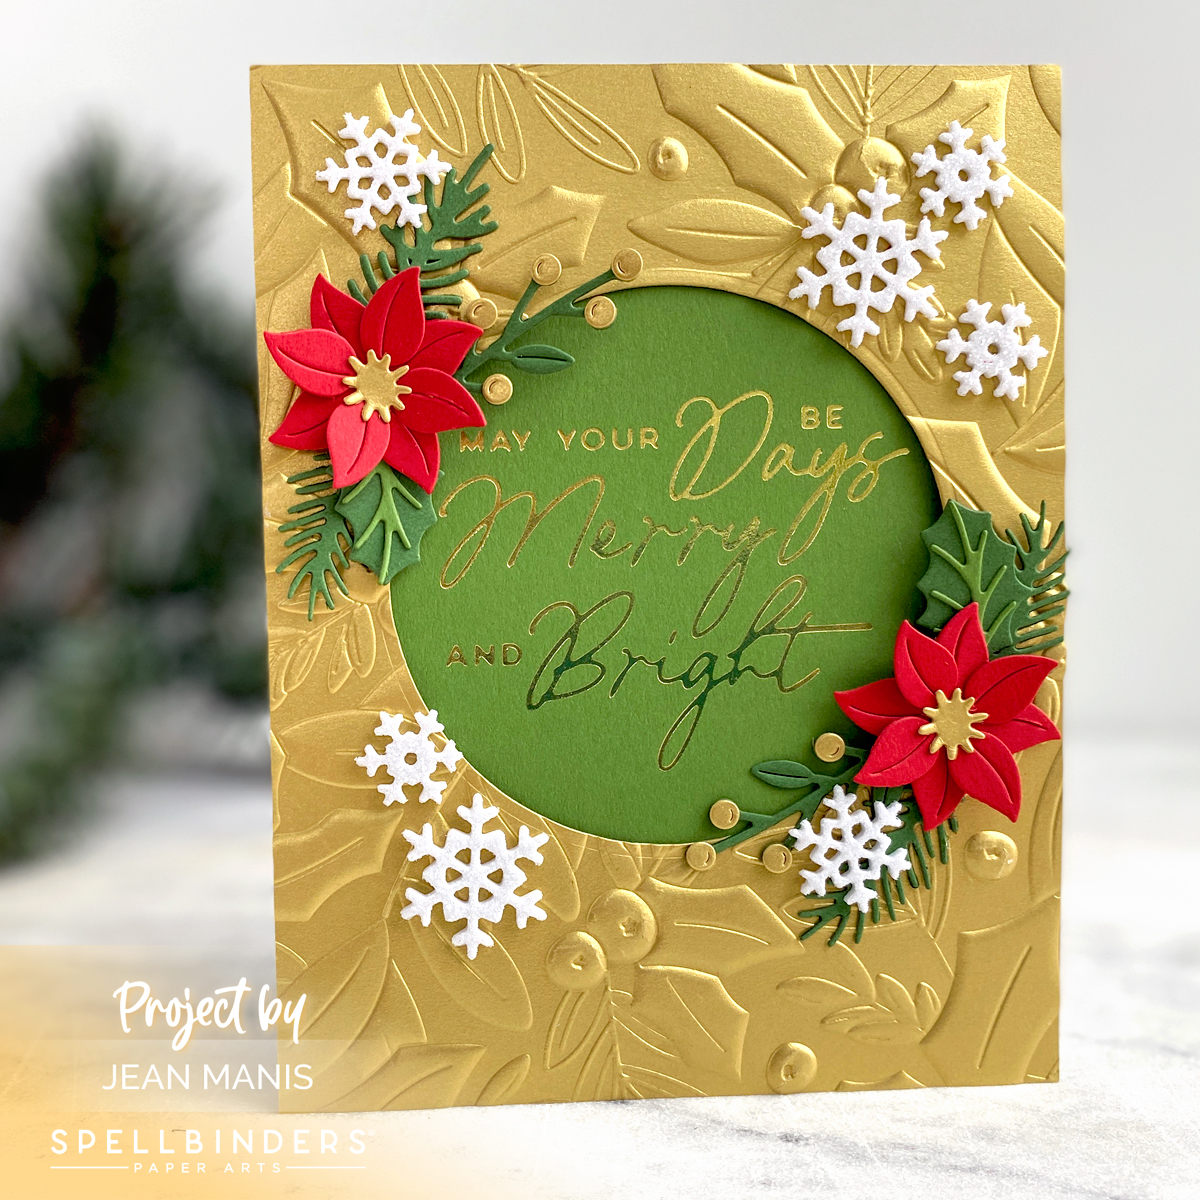
Hello! The holiday season is fast approaching, and it’s the perfect time to gear up for Christmas card making. As stores begin to stock new products for holiday crafting (for example, Spellbinders has a number of holiday products releasing July 10), it’s important to evaluate the supplies you already own and identify any gaps. In this blog post, I am exploring Christmas-themed products from Spellbinders: sentiment glimmer foil plates, focal item dies, embossing folders for backgrounds, embellishments, and cardstock. By knowing what supplies you already have, you can make informed decisions about what new products you might want to add to your collection.
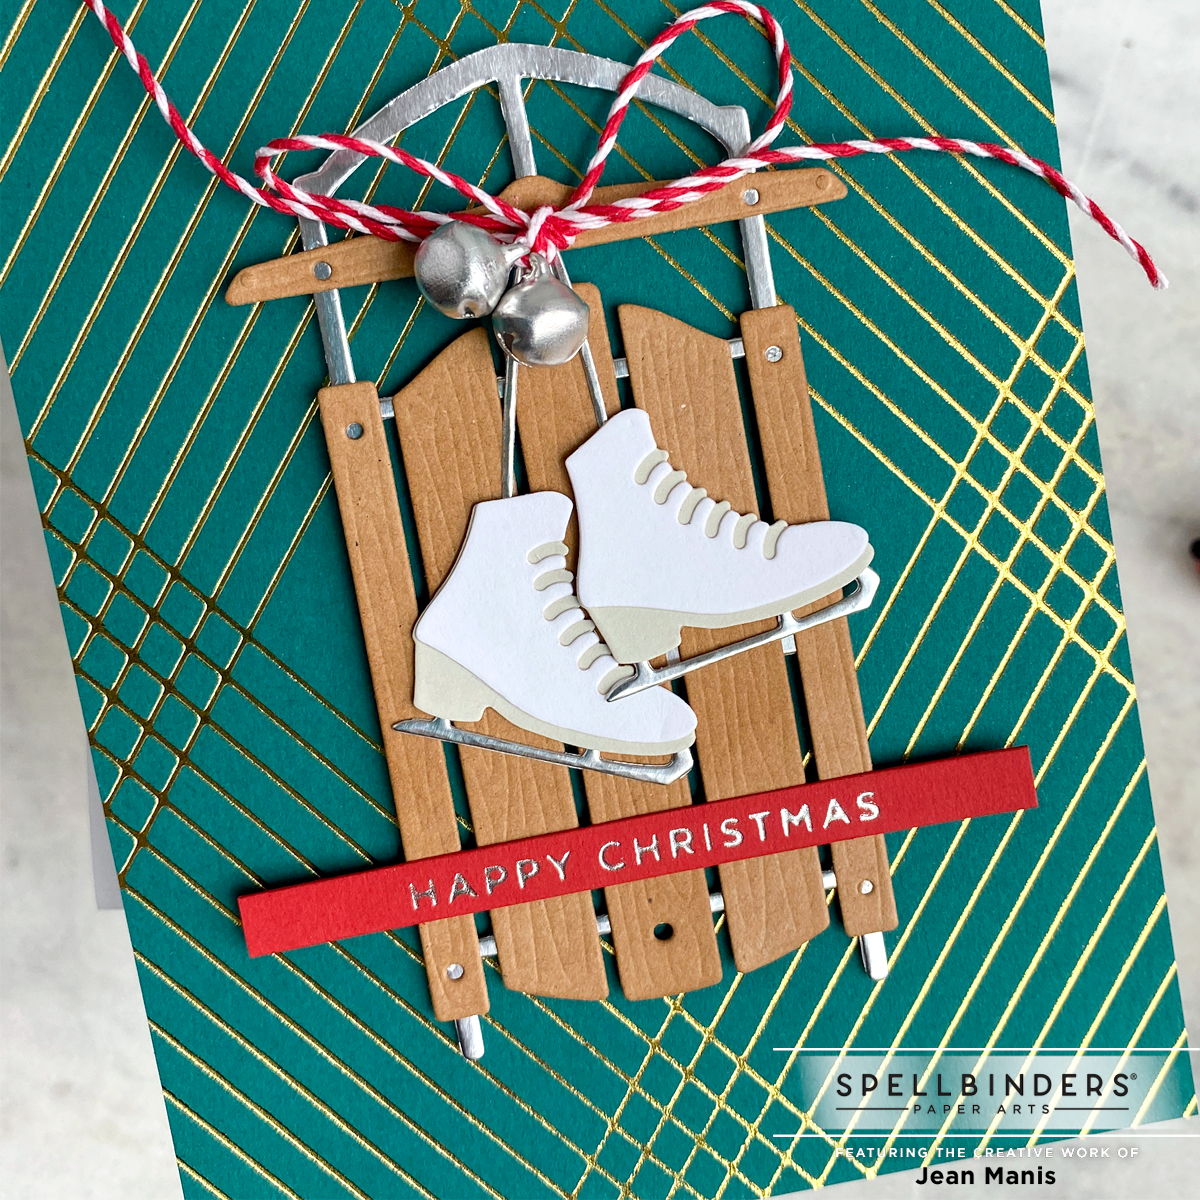
Sentiments: Consider whether you have a variety in font style, size, and sentiment type (traditional, punny) in stamps or glimmer foil plates. As I look back on the cards I made last year, I primarily used the Glitter Wishes and Mini Christmas Sentiment Strips glimmer foil plate sets. On the card below, I used a sentiment from the Glitter Wishes set with the Winter Welcome Sled. Click on the image to be taken to the original post with additional details.
Glimmer Foil: Evaluate your foil colors and fill any color gaps or restock the ones you use the most. During the holidays I lean on Gold, Silver, Matte Gold, and Matte Silver.
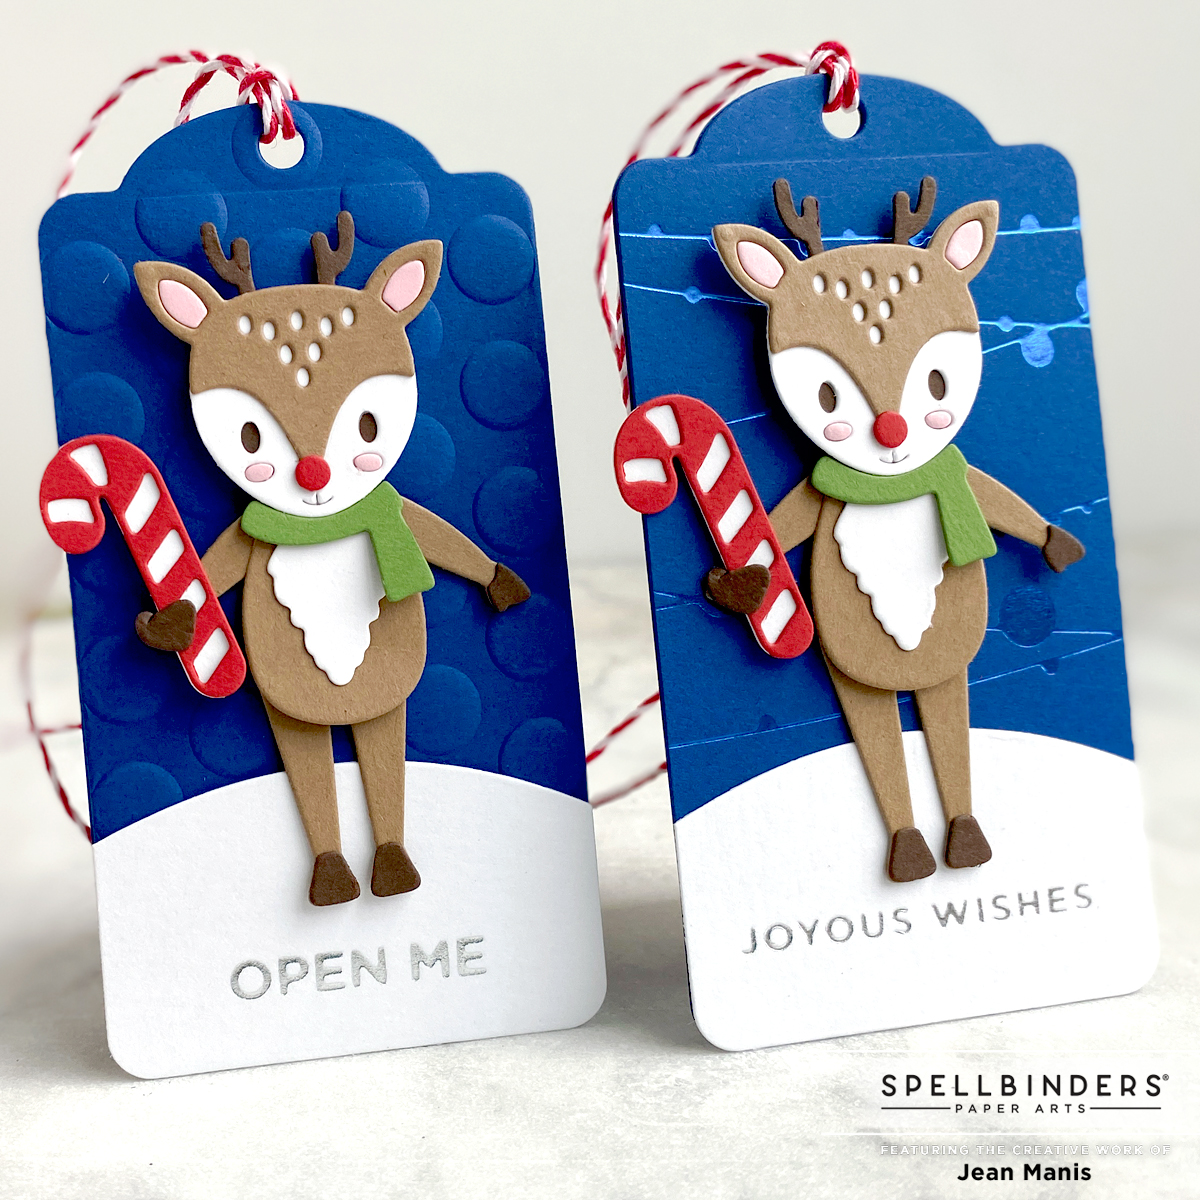
Focal Item Dies: Ensure you have a variety of holiday-themed dies, featuring popular motifs such as Christmas trees, Santa, gnomes, reindeer, and stockings. Do you need additional motifs? On the tags below, I used Dancin’ Deer, Create a Decorative Tag, Color Block Scenic Scape, and Glitter Wishes. Click on the image to be taken to the original post with additional details.
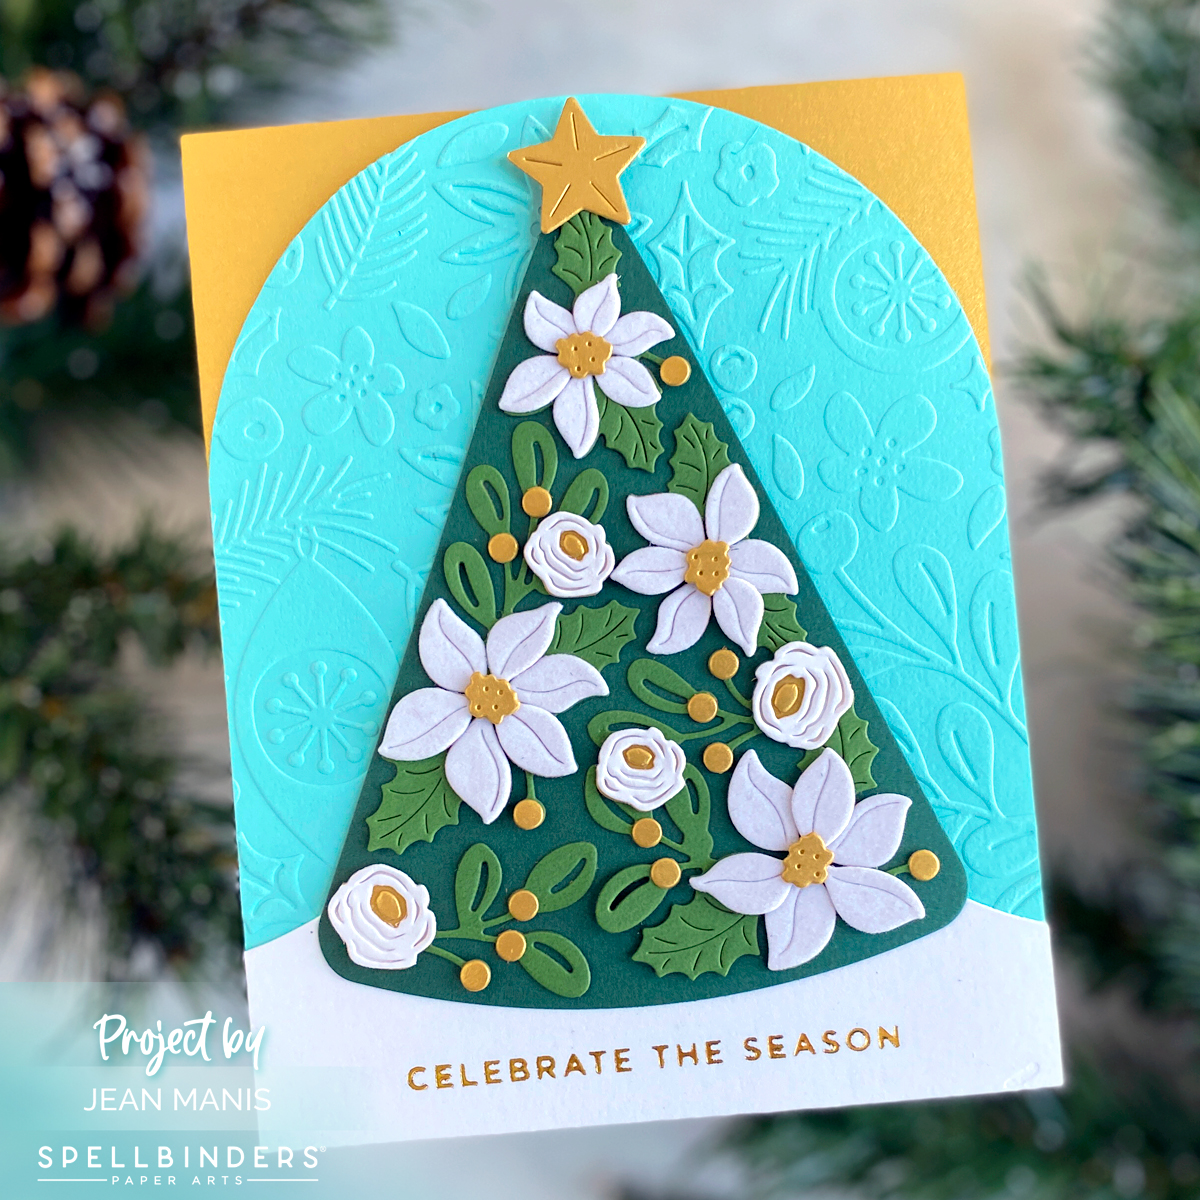
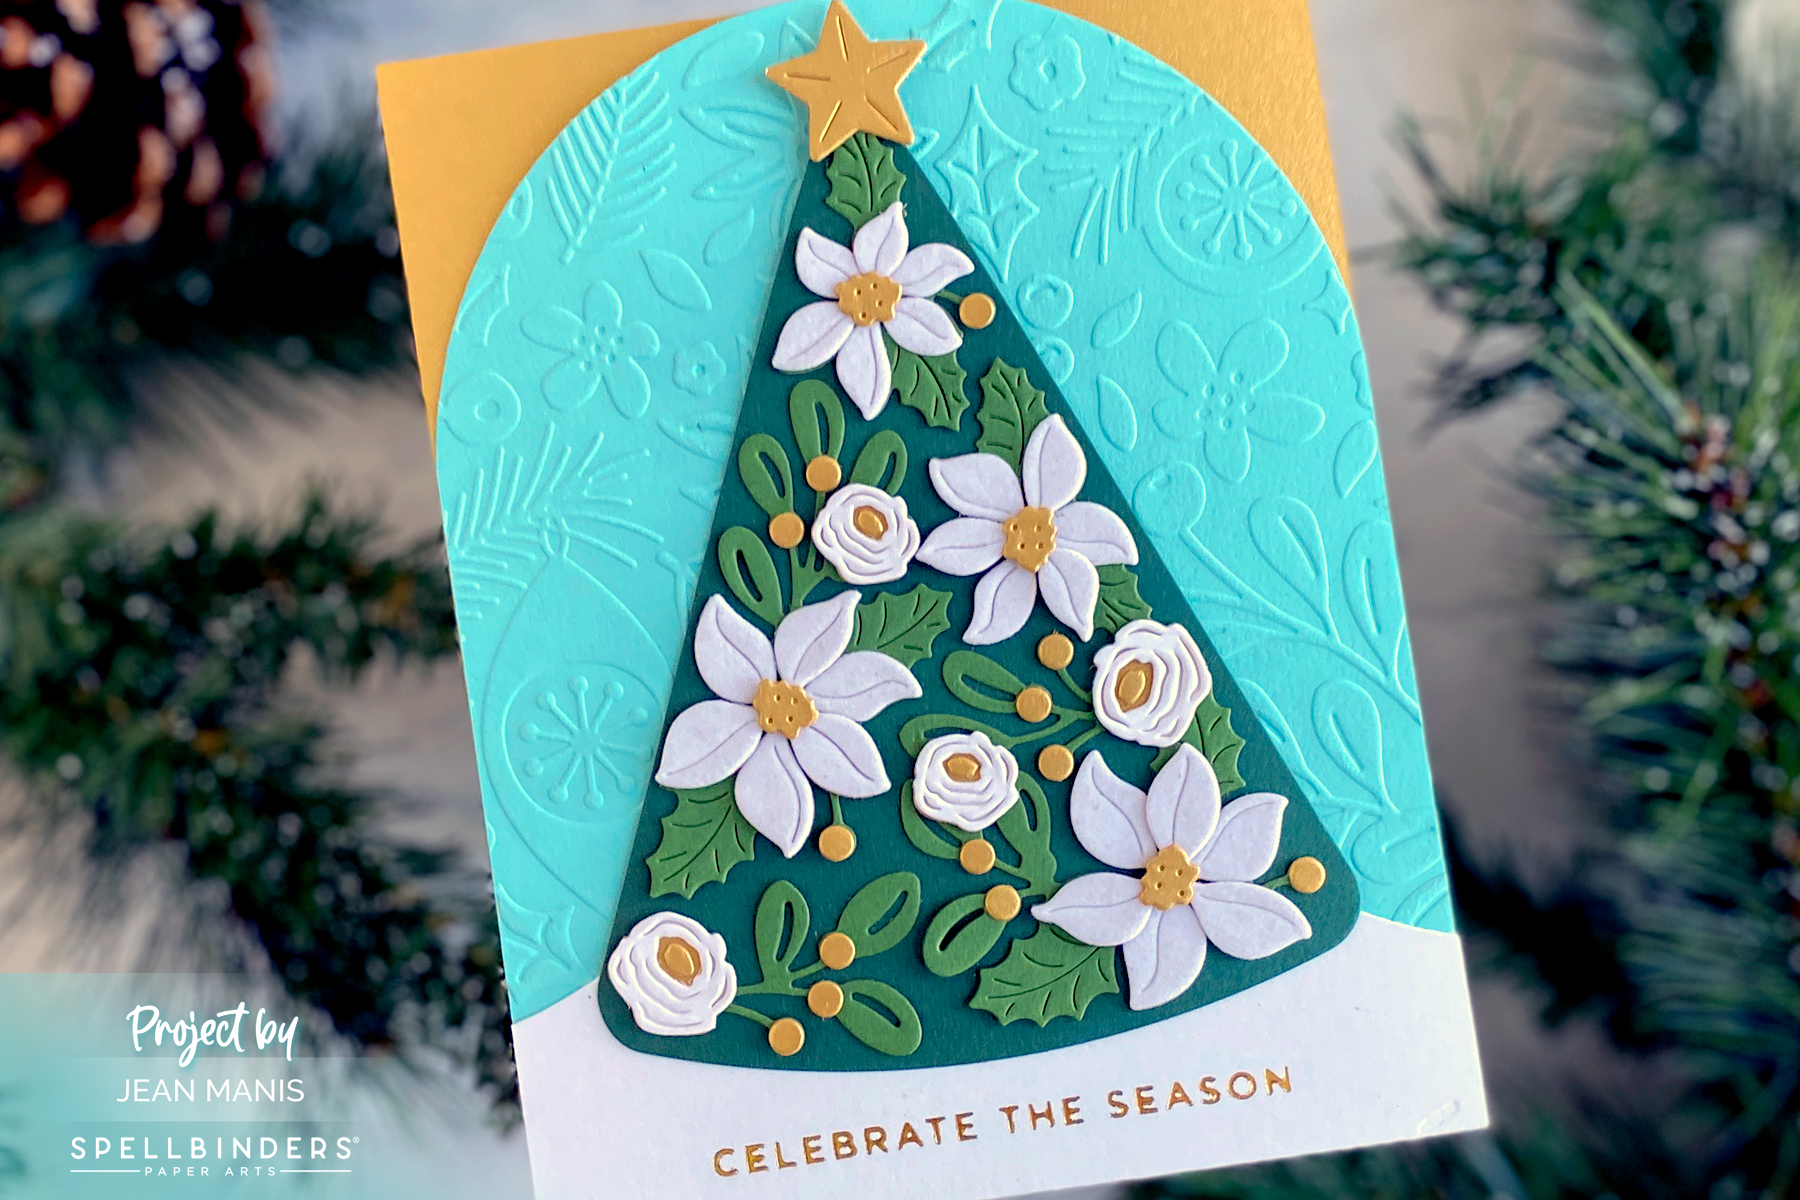
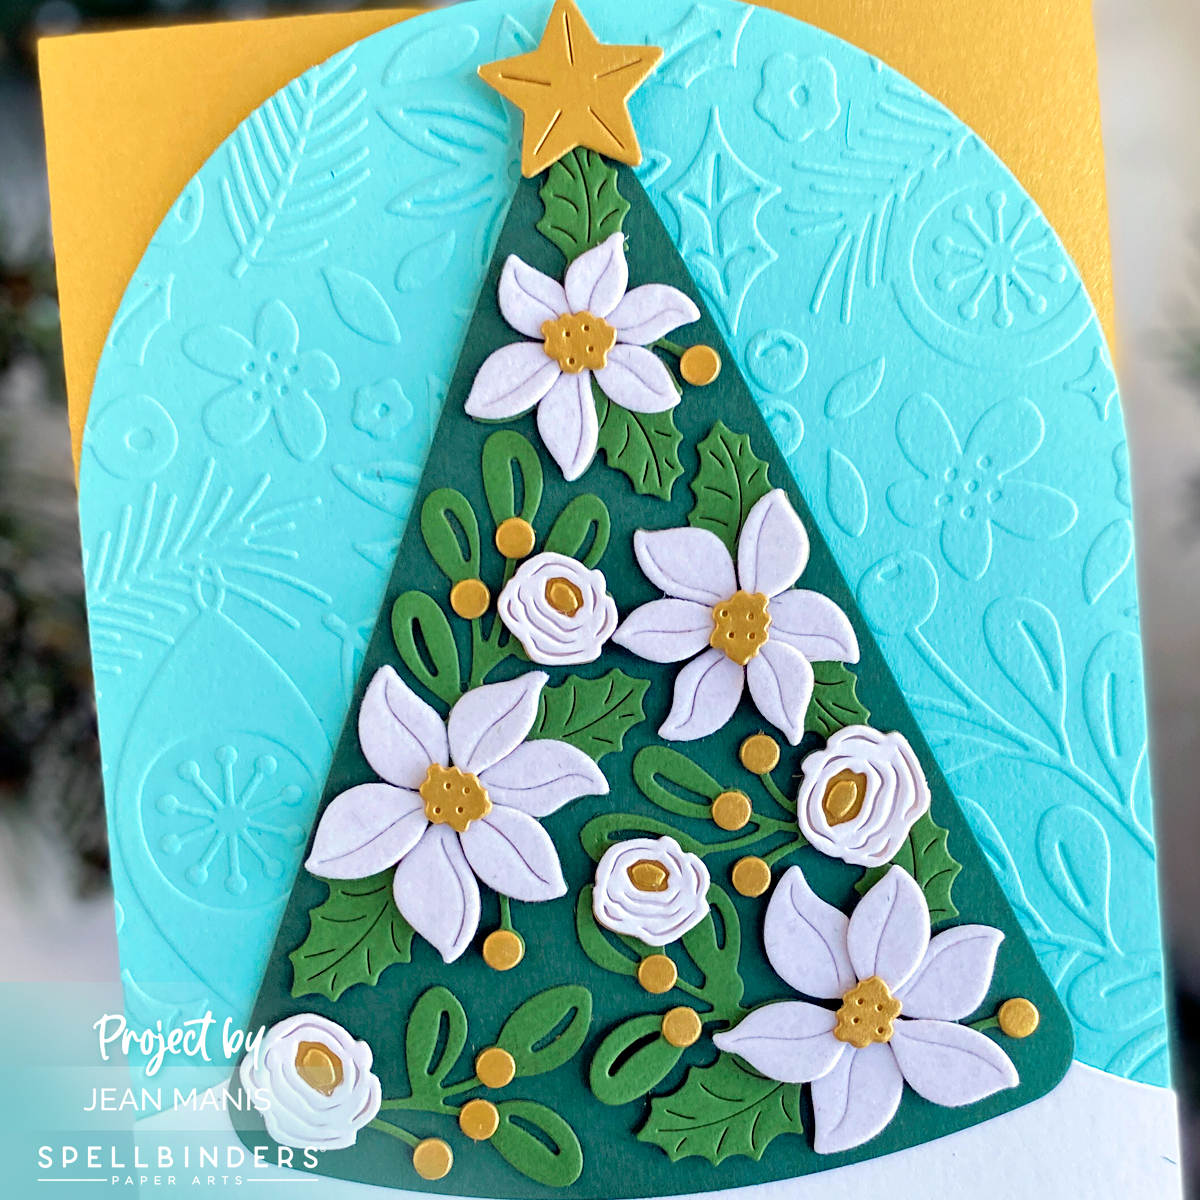
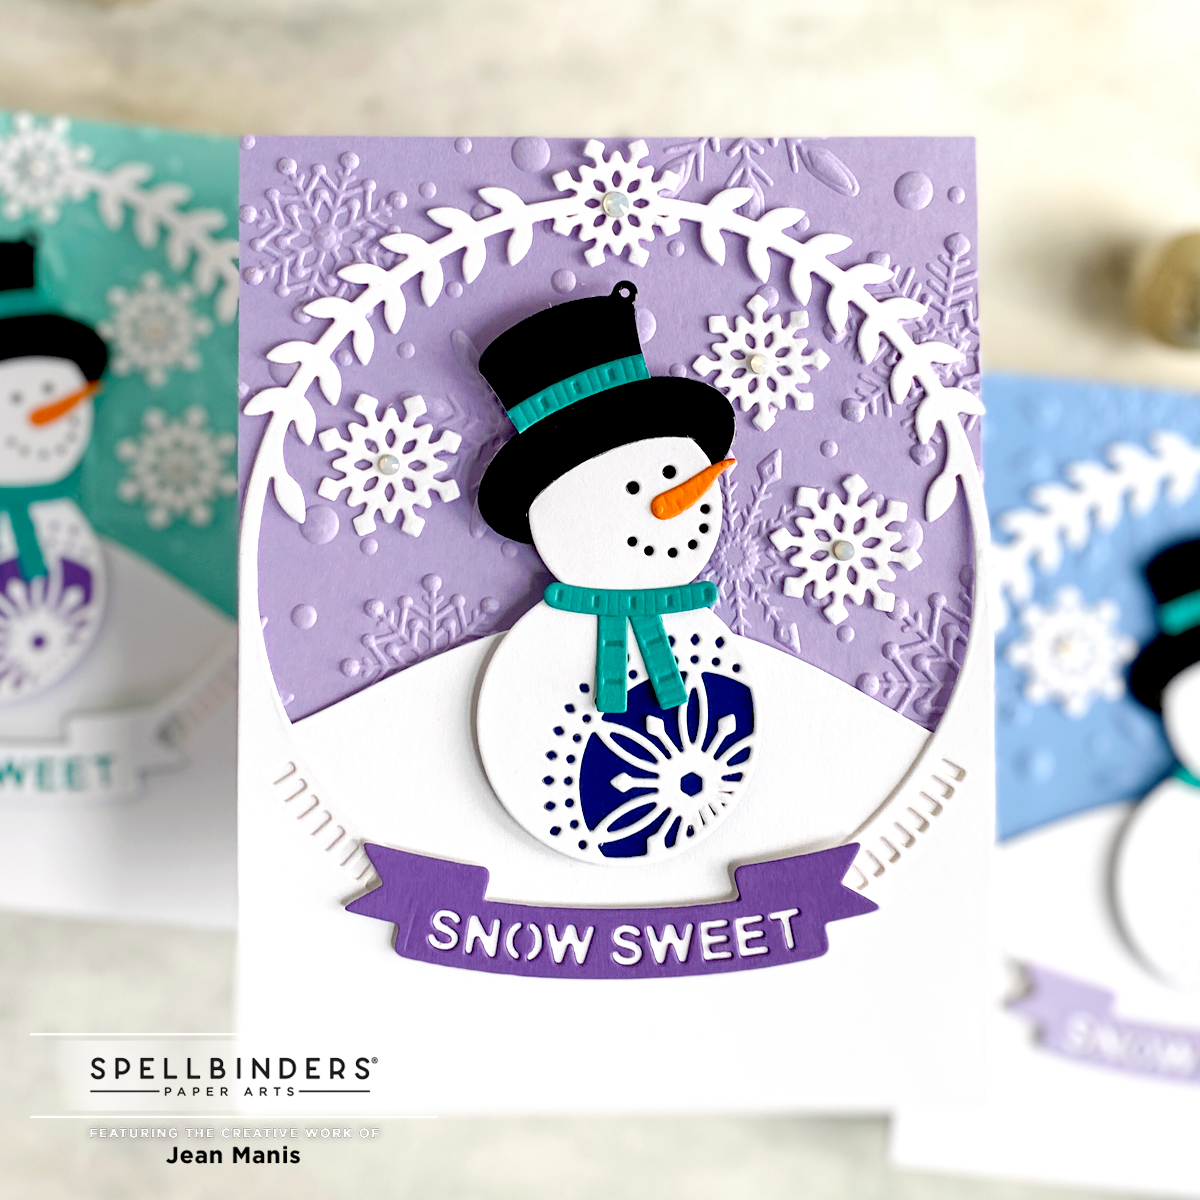
Embossing Folders for Backgrounds: Embossing folders add texture and depth to card backgrounds. Patterns such as snowflakes and holiday greenery add a festive look to your Christmas crafts and can help reinforce the theme. Consider acquiring new patterns to expand your creative options. On the cards below, I used the Let It Snowman die set and the Flurry of Snowflakes 3D embossing folder. Click on the image to be taken to the original post with additional details.
Embellishments: Adhesive gems in gold and silver add sparkle and elegance to your handmade Christmas cards. Take stock of the embellishments you currently own and ensure you have a variety of sizes and colors. Do you have enough gems to last through your holiday card-making sessions?
Cardstock: Cardstock forms the foundation of your Christmas cards, and having a selection of festive colors – gold, silver, green, red, white – is crucial for your crafting projects.
Remember, crafting for the holidays doesn’t have to break the bank. Whether you’re a seasoned crafter or just starting out, taking inventory of the supplies you already own is a smart and budget-friendly idea. By assessing your existing collection and identifying any gaps, you can make thoughtful choices about new products to add to your holiday crafting arsenal. Additionally, going through this process may give you a fresh perspective on the supplies you already have!

