Penny Black | Blooming into a New Season

Hello! As the festivities of Christmas fade away, I find myself drawn to new cardmaking themes. I decided to revisit some Penny Black products, several of which I previously used on this card.

Penny Black | Blooming into a New Season

    • Through the circle stencil in the Background Basics set, I applied Tumbled Glass ink. I stamped the Blooming Sentiments sentiment in black ink at the top of the circle and trimmed the panel as needed. I added the sentiment panel to an A2-size card base.
    • To begin, I cut the Boots, Burst of Blooms, Daisy Delight, and butterfly (Flight of Fancy set) from Soft Finish cardstock. I colored the boots, Burst of Blooms floral sections, and butterfly with Distress Inks. I colored the stems of the flowers and the daisy centers with Copic markers. I adhered centers cut from white cardstock with the Dots die.
    • I trimmed the floral pieces and added them to the boots, taping them in place on the back of the boots.
    • I added the butterfly and filled boots to the card front with foam adhesive.

Penny Black | Blooming into a New Season

Penny Black | Blooming into a New Season


Warm Wishes and Bear Hugs

Hello! This winter-themed friendship card, adorned with a charming bear created with the Impression Obsession Cocoa Bear set, exudes a playful charm that is sure to bring a smile to the recipient.

Warm Wishes and Bear Hugs

      • Cut Cocoa Bear from a variety of cardstock colors and textures. Assemble.
      • Stamp the Bear Sayings sentiment on to a die-cut Polaroid frame. (I used one from Paper Smooches.)
      • Back the frame with patterned paper. (I used Cabin Fever from Carta Bella for the scarf, the back of the frame, and the card base.)
      • Add frame to a patterned paper card base (A2-size). Add bear to the front of the frame.

Warm Wishes and Bear Hugs

Warm Wishes and Bear Hugs


CottageCutz | Gnome on Skis

Hello! As you may have read, I am focusing on winter-themed cards to extend the season of the cute stamps and dies that are holiday-related. A skiing gnome adds a whimsical and charming touch to a card suitable for a variety of occasions including a winter birthday or friendship card. There is something endearing about a gnome navigating the slopes (or is he?)!

Cottage Cutz | Gnome on Skis

I have had the CottageCutz Skiing Gnomes die set for quite some time and it was gathering dust. As such, I am entering the card in the NBUS Challenge #57 (Never-Before-Used-Schtuff). The die set is still available directly from Scrapping Cottage or from Frantic Stamper.

    • To begin, I created an A2-size card base from Light Brown Woodgrain cardstock.
    • Next, I cut the gnome from a variety of cardstock colors and assembled him. There is no die in the set for the eyes or the mouth. I created the eyes using a die in the Impression Obsession Santa Mug die set and the mouth using a die in an older Taylored Expressions Little Bits set.
    • I used one of the Impression Obsession Tree Line dies to create the back of the landscape.
    • I stamped the sentiment in VersaFine ink using a stamp in the Stampin’ Up Snowbody Better set (the set is from several years ago, and I have never used it before) on to Snowdrift cardstock. I cut the top of the stamped panel measuring 3 1/2″ wide with a die in the MFT Snow Drifts die set (now retired). I cut another snowdrift panel with the other die in the same set.
    • I assembled the three landscape layers – tree line, snowdrift, and snowdrift with sentiment – and added the assembly (measuring 3 1/2″ wide by 4 3/4″ tall) to patterned paper. That assembly was added to the card base. Finally, I added the gnome with foam adhesive.

Cottage Cutz | Gnome on Skis


Spellbinders Small Die Kit – Sneaking a Kiss

Happy December! I am delighted to share a Valentine’s Day card featuring the Spellbinders December Small Die of the Month Club Kit – “Sneaking a Kiss.” Send this love-themed card to a friend or Valentine.

Spellbinders Small Die Kit – Sneaking a Kiss

Please note, in terms of the club subscriptions at Spellbinders: the sign-up window for new subscriptions now opens on the 6th of each month and closes on the 27th (once existing club members subscriptions have been processed). If there is additional inventory remaining, it will be made available for new subscriptions with limited availability.

Spellbinders Small Die Kit – Sneaking a Kiss

  • Dry-emboss A2-size panel of Chamomile cardstock with the Tiny Dots embossing folder. Add to a card base with the debossed side facing up.
  • With dies in the Small Die of the Month set, cut the umbrella, girl, and boy from cardstock. Assemble. Add white dimensional enamel dots to the umbrella. Attach the umbrella over the girl and boy. Embellish with hearts cut with dies in the Small Die of the Month set.
  • Cut the sentiment strips from navy cardstock using dies in the Small Die of the Month set. Glue to the bottom of the card base.
  • Add the umbrella assembly to the card.

Spellbinders Small Die Kit – Sneaking a Kiss

Spellbinders Small Die Kit – Sneaking a Kiss


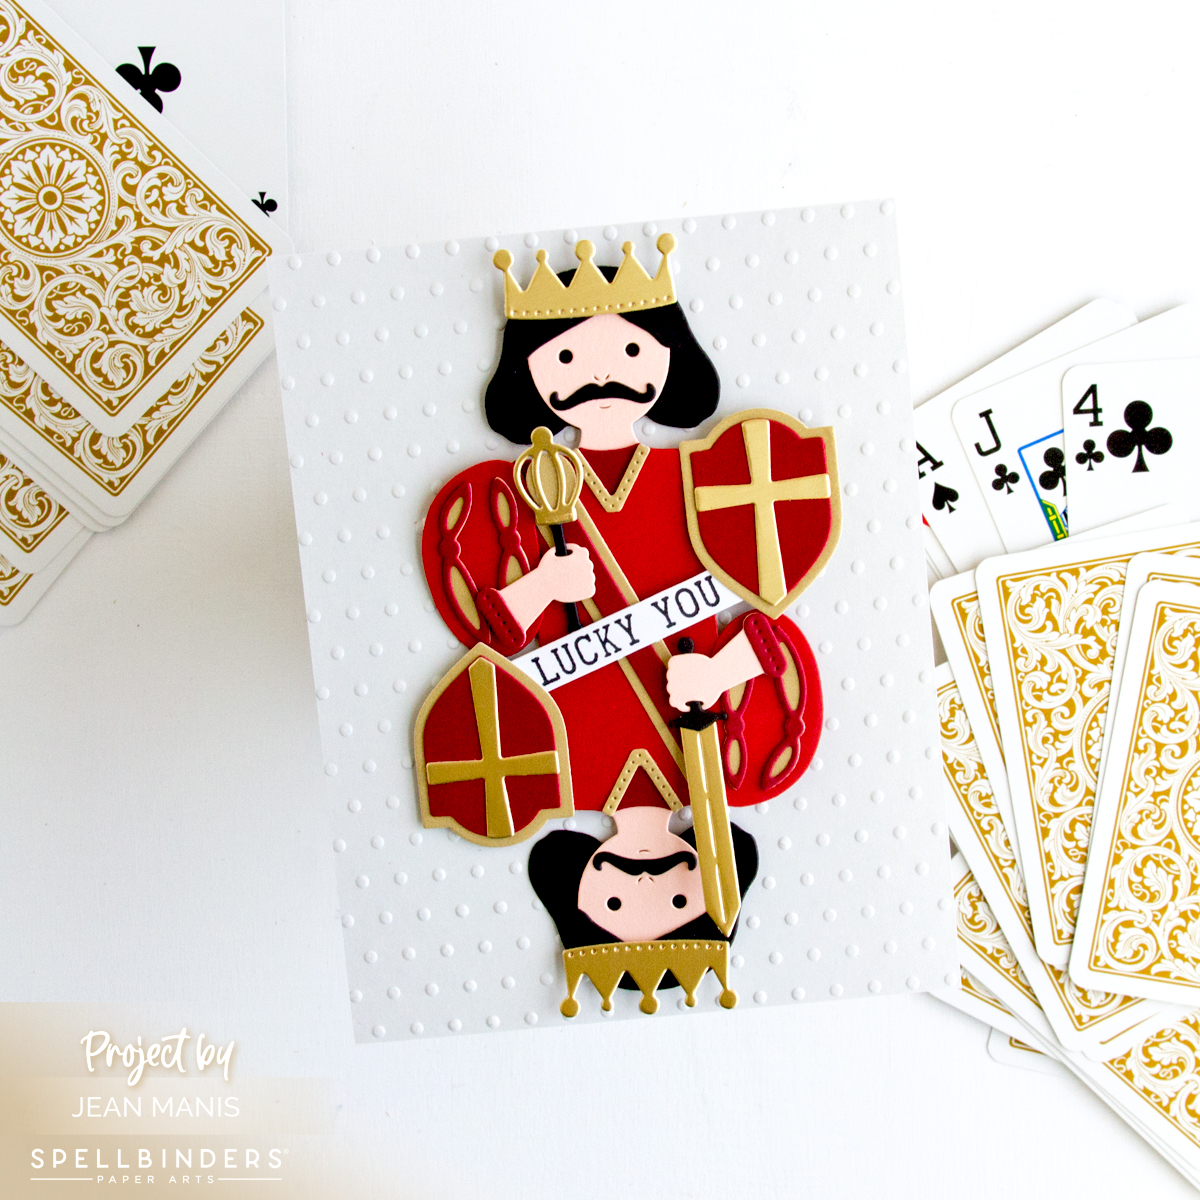
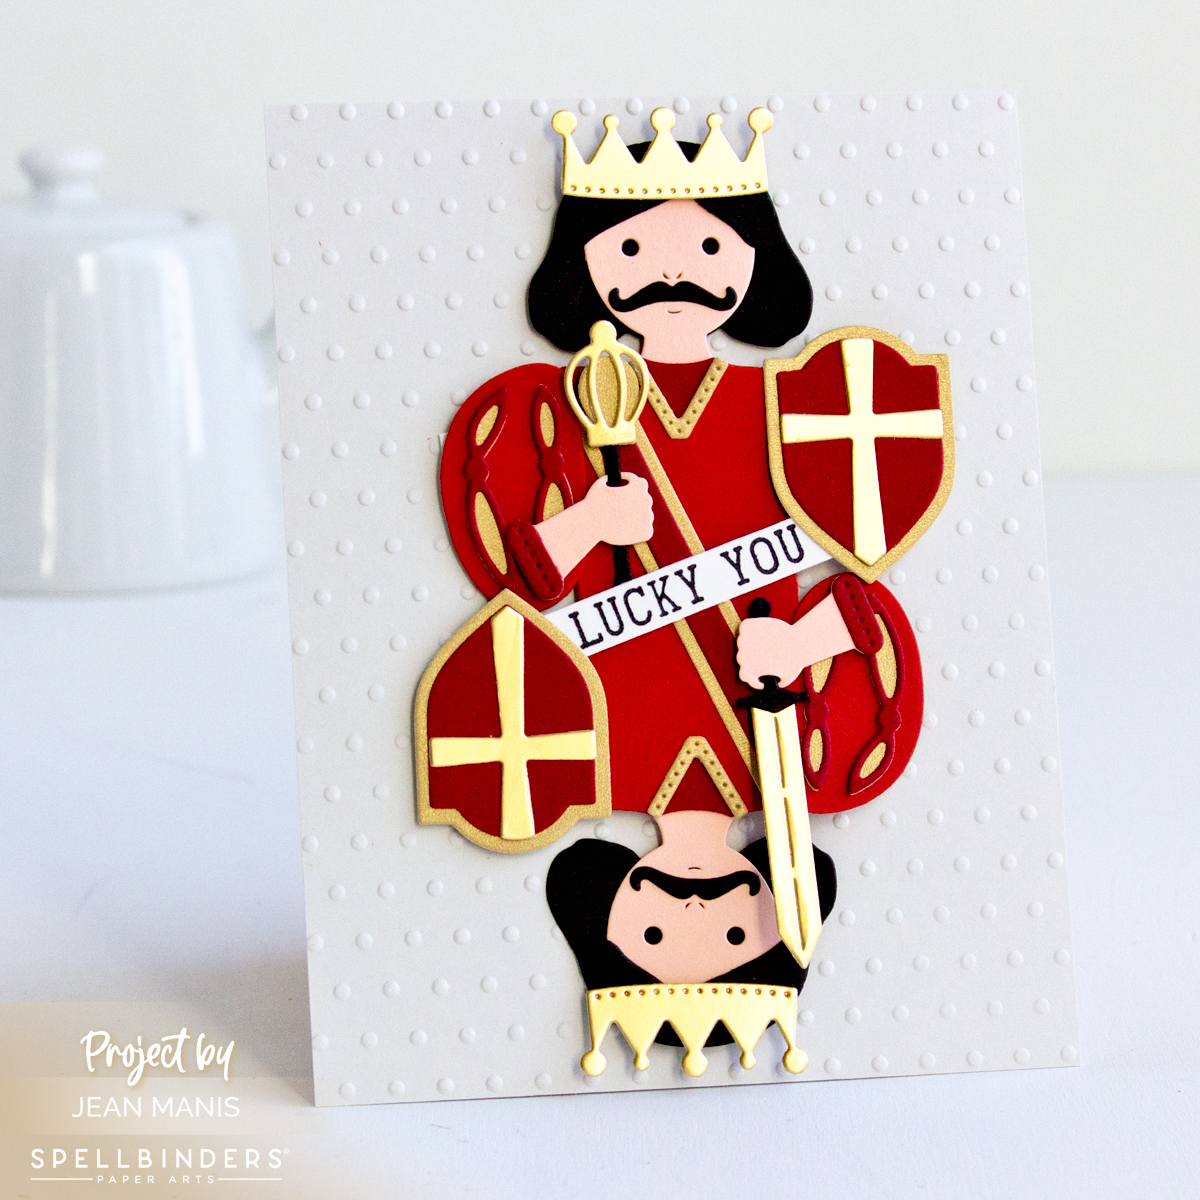
Spellbinders Large Die Kit – Cheers to Us

Hello! Today, I am delighted to share a celebratory card featuring the Spellbinders December Large Die of the Month Club Kit – “Cheers to Us.” The die set includes dies to create a champagne or wine bottle, champagne glasses or wine glasses, and two sentiments.

Spellbinders Large Die Kit - Cheers to Us

Spellbinders Large Die Kit - Cheers to Us

Please note, in terms of the club subscriptions at Spellbinders: the sign-up window for new subscriptions now opens on the 6th of each month and closes on the 27th (once existing club members subscriptions have been processed). If there is additional inventory remaining, it will be made available for new subscriptions with limited availability.

  • Begin by dry-embossing light gray cardstock (measuring 5″ x 7″) with the Puff Dotty folder. Add to a card base covered with gold glitter foam.
  • Cut champagne glasses from acetate and vellum which has been adhered together with white liner sheets. Cut champagne from Brushed Gold and Mirror Gold. Cut hearts from dark red cardstock. Assemble.
  • Cut the champagne bottle pieces from a variety of cardstock colors including Brushed White, dark green, dark red, and Brushed Gold. Assemble.
  • Add assembled bottle and glasses to the card base with foam adhesive. Embellish with diamond shapes cut from gold glitter foam.

Spellbinders Large Die Kit - Cheers to Us

Spellbinders Large Die Kit - Cheers to Us