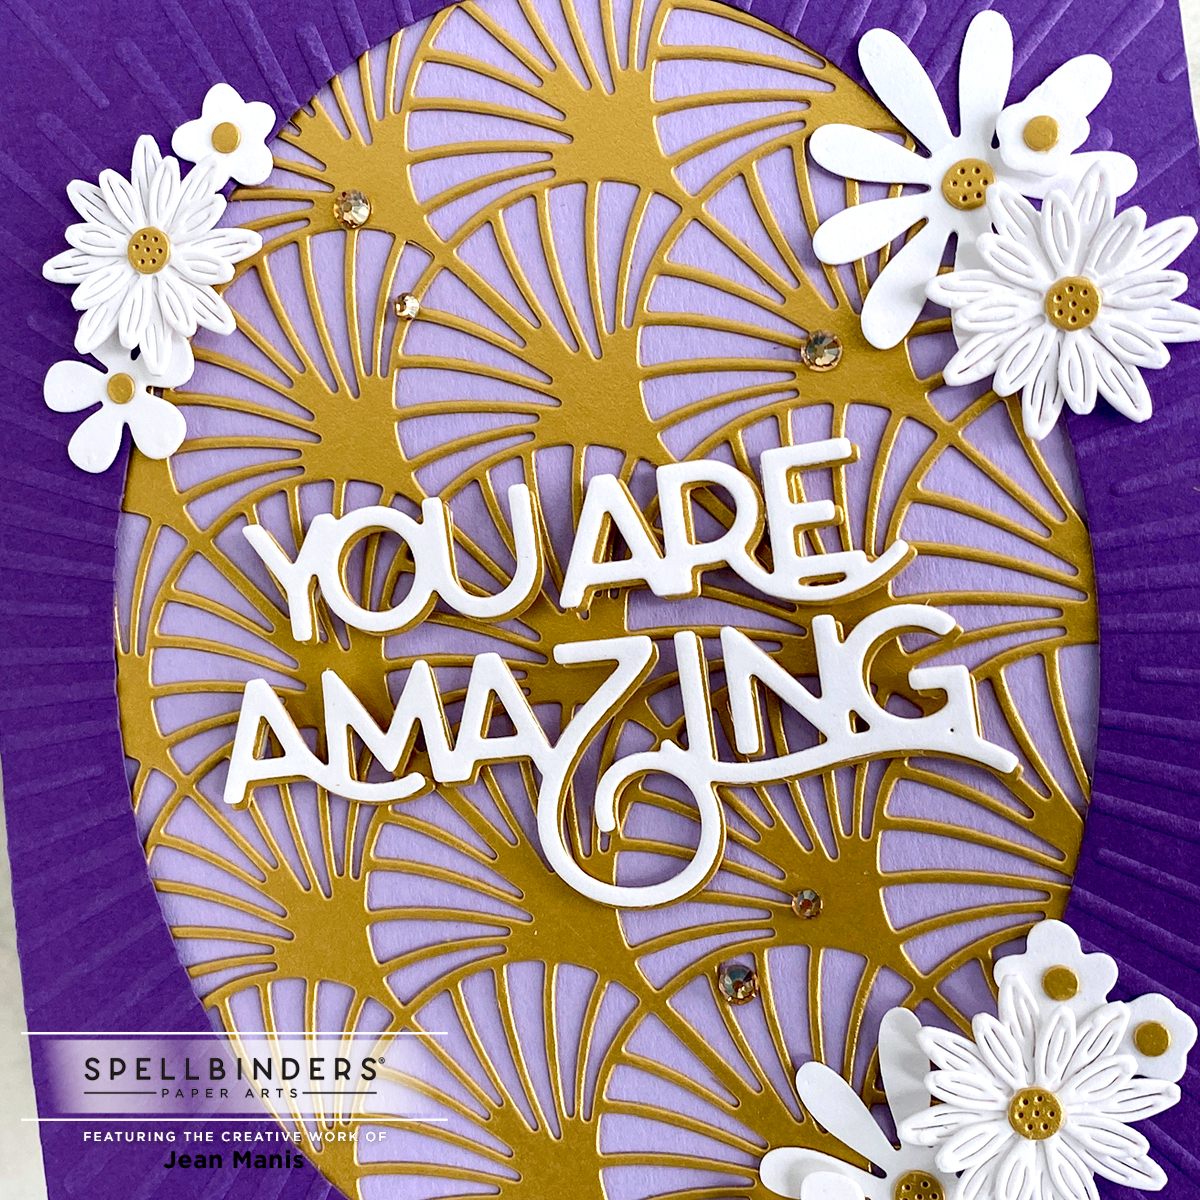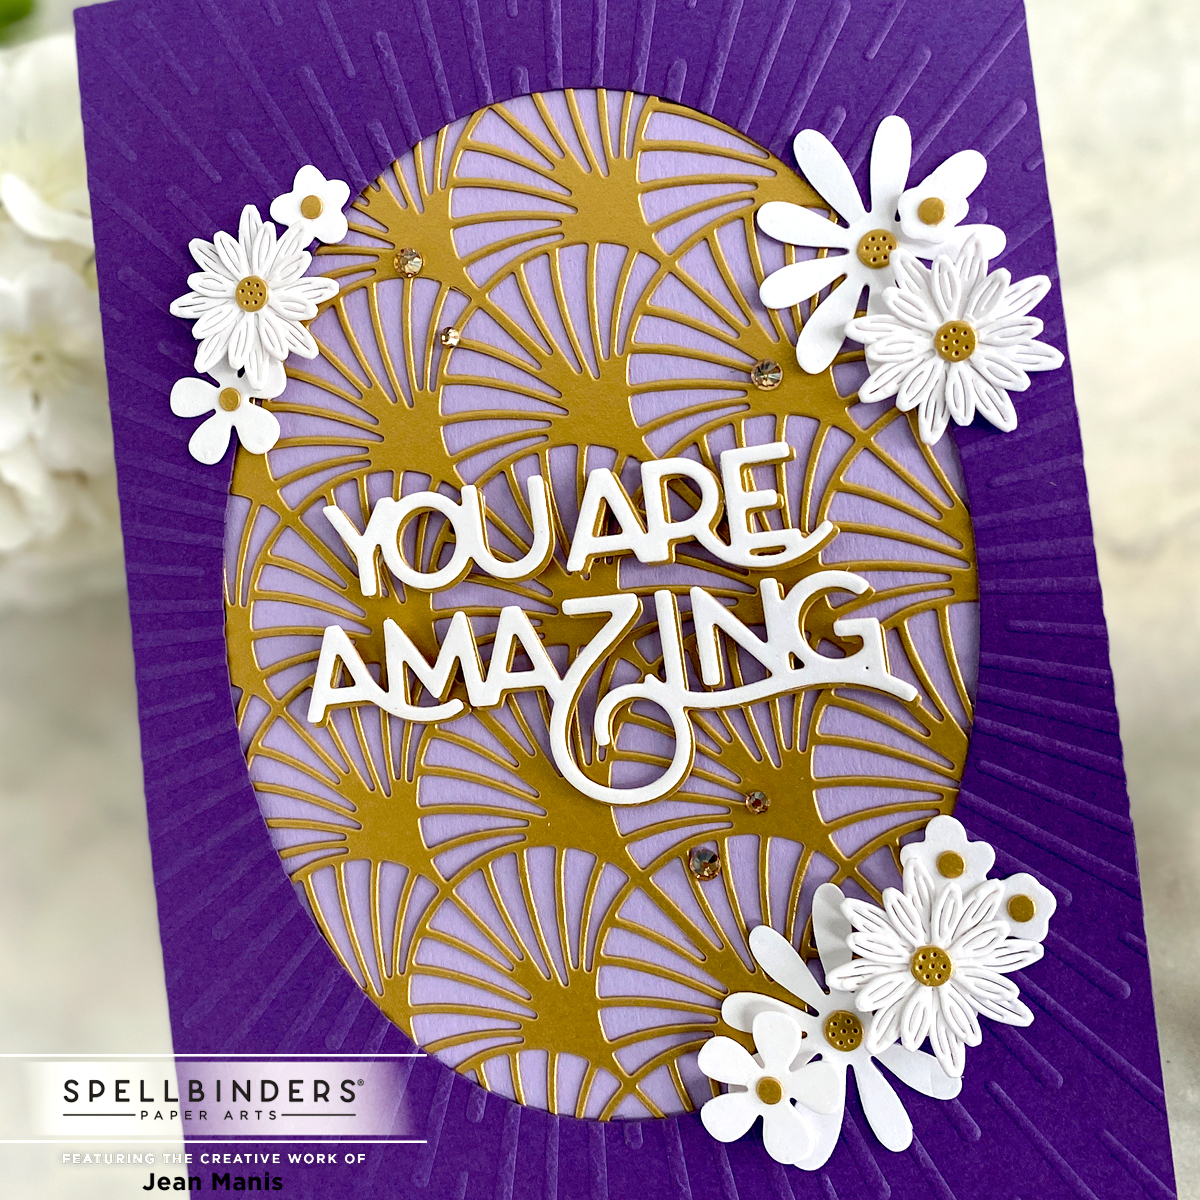
Hello! Today I am sharing a friendship/encouragement card created with the You’re Amazing die set at Spellbinders, part of the The Right Words Collection by Becca Feeken.
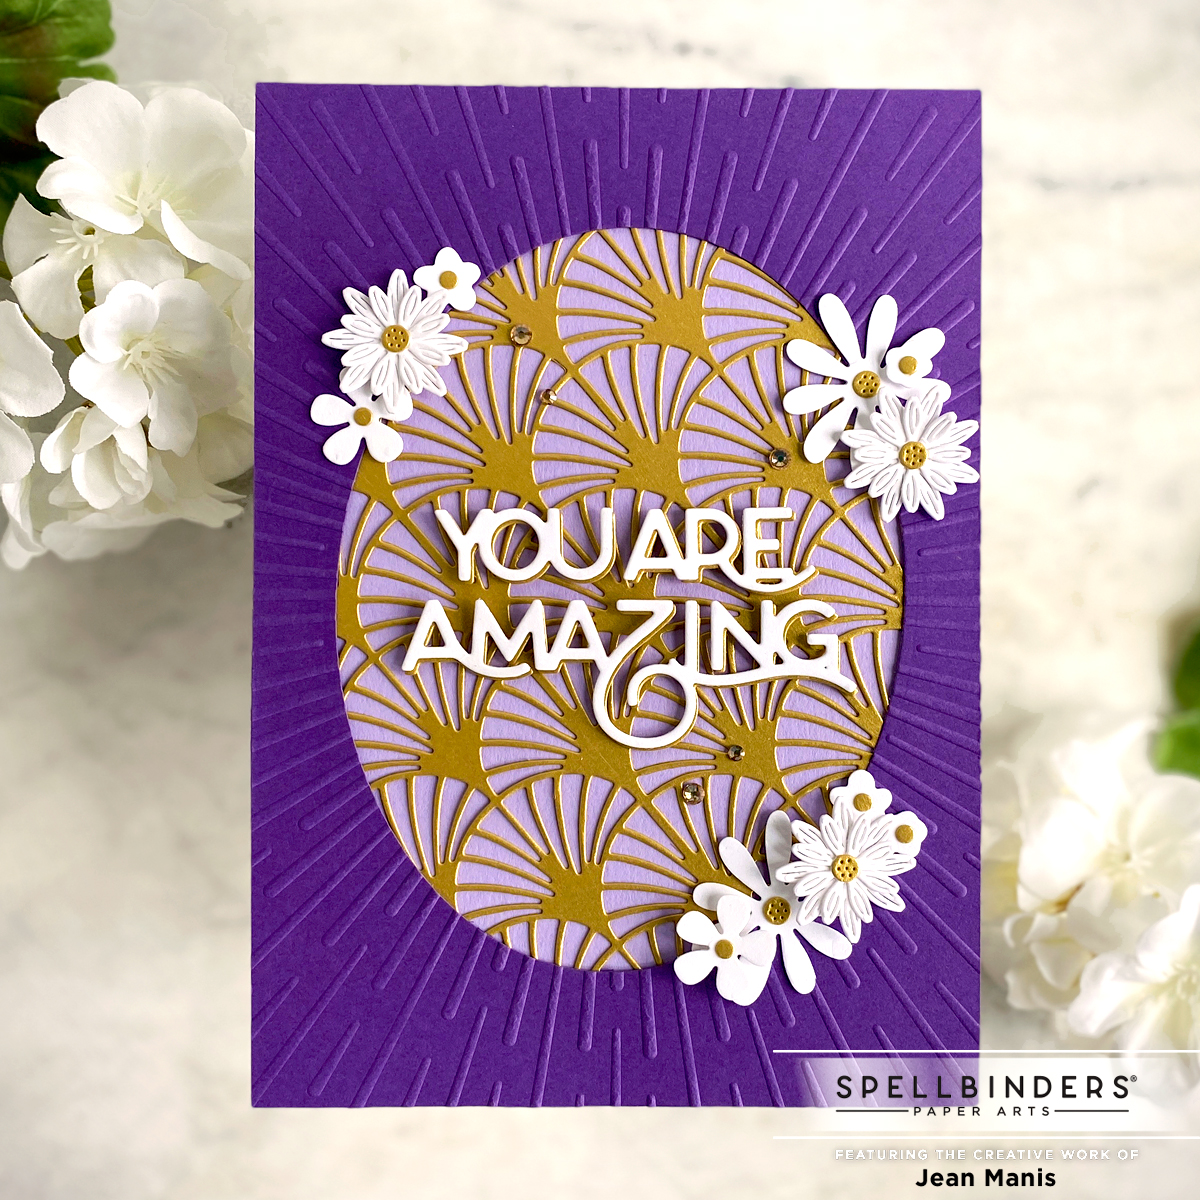
- With scallop die in the You’re Amazing set, cut Brushed Gold cardstock three times.
- Cut oval from dark purple cardstock panel measuring 5 x 7 inches. Emboss with Radiant Burst (retired) folder.
- Back oval with die-cut Brushed Gold panel, at an angle, and adhere to light purple card base.
- Cut letters from Snowdrift and Brushed Gold cardstock. Adhere at an offset to create a drop shadow. Add to card center with foam adhesive.
- Cut flowers from Snowdrift and Brushed Gold cardstock with dies in the Mini Blooms and Sprigs, Universal Curved Border Set (retired), and Truly Yours (retired). Assemble and add to card with glue and foam adhesive.
- Embellish with Gold Mix Gems.