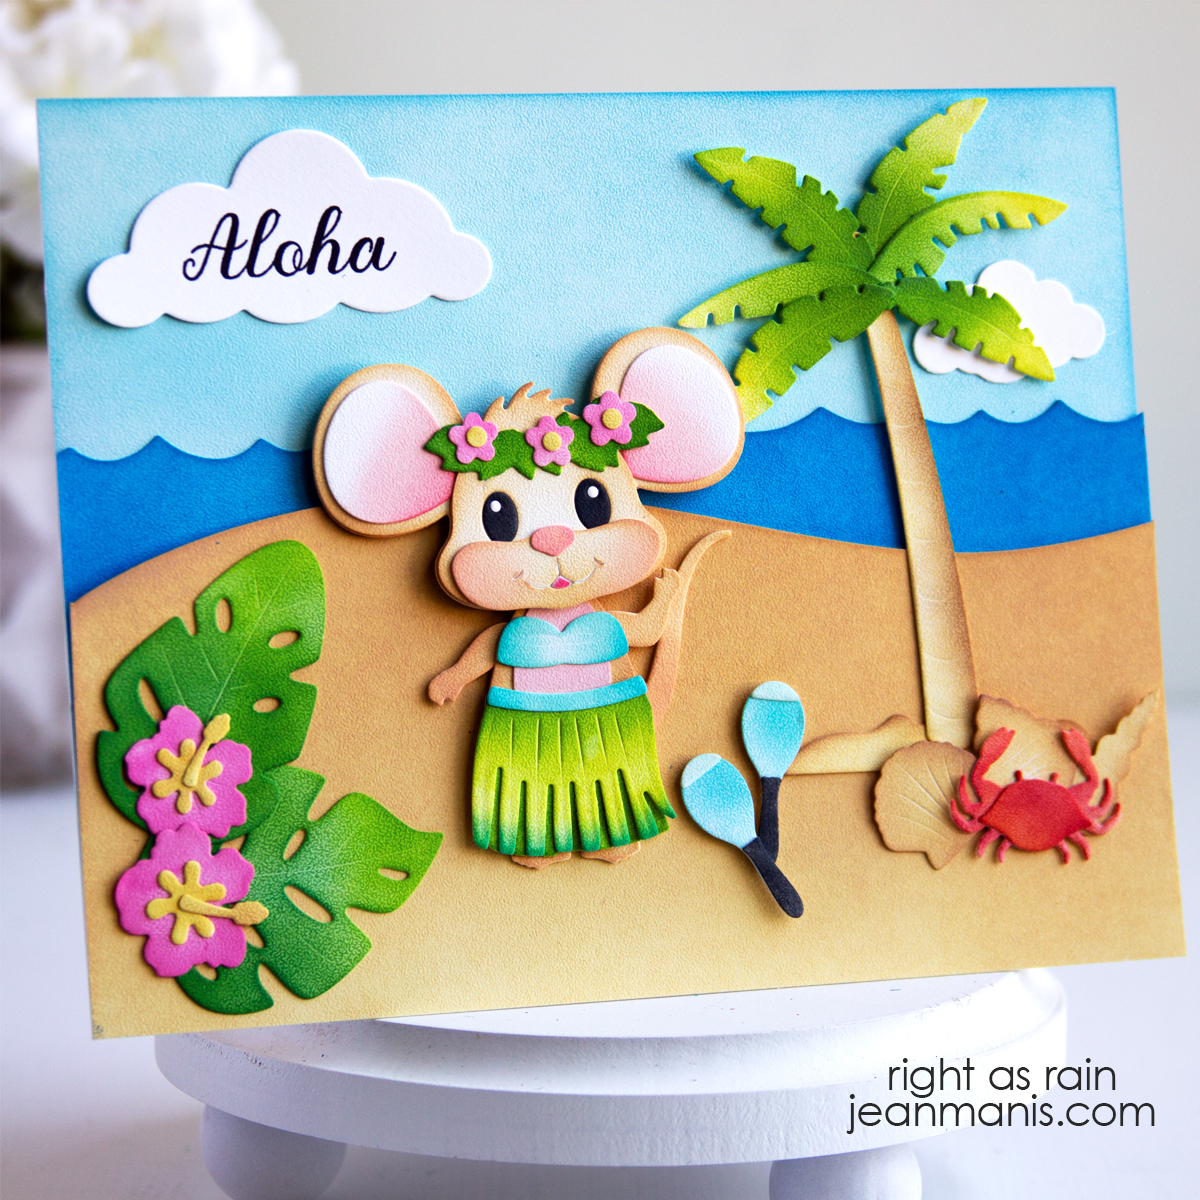
Hello! I’m sharing a fun 5″ x 7″ card featuring products from Elizabeth Craft Designs that leans all the way into tropical playfulness. I recently posted a round-up of tropical- and beach-themed cards HERE.
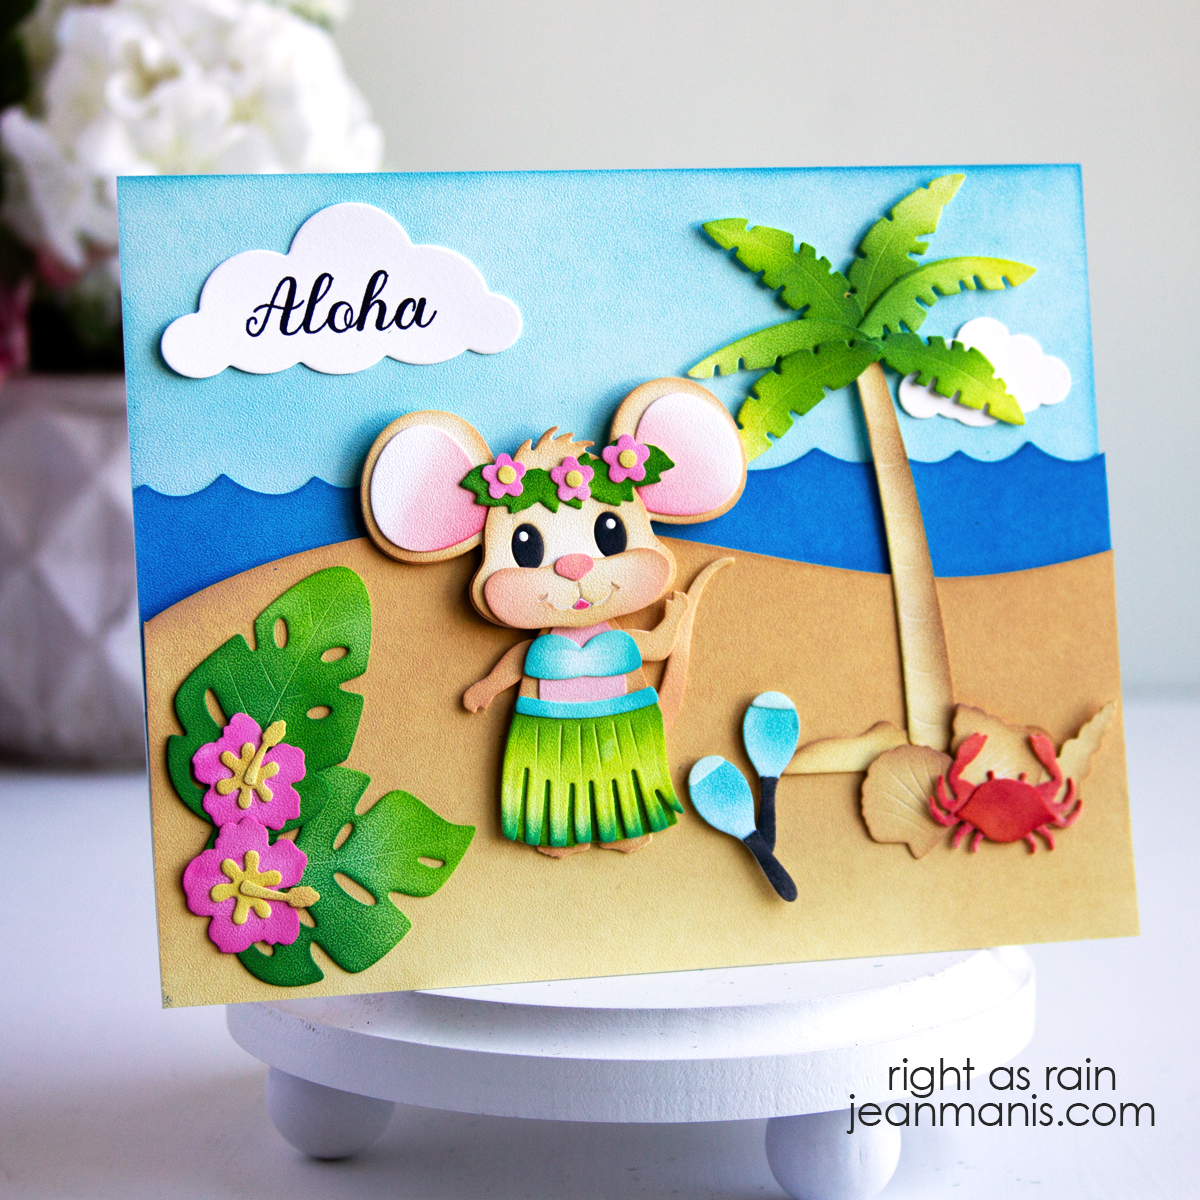
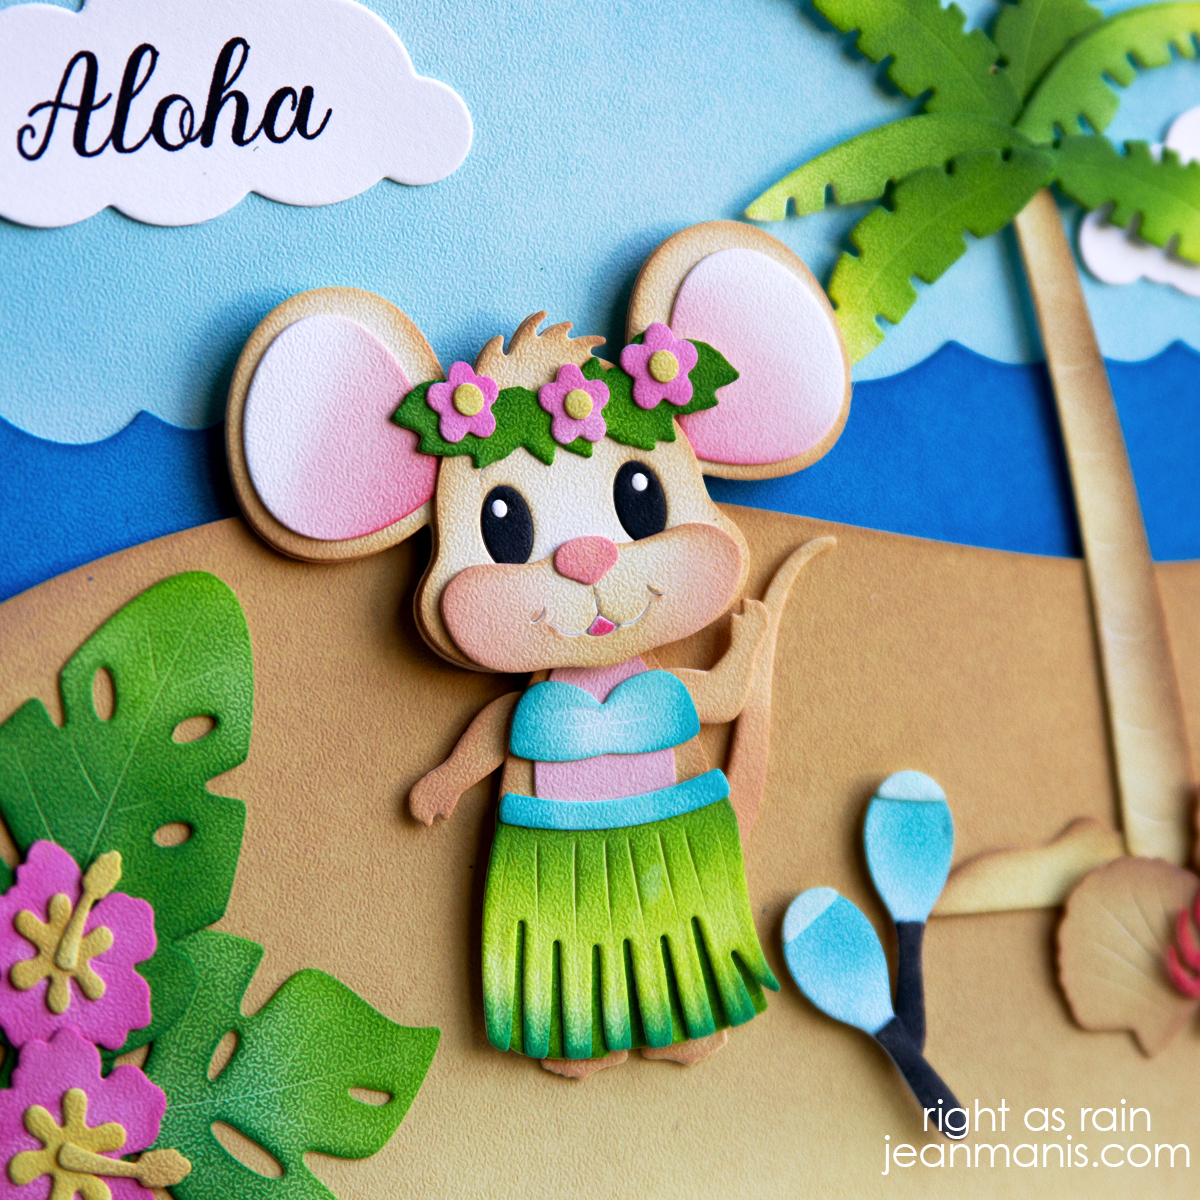
The scene showcases the adorable Little Mouse character, who has been transformed into a cheerful hula girl using the Aloha Accessories. With a grass skirt, the mouse feels right at home in a mini-island getaway on the card front.
The background sets the stage with a relaxed ocean scene. Ocean waves were created with the Lawn Fawn Ocean Waves Borders, and the sandy beach grounds the design. An inked palm tree and other items add to the tropical setting.
The sentiment was stamped and cut with a cloud die (a now-retired Memory Box set). Stamping on the cloud allows the scene to remain the star of the card.
Affiliate links are used when available at no extra cost to you.