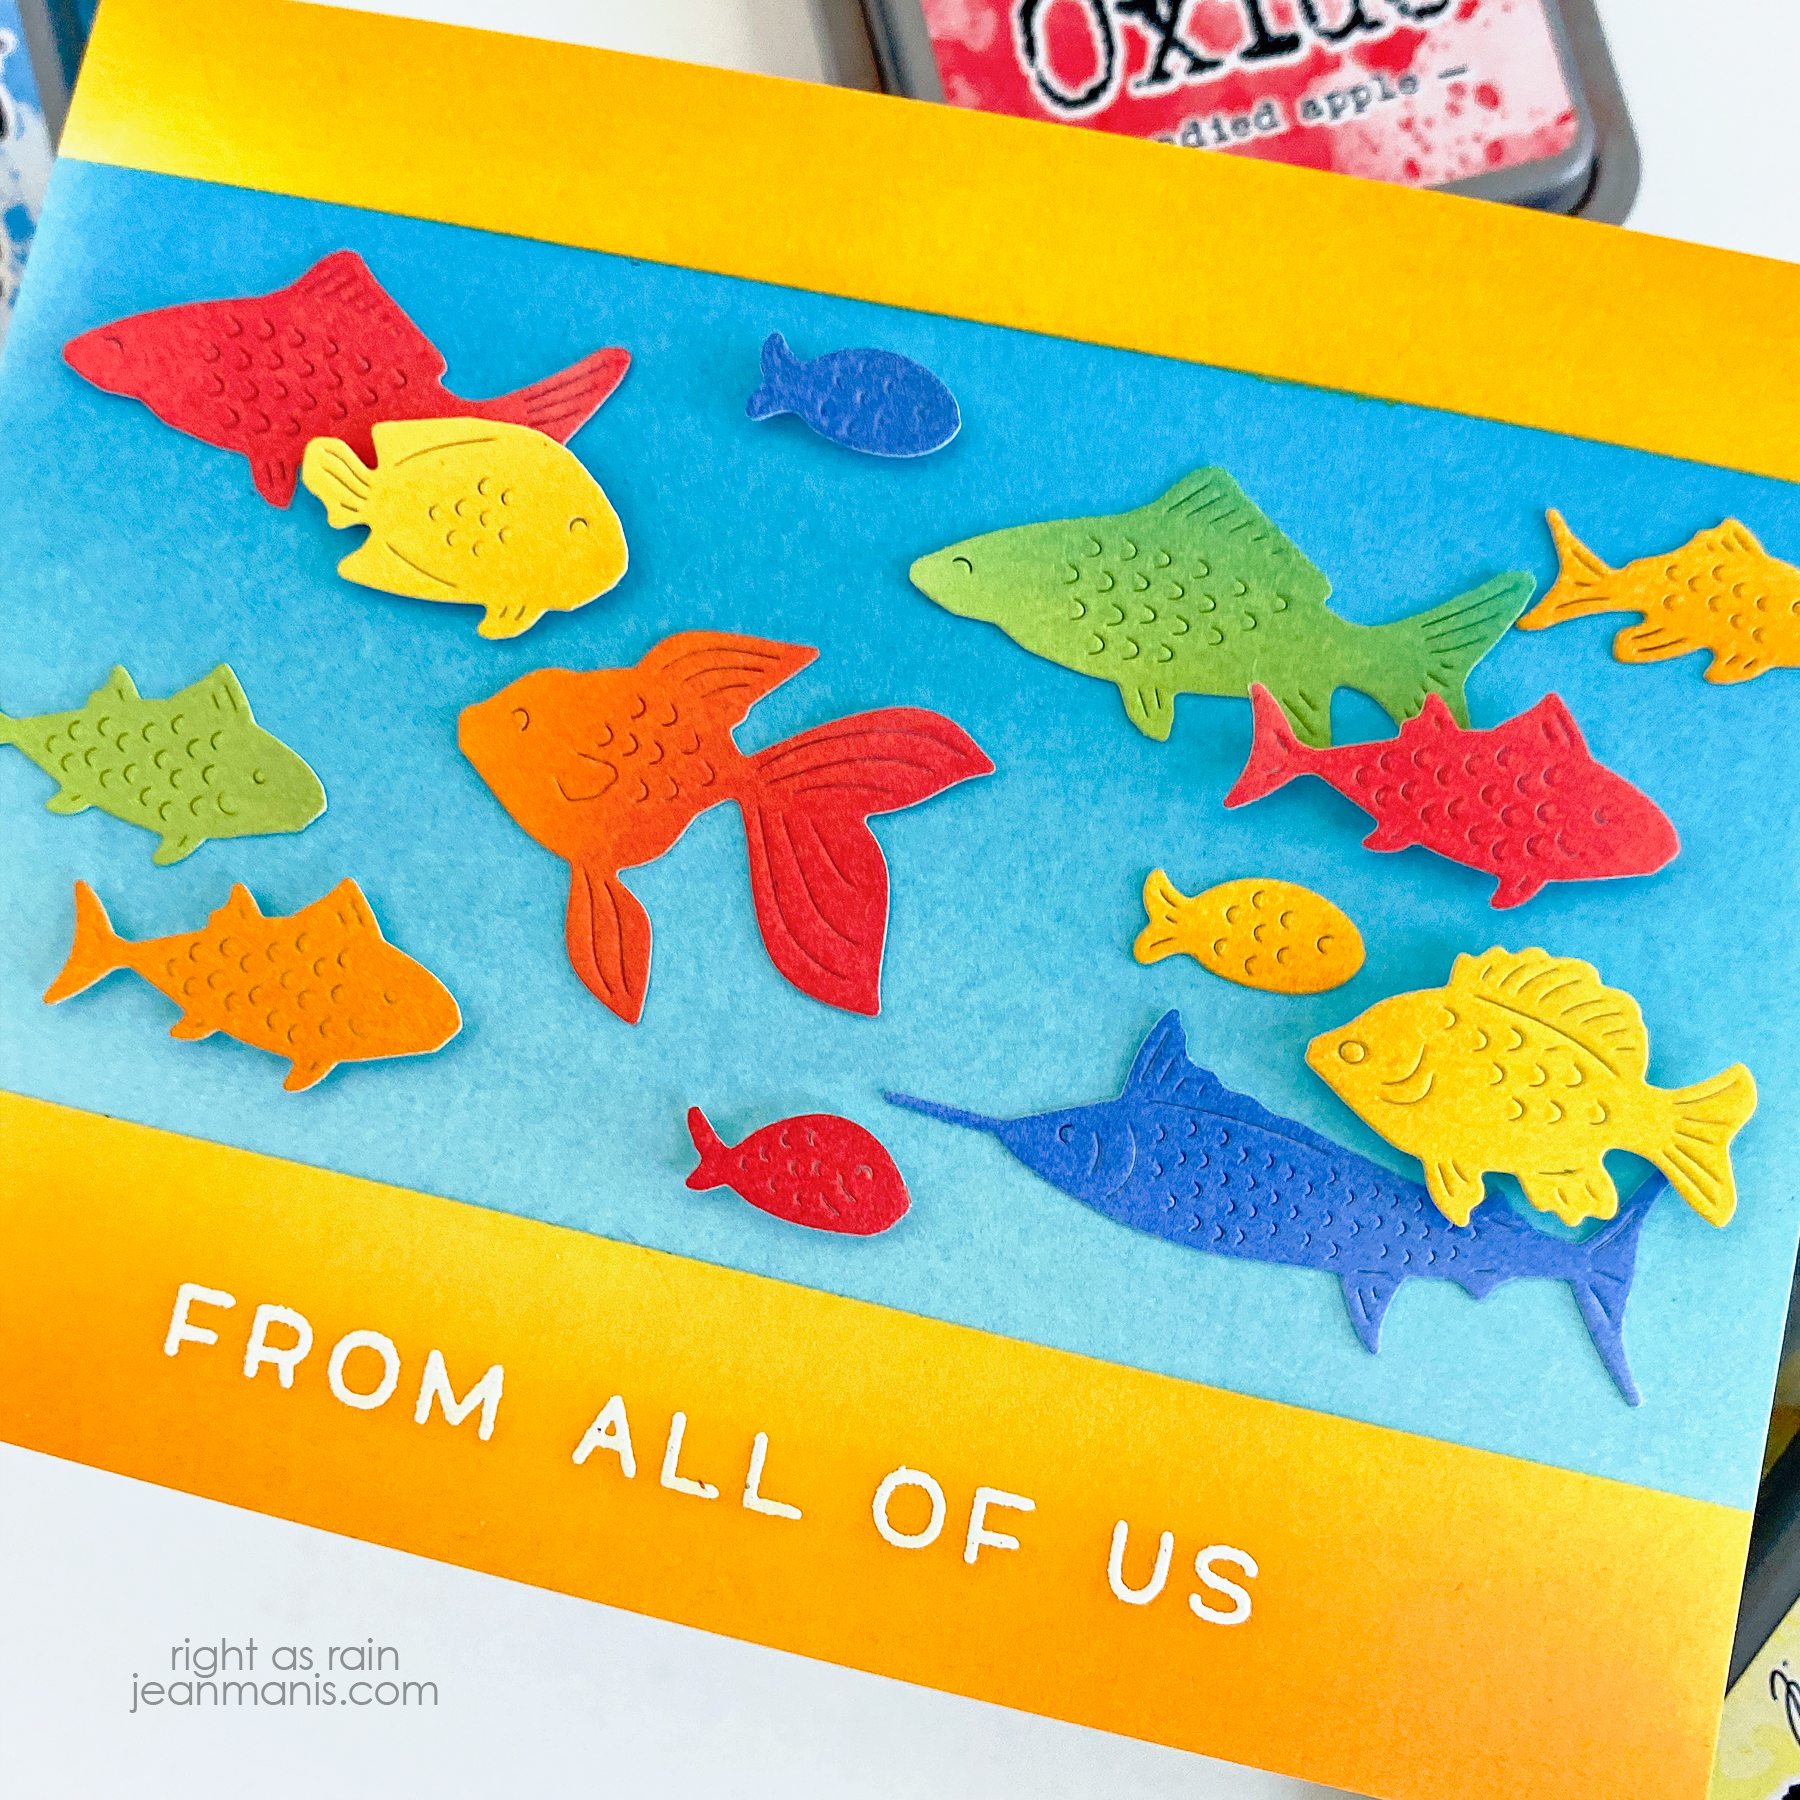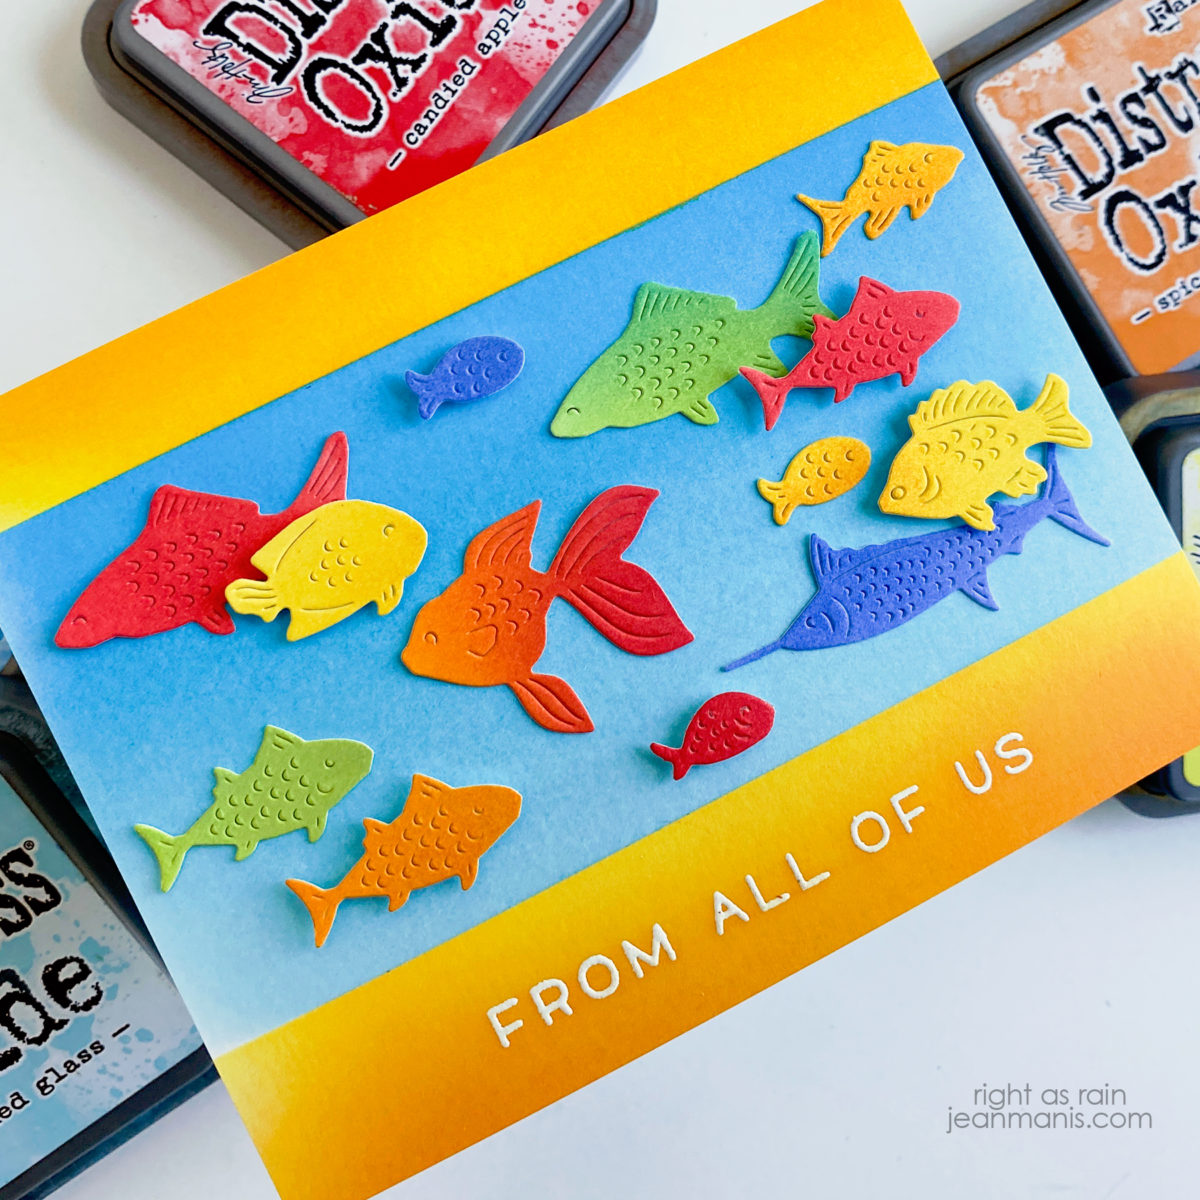
Hello! We have summer-like weather in the Pacific Northwest, and I was inspired to create an ocean-themed card. I am sharing a colorful friendship card showcasing the Memory Box School of Fish die set.
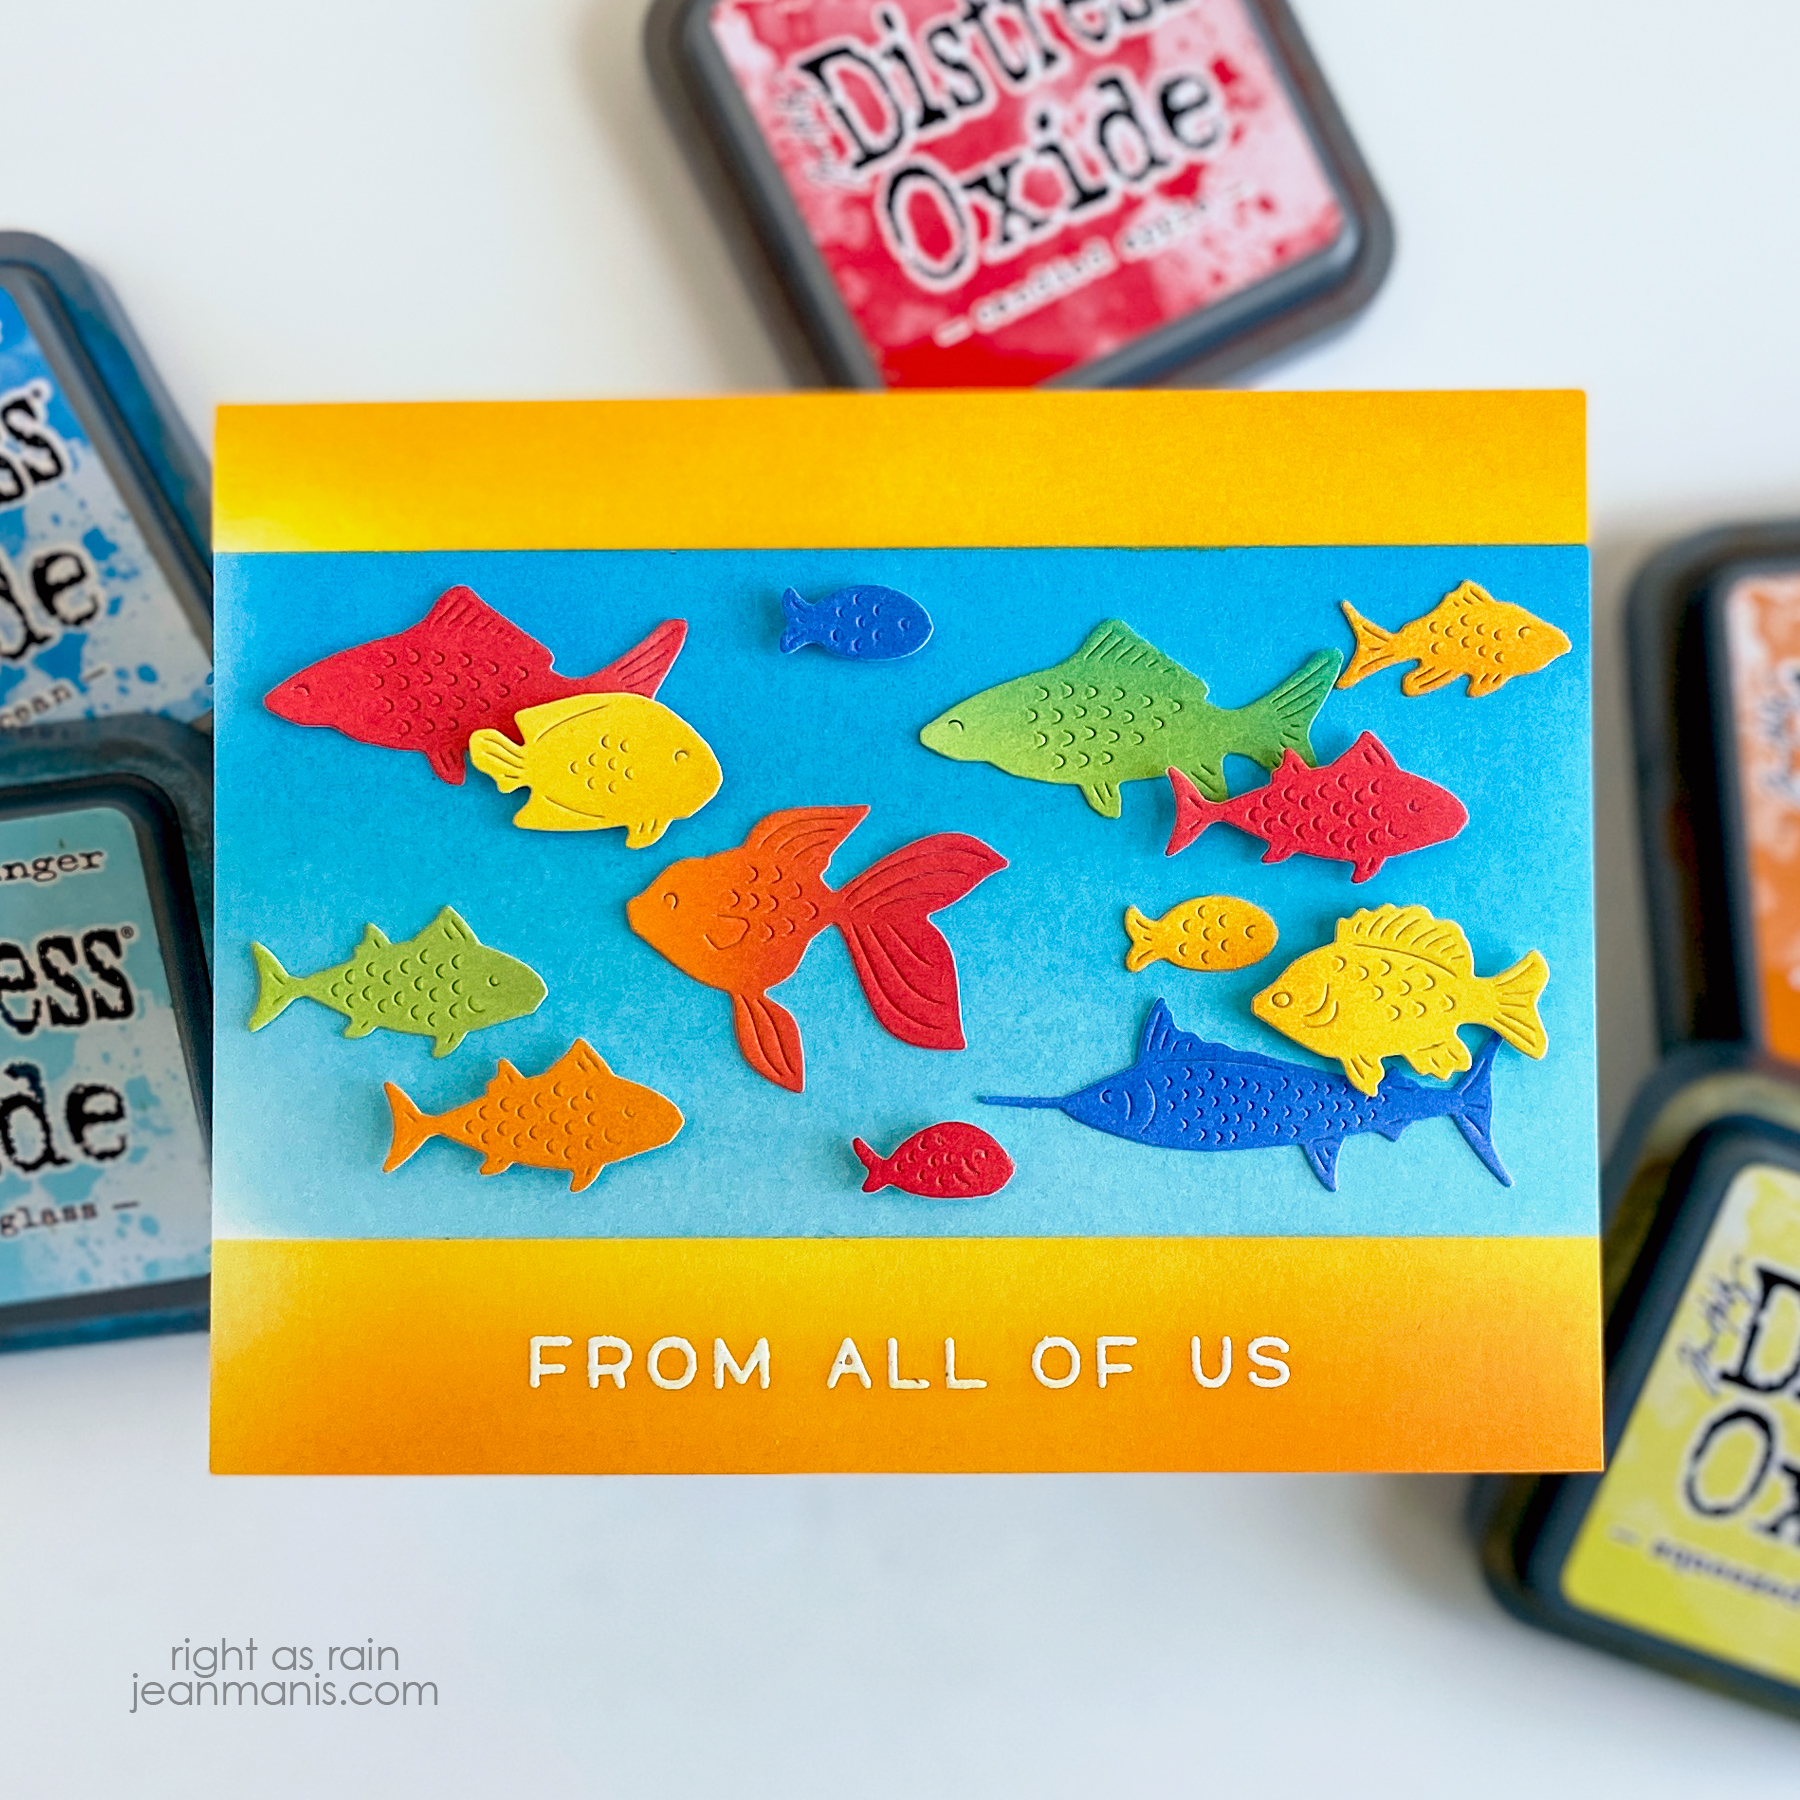
- Heat-emboss, with white powder, the sentiment in the Lawn Fawn Simply Sentiments set on Bristol.
- Mask and apply yellow and orange inks over sentiment. Mask to apply blue inks for ocean. Mask again to apply yellow and orange inks above ocean. Trim panel.
- Ink Bristol in a variety of colors and cut with School of Fish die.
- Add fish to ocean with glue and foam adhesive.