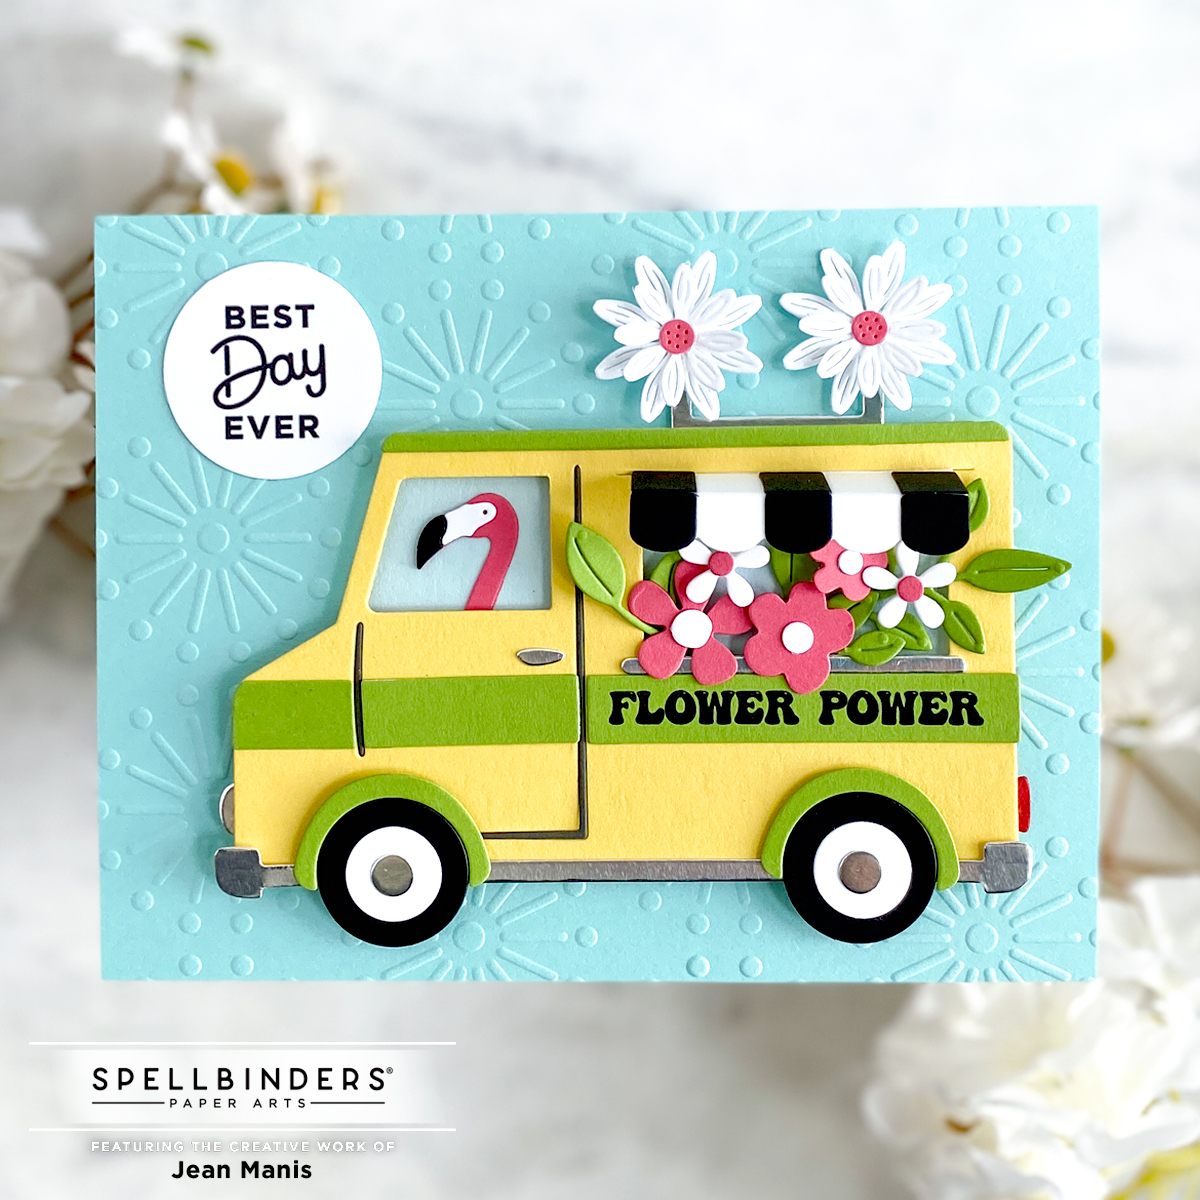
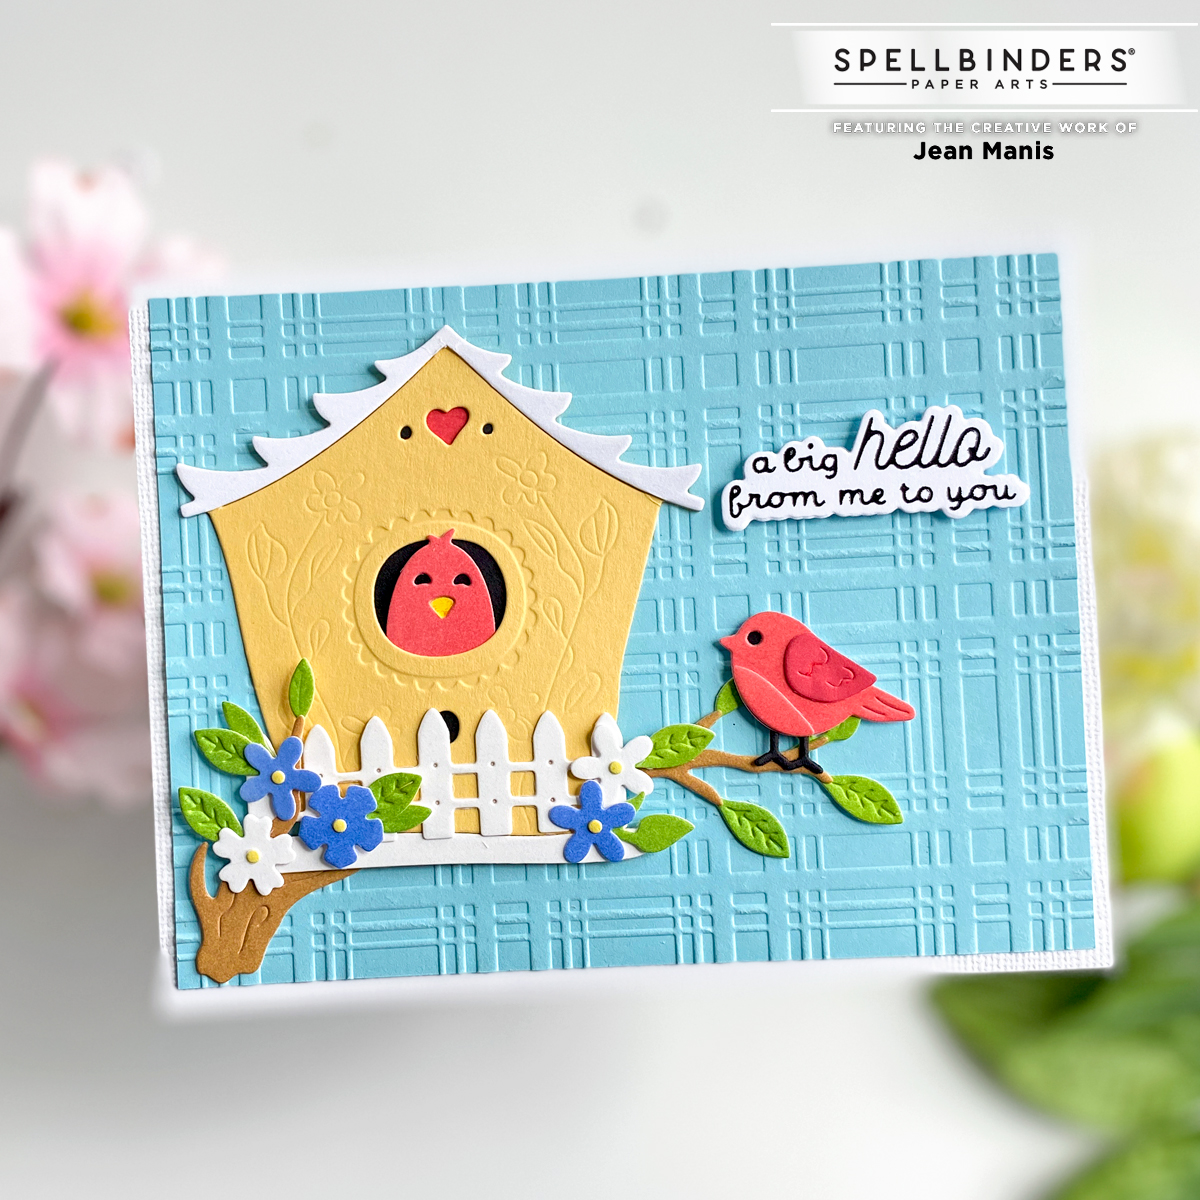
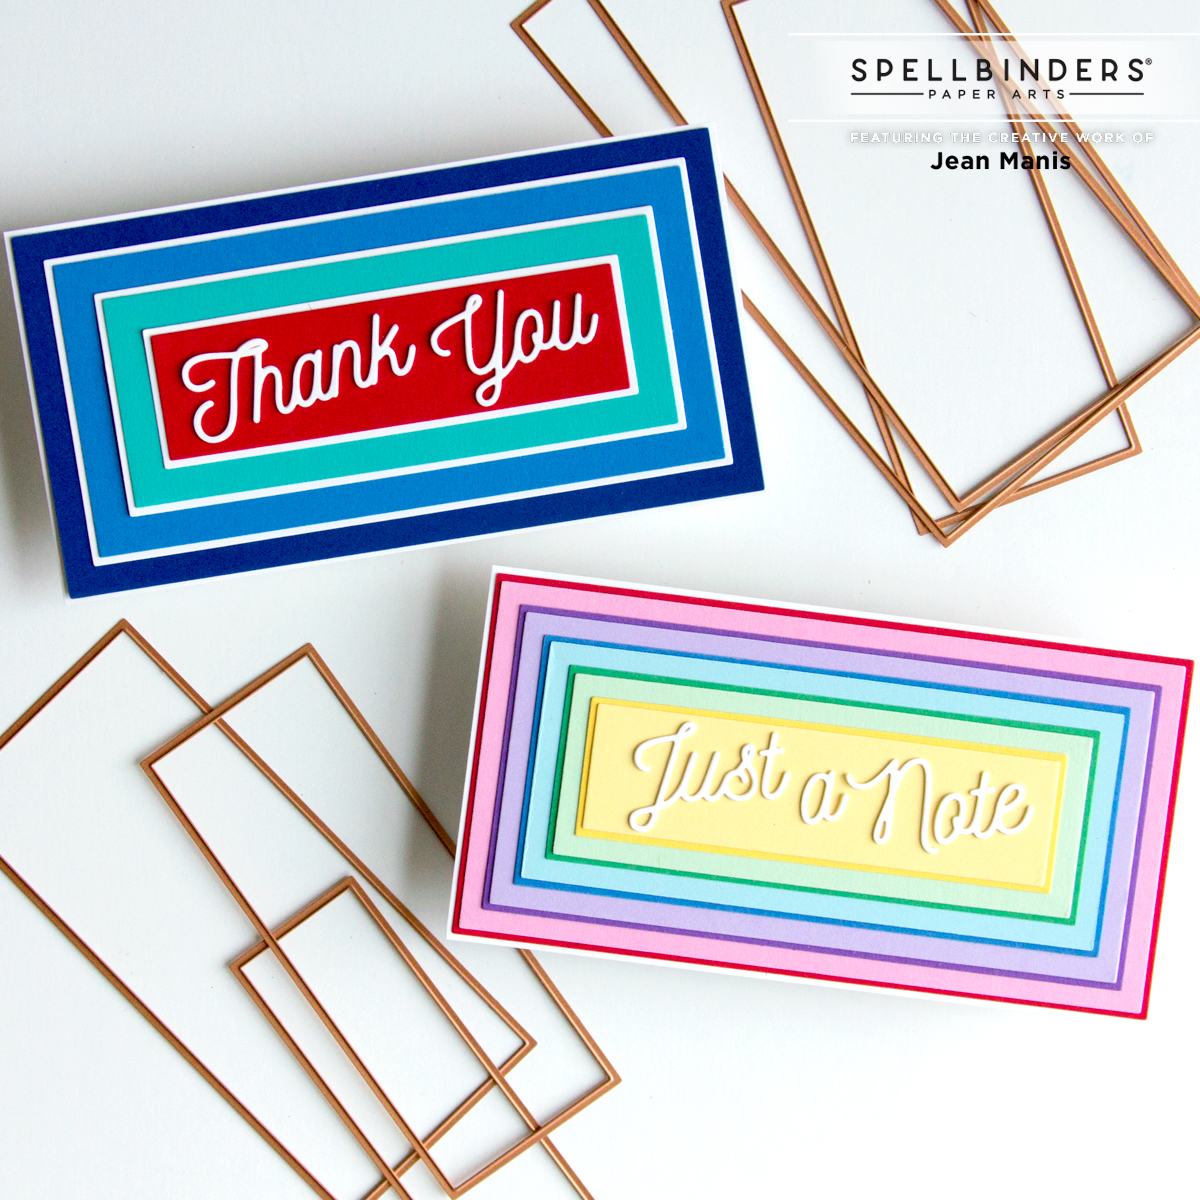
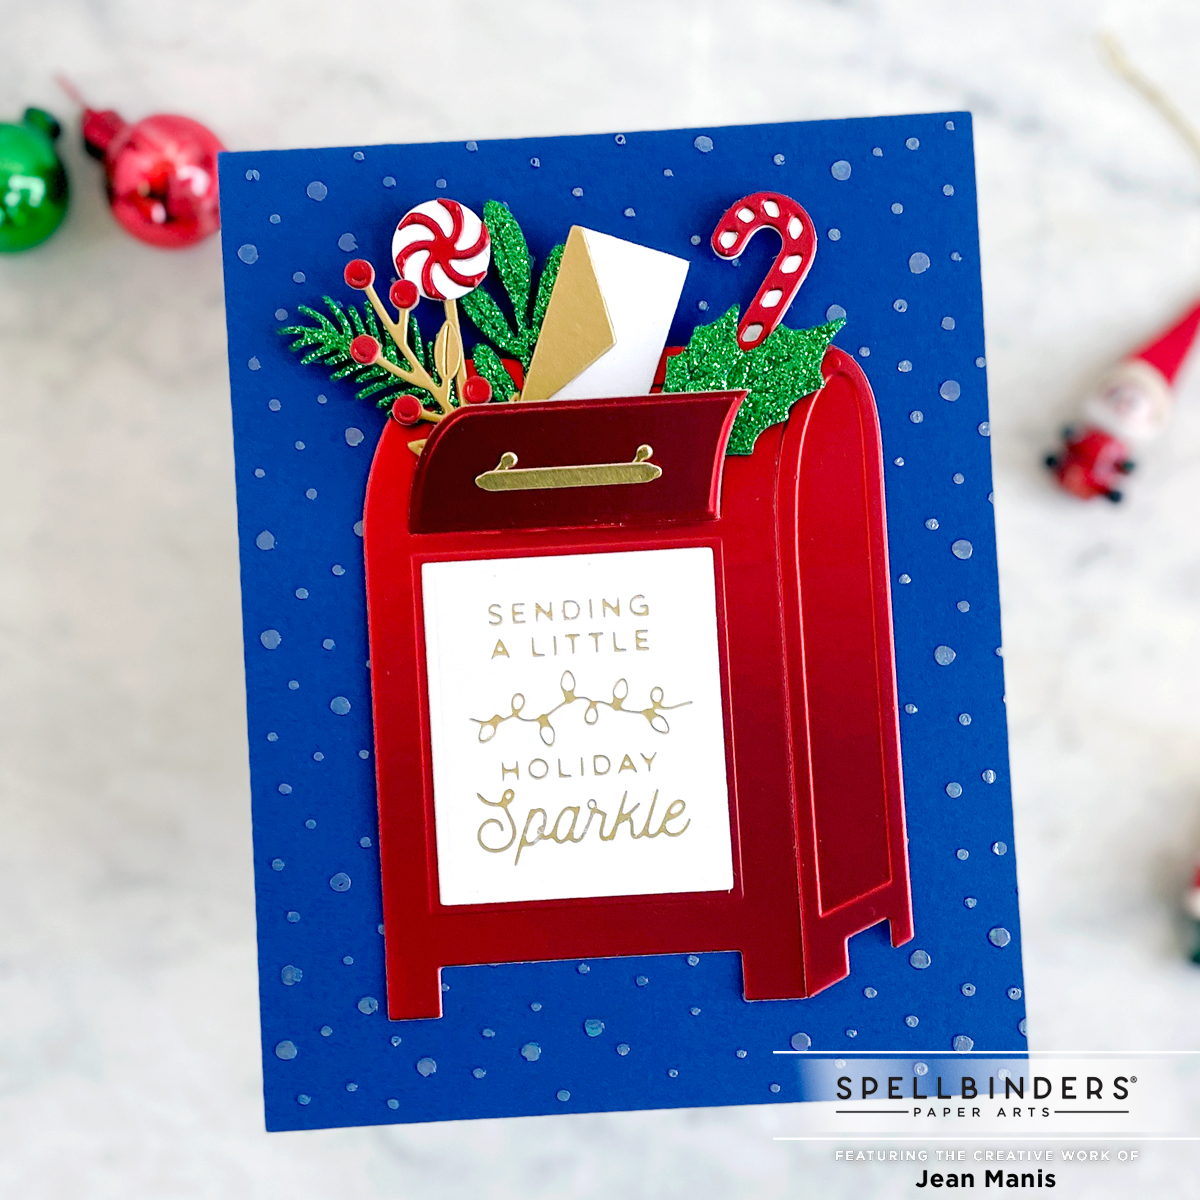
Hello! Today I am sharing handmade card inspiration featuring Spellbinders products that are part of the Spellbinders Spring Cleaning Warehouse Sale. The not-to-be-missed discounts are only available now through April 28th. While there are many incredible products to choose from, I have curated a selection of my favorites to showcase. Don’t let this limited selection fool you – there are so many more amazing deals to discover! Click on the card image to be taken to the original post and supply list.
Tag: diecutting
Spellbinders | Bibi’s Hummingbirds Take Two
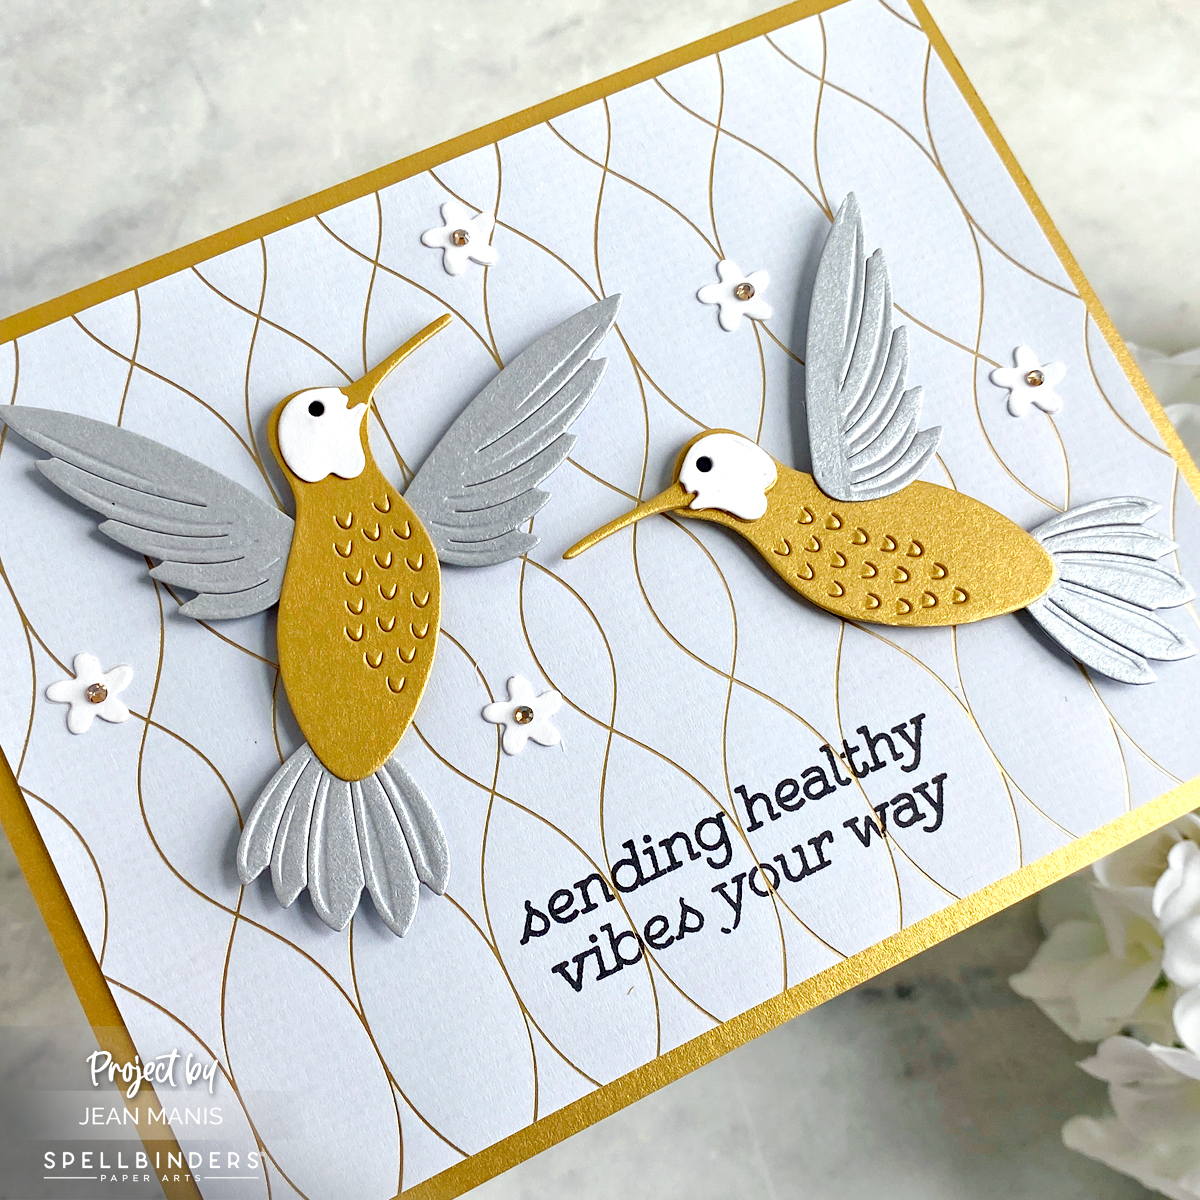
Hello! Today, I am sharing another card created with the stunning Spellbinders Delicate Floral Hummingbirds die set, part of Bibi’s Hummingbirds Collection. See my first card here.
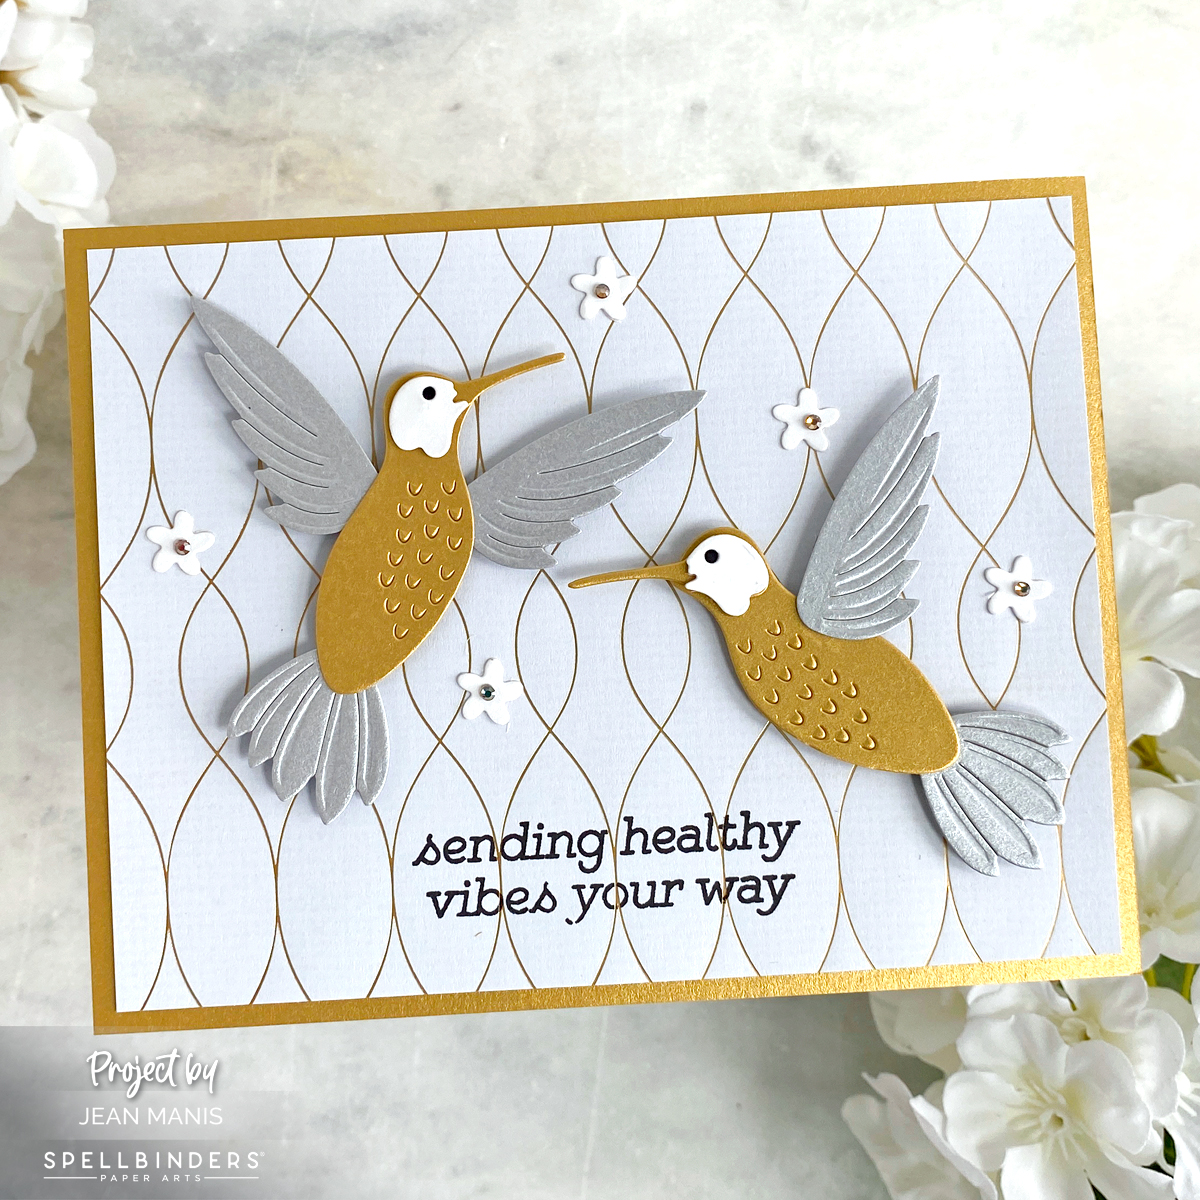
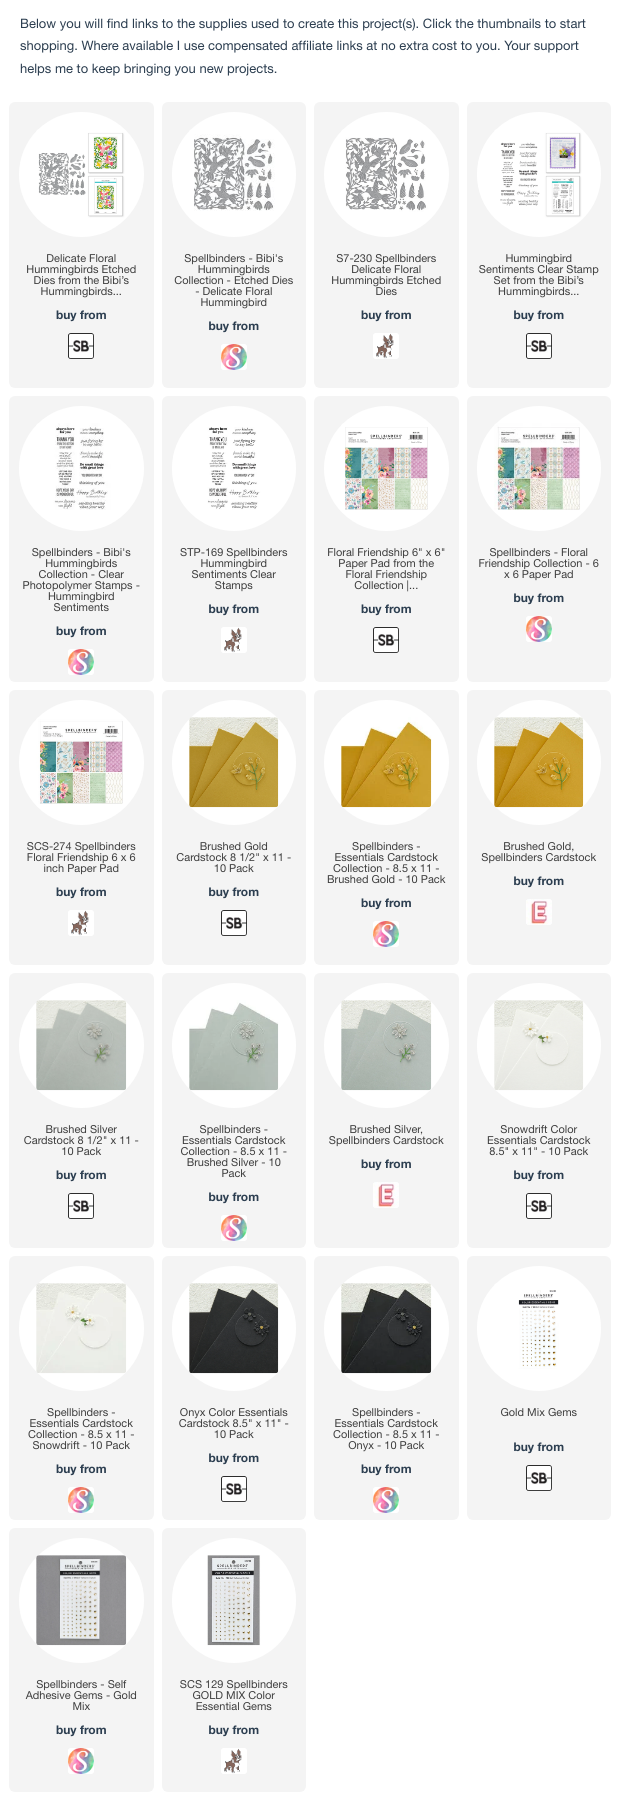
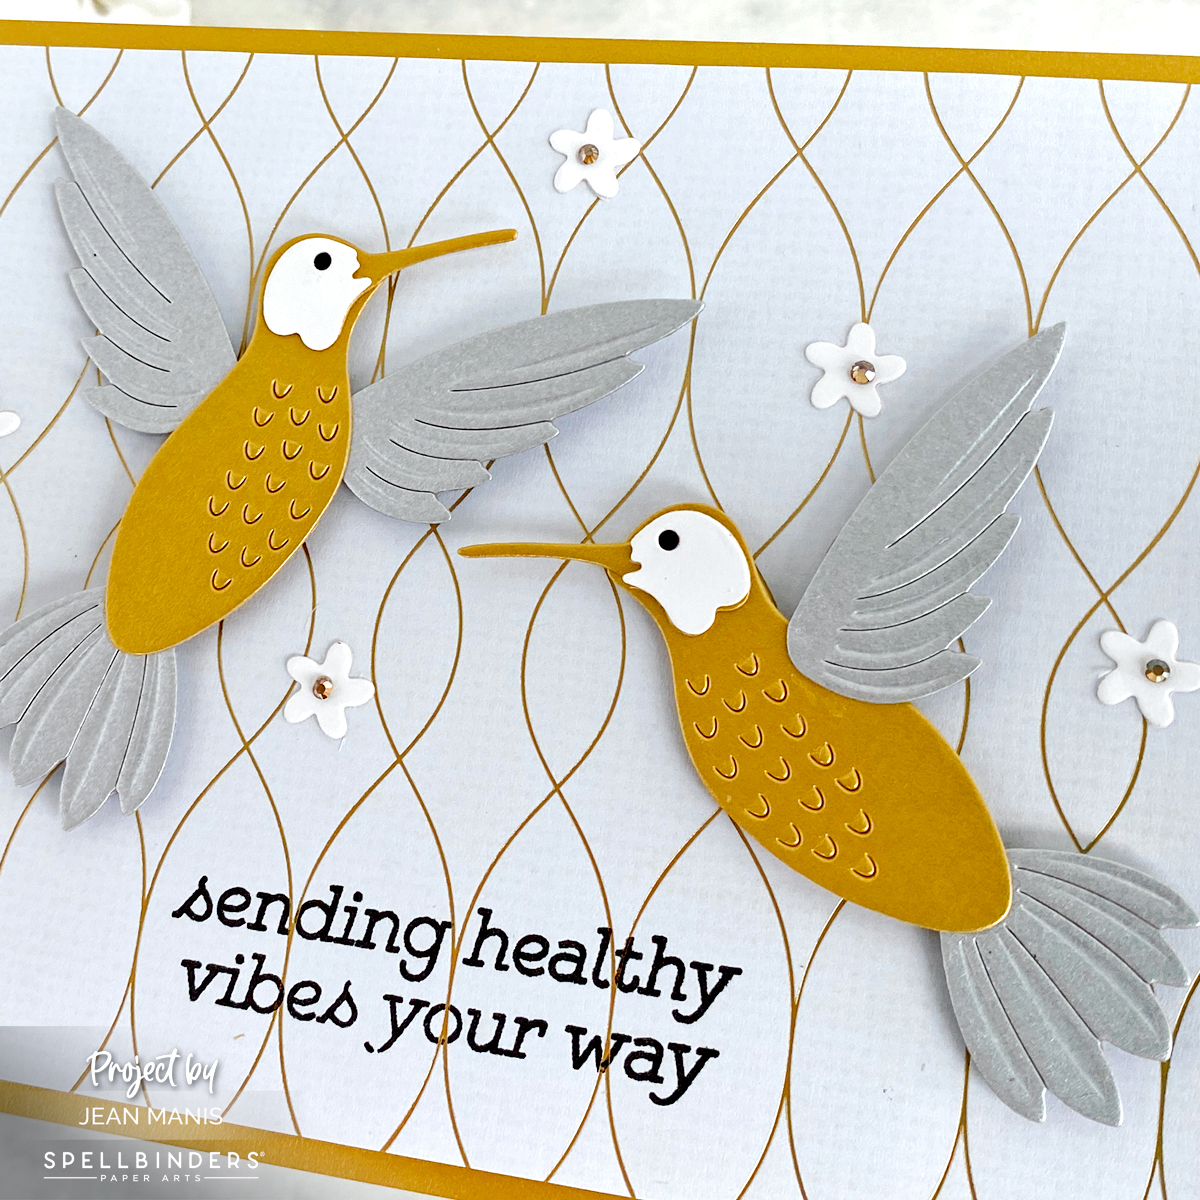
- Stamp Hummingbird Sentiments on patterned paper in the Floral Friendship paper pad. Trim to 4 by 5 1/4 inches and add to Brushed Gold card base.
- Cut hummingbirds with the Delicate Floral Hummingbirds set from Brushed Gold, Brushed Silver, and Snowdrift cardstock. Assemble, backing eyes with Onyx cardstock. Add to card.
- Cut flowers from Snowdrift cardstock with dies in the Delicate Floral Hummingbirds set. Add to card and embellish with Gold Mix Gems.
Spellbinders has a 15% off $125+ sale available in the US through April 16th.
Spellbinders | Bibi’s Hummingbirds Collection
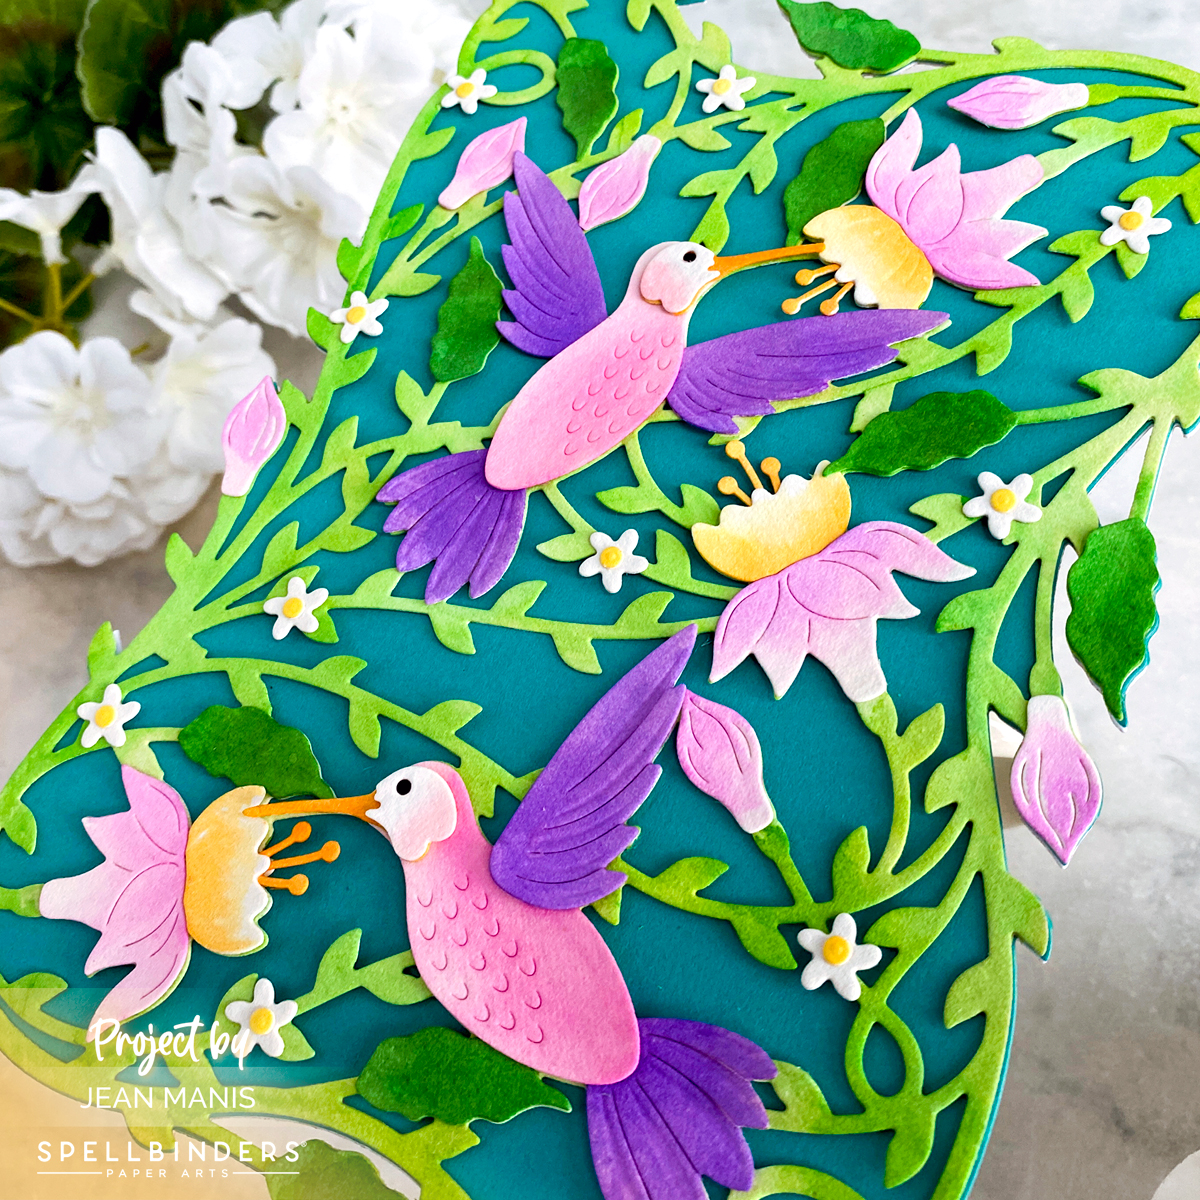
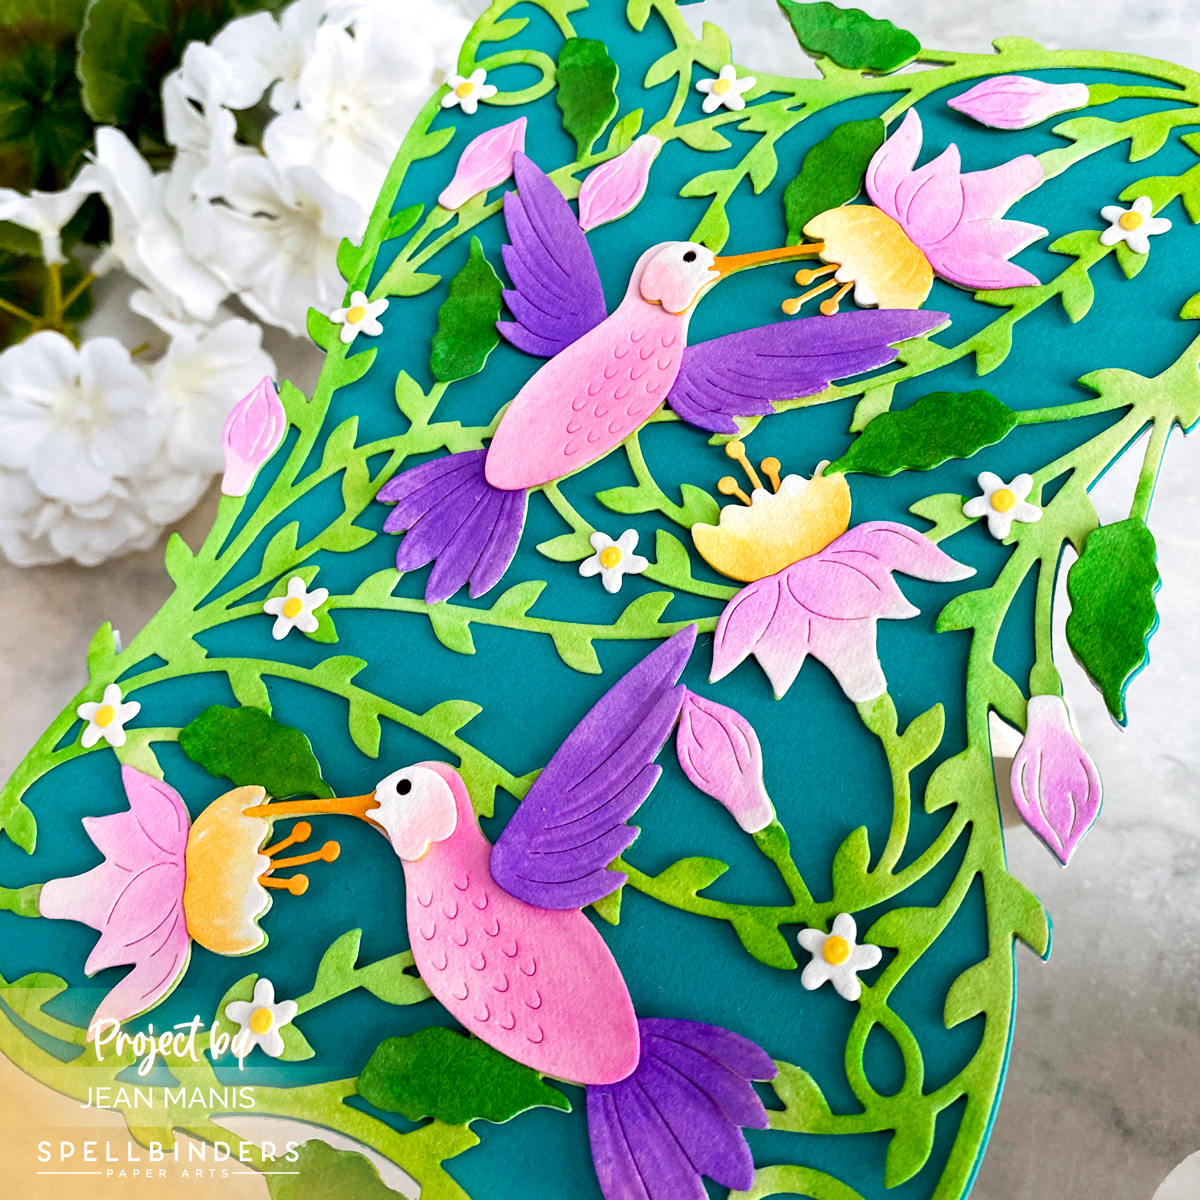
Hello! Today, I am sharing a card created with the stunning Spellbinders Delicate Floral Hummingbirds die set, part of Bibi’s Hummingbirds Collection. The design covers an A7 size (5 inches by 7 inches) card front.
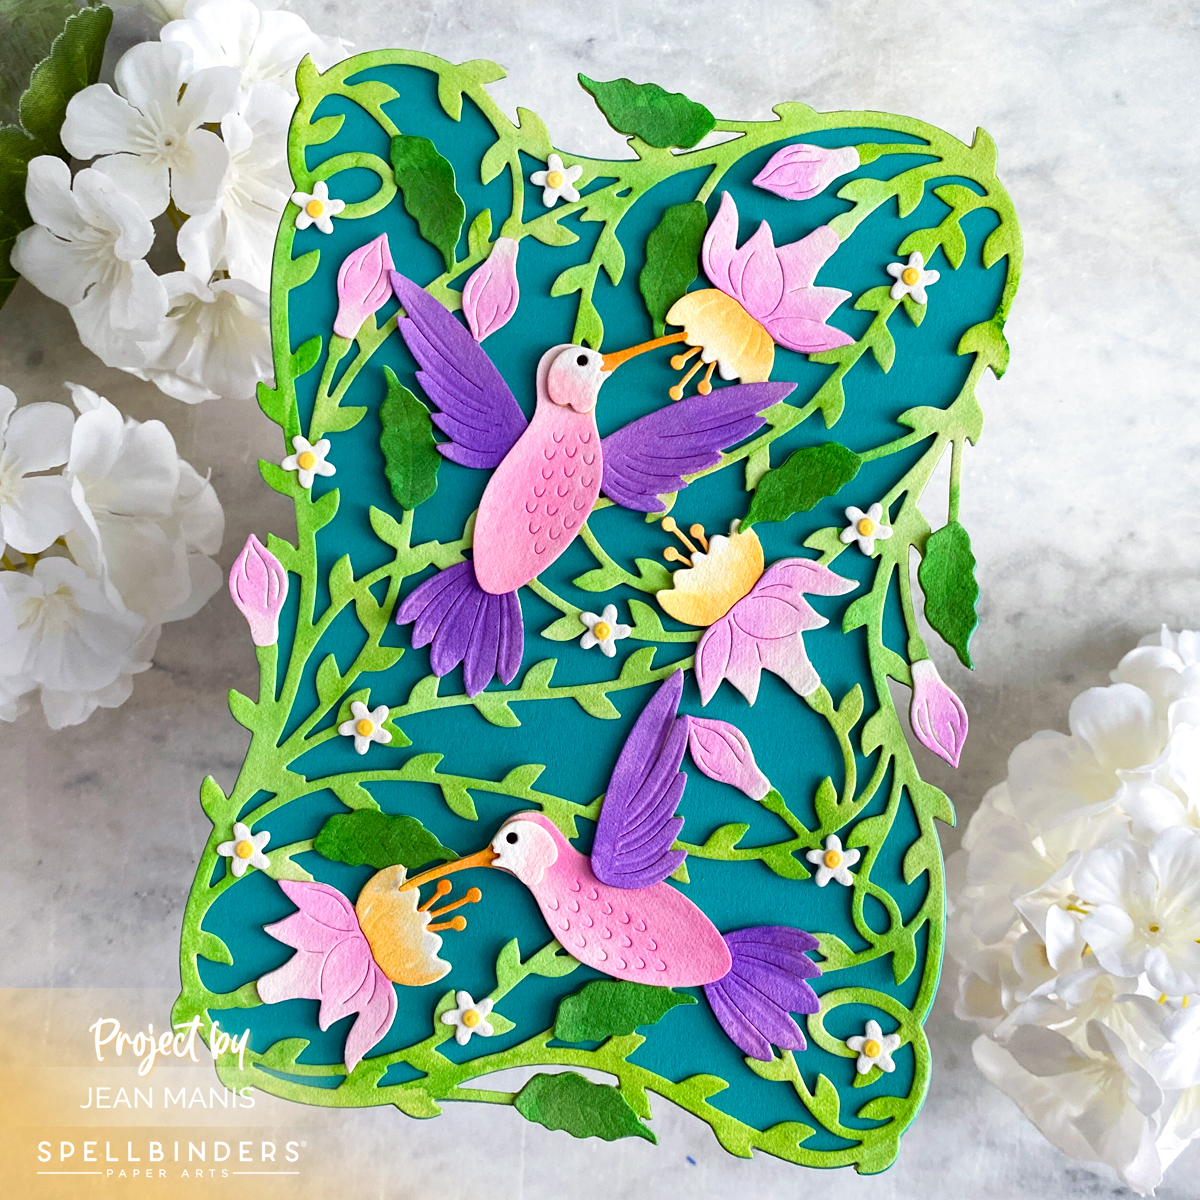
- Using the Delicate Floral Hummingbirds rim die, cut base from Teal Topaz cardstock.
- With the Delicate Floral Hummingbirds rim and insert dies, cut the background from watercolor paper. Watercolor with Zig markers in Light Green and May Green. (It took several applications to achieve the colors on my card.) Once dry, add to card base.
- With the Delicate Floral Hummingbirds set, cut hummingbird pieces, floral pieces, and leaves from watercolor paper. Watercolor with Zig markers: Hummingbirds: Light Pink, Pink, Light Violet, Violet, Deep Violet; Leaves: May Green, Deep Green; Flowers: Bright Yellow, Orange, Light Violet; Small Flower Centers and Stamen: Bright Yellow.
- Assemble elements and adhere to watercolored background.
- Stamp one of the Hummingbird Sentiments on card interior.
Spellbinders has a 15% off $125+ sale available in the US through April 16th.
Art Impressions | Tool Box Matchbook
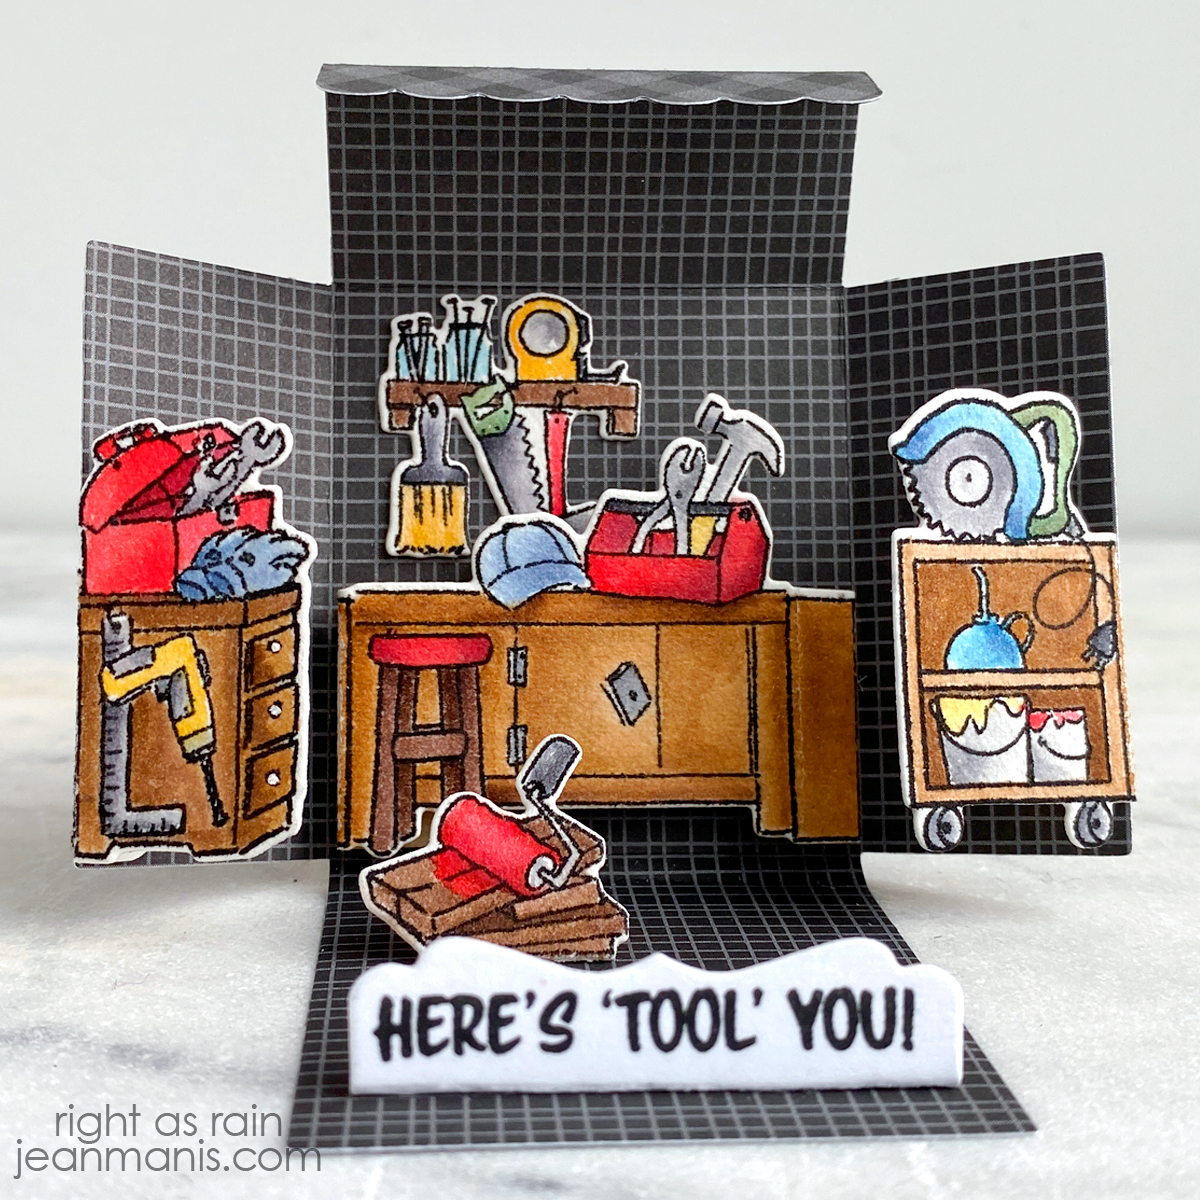
Hello! Today I am sharing a project created with Art Impressions supplies. I have been familiar with the company for years, but I have never before crafted with their products; I re-discovered them while doing my recent deep dive into watercoloring. Their blog, Facebook page, and YouTube channel are full of inspiration, and their customer service is fantastic!
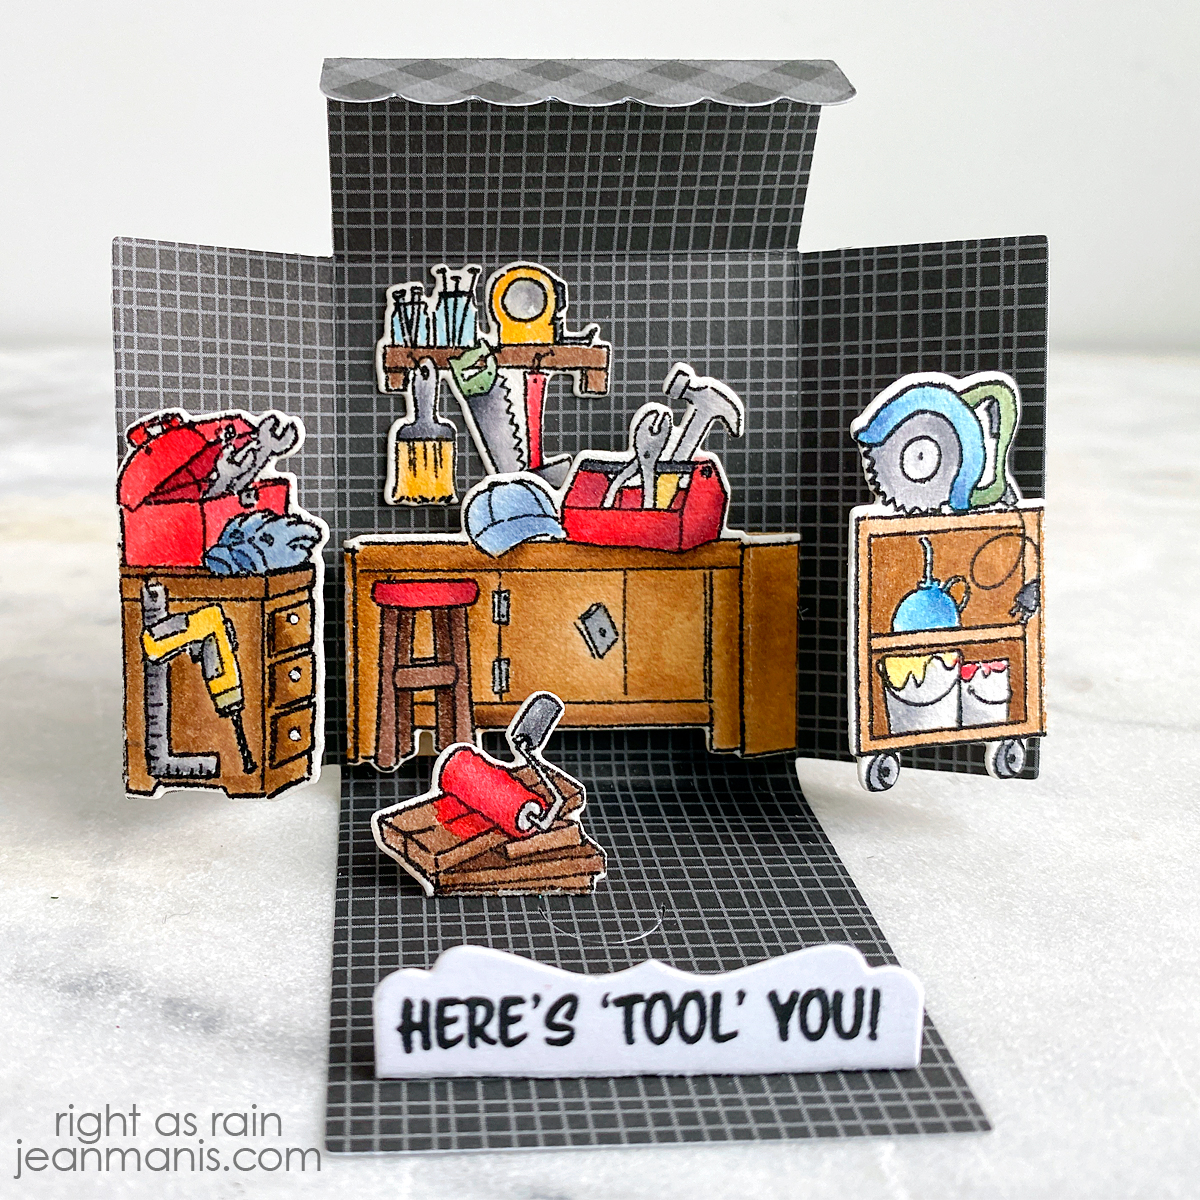
The Matchbook series has many different options. You can see an intro video here. The Tool Shed, with which I created, was released this year. I like the small size – it allows me to practice watercoloring with markers, learn the colors of the markers, and finish a watercoloring project in a relatively short amount of time. I am looking forward to crafting more of these projects. The series offers sets for Halloween, Christmas, birthdays, cat lovers, gardeners, …
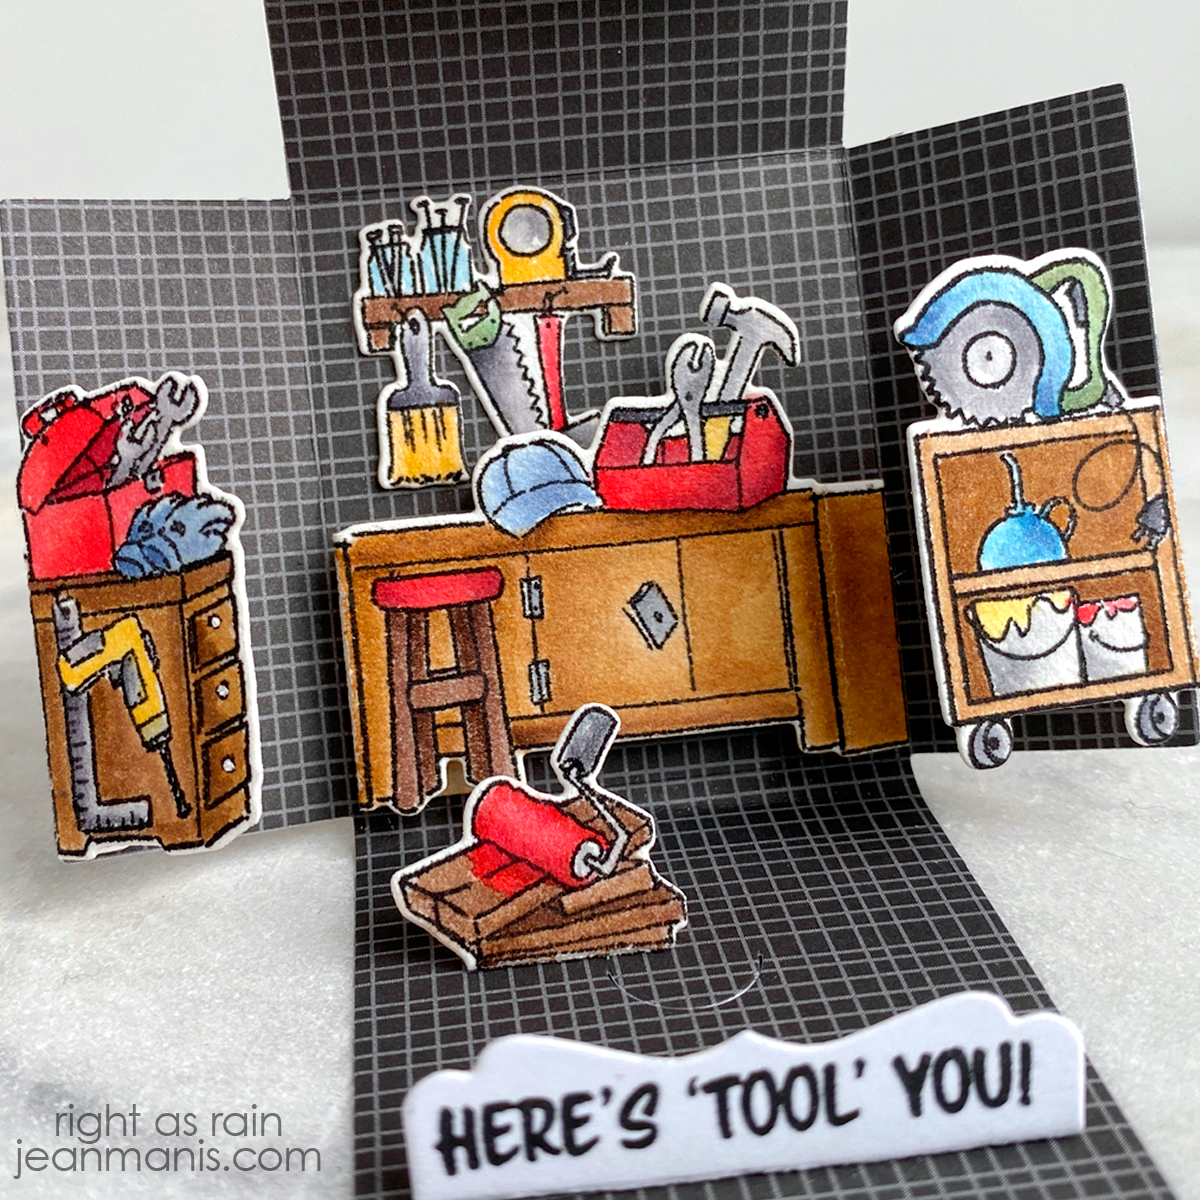
- Stamp Tool Shed images in VersaFine ink on Arches Cold Press watercolor paper.
- Watercolor the images with color medium of choice. I used a combination of Tombow and Zig markers.
- Once dry, cut the images with the dies included with the Tool Shed set. Stamp sentiment on white cardstock and cut with coordinating die.
- Cut matchbook from patterned paper with the MB Template. Add Tool Shed elements.
Spellbinders | April 2023 Large Die of the Month
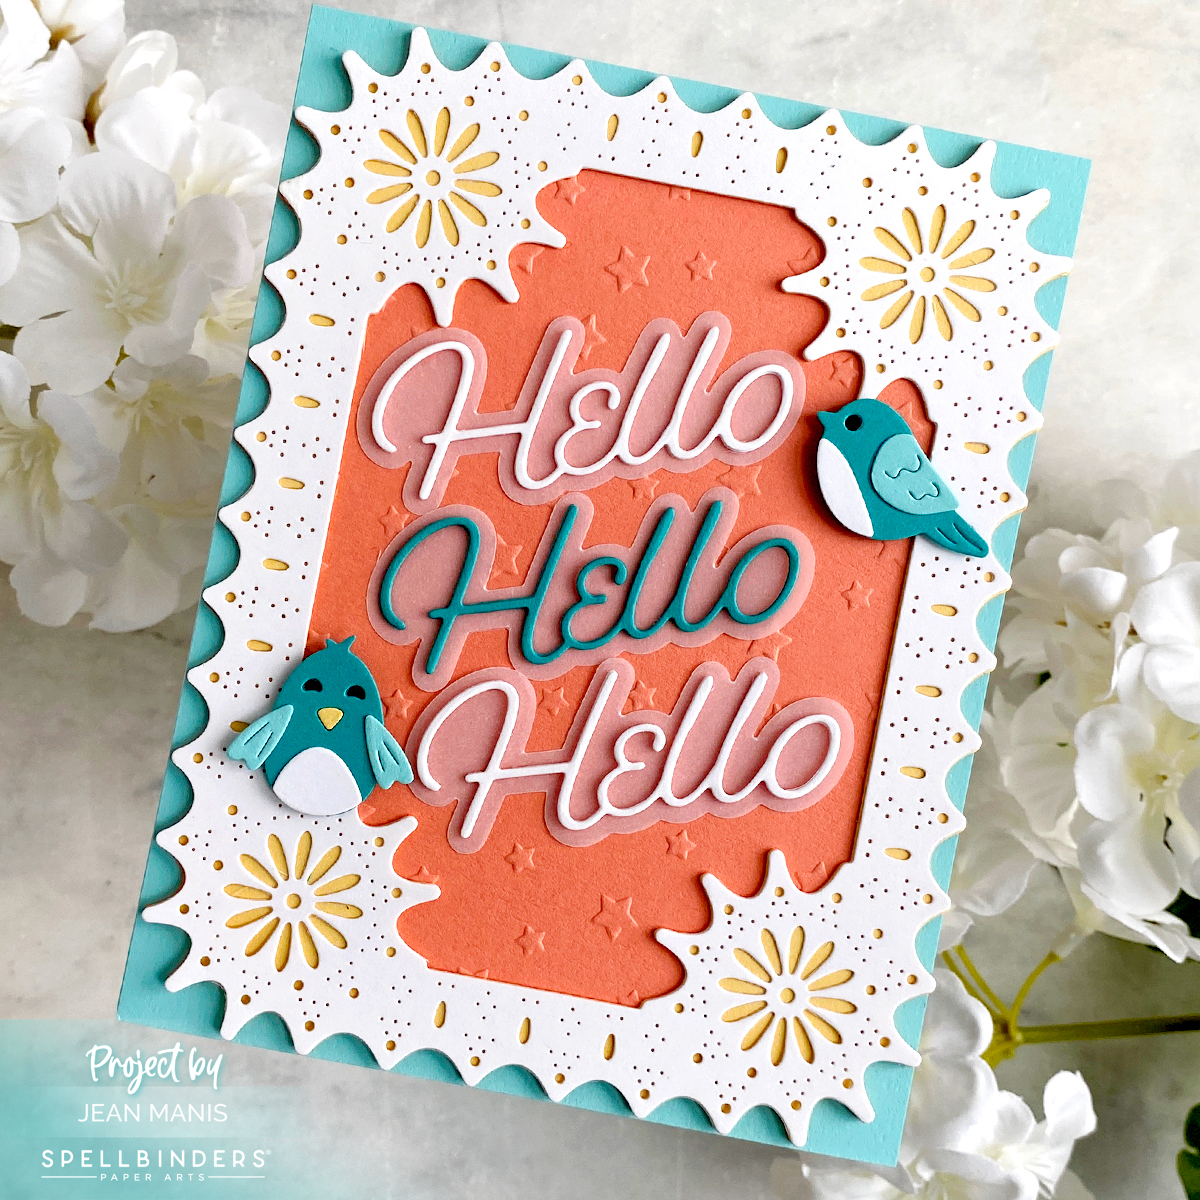
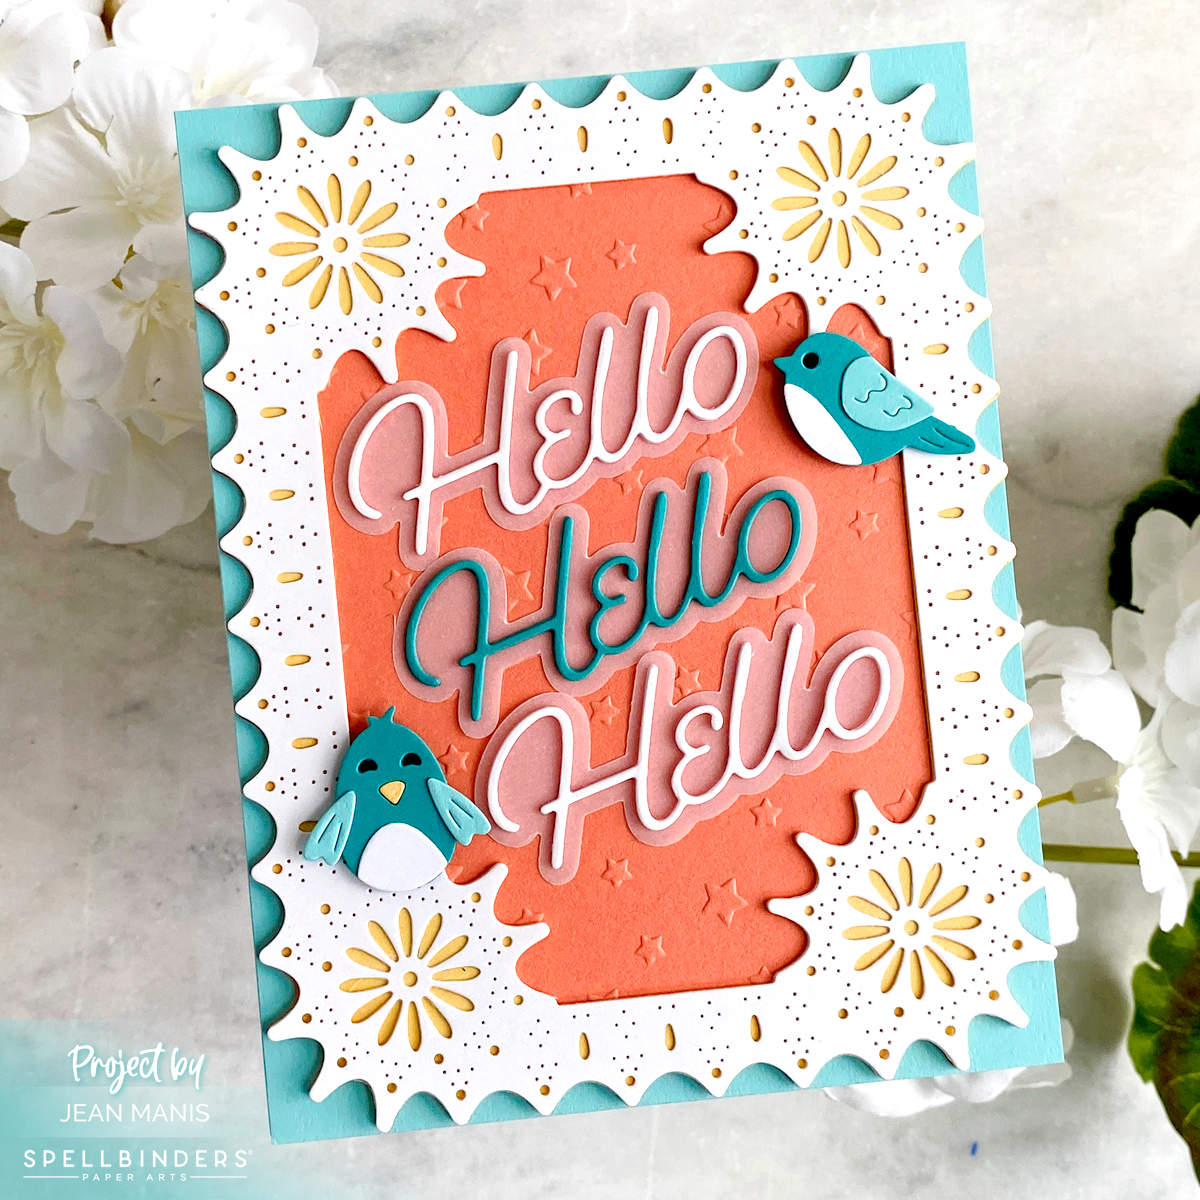
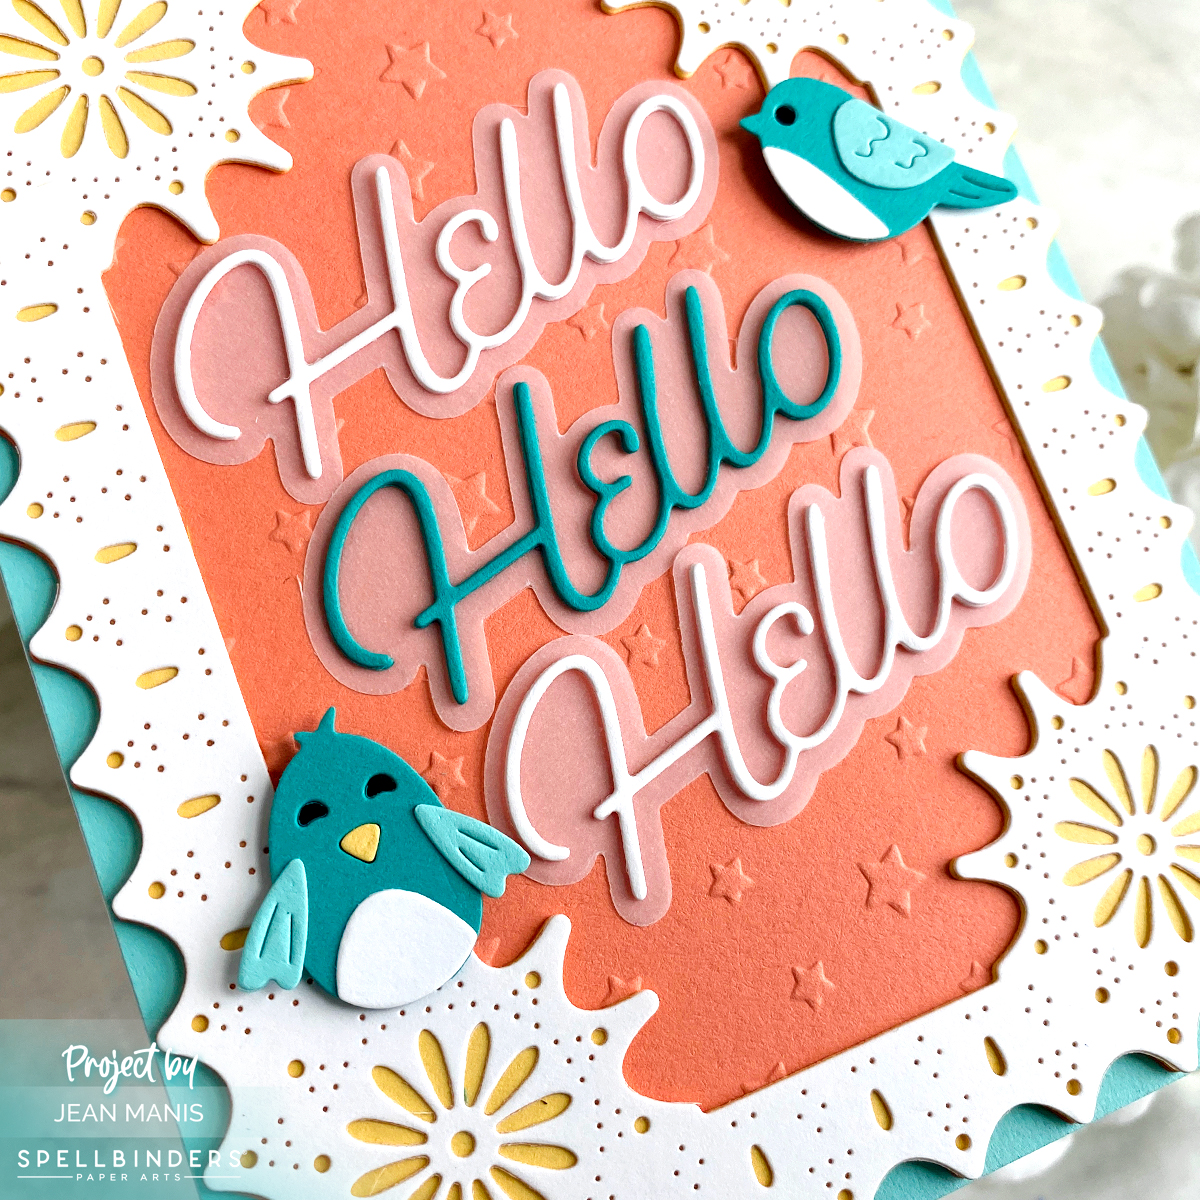
Hello and happy April! Today, I am sharing a “Hello” card created with the Spellbinders April 2023 Large Die of the Month “Punch and Pierce Frame and Sentiments” set. Check out more inspiration on this set here.
- Create A2-size card base from Waterfall cardstock.
- Create frame by cutting with the inner, outer, and detailed “Punch and Pierce Frame and Sentiments” dies from Snowdrift cardstock. Cut backing from soft yellow cardstock with the “Punch and Pierce Frame and Sentiments” inner and outer dies. Glue pieces together. Create back using the outer die to cut coral cardstock.
- Dry-emboss back with the Stargazer embossing folder. Add frame to dry-embossed back and add assembly to card base.
- Use “Punch and Pierce Frame and Sentiments” dies to cut sentiments from Snowdrift, Teal Topaz, and vellum. Adhere cardstock sentiment to vellum backer. (I die-cut the front sentiment pieces twice for additional thickness.) Add sentiments to card.
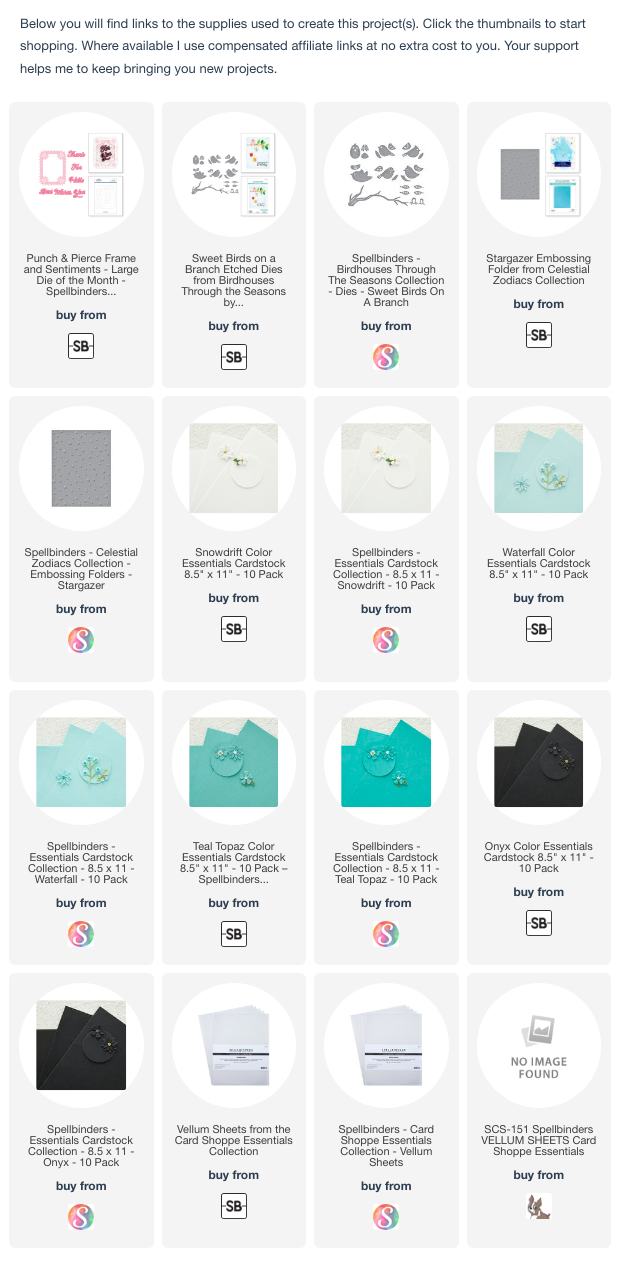
- Embellish with birds cut using dies in the Sweet Birds on a Branch set. Add to card with foam adhesive.


