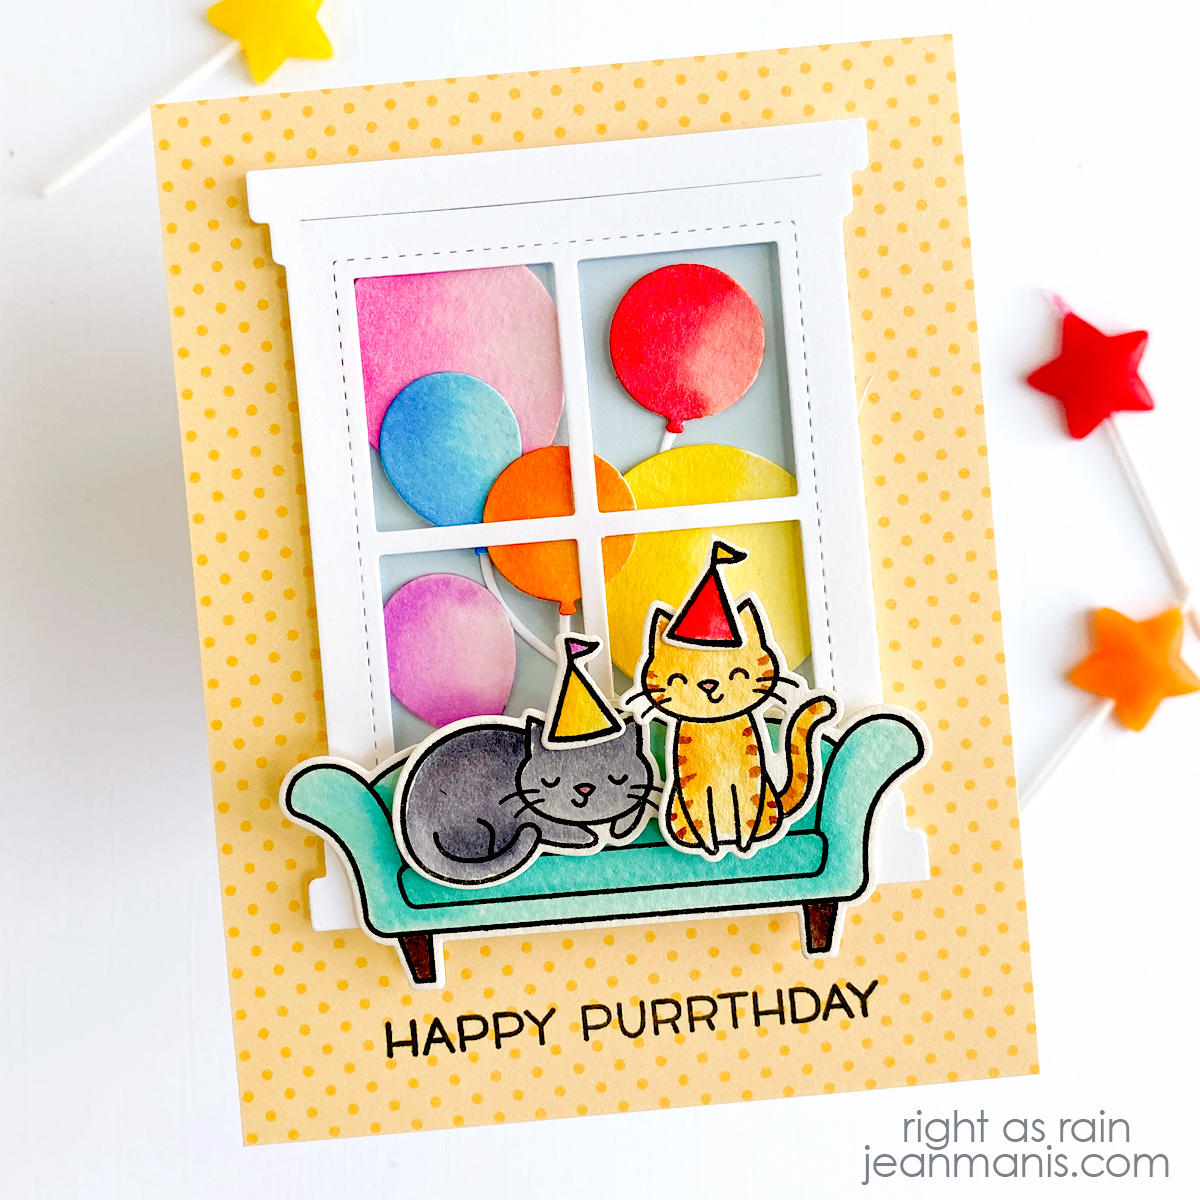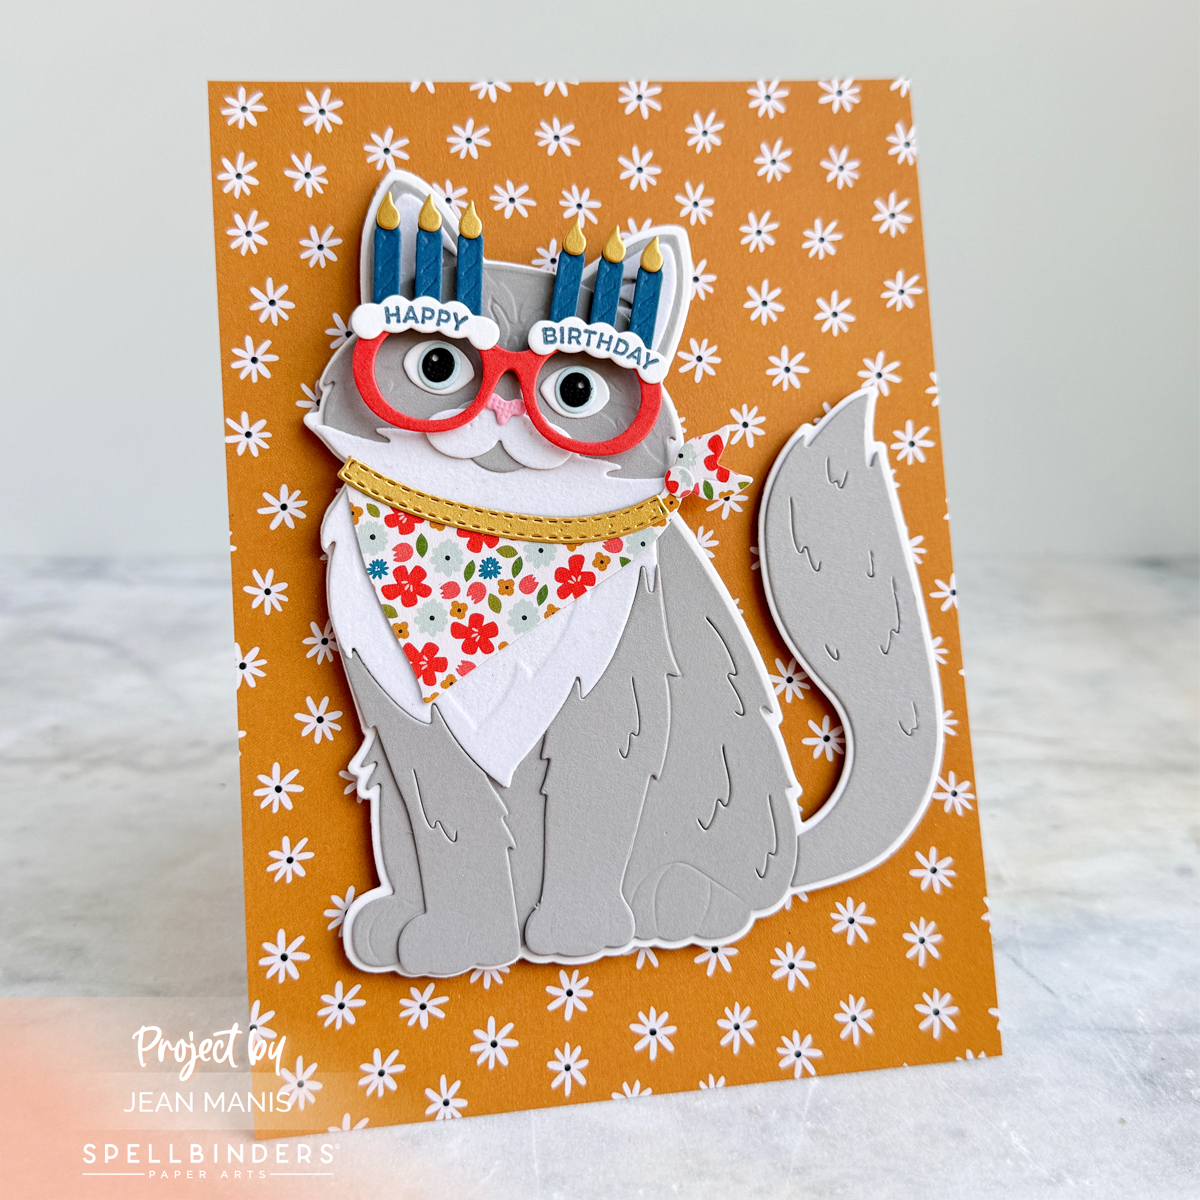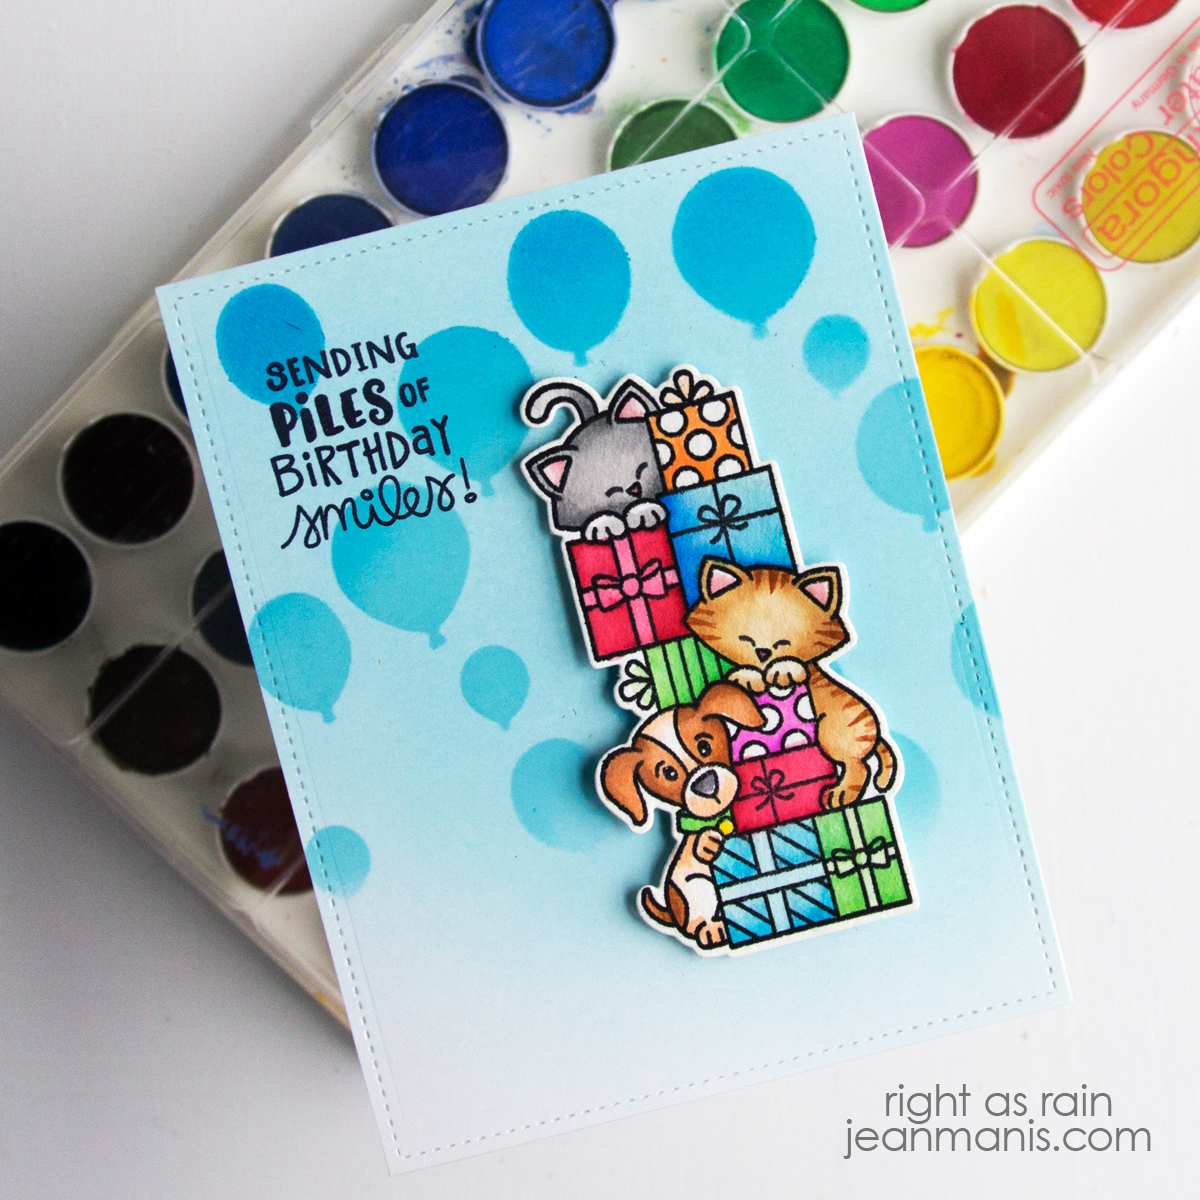
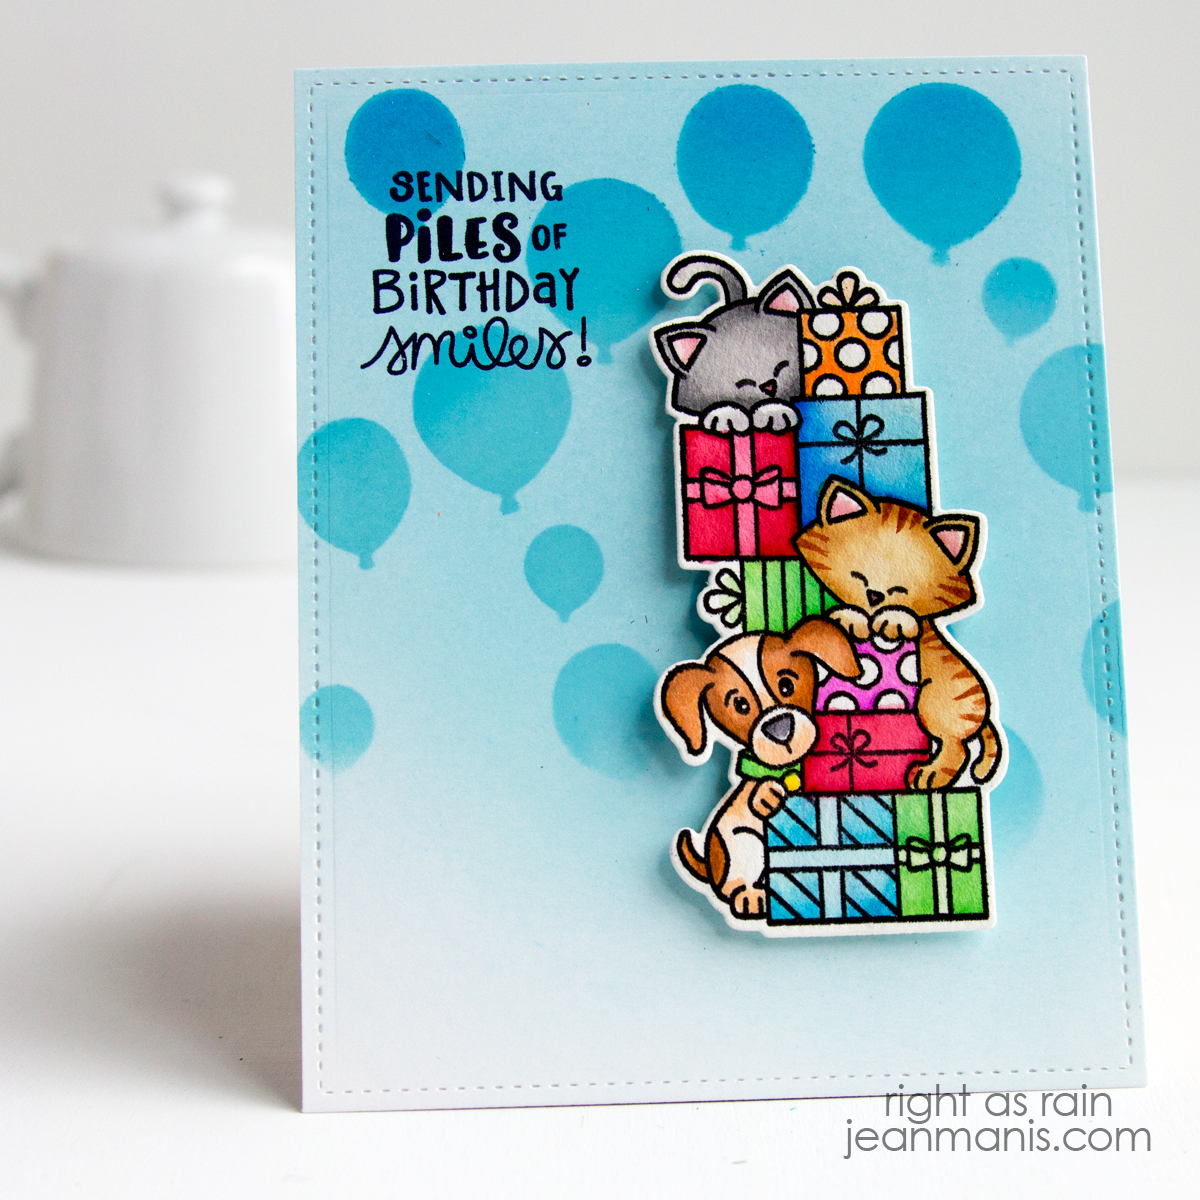
Hello! Birthdays are all about fun, friends, and of course—presents! Today, I am sharing a card featuring an adorable Newton’s Nook stamped image featuring two playful cats, a happy pup, and a stack of brightly colored packages. To add to the celebration, I created a cheerful balloon-filled background with a stencil.
-
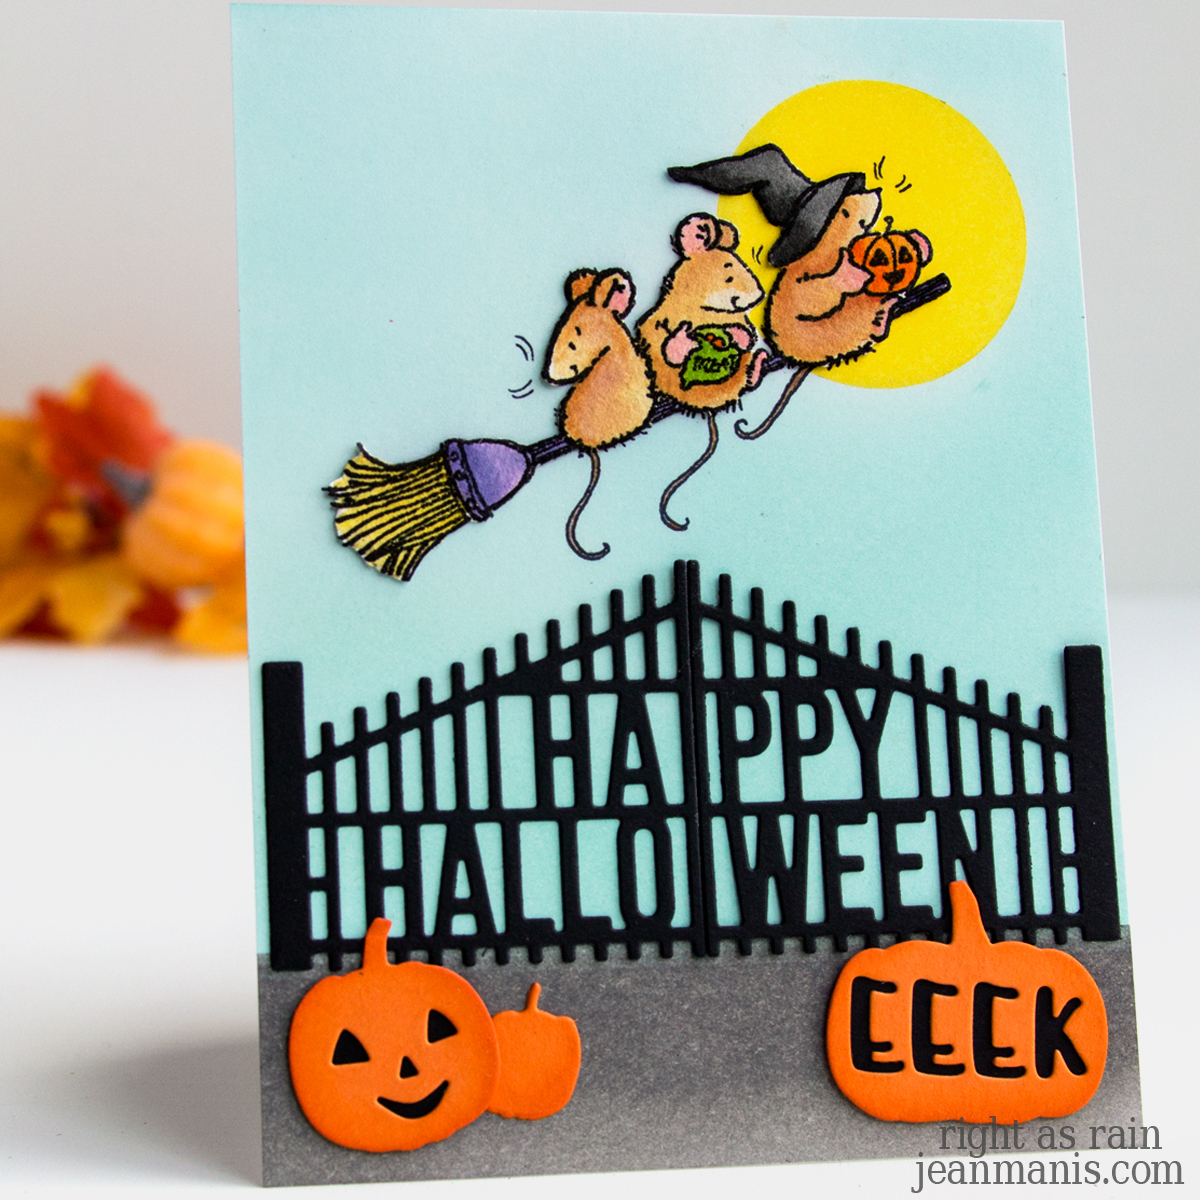
- Ink Bristol cardstock with a light ink color – I used Tumbled Glass Oxide. Add balloons through the Bokeh Balloons stencil. I used darker inks at the top and lighter towards the bottom.
- Stamp the Sky High Celebrations sentiment in black ink on the stenciled panel. Cut panel with A2-size Lawn Fawn Stitched Rectangle die and add to a card base.
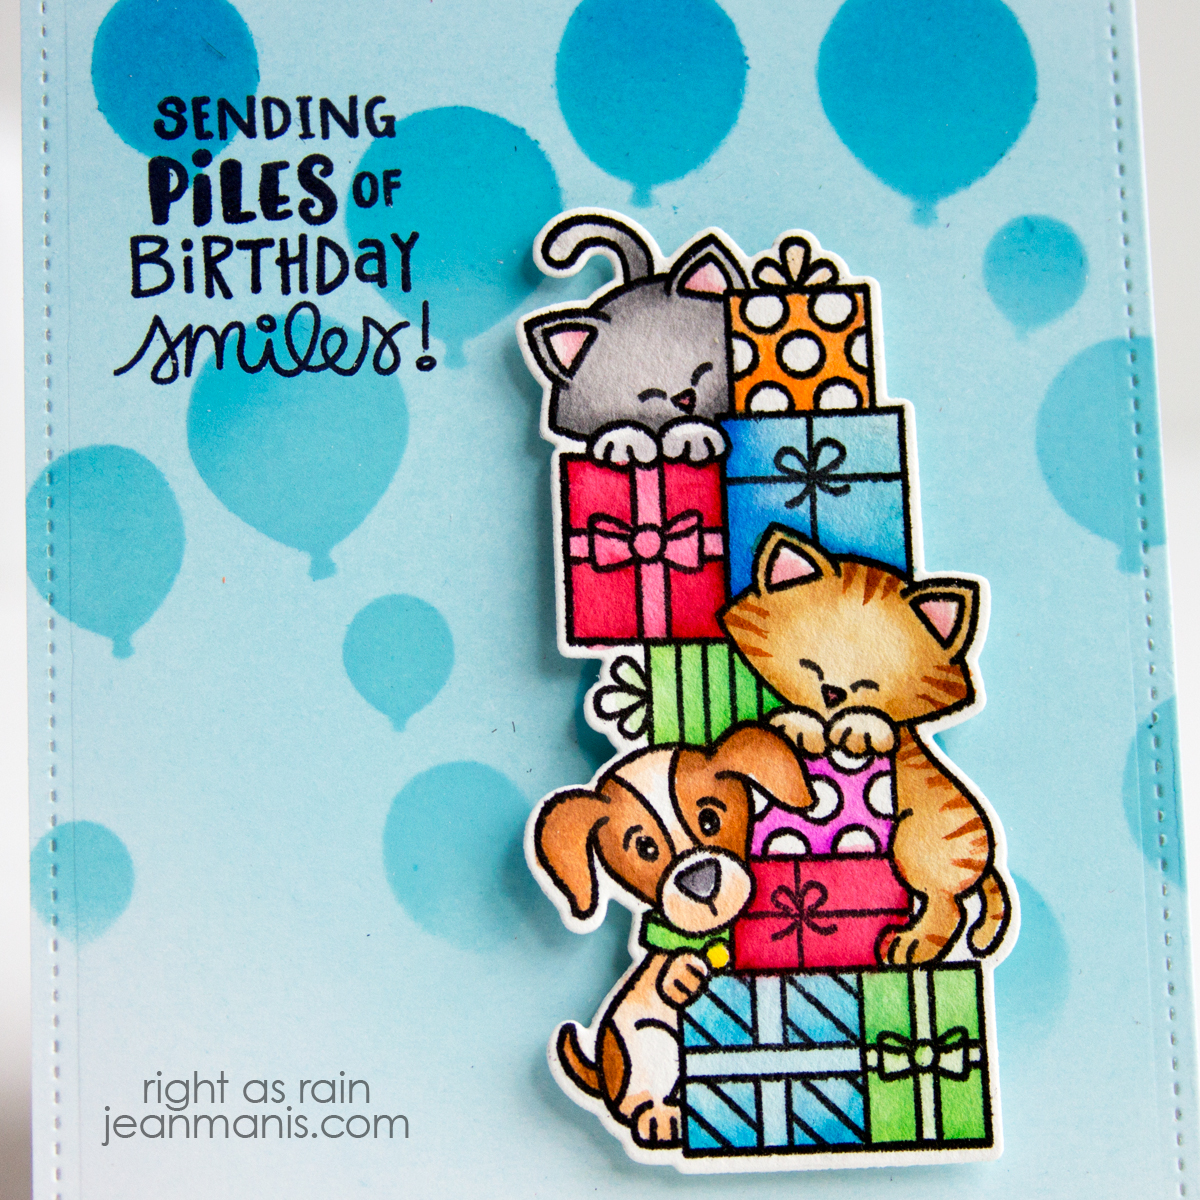
- Stamp Sky High Celebrations image with VersaFine ink on Cold Pressed Watercolor paper and heat set. Color with medium of choice. I used Zig and Tombow markers: Zig Dark Gray 95, Zig Orange 70, Zig Mustard 67, Zig Sand 601, Tombow Purple 665, Zig May Green 47, Zig Persian Blue 32, Zig Yellow 50, Tombow N15 Black, Tombow Burnt Sienna 947, Zig Medium Beige 76, Zig Geranium Red 29, and Tombow Dusty Rose 772.
- Add additional color with Derwent Inktense pencils: Poppy Red, Neutral Gray, Yellow.
- When dry, cut image with the coordinating die set.
- Add image to card base with foam adhesive.
Note: The Sky High Celebrations stamp set and coordinating die set can be purchased directly from Newton’s Nook and Frantic Stamper.
I shared another birthday card HERE that showcases the other image on the Sky High Celebrations set.