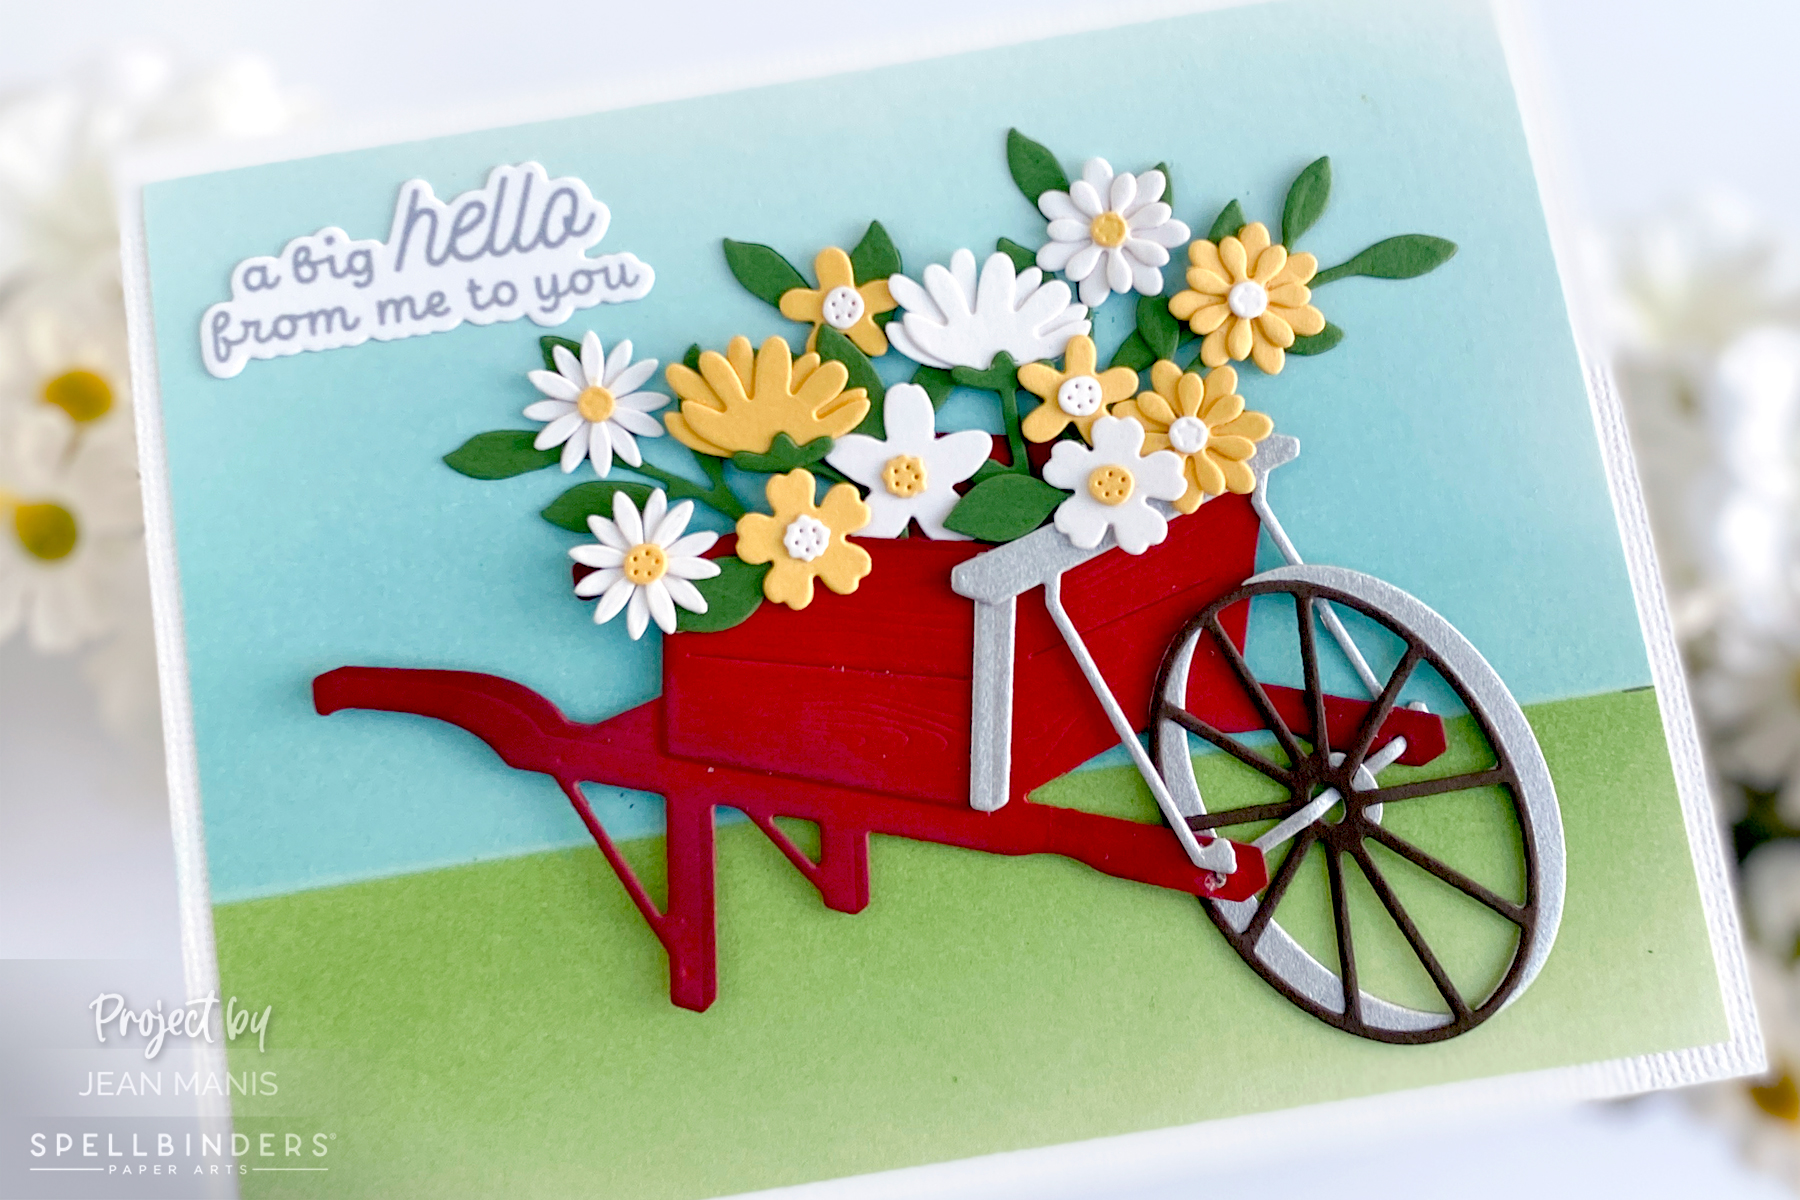
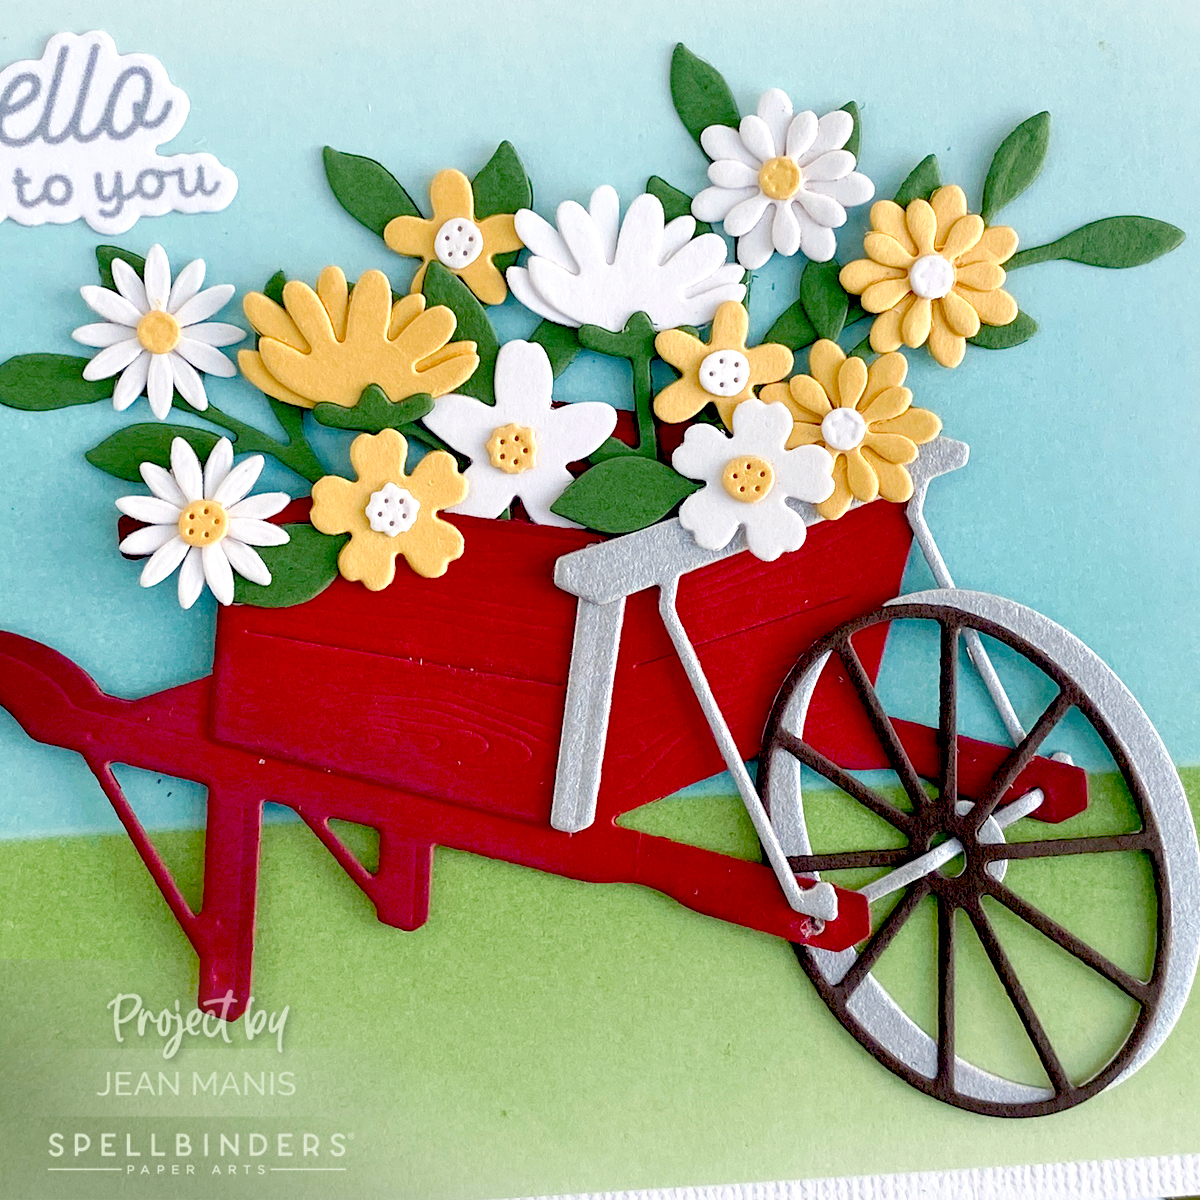
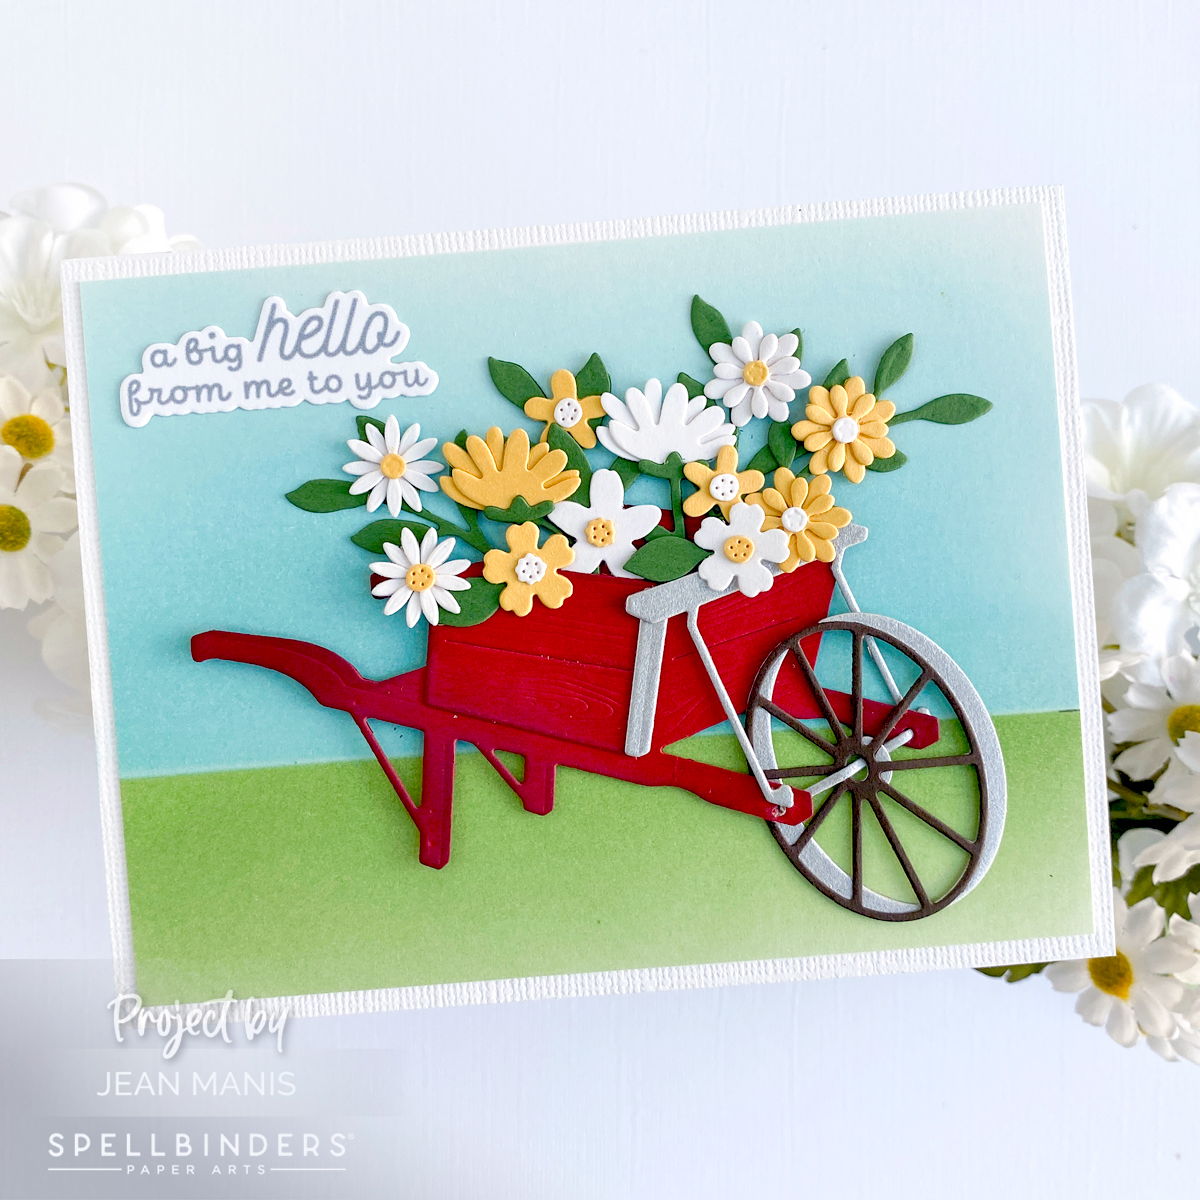
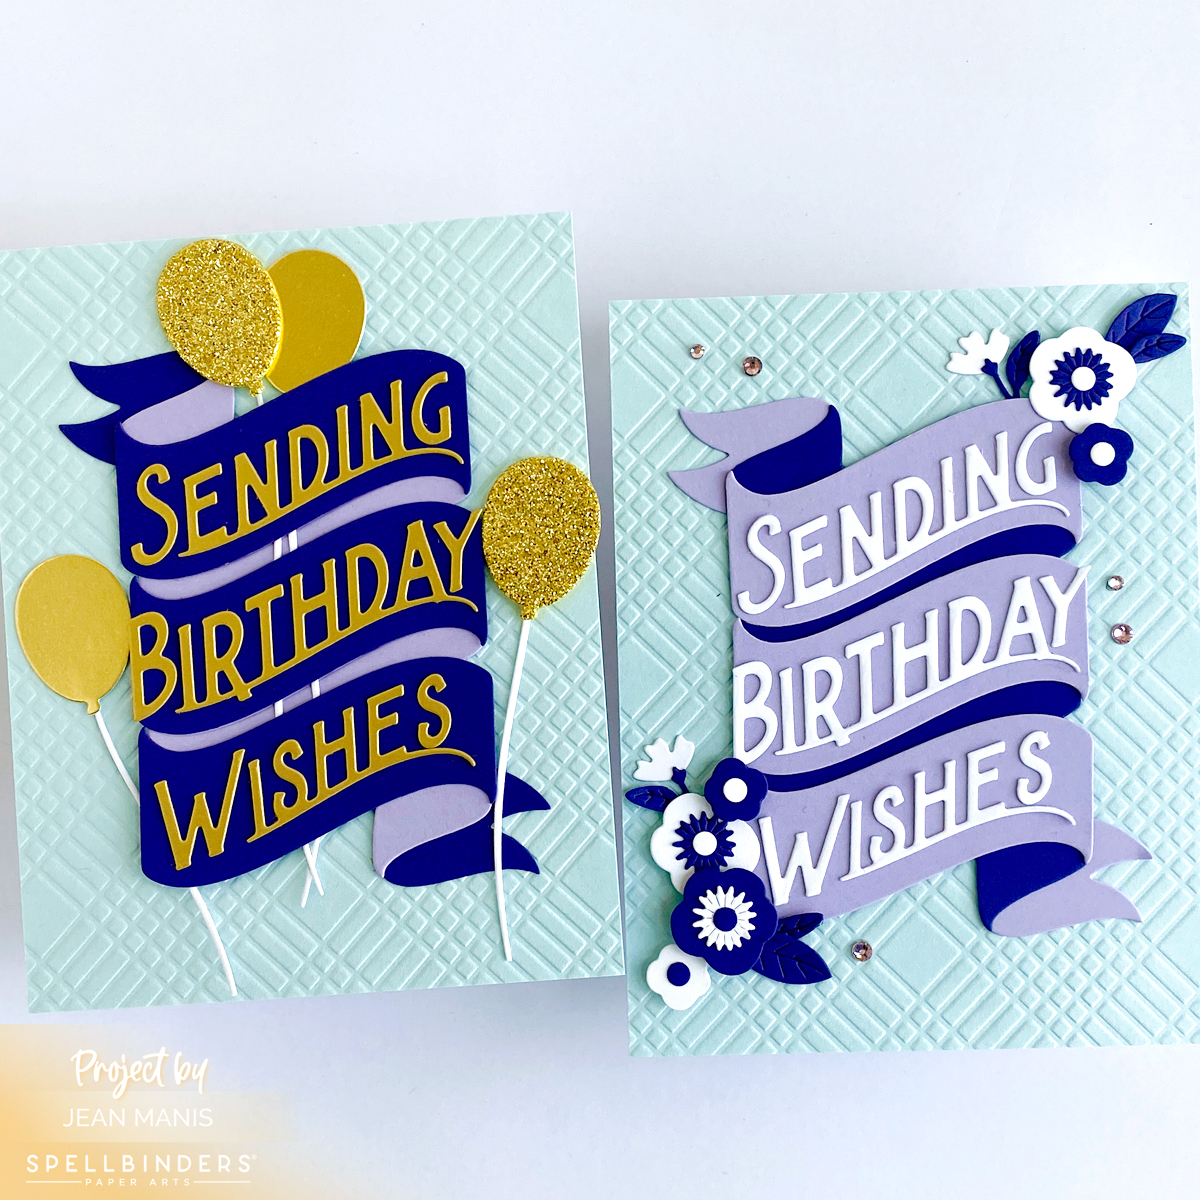
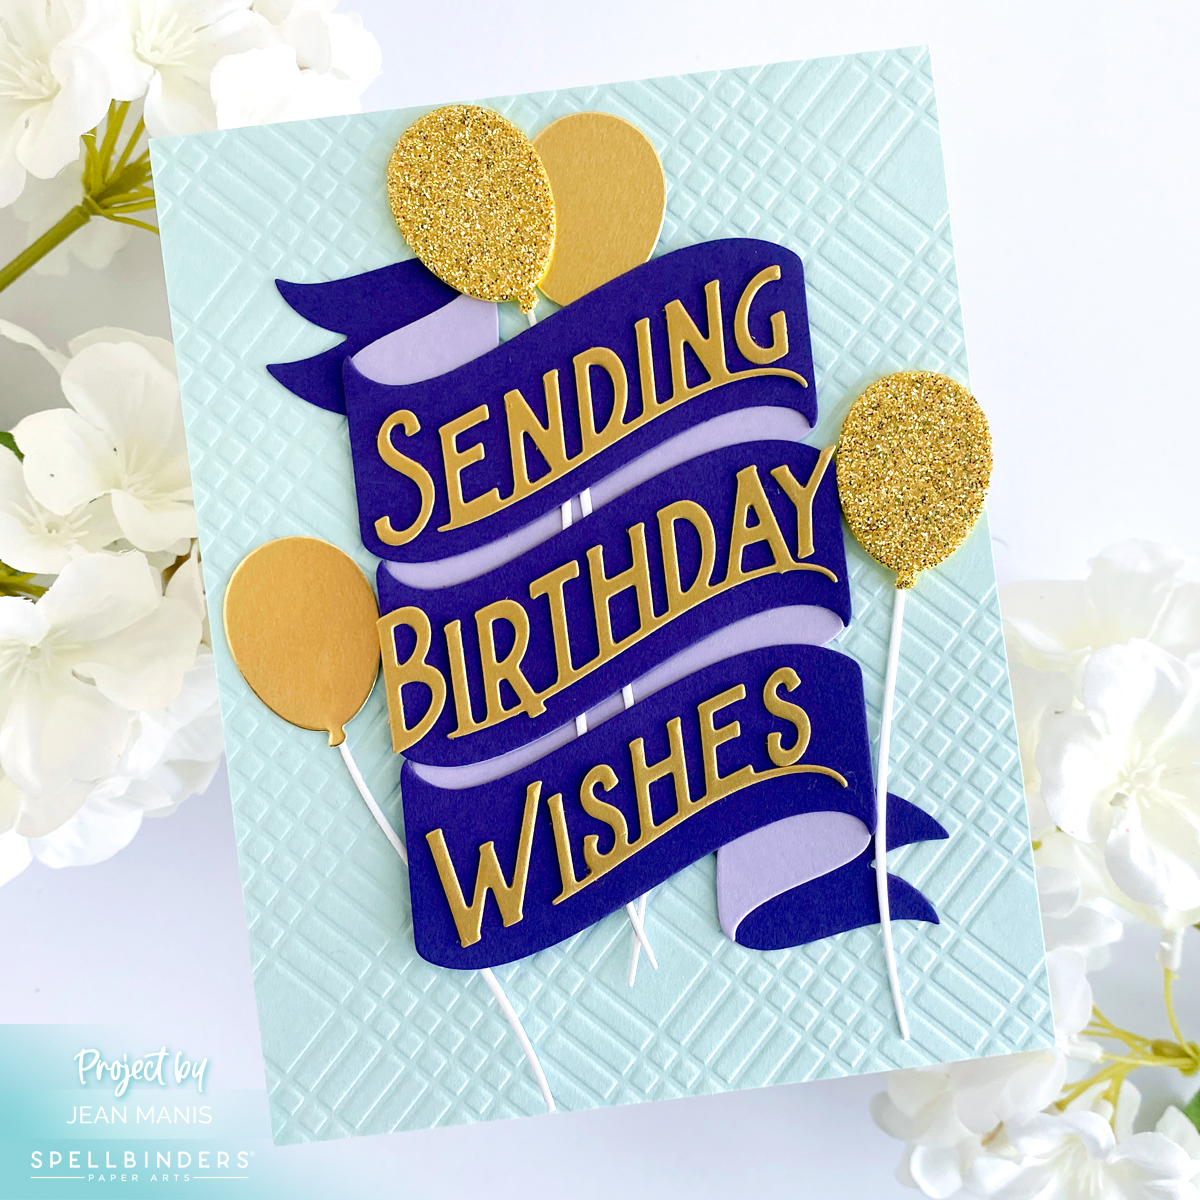
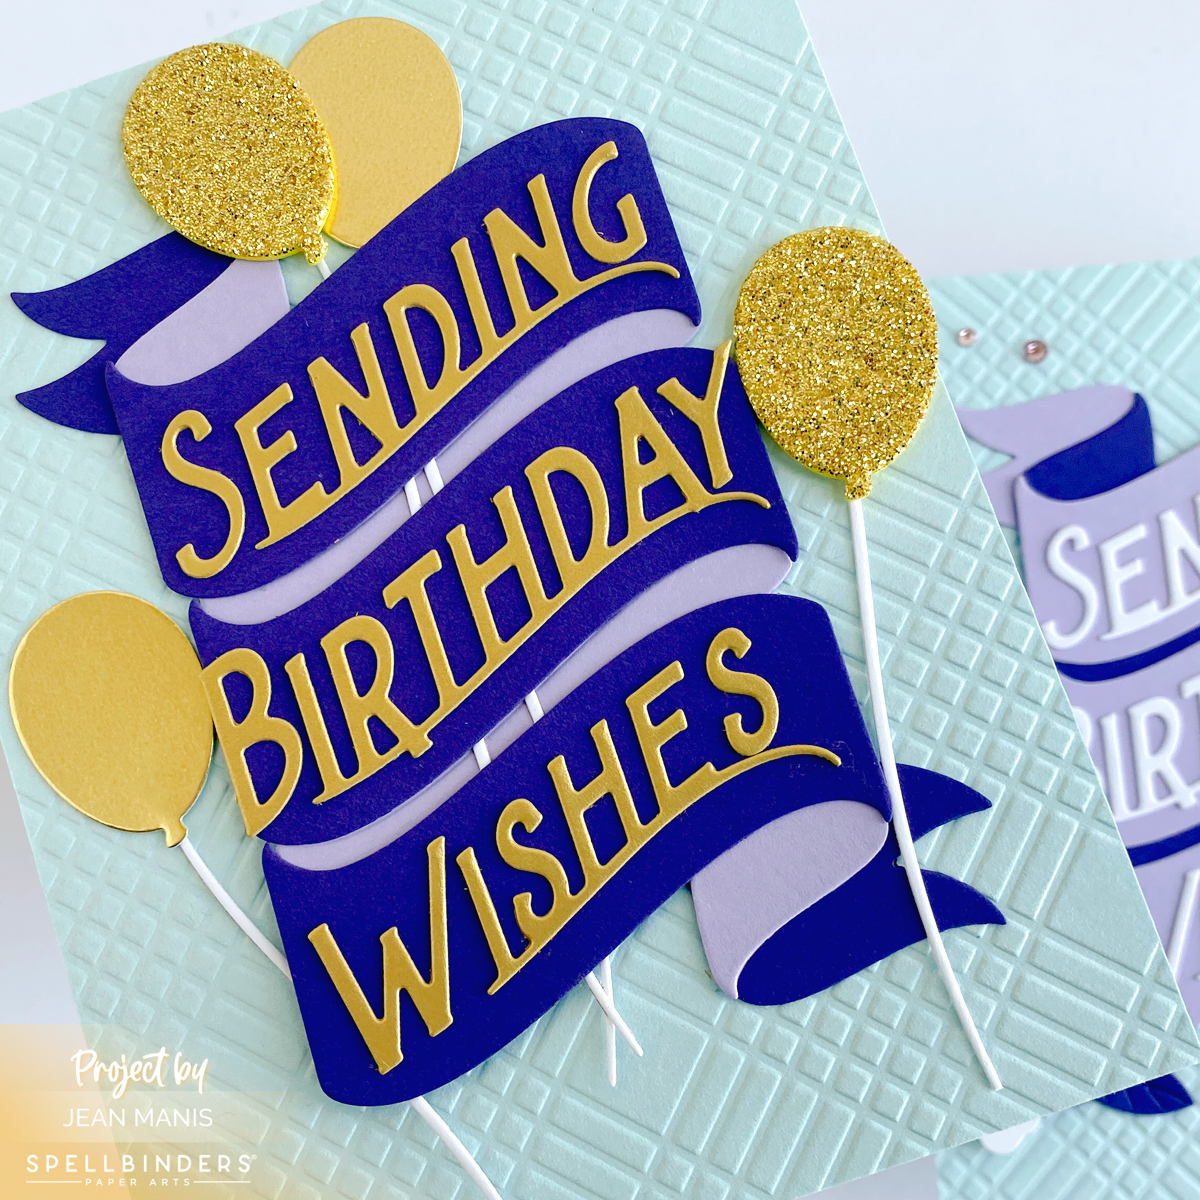
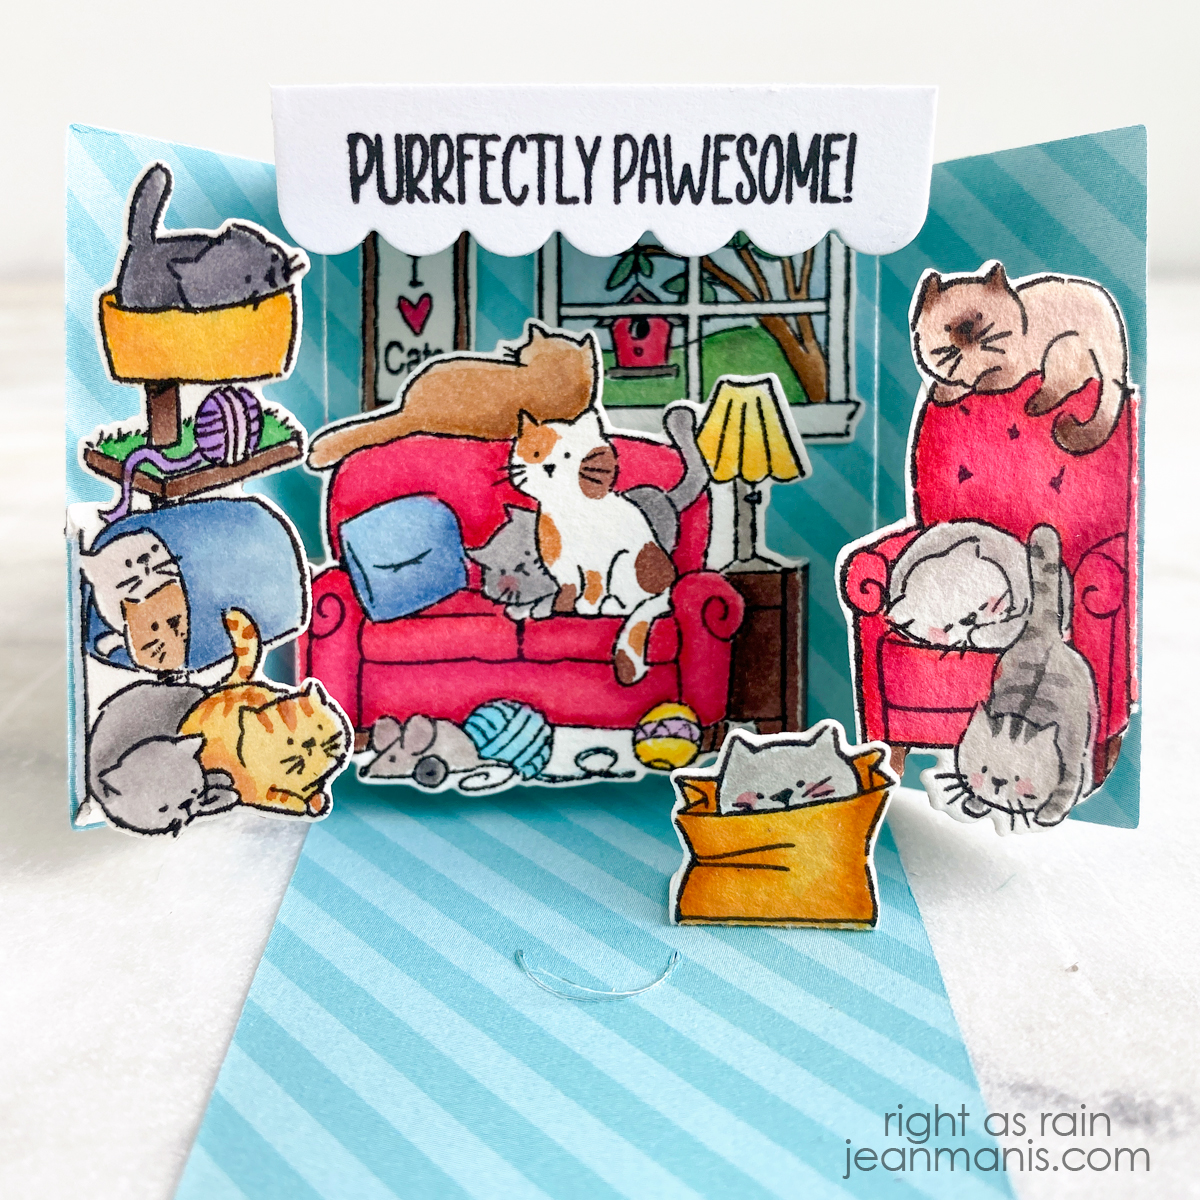
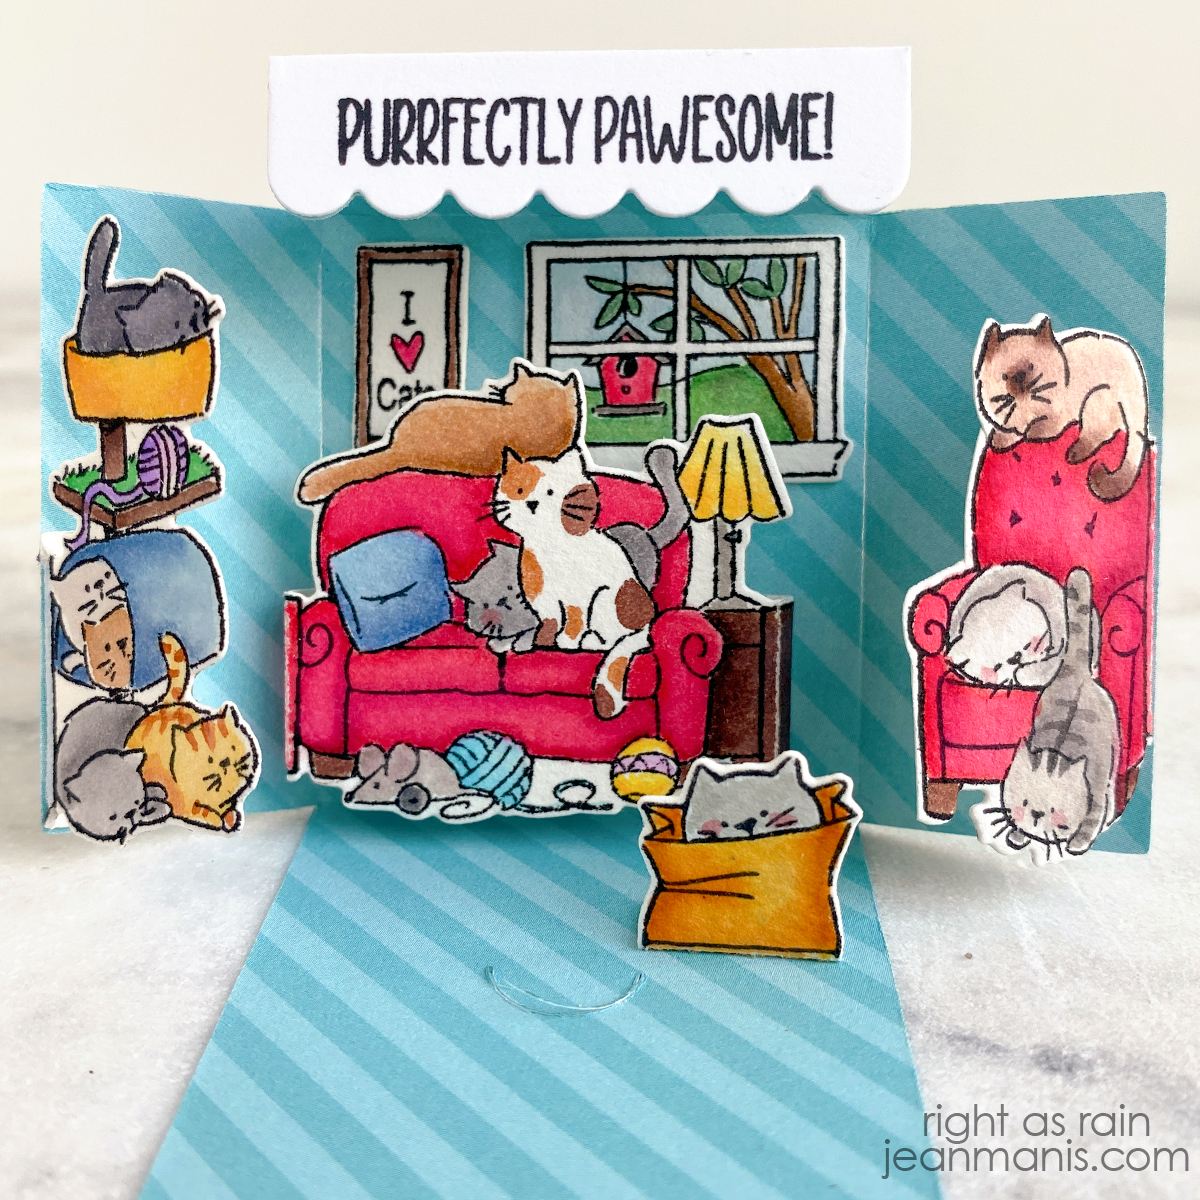
Spellbinders | June 2022 Large Die of the Month

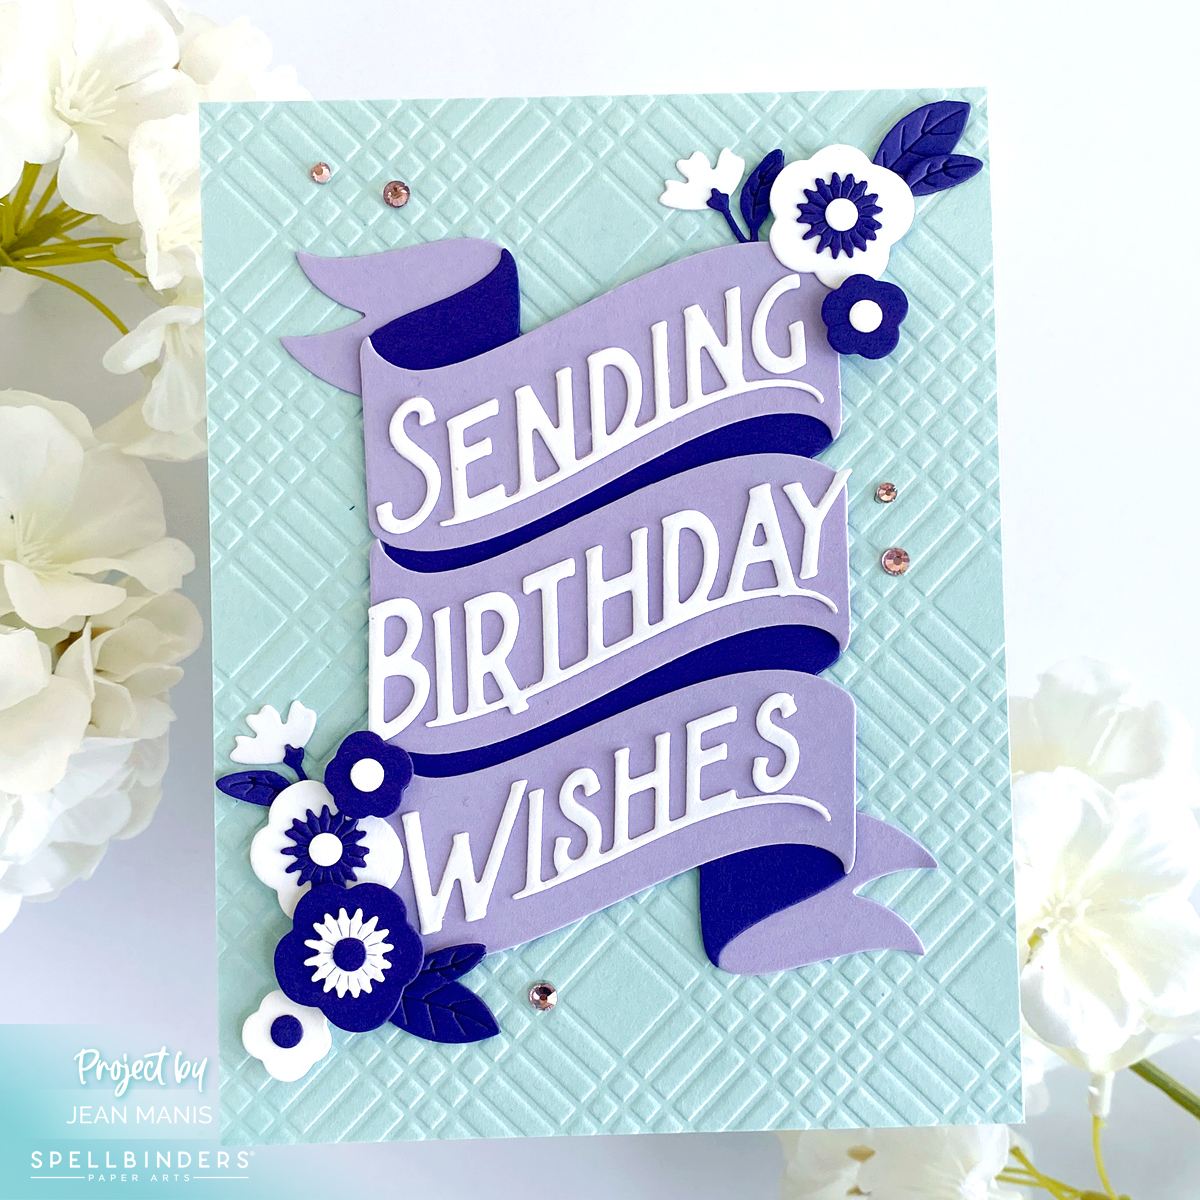
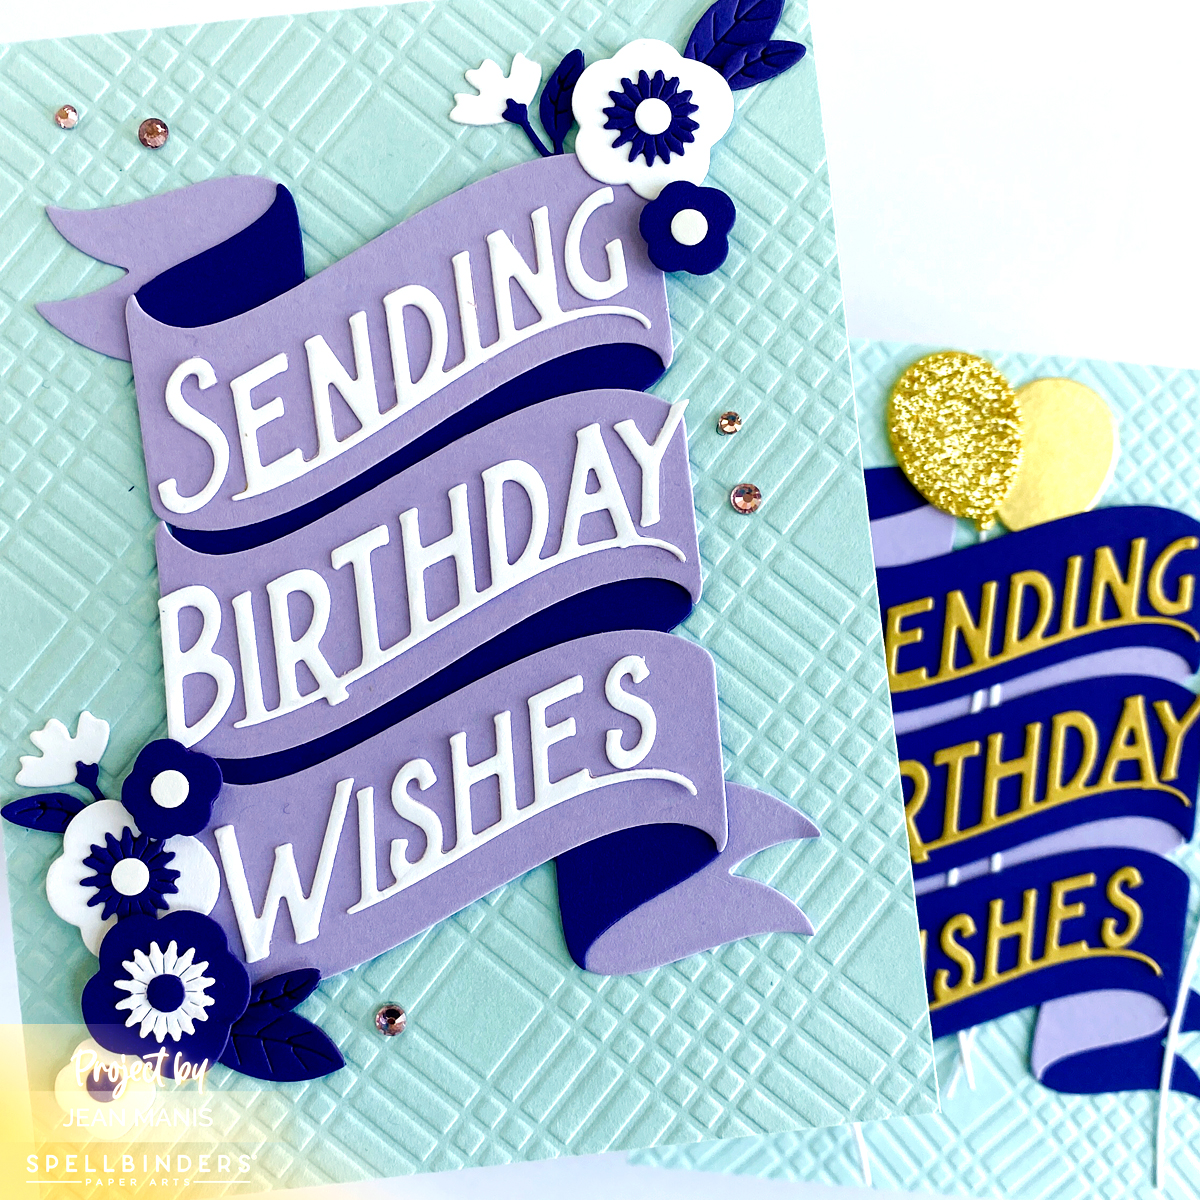
Hello and happy June (the year is passing by quicky)! I am sharing an A2-sized card created with the June 2022 Large Die of the Month and the Embossing Folder of the Month memberships at Spellbinders.

Spellbinders | June 2022 Large Die of the Month

Spellbinders | June 2022 Large Die of the Month


Rubbernecker | Nautical-themed Hello

Hello! Today, in celebration of the fact that it is almost summer, I am sharing a nautical-themed card featuring Rubbernecker dies, stencil, and stamp set.

Rubbernecker | Nautical-themed Hello

  • Stencil Sun Burst in yellow ink on white cardstock.
  • Cut Light House and keeper’s cottage (in the same set) from white, gray, red, and yellow cardstock.; assemble.
  • Cut wave from blue cardstock with a die in the Slimline Waves set.
  • Cut beach from sand-colored cardstock with a die in the Slimline Hills set.
  • Assemble A2-size card front, adhering the wave and beach to the sun background, leaving room between the two for the lighthouse structure.
  • Add lighthouse and cottage to the scene.
  • Stamp sentiment from Mini Simple Sayings on to a cloud cut with the Clouds set.
  • Embellish with Seagulls cut from light-gray cardstock.

Rubbernecker | Nautical-themed Hello


Rubbernecker | Die-cut Encouragement Card

Hello! Today, I am sharing a die-cut encouragement card featuring Rubbernecker dies, stencil, and stamp set.

Create background
  • Stamp Just Saying Hello Floral sentiment on white cardstock with VersaFine Black Onyx ink.
  • Place Repeating Bricks stencil over stamped panel. Mask sentiment with washi tape and apply white embossing paste.
  • Set aside to dry; once dry, add to A2-size card base.
Create focal elements
Assembly & Finishing Touches
  • Tape glazed pots to shelves.
  • Cut greenery from green inked cardstock with the Leaves and Greenery die. Glue to the insides of the pots.
  • Add enamel dots to the centers of flowers cut with the Small Flowers #4 and Tiny Flowers #2 die sets from inked cardstock.
  • Add shelves to card front with foam adhesive. Glue on flowers.

Rubbernecker | Die-cut Encouragement Card


Spellbinders | Add to Cart Too Collection

Hello! Today I am sharing a gardening-themed card featuring products from the recently released Add to Cart Too Collection at Spellbinders. The sets are designed to work with or without the Shopping Cart. I share more inspiration with the Add to Cart Too Collection over on the Spellbinders blog.

Spellbinders | Add to Cart Too Collection

      • Cut frame from Snowdrift cardstock with dies in the Fluted Classics Squares set.
      • Create background by applying Distress Oxide inks on Snowdrift cardstock to create a ground and sky. Trim as necessary and add background to 4 1/2-inch square card base. Adhere frame.
      • With the Plant It Here set, cut the boots, plant, and terracotta pot (on right in photo). Cut the boots again from Onyx cardstock. Trim the yellow boots and adhere to black boots. Note: I die-cut most of the elements from cardstock colored with Distress Oxide inks.
      • With the Shopping Run set, cut the planter and plant (on the left).
      • With the In the Garden set, cut the handle for the spade.
      • Assemble elements and add to card background.
      • Foil Be Bold Glimmer Sentiments in Red on Snowdrift cardstock and add to card with foam adhesive.

      Spellbinders | Add to Cart Too Collection


Rubbernecker | Bicycle Scene

Hello! Today, I am sharing a die-cut scene featuring Rubbernecker dies and stamp set. The Bicycle is the focal point of the card, which would work for a number of occasions.

Rubbernecker | Bicycle Scene

Create focal elements
  • Die-cut Bicycle from silver foil and colored cardstock; assemble.
  • Cut flowers and greenery for the bike basket with Tiny Flowers #2 and Leaves and Greenery die sets. Trim greenery as necessary. Add greenery and flowers to the bike basket.
Create background
  • Die-cut Gate and Arbor from white and black cardstock; assemble. (The gate piece is cut three times.)
  • Create A2-size background from blue cardstock. Add strip of green cardstock along the bottom for the grass.
  • Add assembled gate and arbor to the panel.
Create sentiment and additional elements
  • Stamp Mini Simple Sayings in black ink on white cardstock. Cut sentiment with Clouds die. Cut additional clouds at the same time.
  • Cut bird with Birds die from yellow cardstock.
  • Cut cat with Cats die from black cardstock.
  • Cut Classic Flowers and Stems from orange and green cardstock; assemble. Optional: add flowers centers with circles cut with dies in the Fishing Boat and Lifeguard Tower sets.
  • Add elements to scene. Largest cloud, bike, cat, and bird are added with foam adhesive.

Rubbernecker | Bicycle Scene