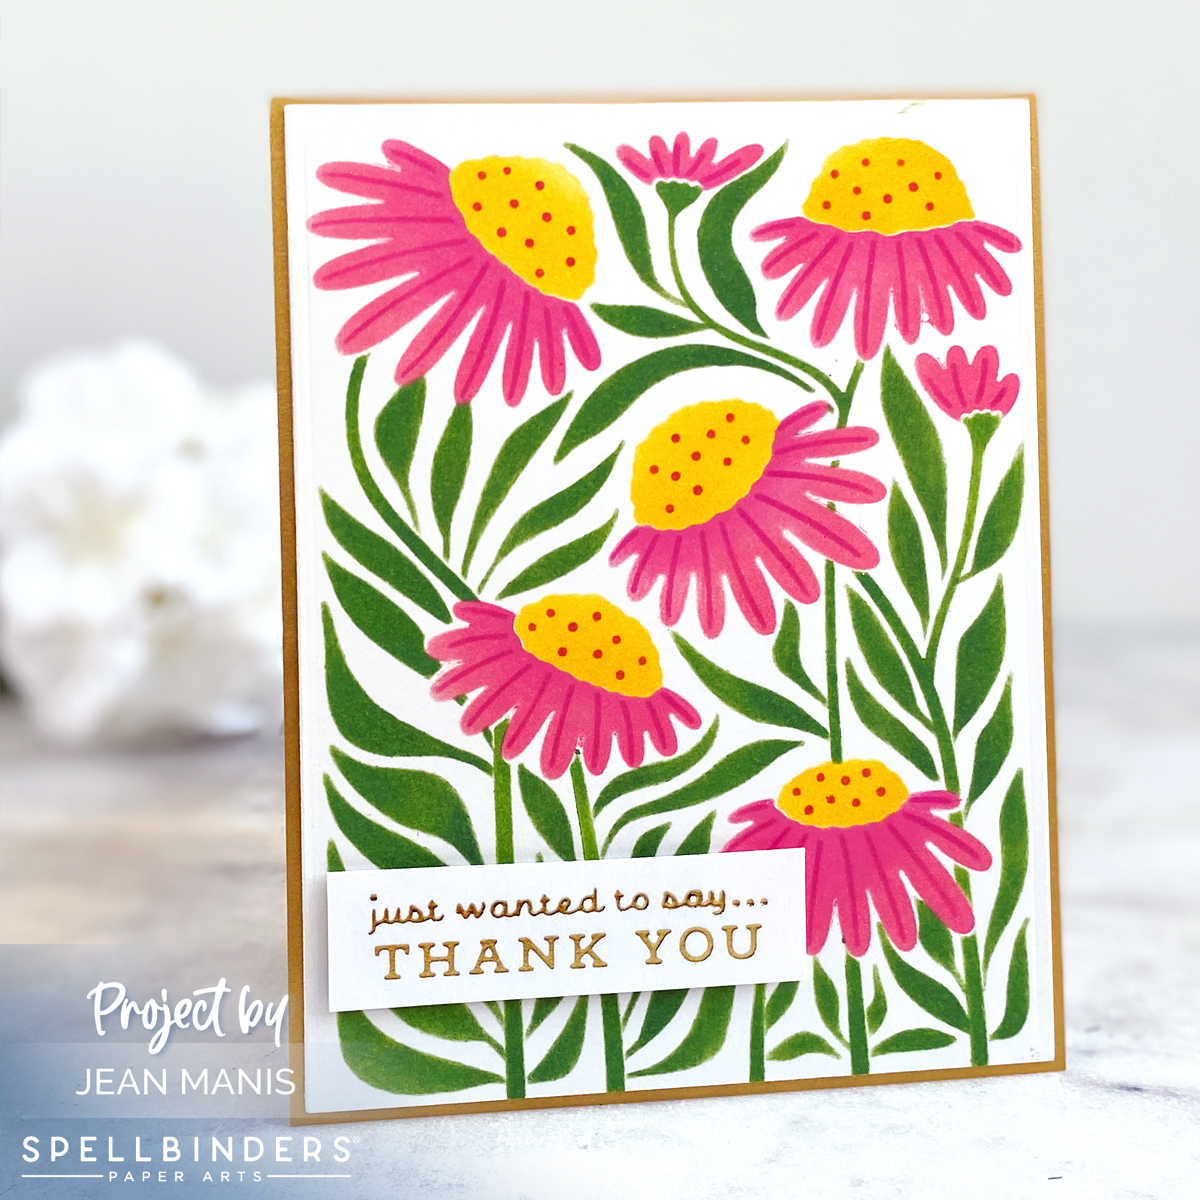
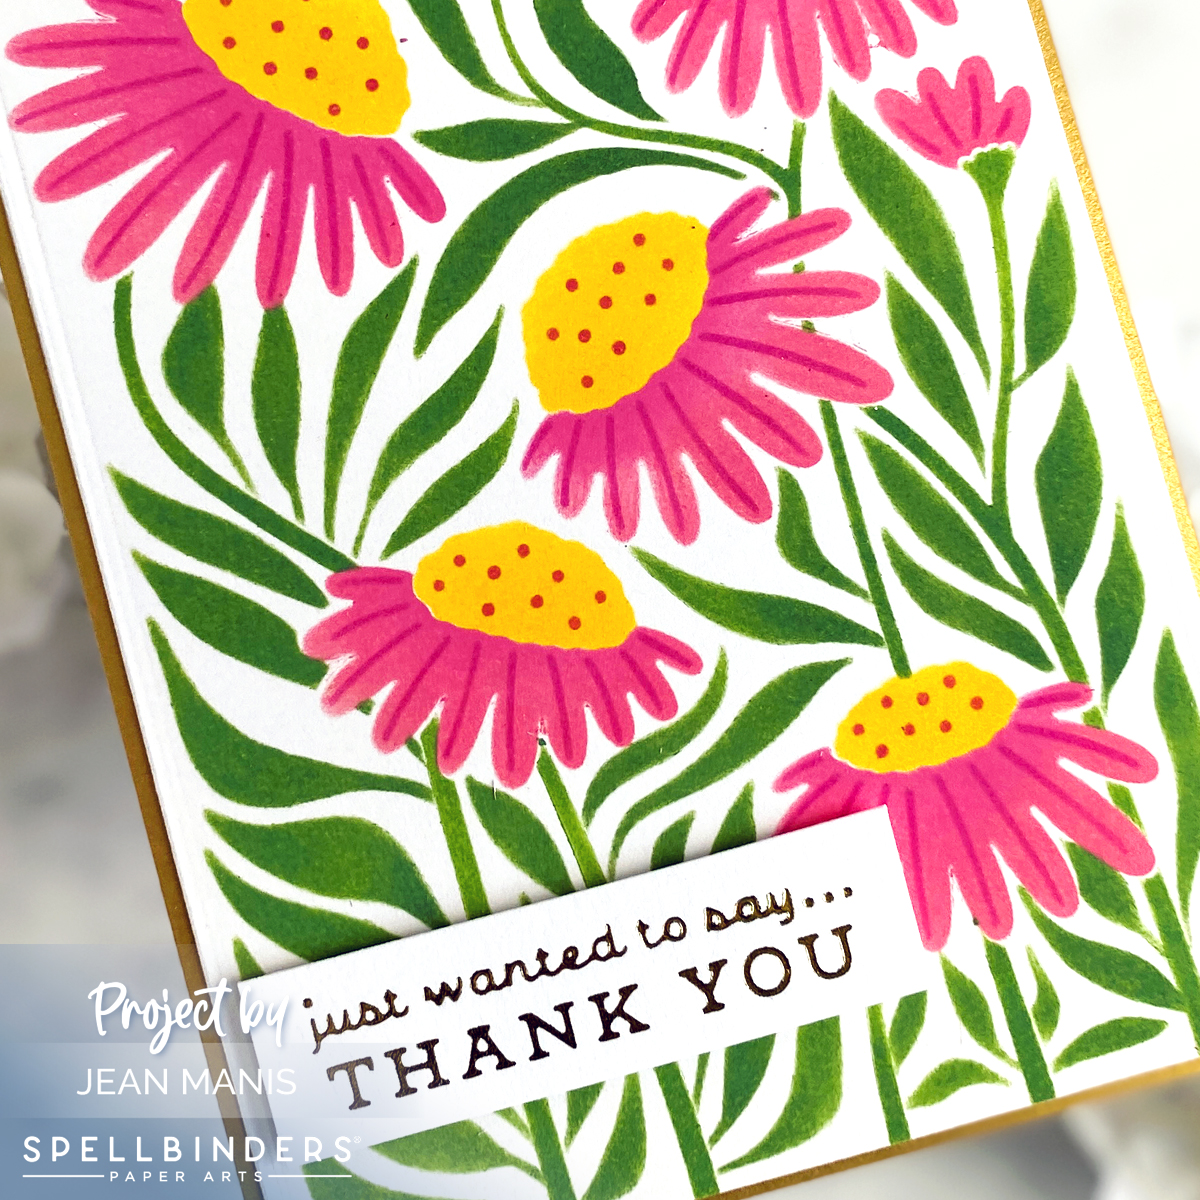
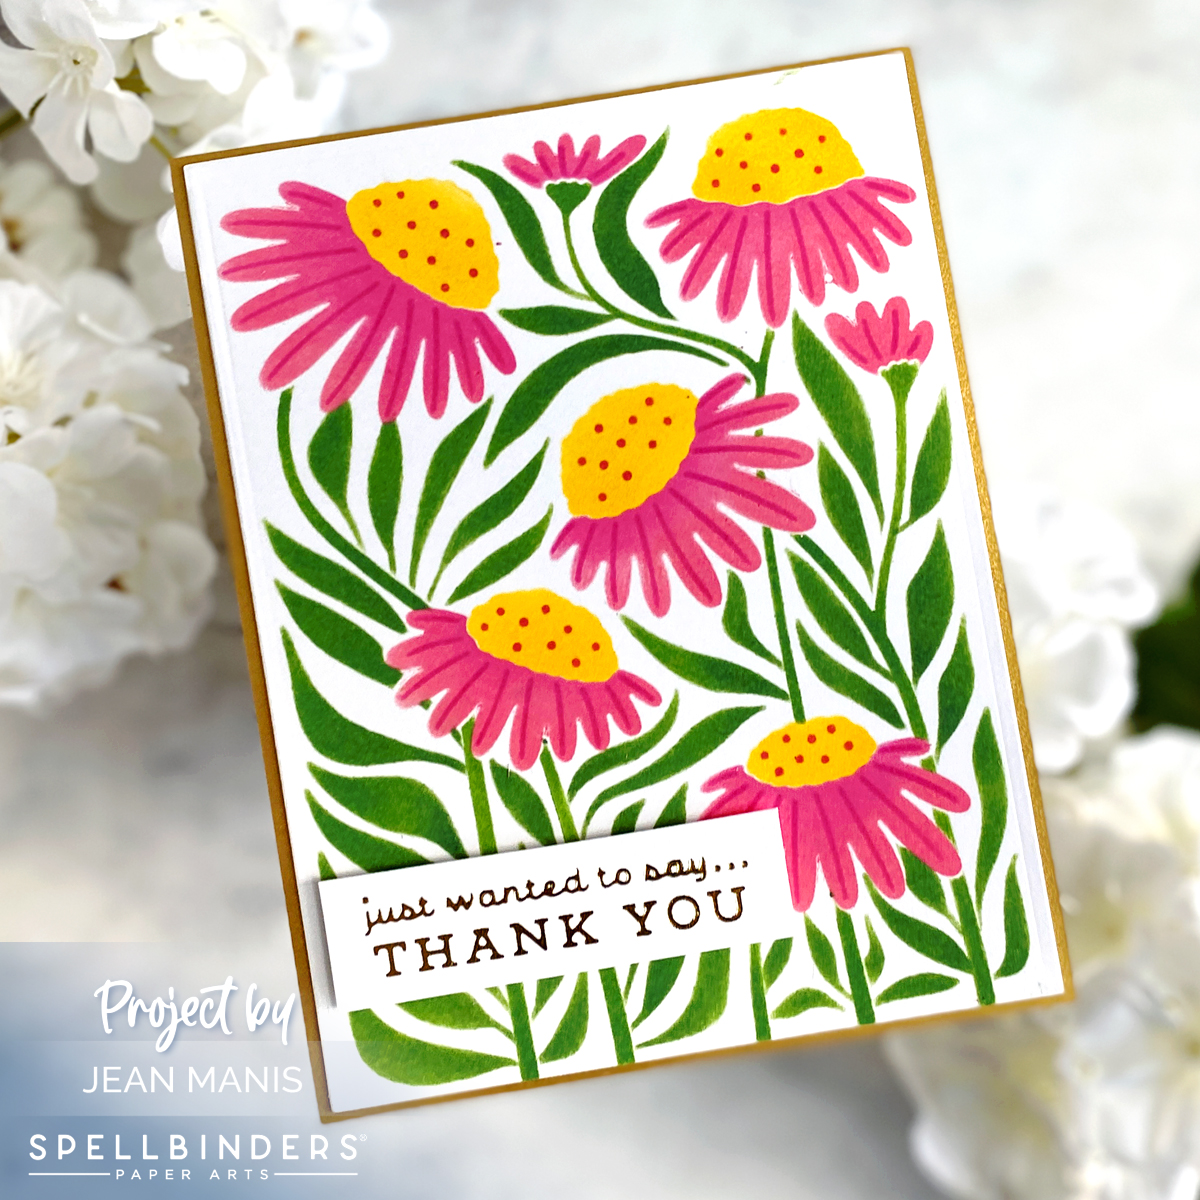
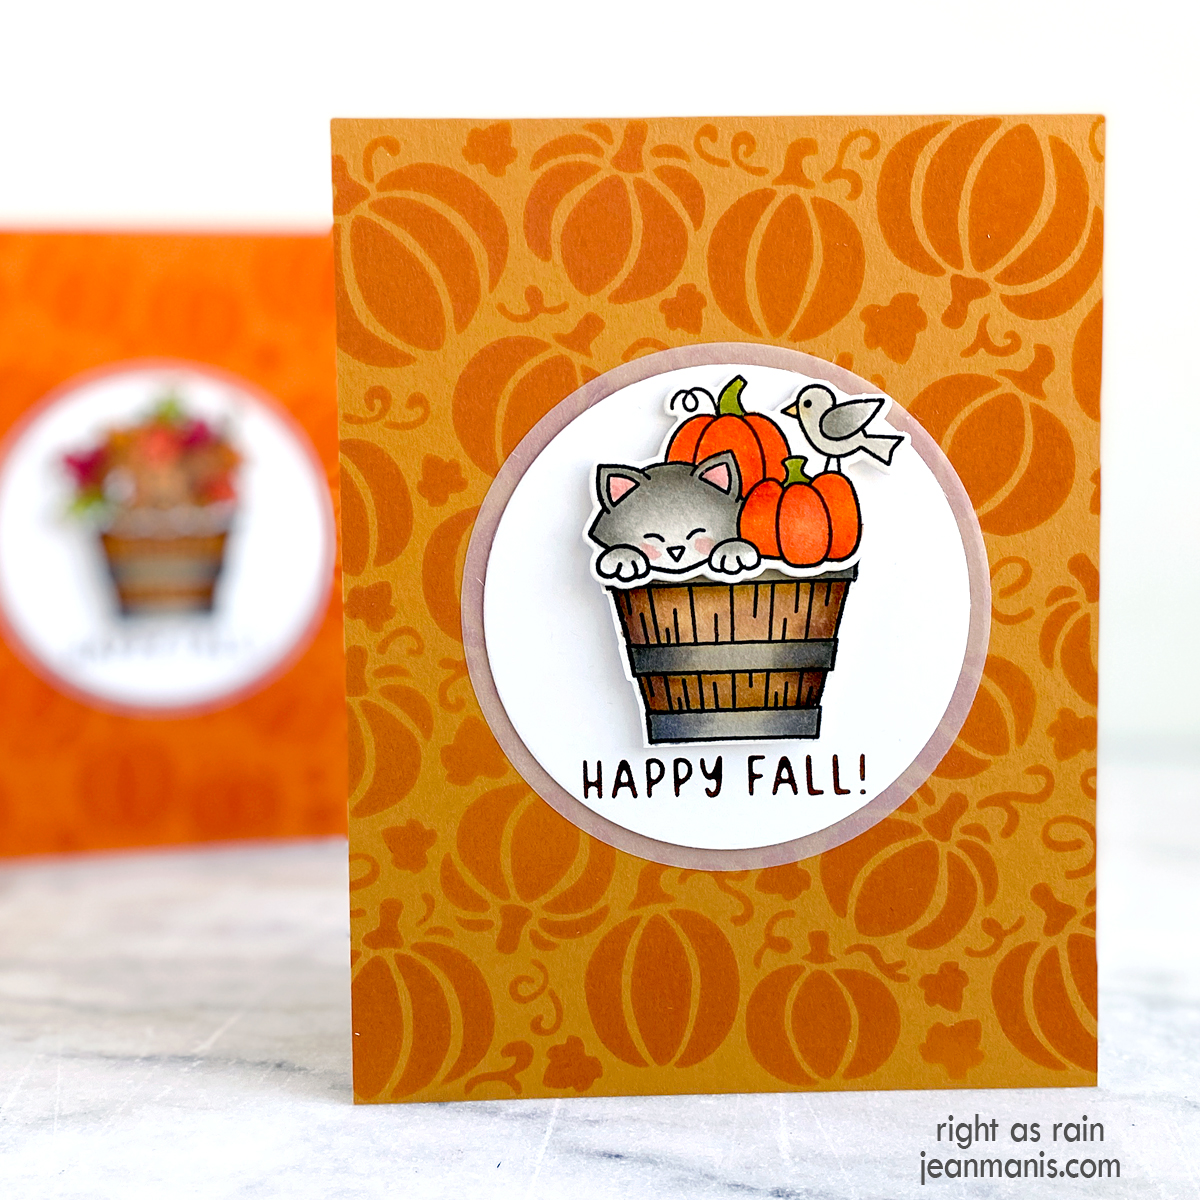
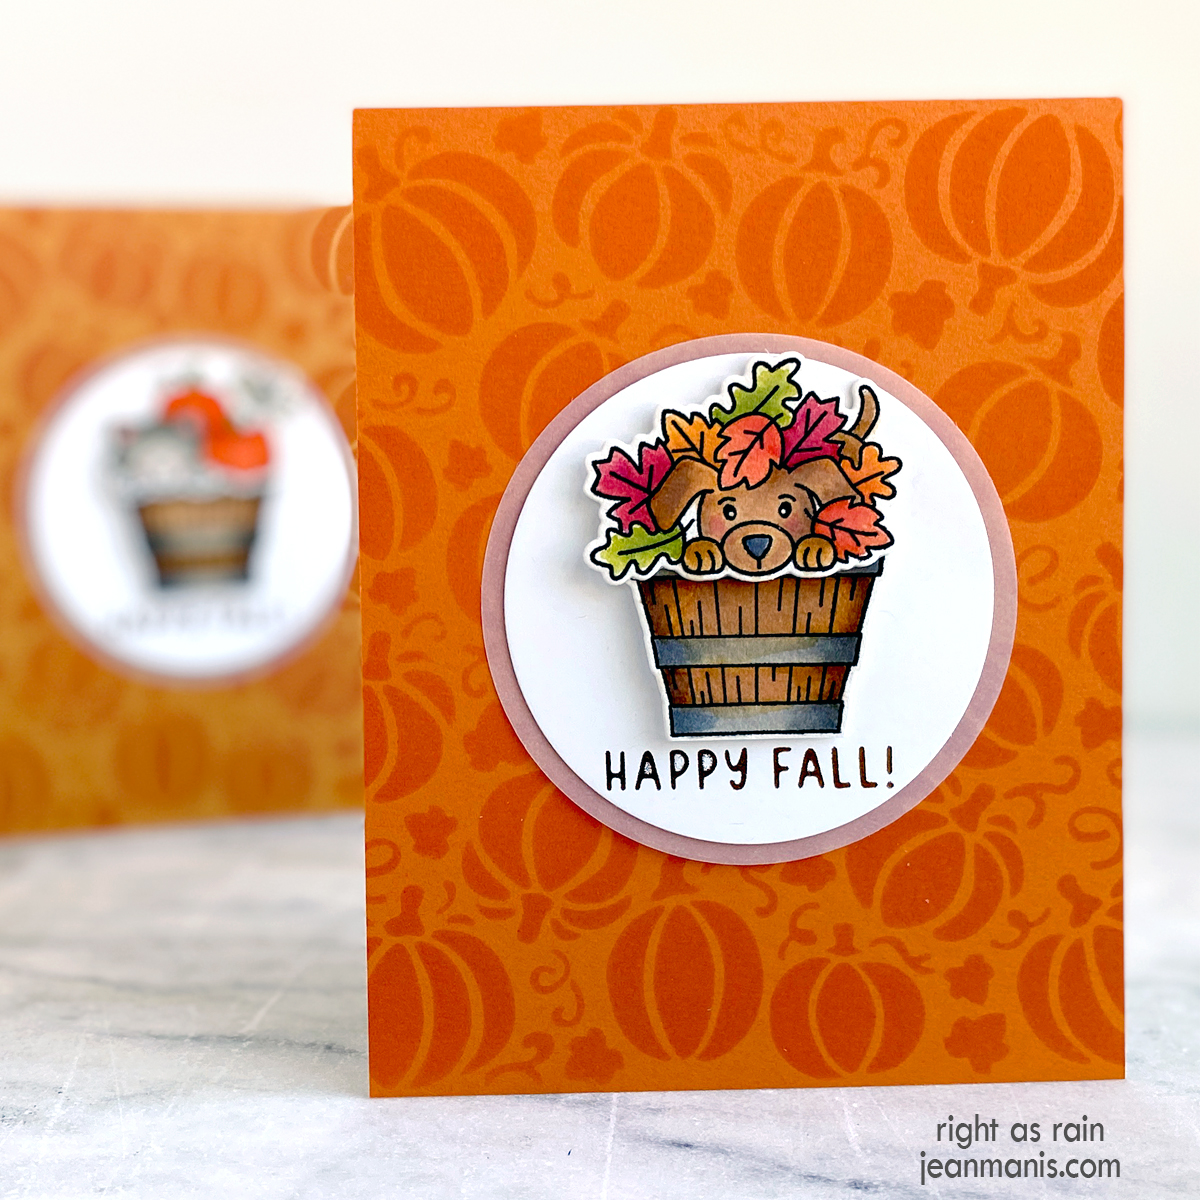
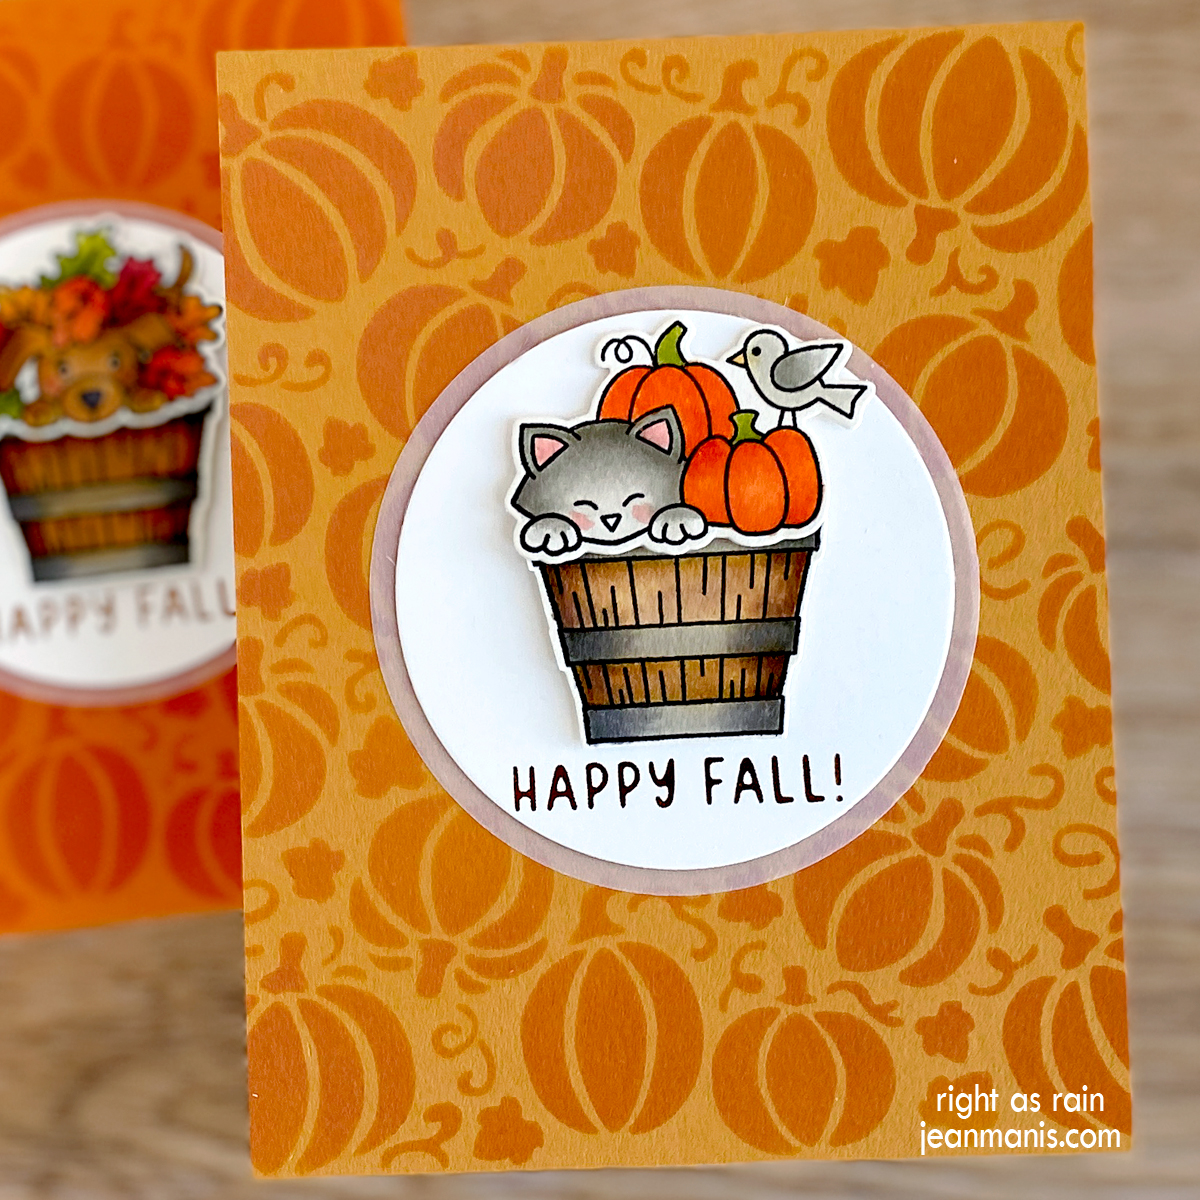
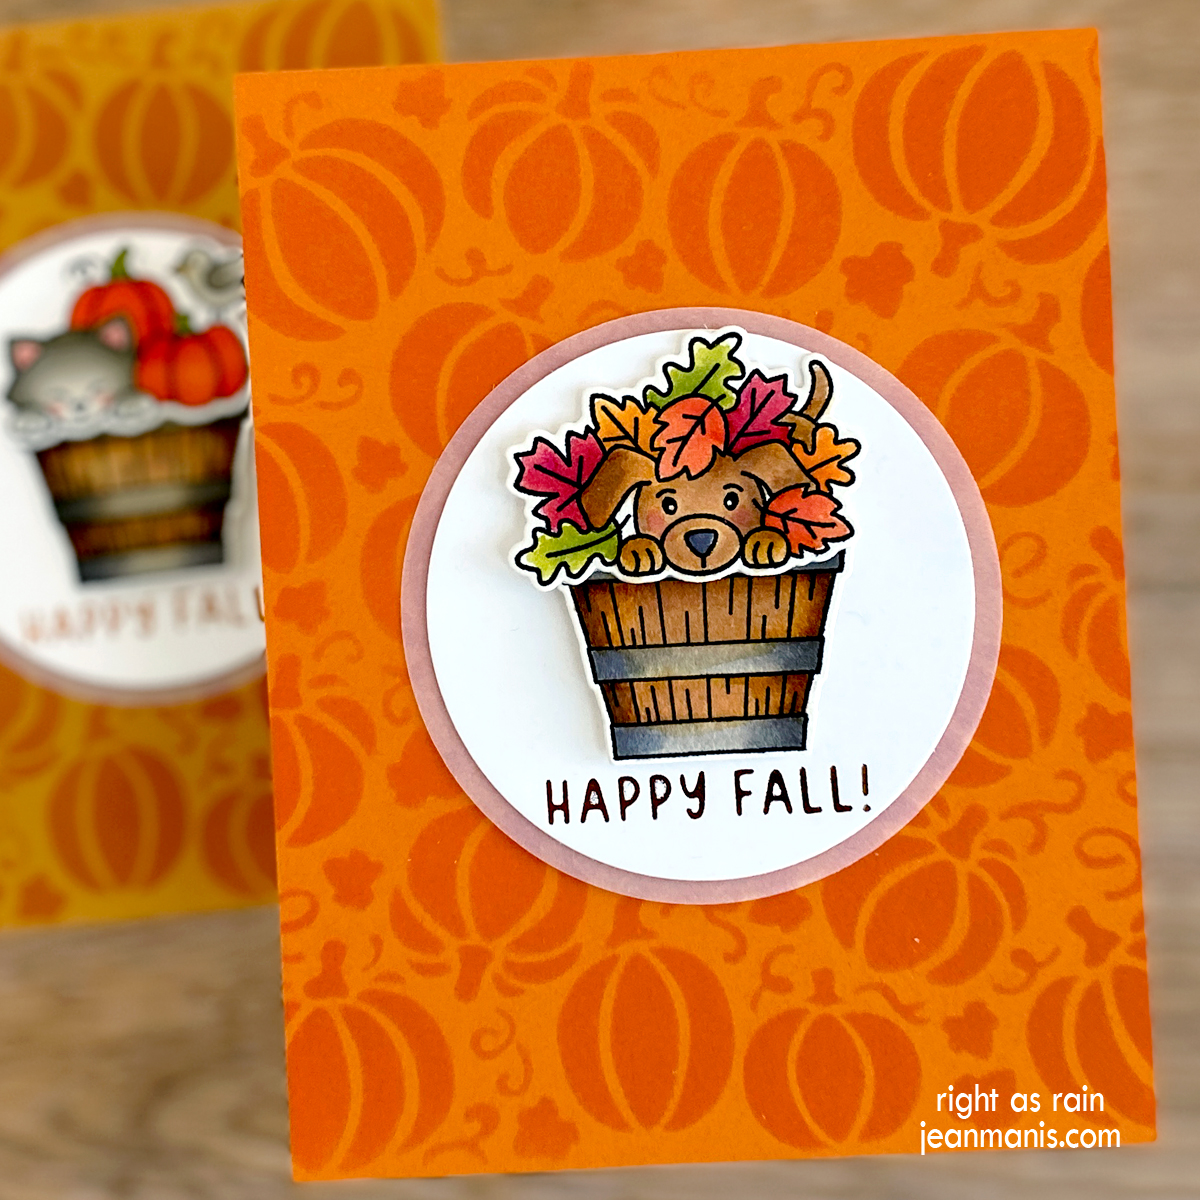
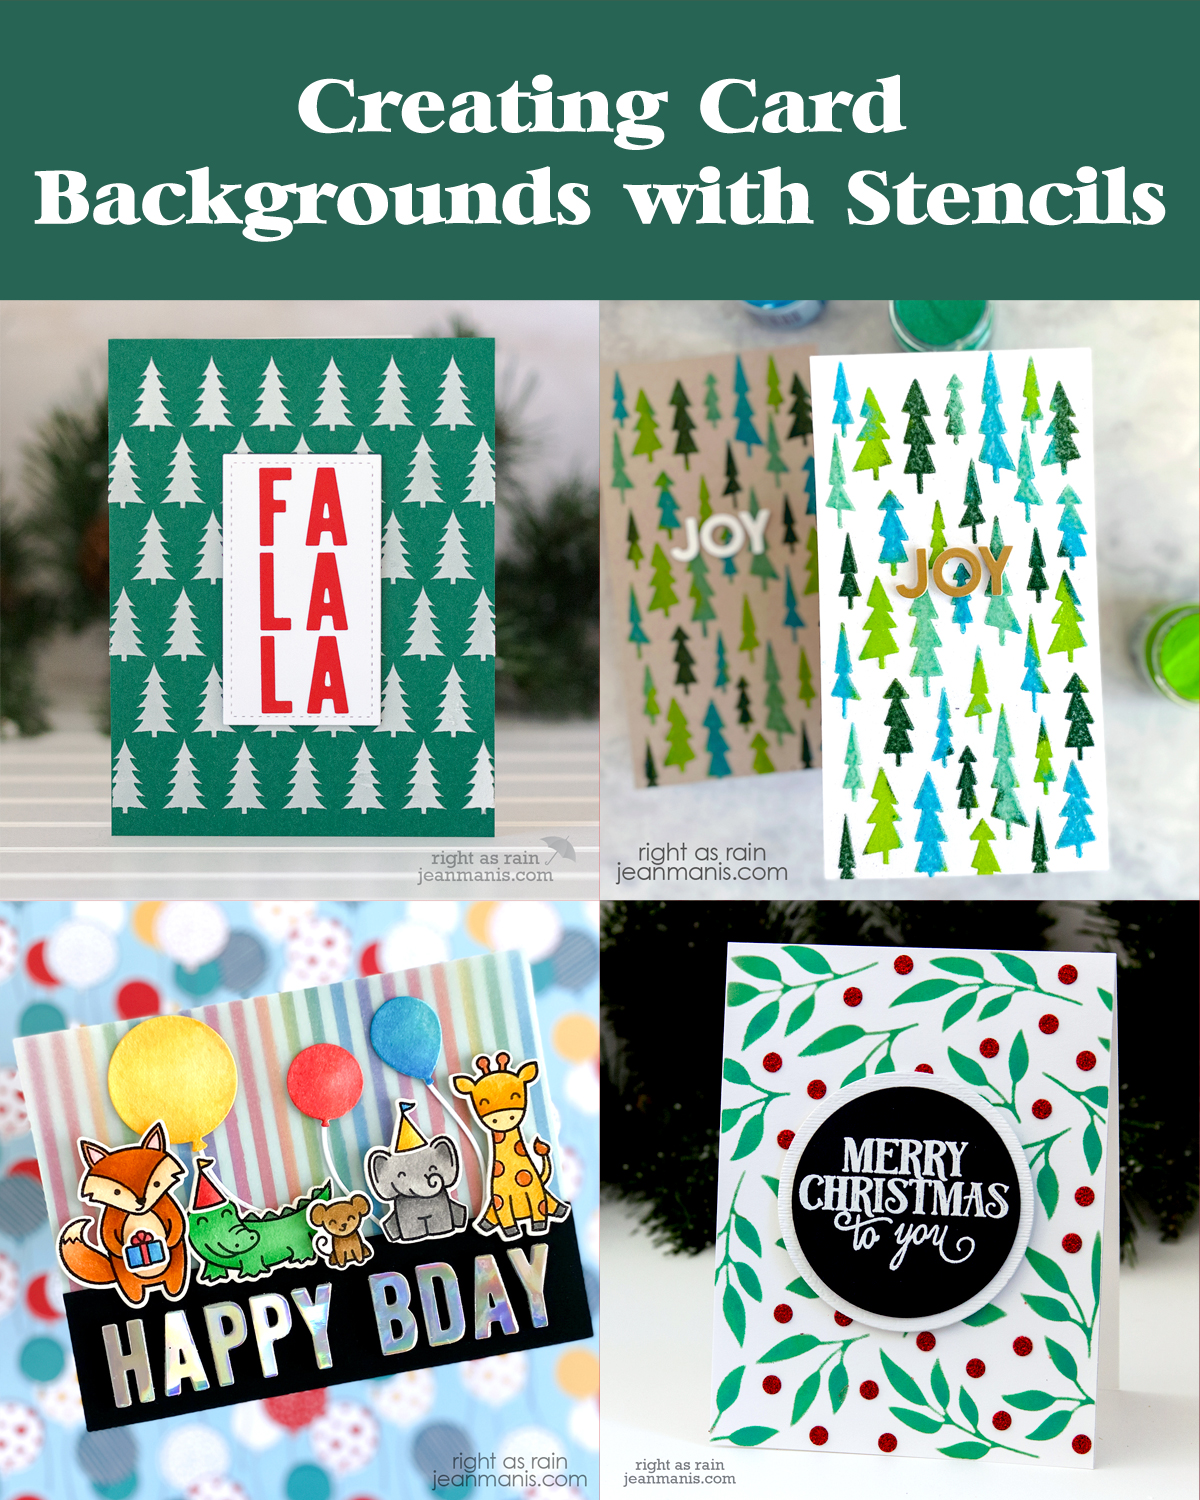
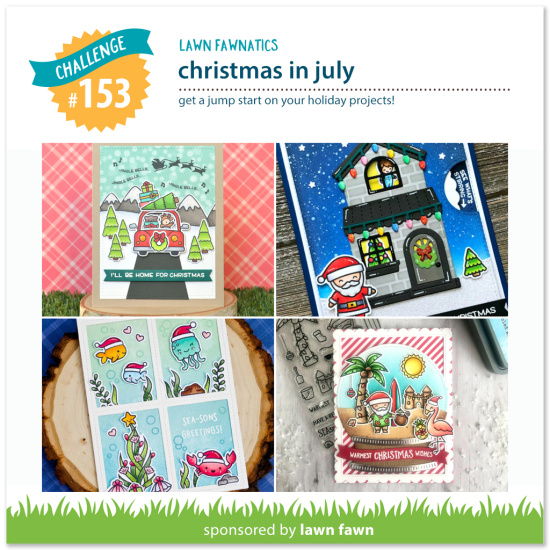
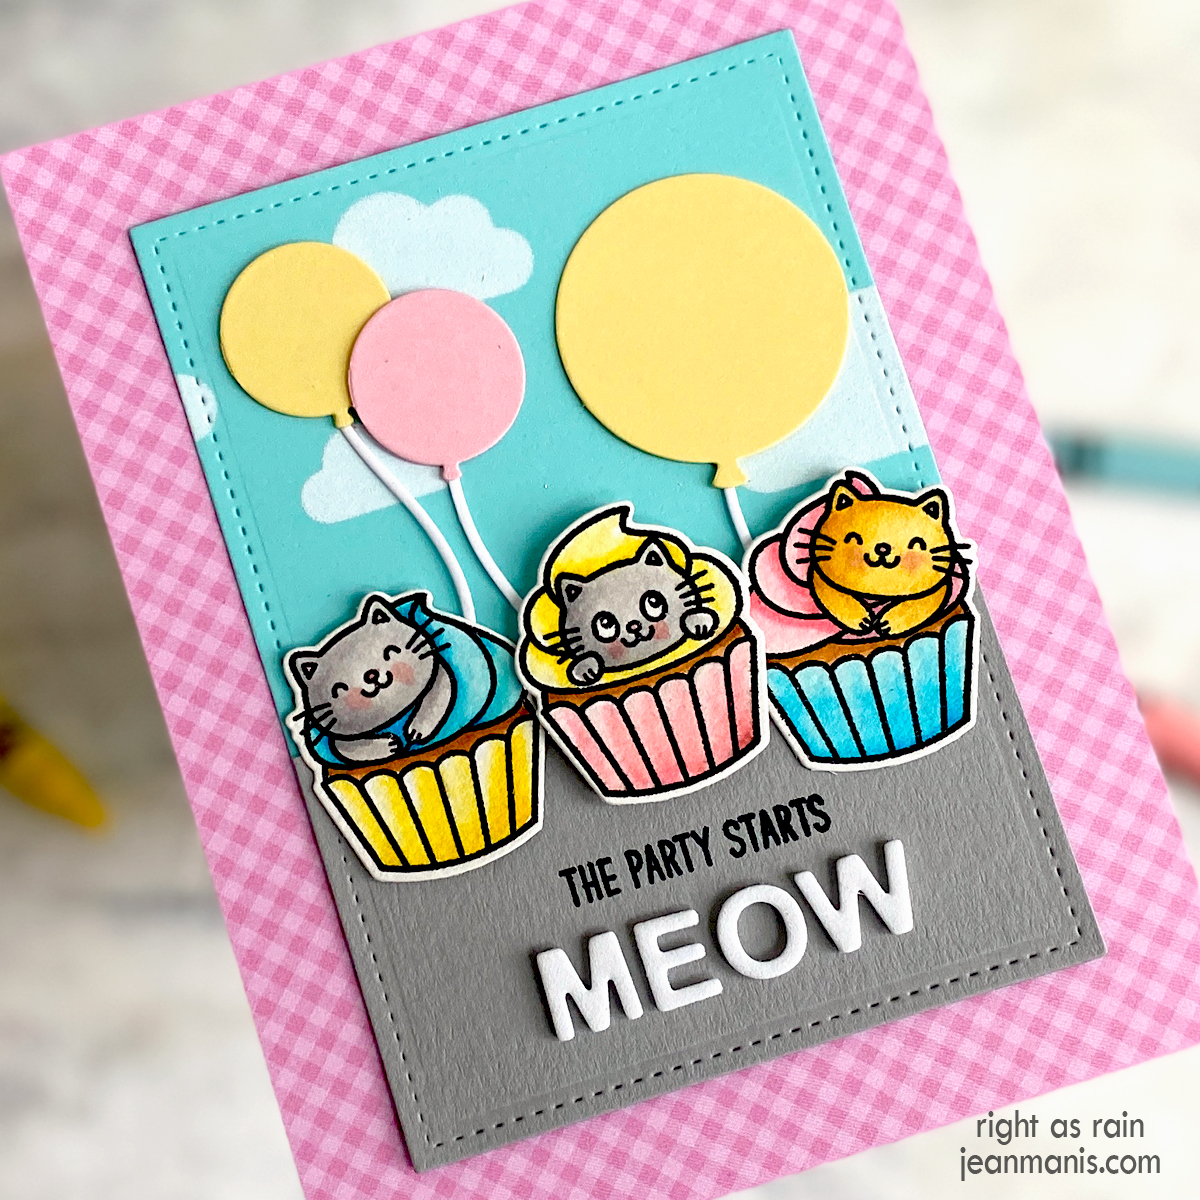
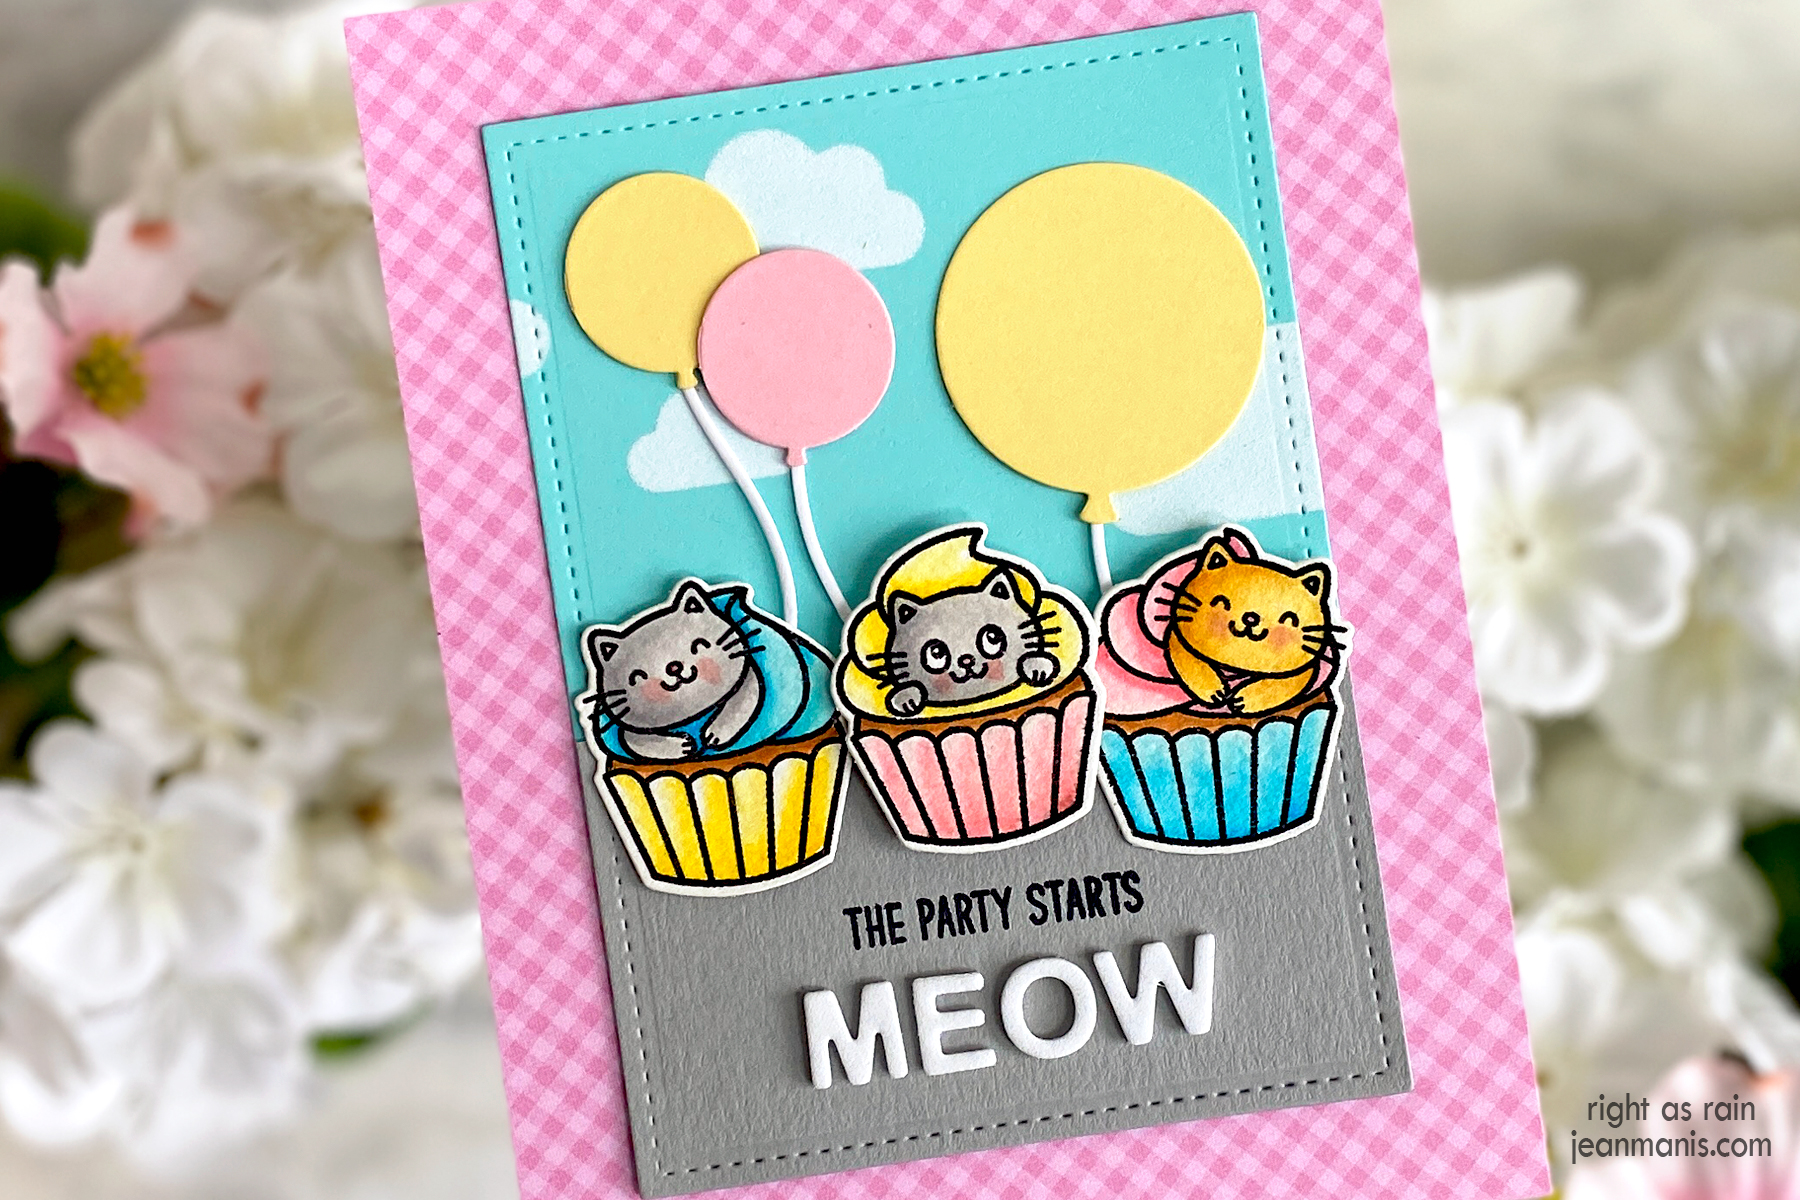
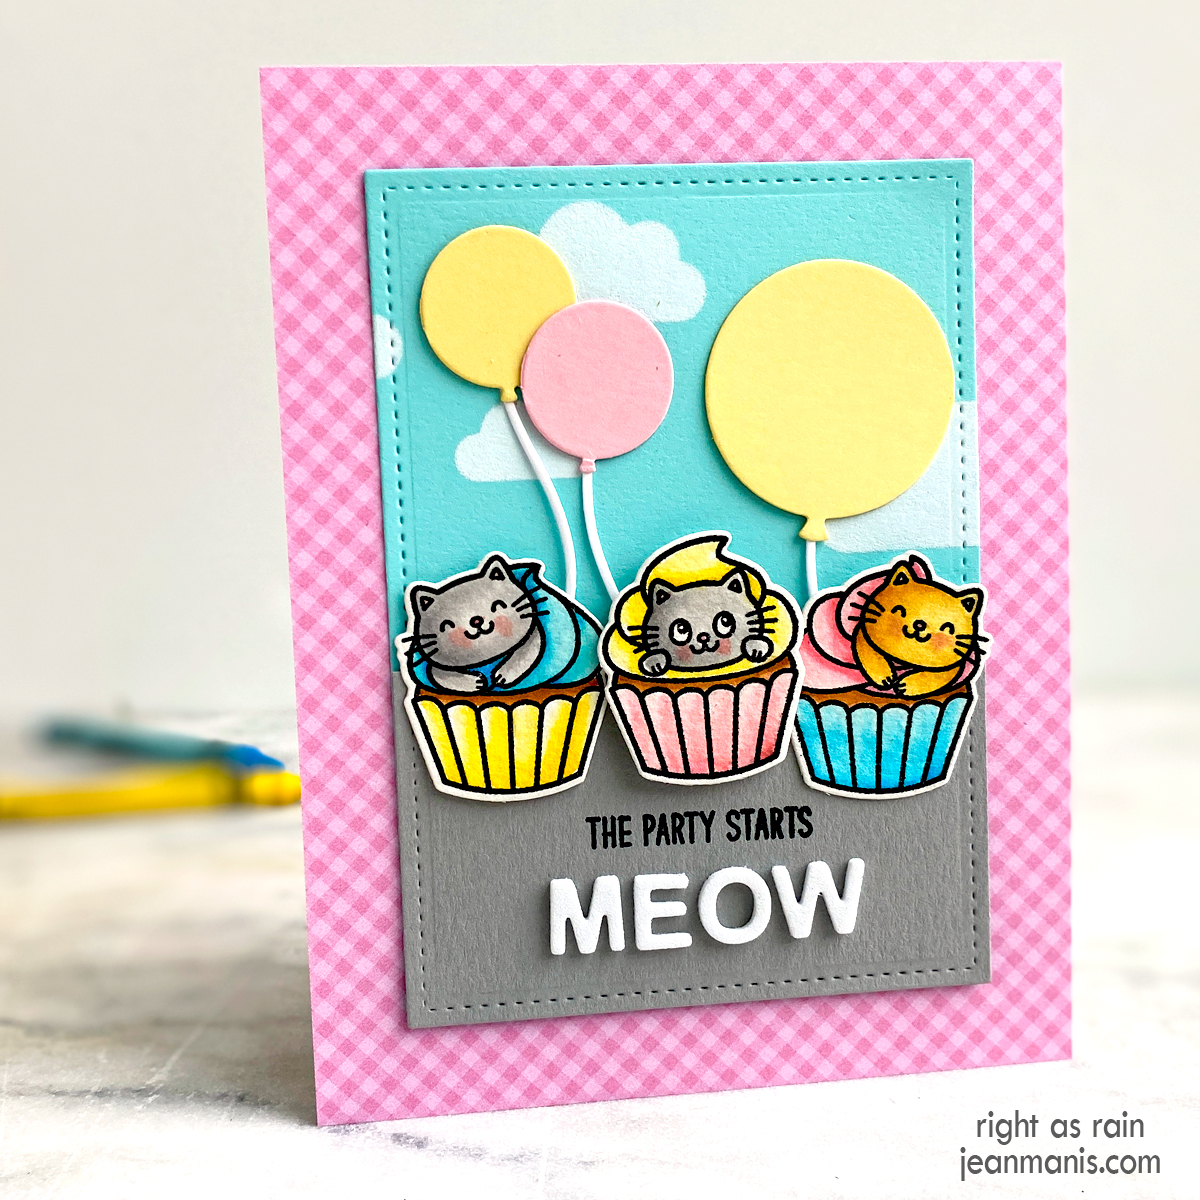
Hello! Today, I am taking a look at the use of stencils for card backgrounds. It’s important to acknowledge that this post does not encompass the entirety of stencil possibilities available to crafters. This post continues my discussion of card background options. You can read the first post, in which I examined paper-based background choices, HERE. In the second post, HERE, I discussed the use of embossing folders to create backgrounds.
Throughout this post, I’ll be using cards from my blog archive as examples. Click on the card image to be taken to the original post. While the specific products used on these cards may no longer be available, the focus is on providing a guide for using stencils to create card backgrounds.
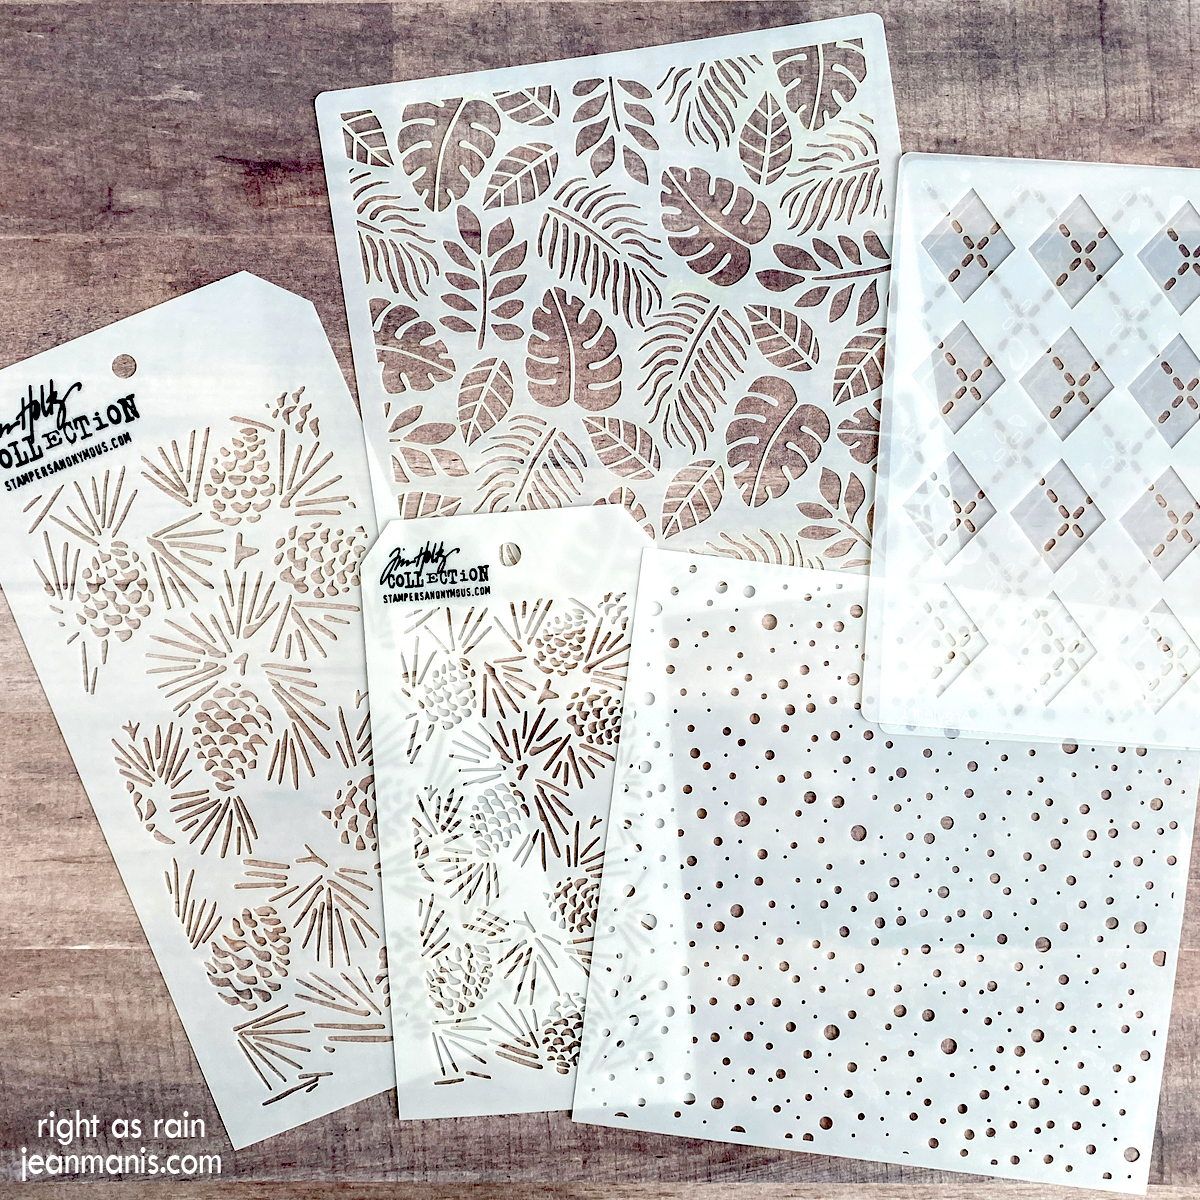
As I reviewed my cards that use stenciled backgrounds, I noticed that: I frequently use stencils to create snow backgrounds, I primarily apply white paste through stencils, and I often simplify or eliminate my focal image when paired with stenciled backgrounds.
Just like embossing folders, stencils come in a wide variety of designs, ranging from simple geometric patterns to floral motifs and everything in between. Unlike embossing folders, stencils require a medium such as ink, paste, paint, or spray. Additionally, different mediums require different techniques and drying times. In the embossing folder post, I covered a variety of folder designs. In this post, I am focusing on the mediums used on the stencils.
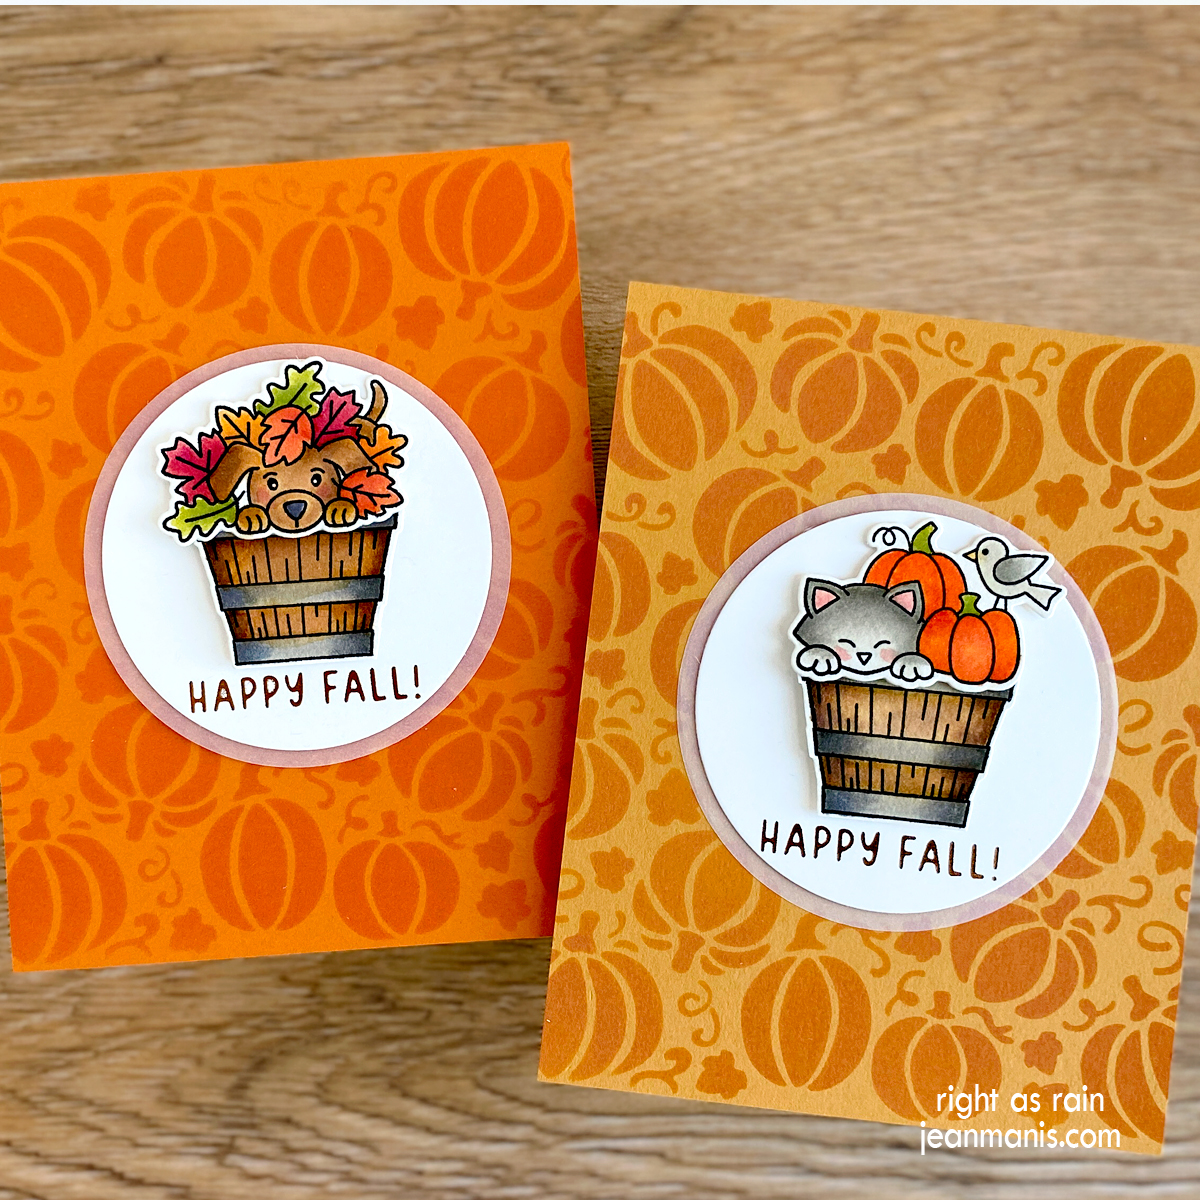
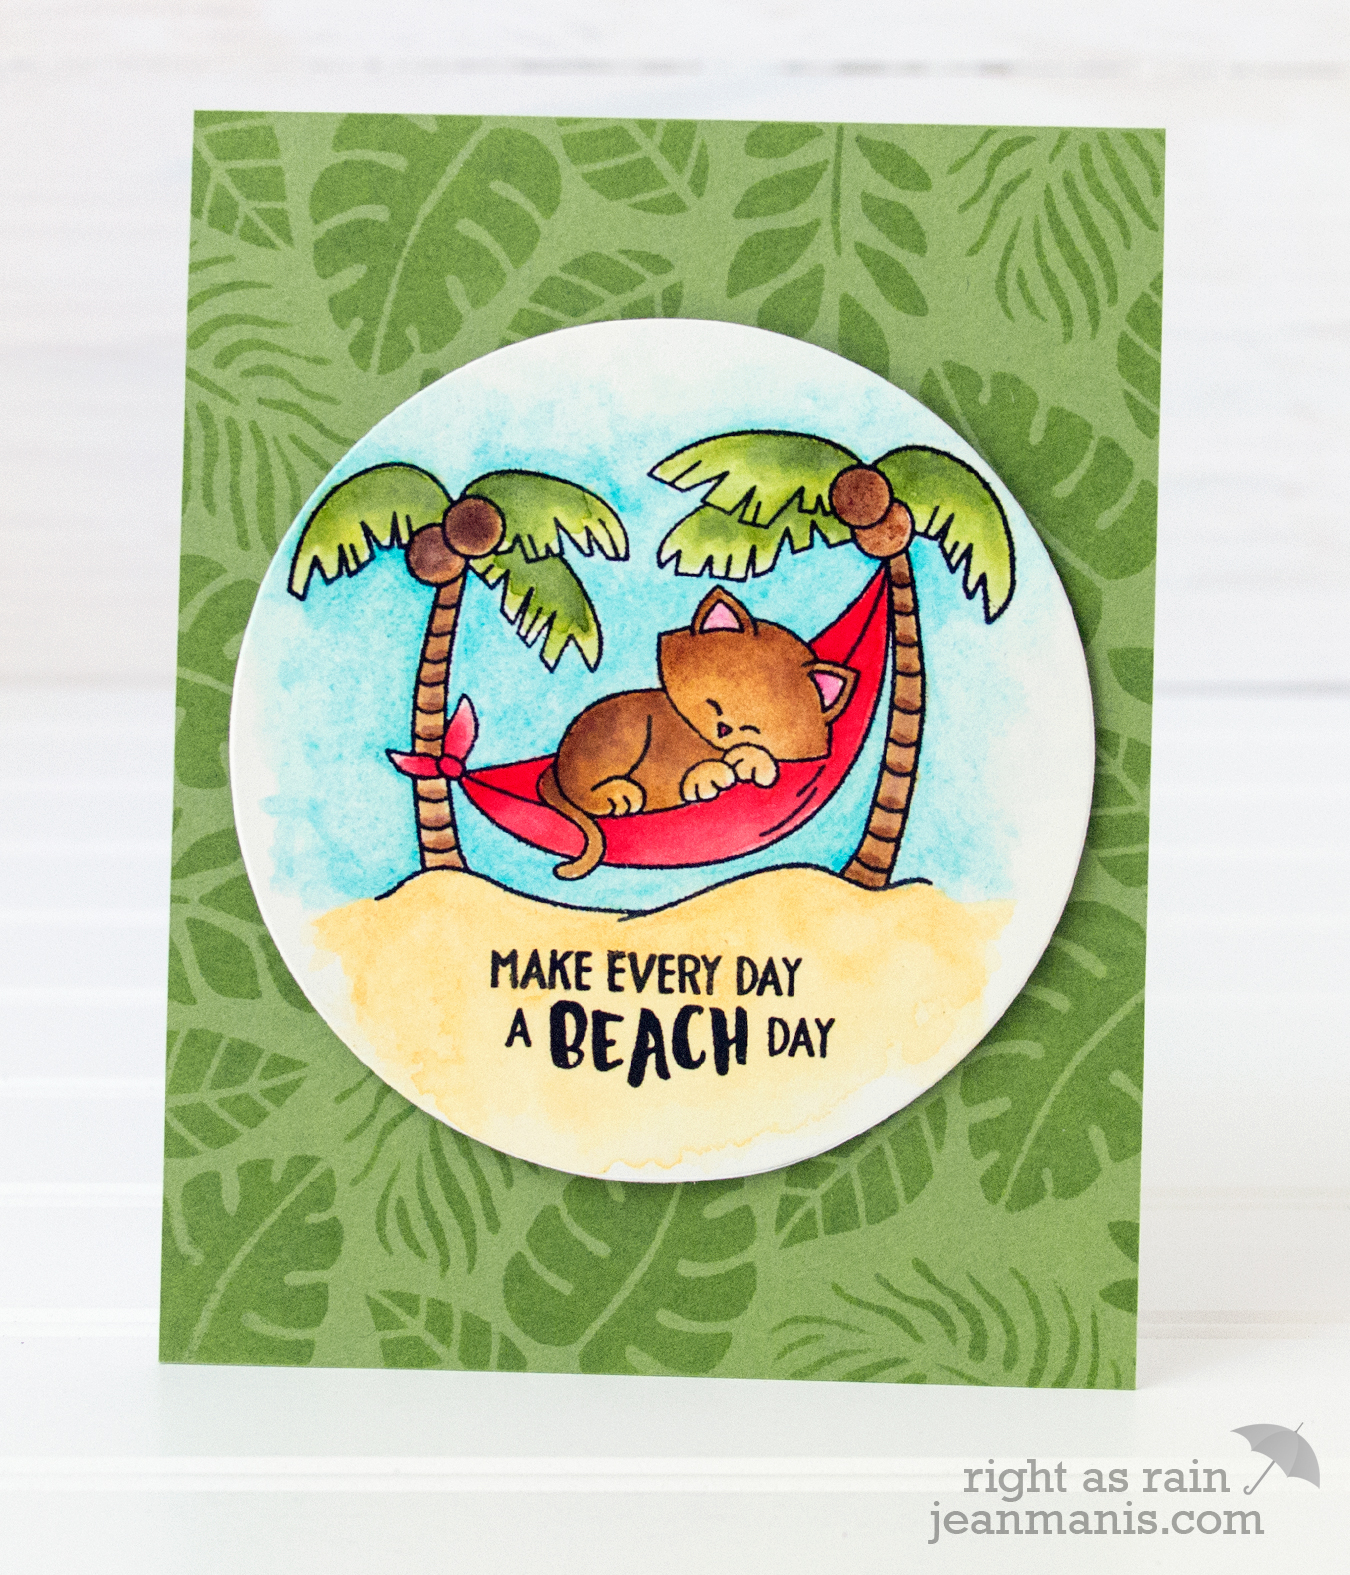
Ink Let’s start with one of the easiest and most available options – applying ink through a stencil on matching cardstock for a tone-on-tone background.
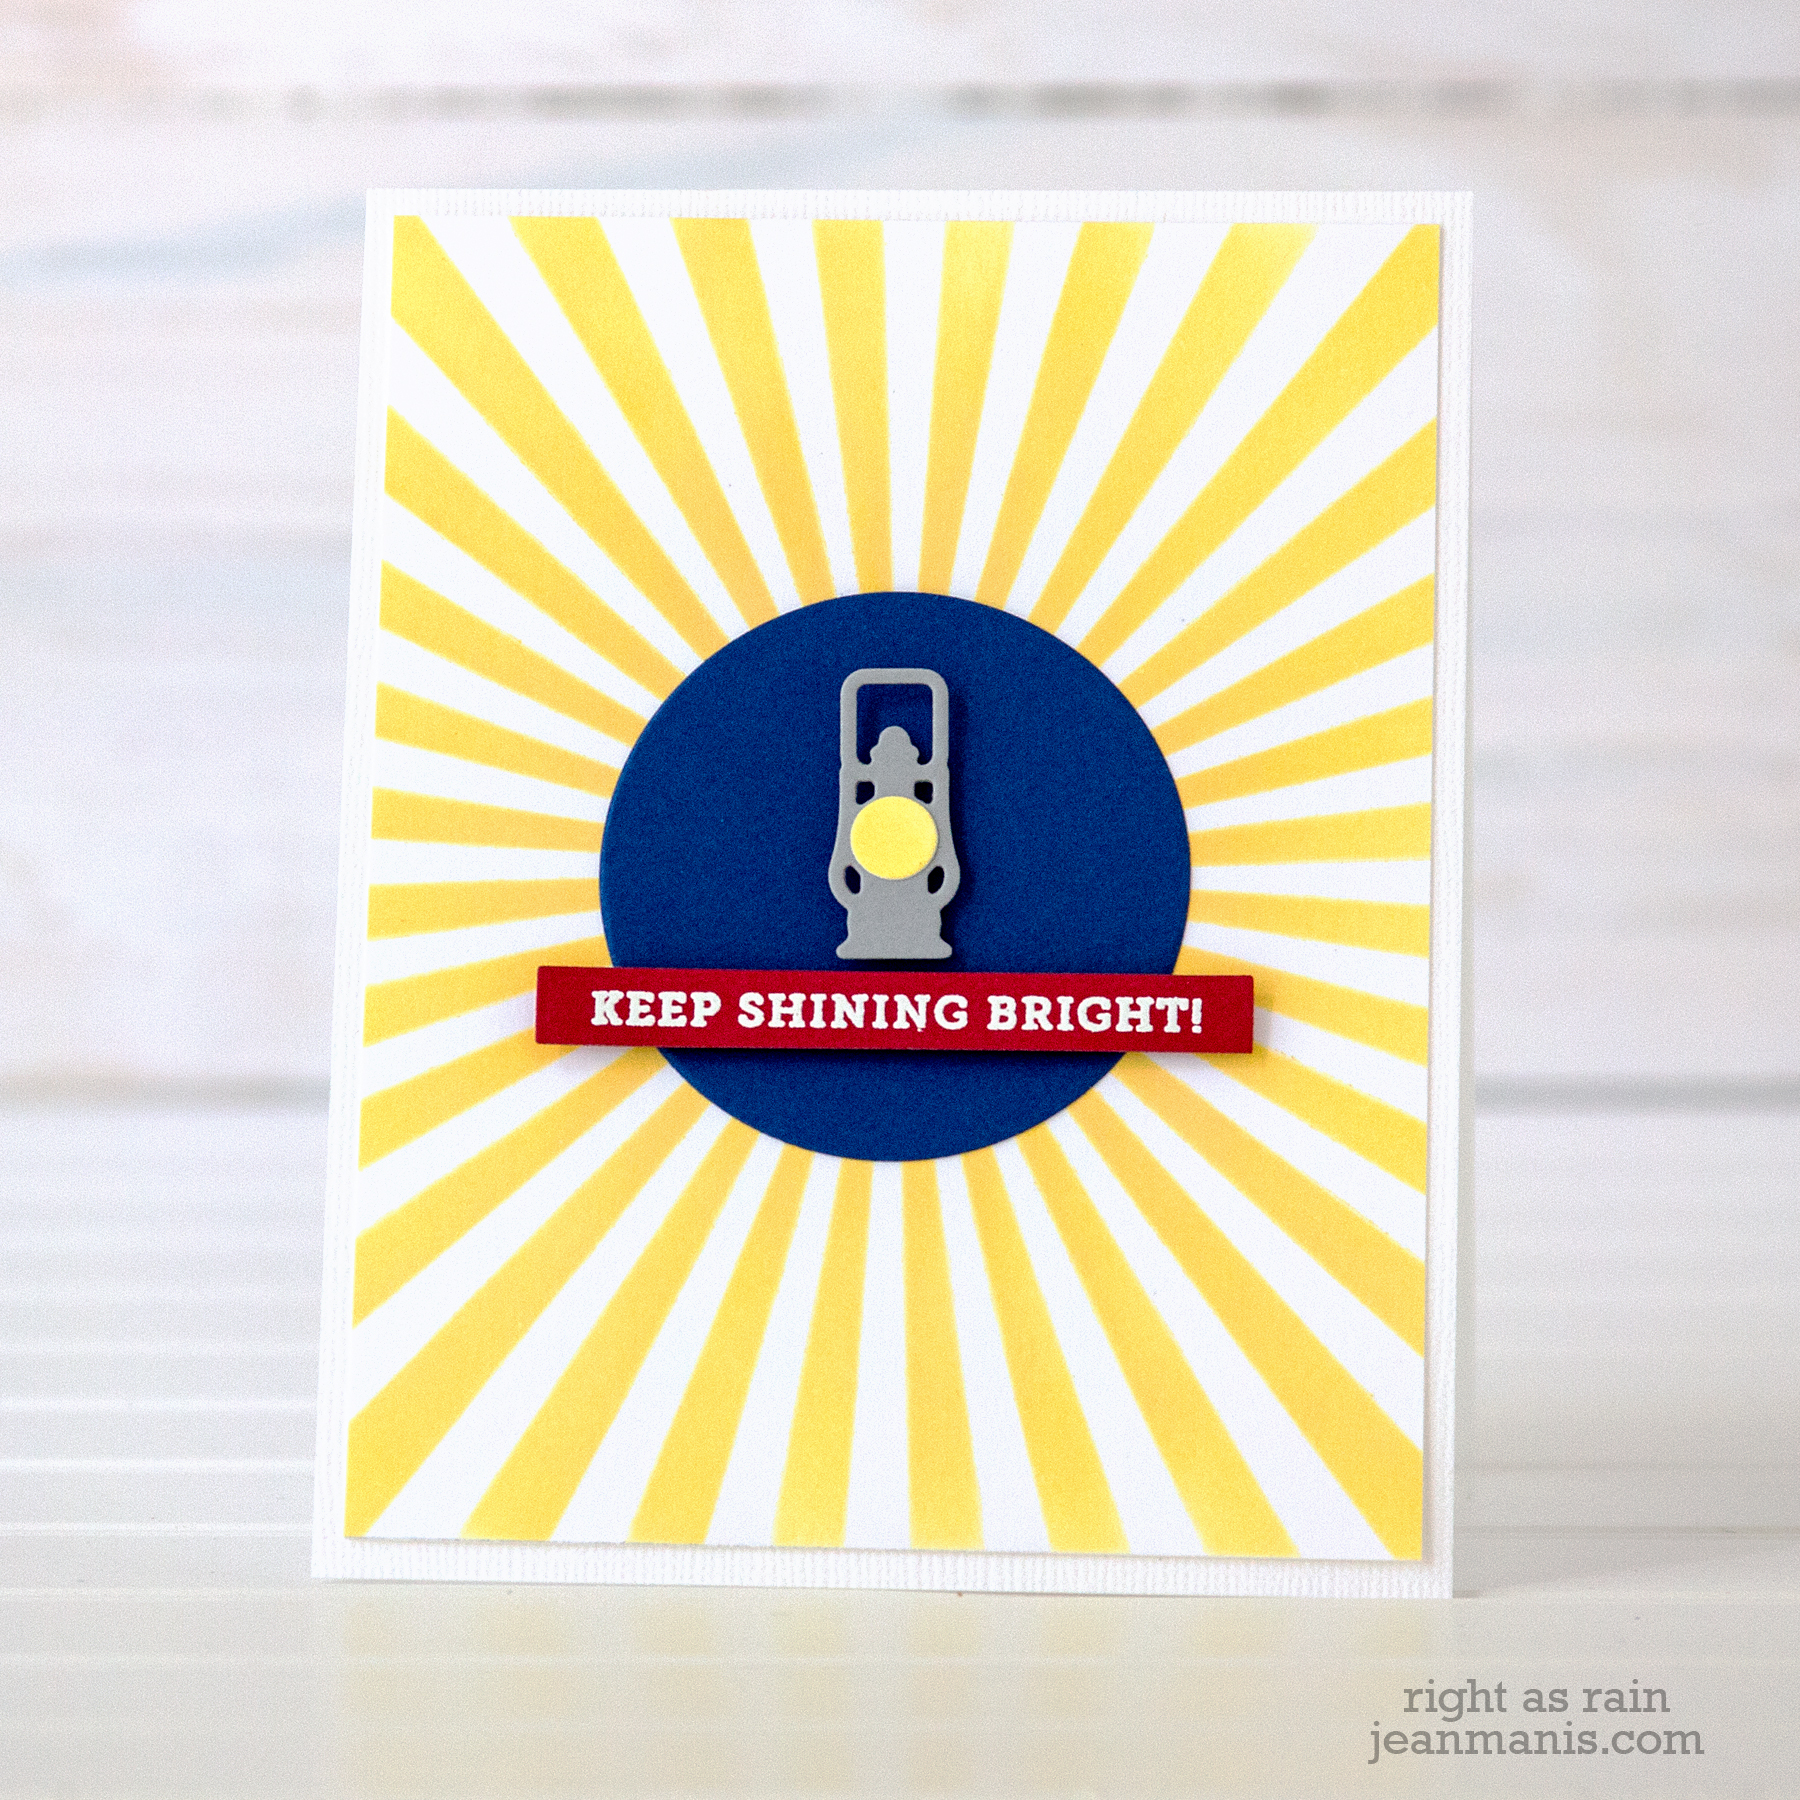
Similarly, colored ink can be applied to white cardstock, as in this case through a sunray stencil.
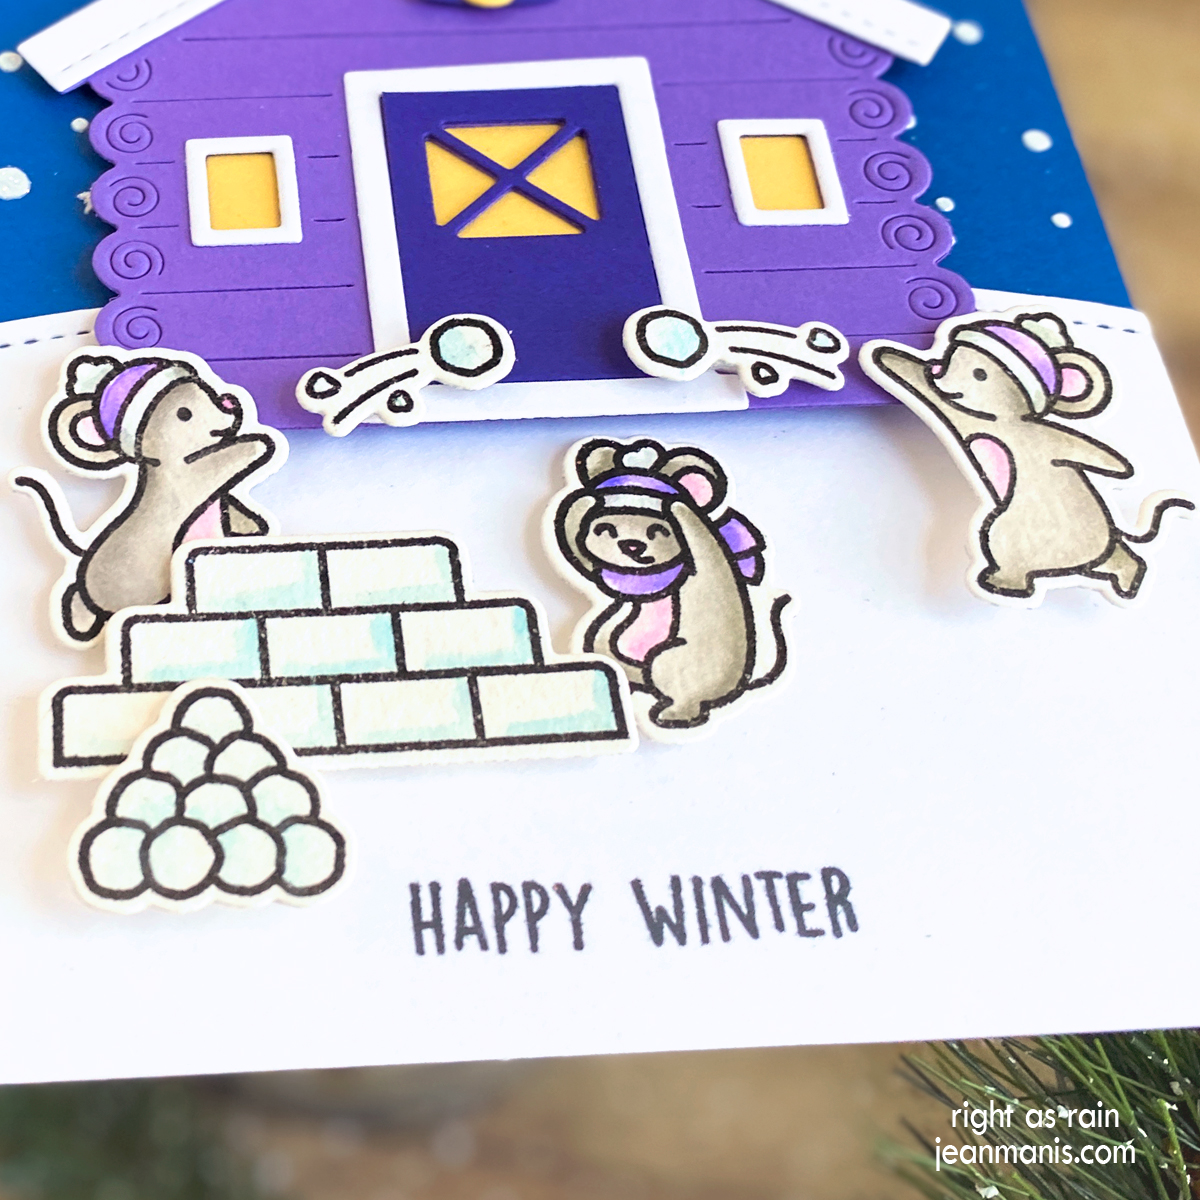
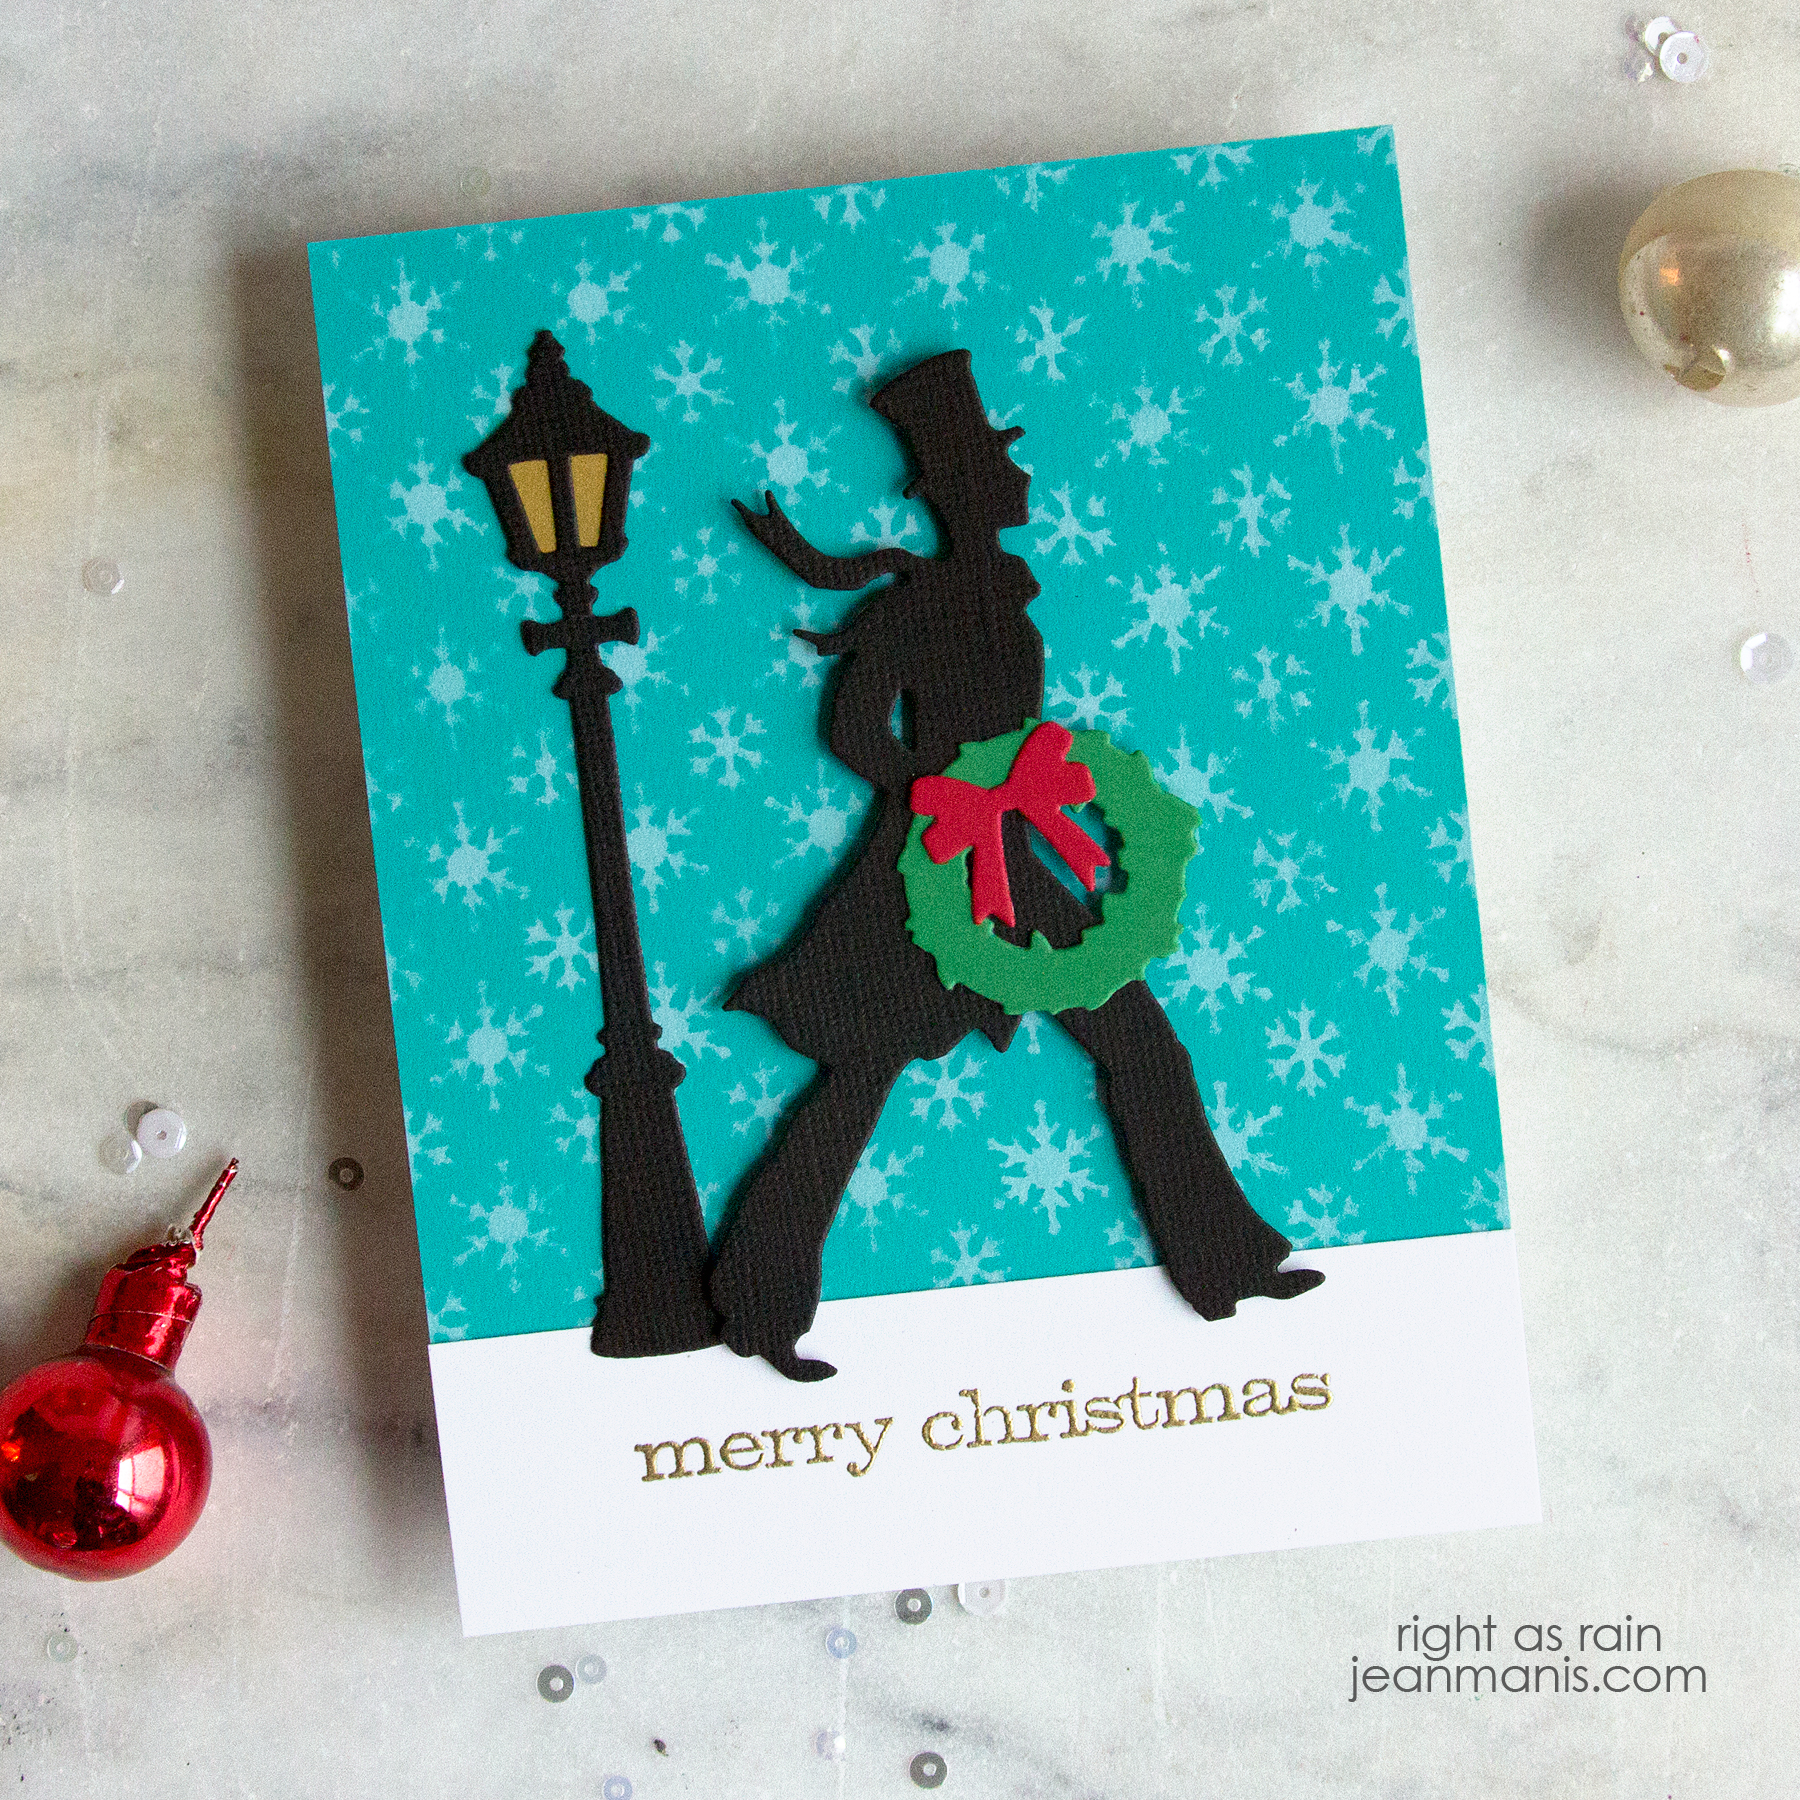
White pigment ink can be applied to colored cardstock through a stencil, as in this winter-themed card using one of the Tim Holtz Mini Stencils. In a scaled down version of the original, the mini stencils feature the same designs as the standard Layering Stencils. It is worth noting that to achieve the full width of snow on the A2-size card front, the stencil had to be shifted for a second application of ink.
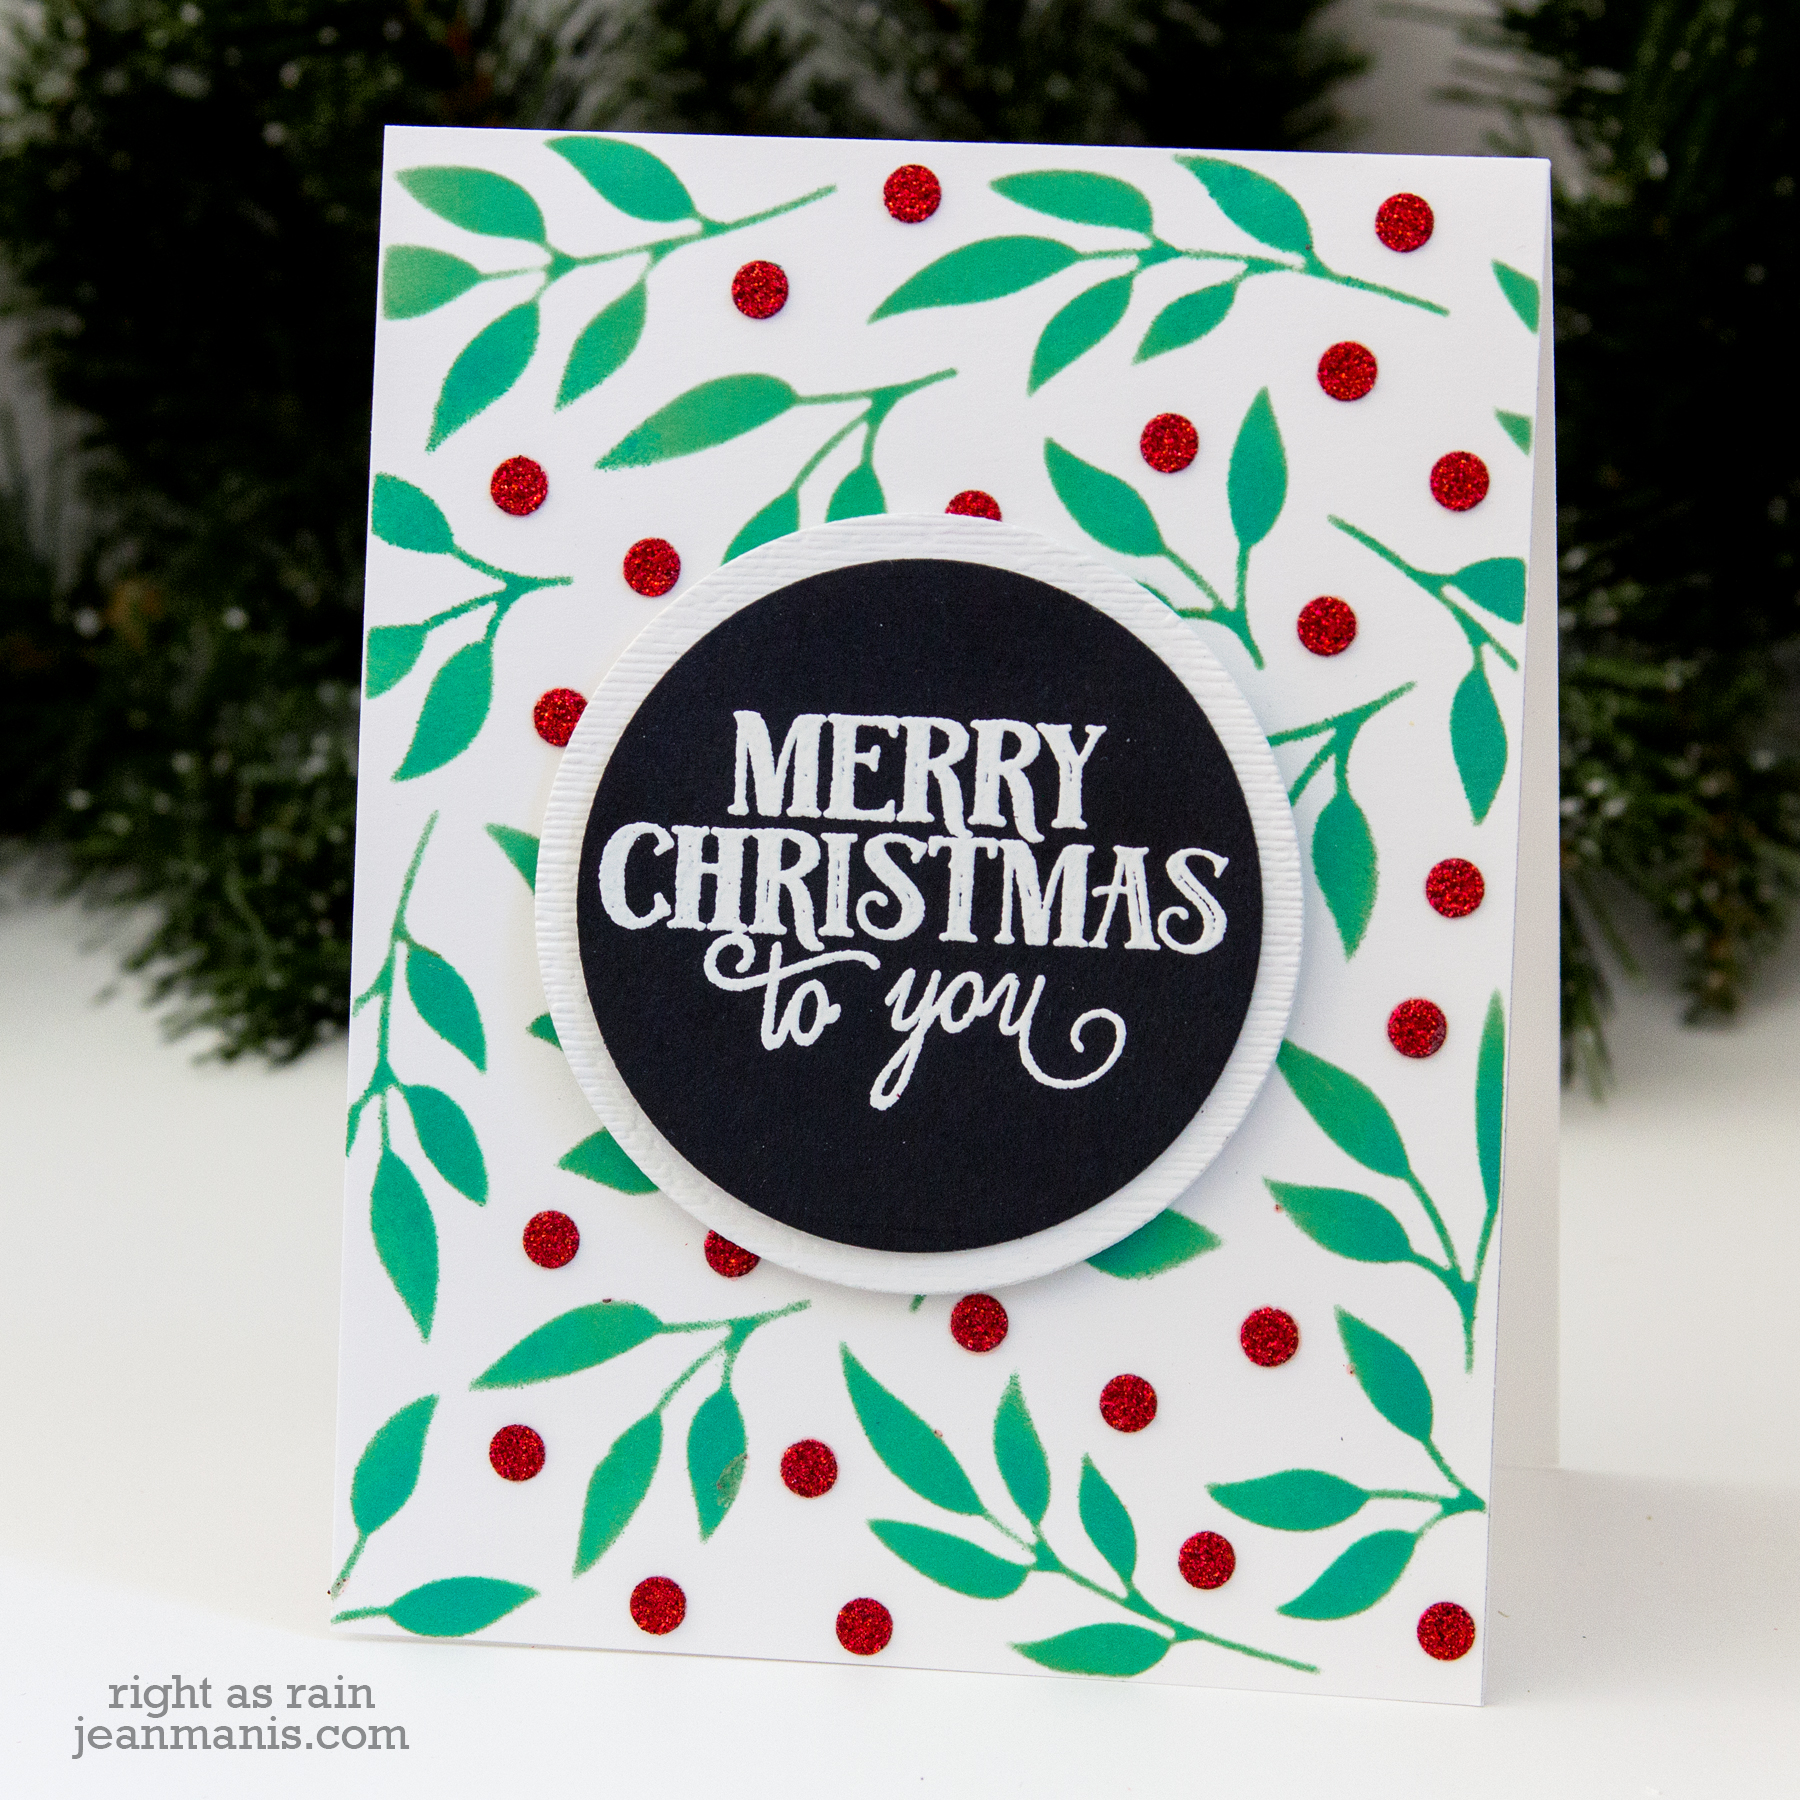
Multiple Inks and/or Mediums Many stencils provide an opportunity to use multiple ink and/or medium options such as this leaves and berries stencil from Pretty Pink Posh, on which I used both ink and glitter gel. To achieve this result with this stencil, masking was required.
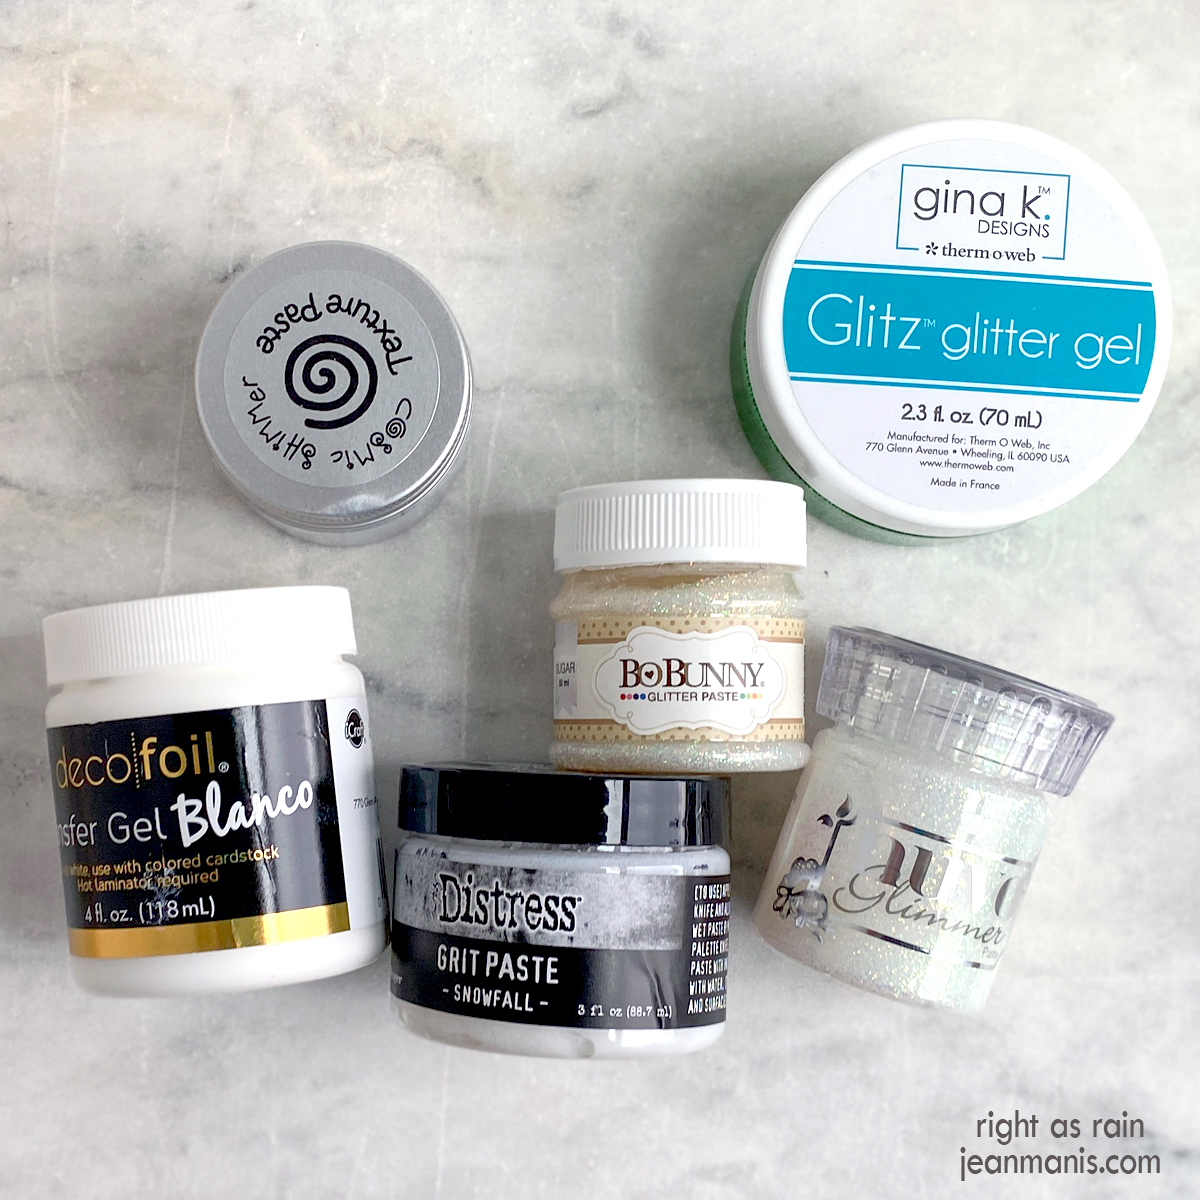
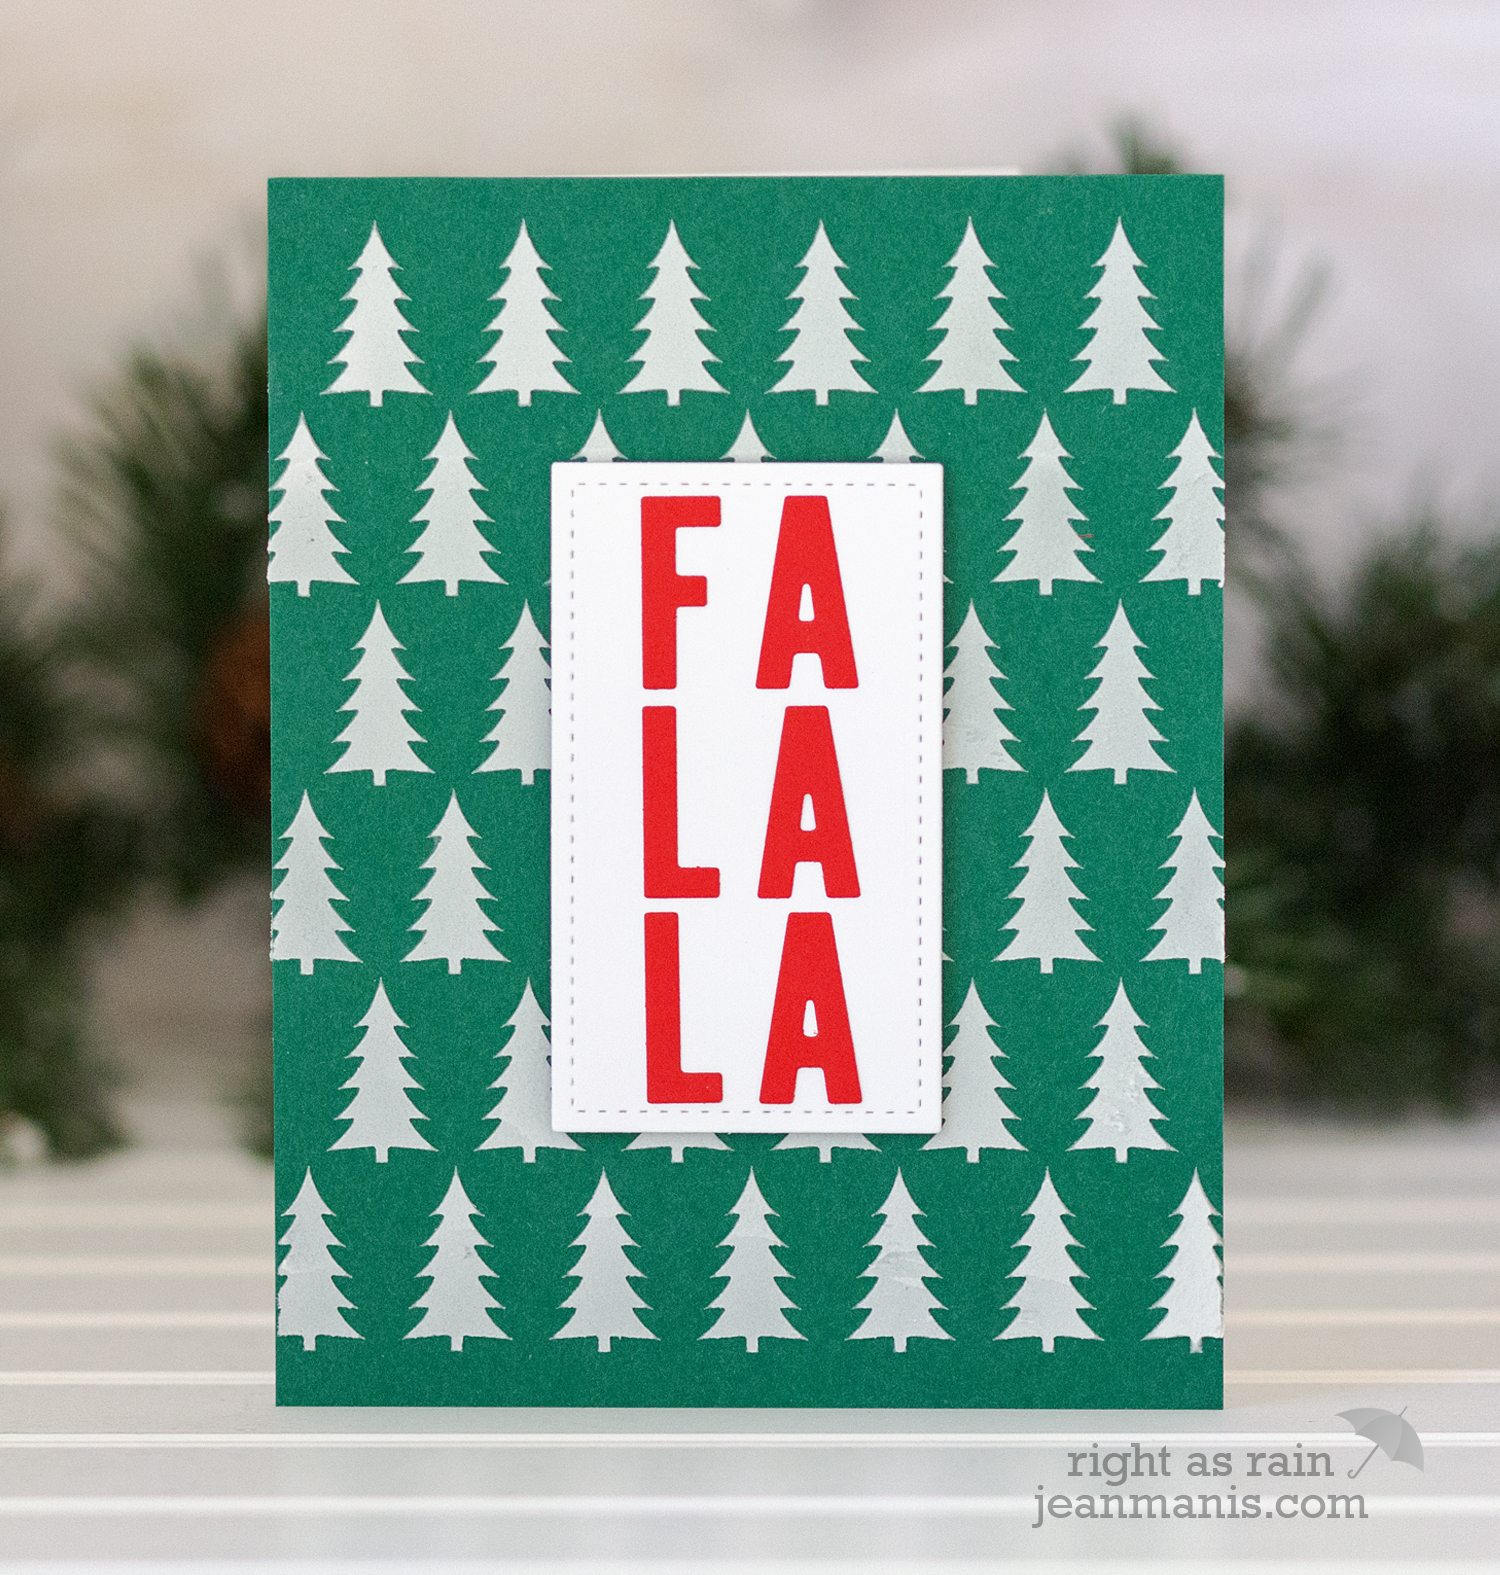
White Embossing Paste As previously stated, I most often use white embossing paste as the medium through the stencil. Although not shown in the example below, dry glitter can be shaken on to the wet paste and allowed to dry for a glittery effect. Additionally, wet white embossing paste can be colored with ink and paint, which I have done a handful of times. I am more likely to buy a colored paste than to hand color white paste.
I most often use stencils to create snow backgrounds on holiday cards and own a wide variety of snow stencils.
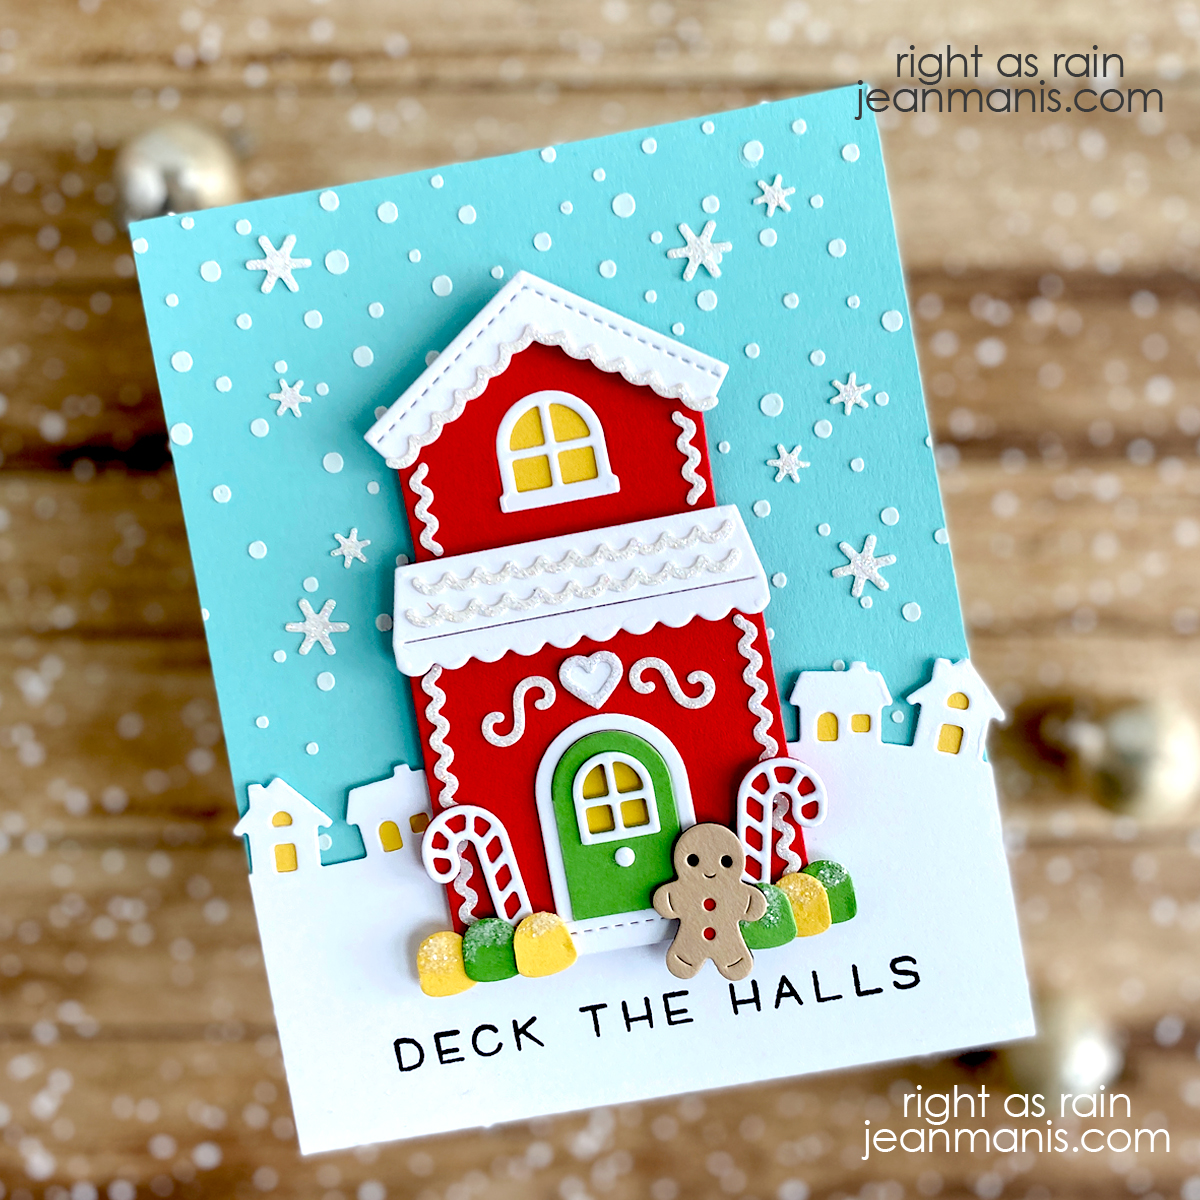
Other Embossing Pastes In addition to white, embossing paste comes in a variety of colors including gold and silver.
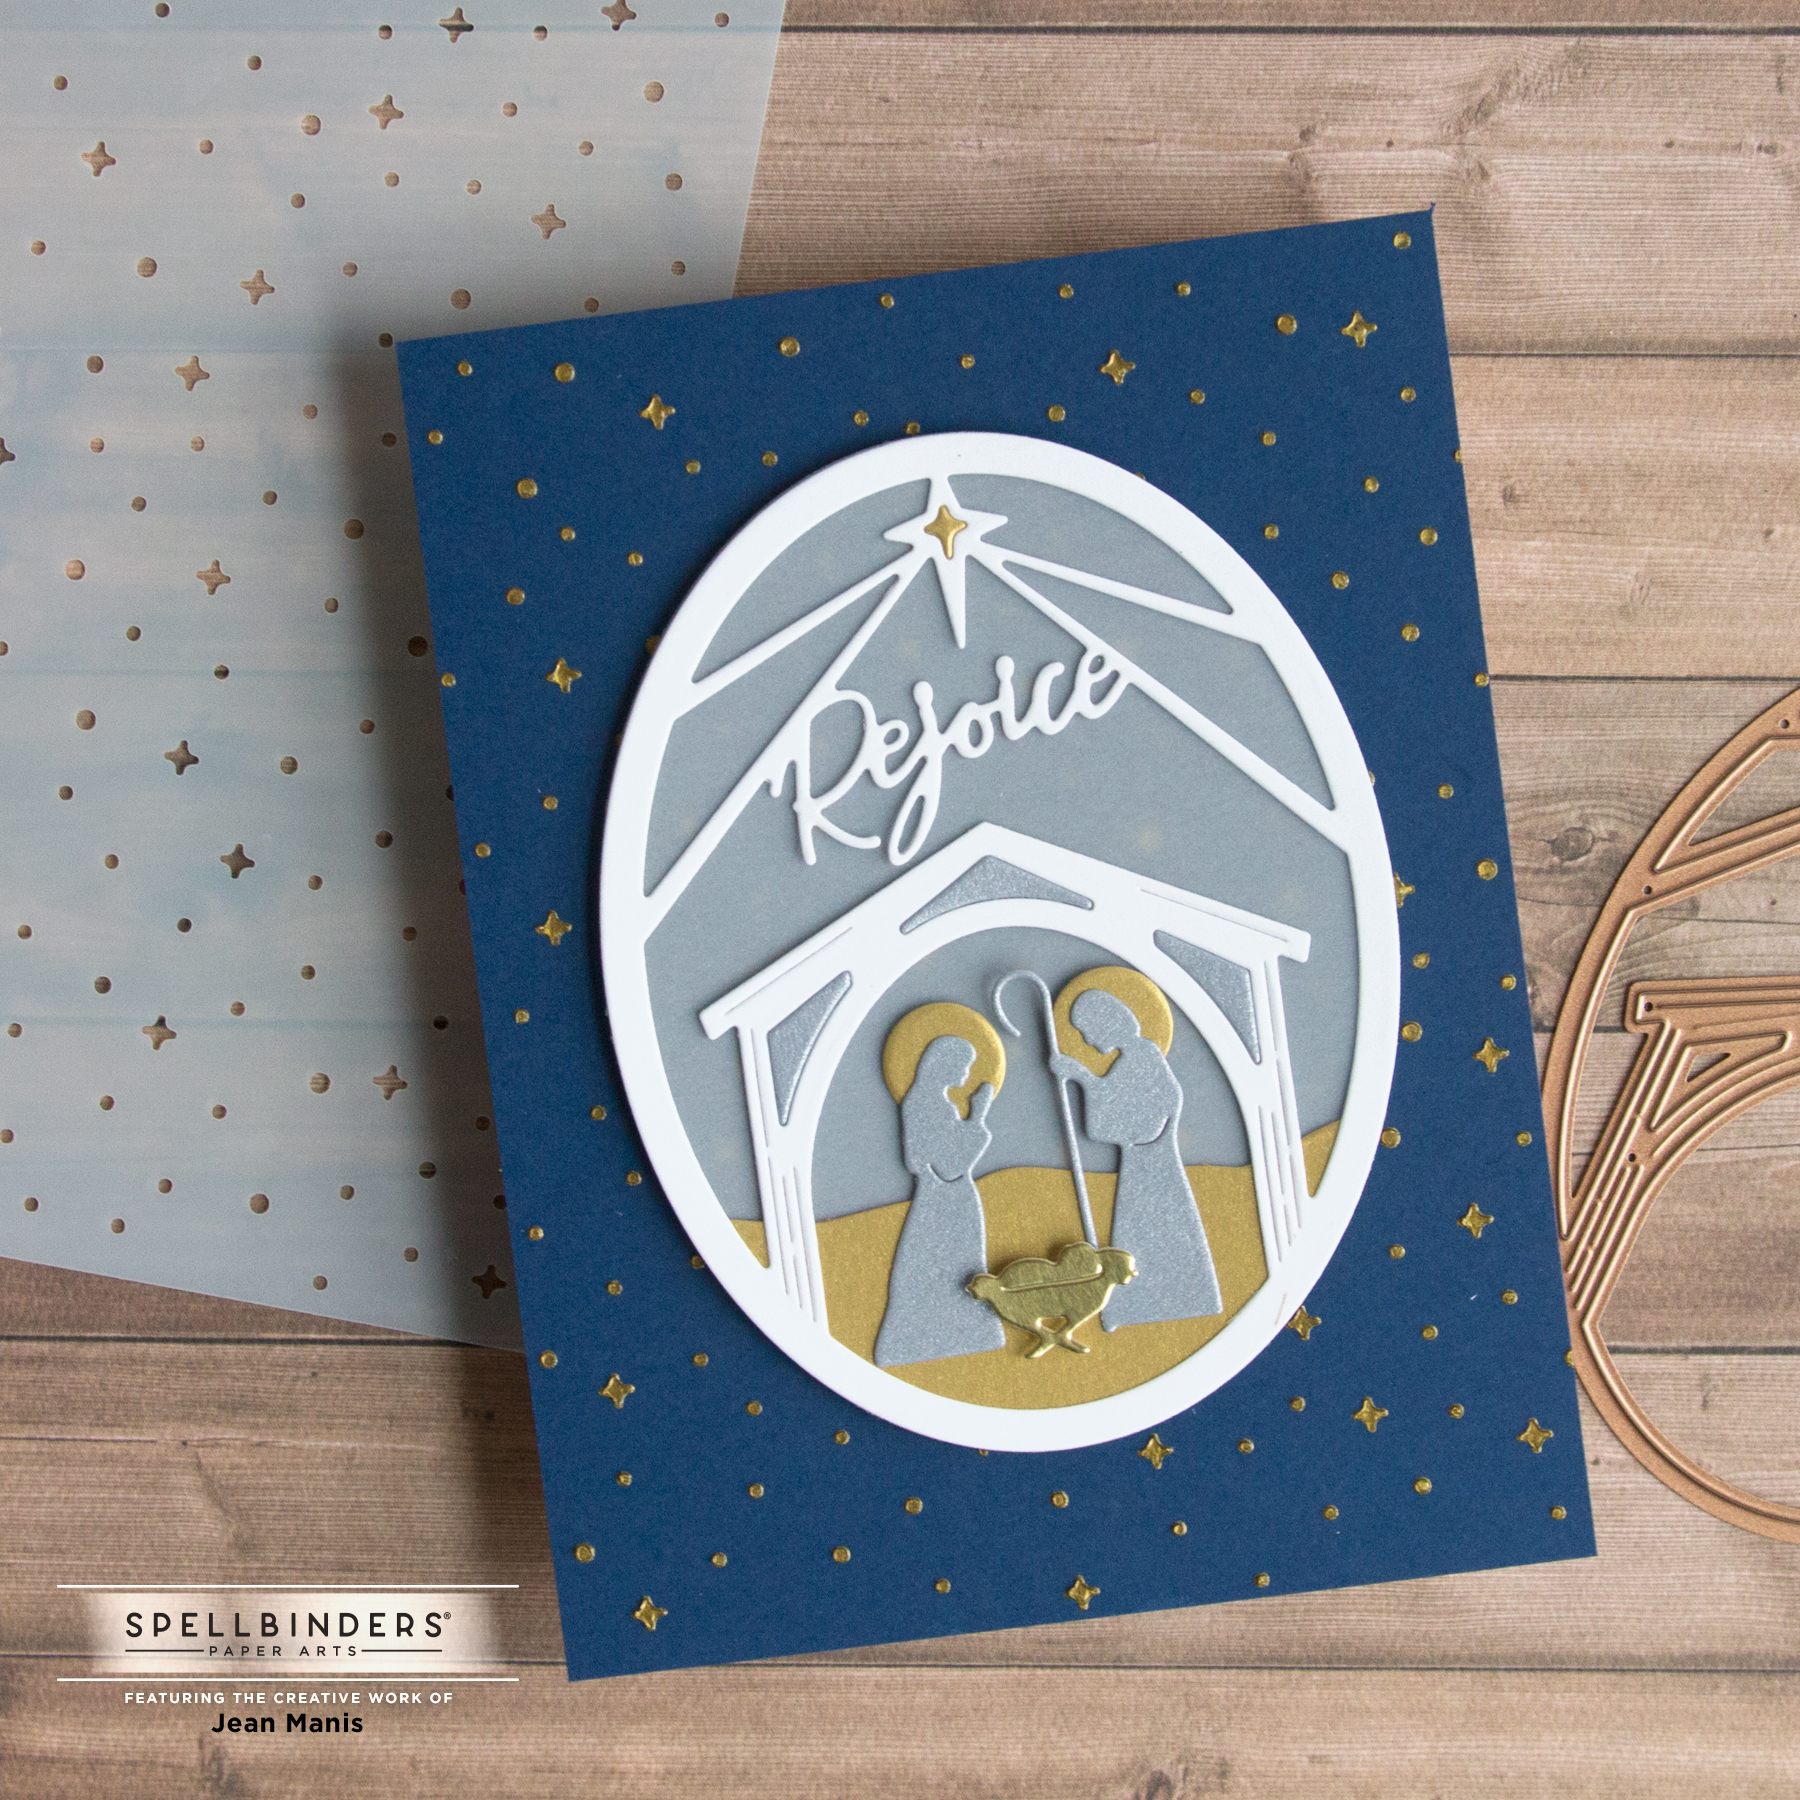
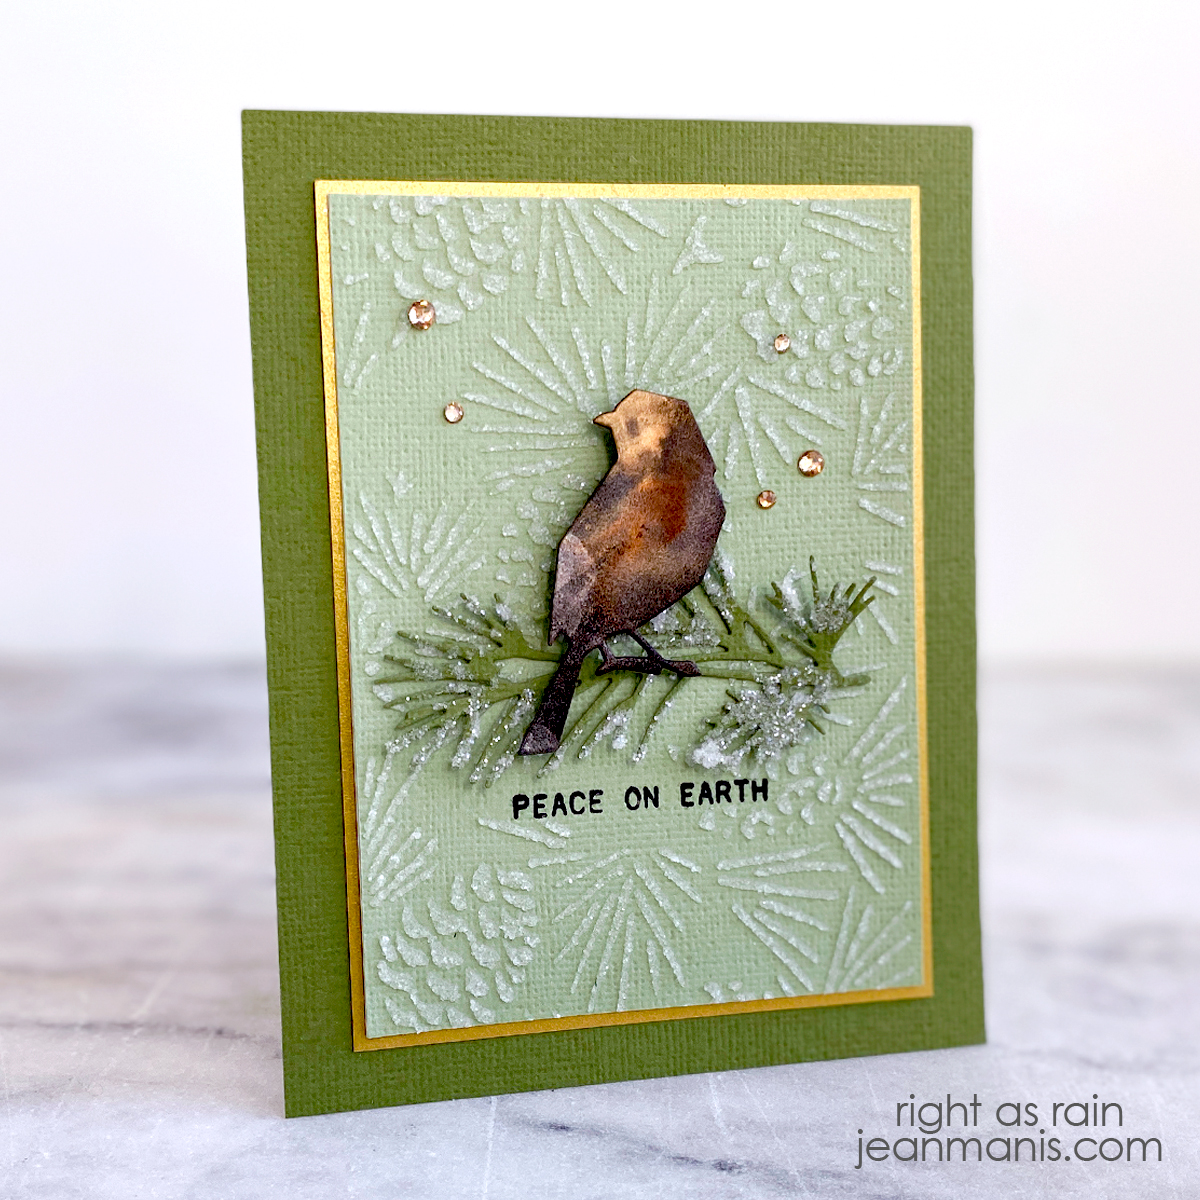
Similarly, paste comes in different textures such as Snowfall Grit Paste, a translucent paste with clear glitter.
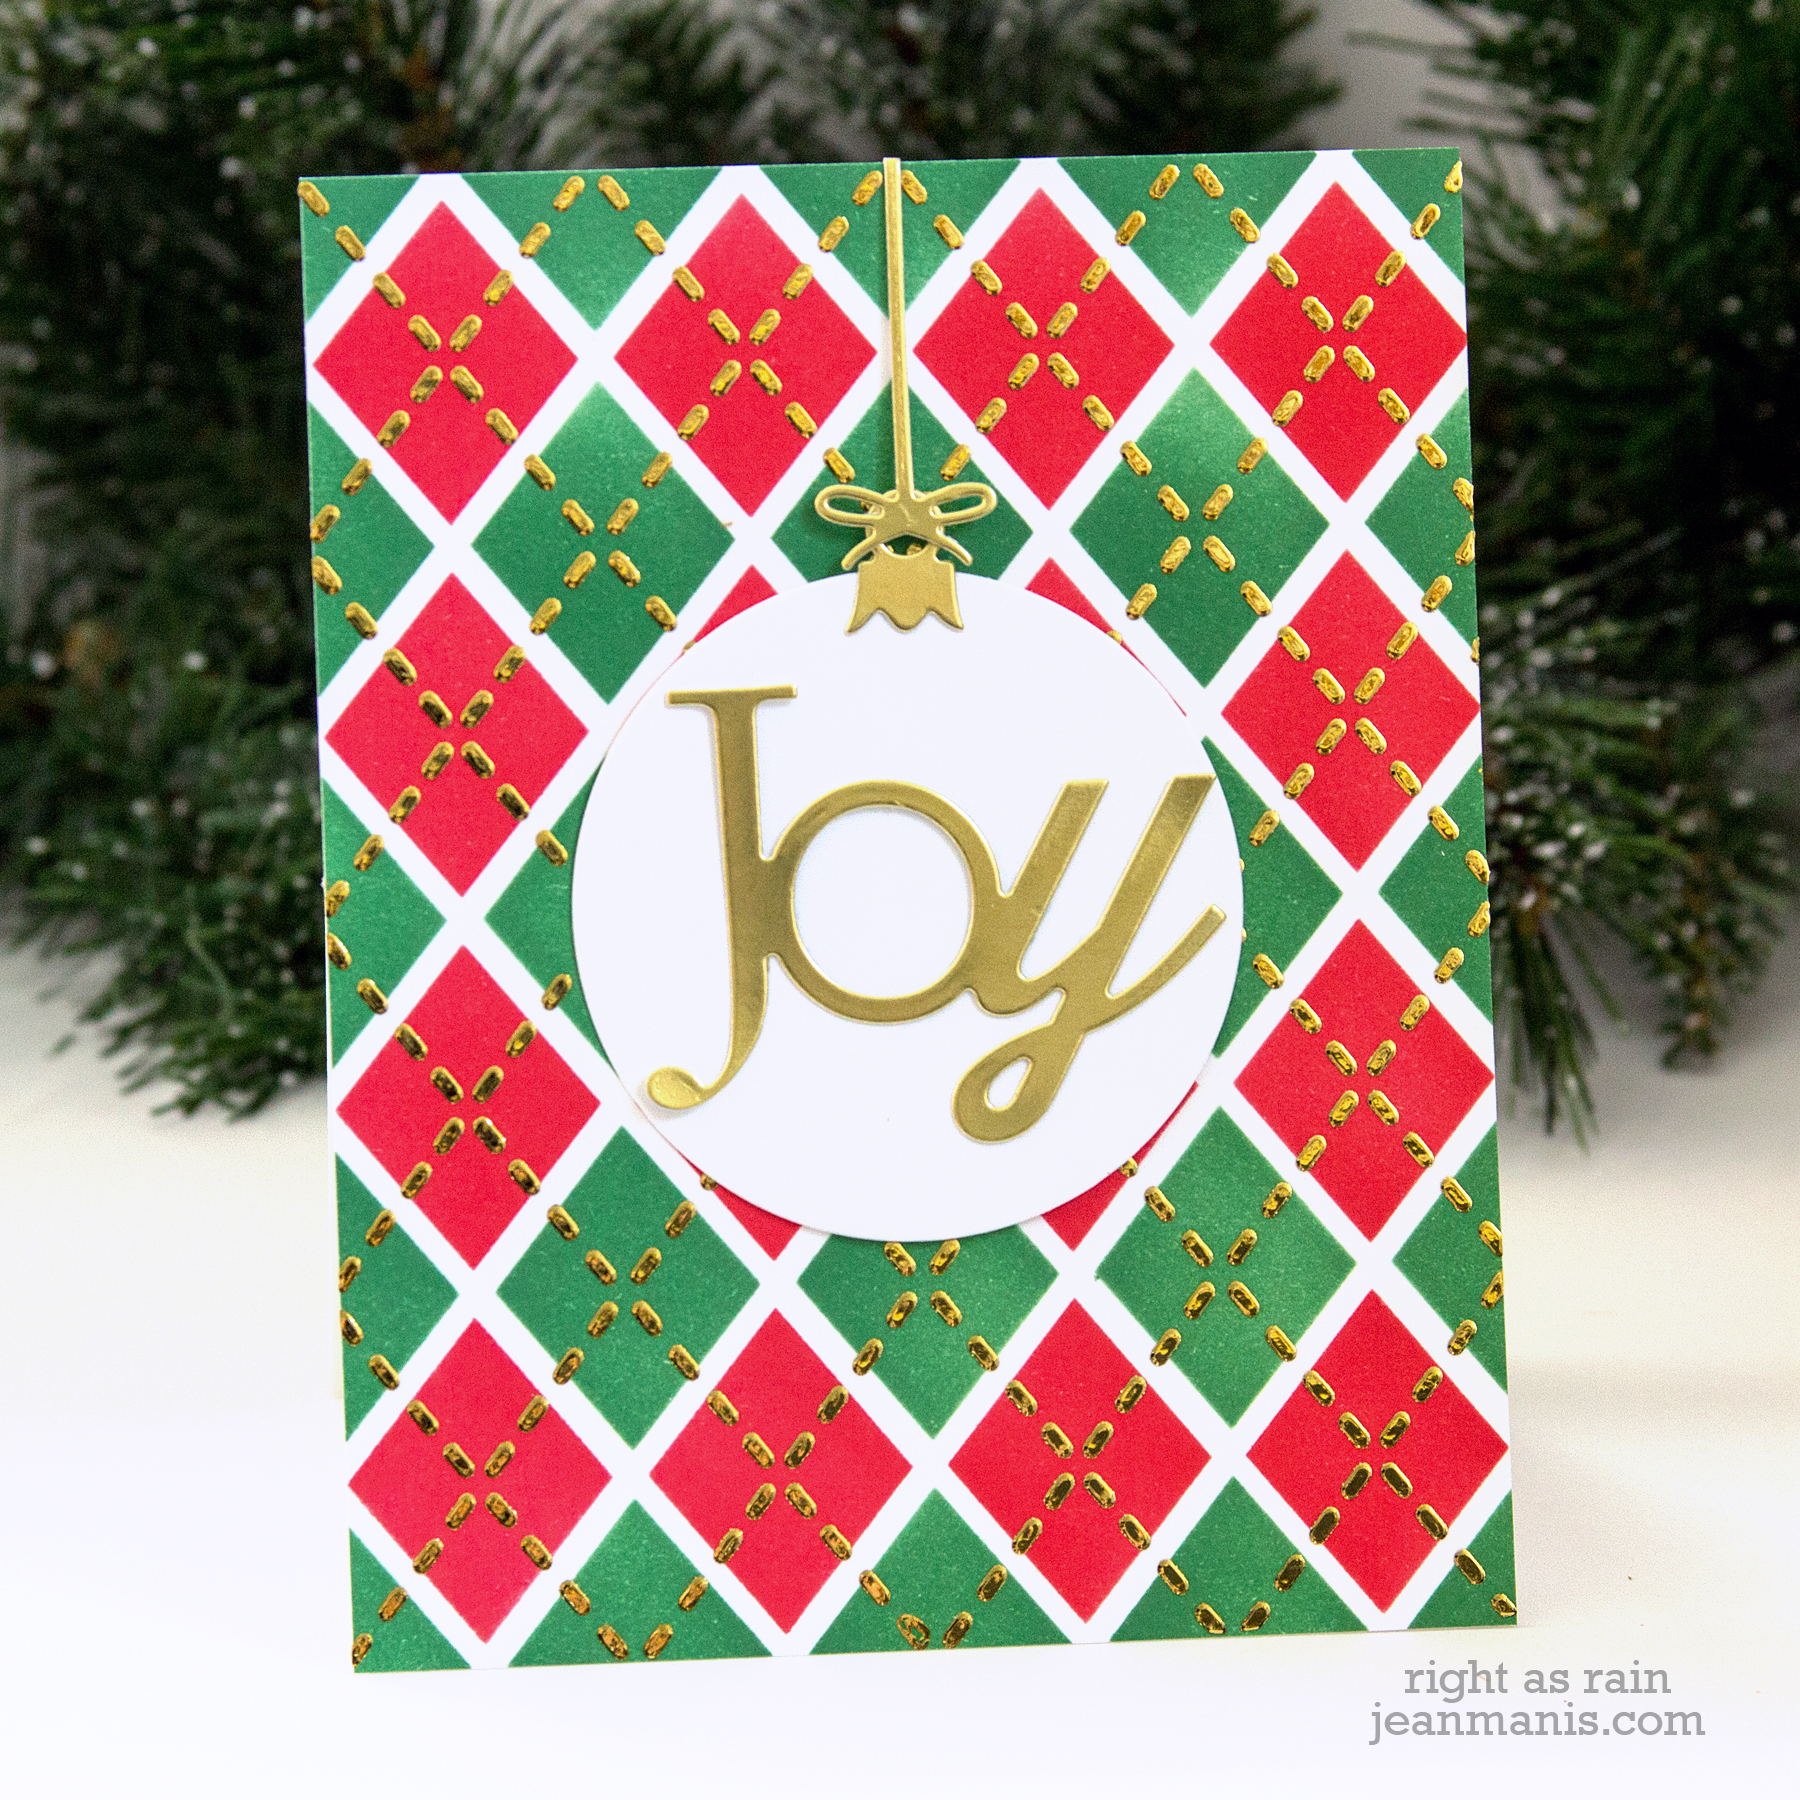
Laminating Options Specific gels can be foiled or flocked with the use of a laminator, which opens up another realm of options.
Glazes Embossing glazes can be applied to wet paste (Translucent Distress Texture Paste used in example below) and melted with a heat gun when the paste is dry.
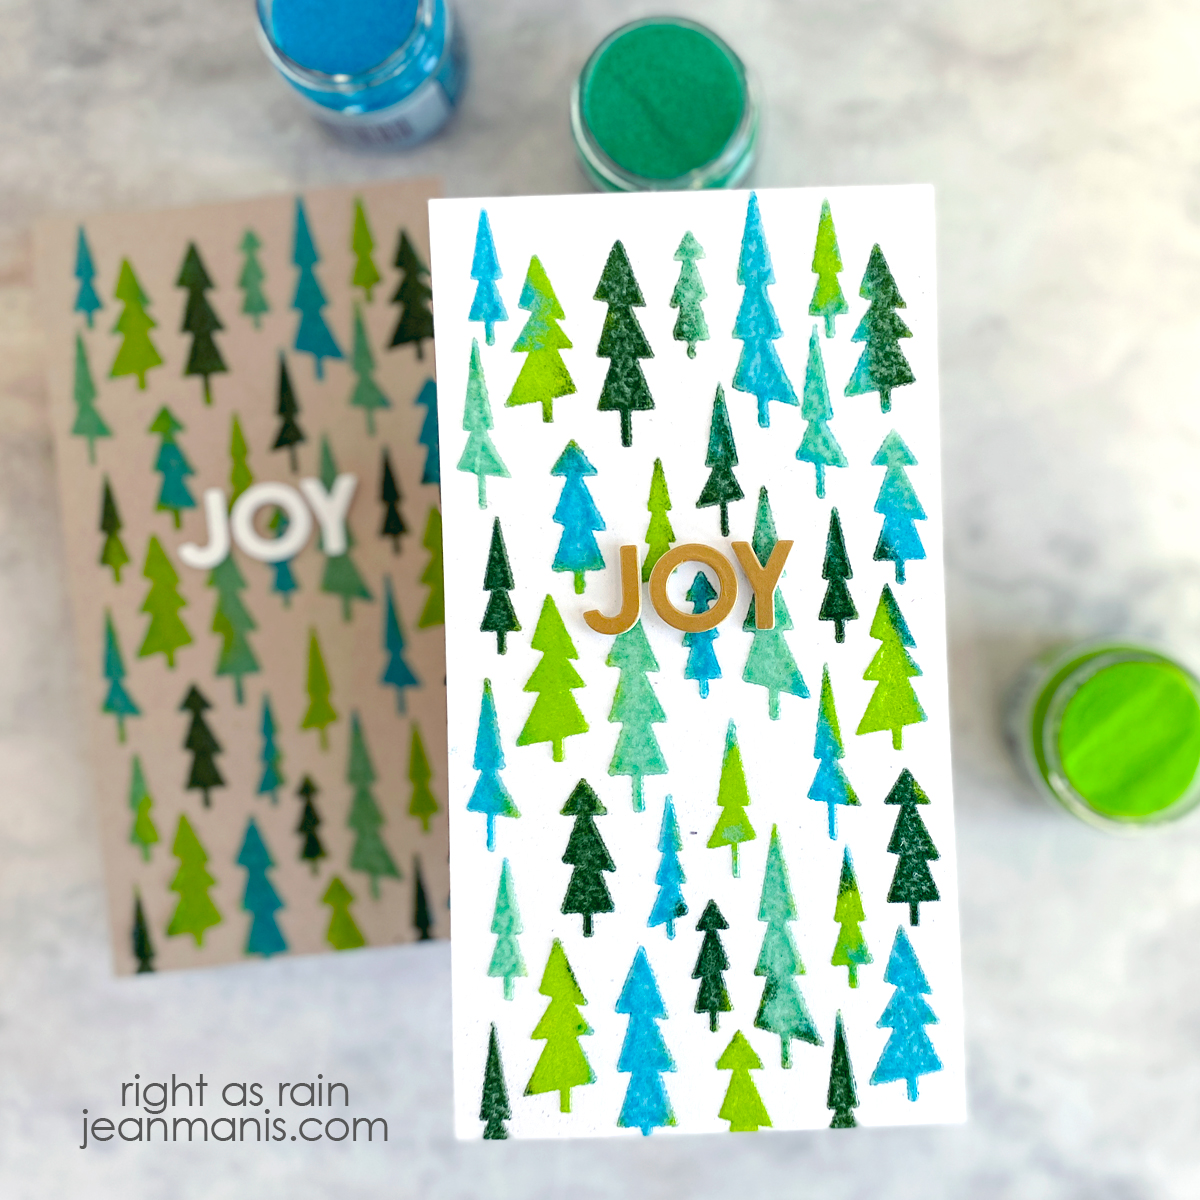
Multi-part Stencils Although I have only included one in my review (the Newton’s Nook Argyle stencil set), I own several multi-part or layering stencils. With some, there is etching on the design so that the layers can be easily aligned. In looking at the stencils currently being offered for sale, there are quite a few multi-layer stencils available.
Organization I store my stencils in clear storage pockets with the original packaging information. I currently have the stencils in bins organized by brand. I often create a reference sheet of the pattern by using black ink through the stencil on white cardstock.
Insights This post has also highlighted a need for me to swatch the various mediums. Since I do not frequently use stencils, I tend to use a medium that works for the application at hand and put it right back on the shelf. As I mentioned earlier, all too often I use white embossing paste, rather than explore more interesting options, primarily because I know the white embossing paste works.
Stencils can transform simple card backgrounds into works of art. As I conclude this exploration of stencil options, it’s clear that stencils offer a realm of creative possibilities that extend beyond the paper-based or dry embossed options discussed in previous posts. At the same time, stencils may present more challenges and considerations. Do you frequently use stencils for card backgrounds? What medium is your favorite?
Additional Resources In 2014, I wrote an article for Ellen Hutson on stencils that you can read HERE. Please note, Ellen Hutson recently closed her doors. Most of the product links in the article are no longer valid. The other resource links work.

