Impression Obsession | Frosty Fun

Hello! Experience the magic of winter beyond the holidays! As I mentioned HERE, I am looking to extend the use of my winter-themed supplies beyond the holidays. Today, I am sharing a CAS, winter-themed card perfect for a birthday, a thank you, or to brighten someone’s day. The card features a die cut of a boy sledding in the mountains, set against a stenciled sky that can transport anyone into a winter wonderland of joy and exhilaration.

Impression Obsession | Frosty Fun

  • Apply white embossing paste through the Lawn Fawn Snow Flurries Stencil on to an A2-sized panel of Taylored Expressions Blue Corn cardstock. Sprinkle on Spellbinders Sparkle Dust Glitter and set aside to dry. Once dry, add to card base.
  • Cut trees from Spellbinders Snowdrift cardstock with one of the dies in the Impression Obsession Tree Line set. The die cuts along the top but not at the bottom. Trim as necessary and add to card base.
  • Stamp and heat-emboss in silver a sentiment from the Rubbernecker Snowmen with Presents set. Cut a snowbank on the heat-embossed panel with a curved die (now-retired MFT Stamps Snow Drifts set). Trim at the bottom and add to card base.
  • Cut the Impression Obsession Sled from Spellbinders Brushed Silver cardstock several times and adhere together for extra depth. I used a Sizzix Release Sheet to help with the cut as the end of the sled was not easily releasing. Attach sled to card front.
  • Cut a frame with the largest die in the MFT Stamps A2 Rectangle Frames set from Spellbinders Snowdrift cardstock and add to the card.

Impression Obsession | Frosty Fun

Impression Obsession | Frosty Fun


52 Christmas Card Throwdown | Winter Countryside

Looking for the Spellbinders Blog Hop post? Head HERE.

Hello! A few weeks ago, I won the 52 Christmas Card Throwdown Theme Challenge. As the winner, I was invited to be a guest for the November Theme Challenge Winter Countryside.

The sight of a winter countryside evokes feelings of nostalgia with childhood memories of playing in the snow, building snowmen, and/or sledding. It offers a serene and idyllic backdrop creating a magical atmosphere that many people find irresistible!

52 Christmas Card Throwdown | Winter Countryside

To create the challenge card, I eagerly dug through my supplies. One of my favorite aspects of participating in card challenges – they provide an excuse to pull out favorite supplies and those that have never been used or used infrequently.

  • To begin, I stenciled and A2-size panel of Taylored Expressions Blue Corn cardstock with white paste through the Lawn Fawn Snow Flurries stencil. You can read more about stenciled backgrounds in my post HERE.
  • While the stenciled background dried, I cut the Memory Box Country Landscape (now retired) from Snowdrift cardstock. I used the Spellbinders Silent Night Make a Scene set to cut the red house and Santa and his reindeer. (The set is retired, however, I see that it is in stock at Frantic Stamper HERE. As I have mentioned before, Fran offers terrific customer service and has a large inventory.) I backed the houses with Blue Corn cardstock as I was depicting a nighttime scene.
  • With Hero Arts white powder, I heat-embossed the Essentials by Ellen Santa’s Flight set sentiment (released in 2015 and now-retired) on Pomegranate cardstock and cut it with a banner die.
  • I cut the frame from Snowdrift cardstock with the largest die in the MFT Stamps A2 Rectangle Frames set.
  • Once dry, I added the stenciled panel to the card base. I added the countryside landscape to the background, and then added the frame. Finally, Santa, the red house, and the sentiment were added.

52 Christmas Card Throwdown | Winter Countryside

I hope you are inspired to craft your own Winter Countryside card for the challenge!


Spellbinders | Timeless Botanical Elegance

Hello! Today, I am sharing a card, where simplicity meet sophistication, that showcases the Spellbinders Coneflower stencil set. This five-piece stencil set makes it possible to easily create a stunning floral background.

Spellbinders | Timeless Botanical Elegance

  • Create an A2-size card base from Brushed Gold cardstock.
  • Using the five-piece Coneflower stencil set, apply Distress Oxide inks through each stencil on Snowdrift cardstock. I used Mowed Lawn and Rustic Wilderness for the green, Picked Raspberry for the petals, and Squeezed Lemonade for the flower centers.  I used Picked Raspberry (non-oxide ink) for the final layer that adds dots to the flower centers and lines to the petals.
  • Cut stenciled panel with a die in the A-2 Matting Basics A set. Add to Brushed Gold card base.
  • Glimmer-foil in Gold the “Thank You” sentiment in the Sentiments for Everyday set. Cut with a banner die and add to the card with foam adhesive.

Spellbinders | Timeless Botanical Elegance


Newton’s Nook Designs | Fall Harvest Take Two

Hello! Today I am sharing two more cards created with the Newton’s Nook Designs Fall Harvest stamp set. I previously shared cards with this stamp and coordinating die set HERE. This time, I am using stenciled pumpkin backgrounds rather than patterned paper ones, applying ink through a stencil on to coordinating cardstock for a tone-on-tone background. You can read my post about creating stenciled backgrounds for cards HERE.

Newton’s Nook Designs | Fall Harvest Take Two

Newton’s Nook Designs | Fall Harvest Take Two

  • To create the focal images, stamp the Fall Harvest images with Versafine on Arches Cold Press watercolor paper and heat set. Color the images with watercoloring mediums of choice. Once dry, cut the images with the dies in the coordinating set. (Check out my “Resources for Watercoloring Stamped Images” HERE.)
  • To create the card backgrounds, apply ink through the Pumpkin Patch stencil. For the background with the dog, I used Dried Marigold ink on SU Pumpkin cardstock, and on the other background with the cat, I used Wild Honey ink on SU More Mustard cardstock. Trim panels to A2-size and attach to card bases. (Next time, I will cut the cardstock to A2 size before applying ink through the stencil. The stencil pattern is 5 1/2″ square.)
  • Glimmer foil the sentiment in the Autumn Greetings set with Copper foil on white cardstock (I used Taylored Expressions Sugar Cube, as it is not stark white). Cut panel with a 2 3/4″ die in the Everlasting Circles set. Cut another circle from vellum with a 3″ die in the same set.
  • Assemble the focal images, add the images to the circle mats, and adhere to the card fronts.

Newton’s Nook Designs | Fall Harvest Take Two

Newton’s Nook Designs | Fall Harvest Take Two


Creating Card Backgrounds with Stencils

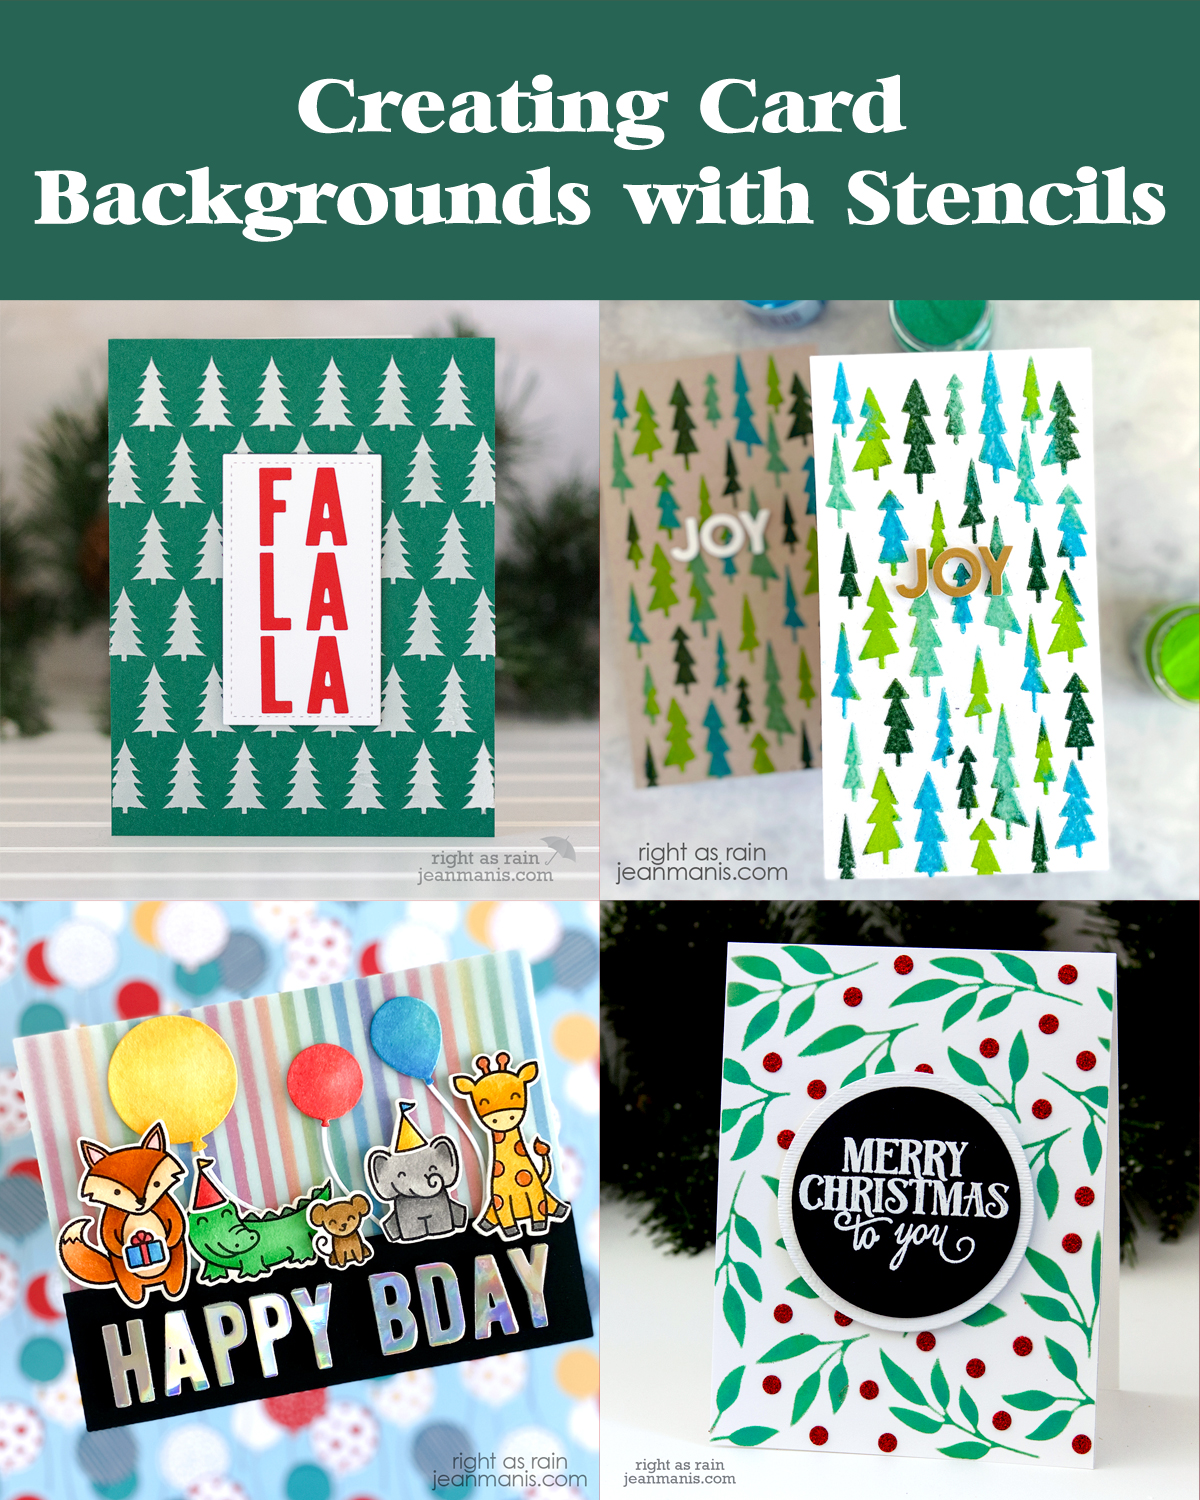
Hello! Today, I am taking a look at the use of stencils for card backgrounds. It’s important to acknowledge that this post does not encompass the entirety of stencil possibilities available to crafters. This post continues my discussion of card background options. You can read the first post, in which I examined paper-based background choices, HERE. In the second post, HERE, I discussed the use of embossing folders to create backgrounds.

Throughout this post, I’ll be using cards from my blog archive as examples. Click on the card image to be taken to the original post. While the specific products used on these cards may no longer be available, the focus is on providing a guide for using stencils to create card backgrounds.

Creating Card Backgrounds with Stencils | Stencils

As I reviewed my cards that use stenciled backgrounds, I noticed that: I frequently use stencils to create snow backgrounds, I primarily apply white paste through stencils, and I often simplify or eliminate my focal image when paired with stenciled backgrounds.

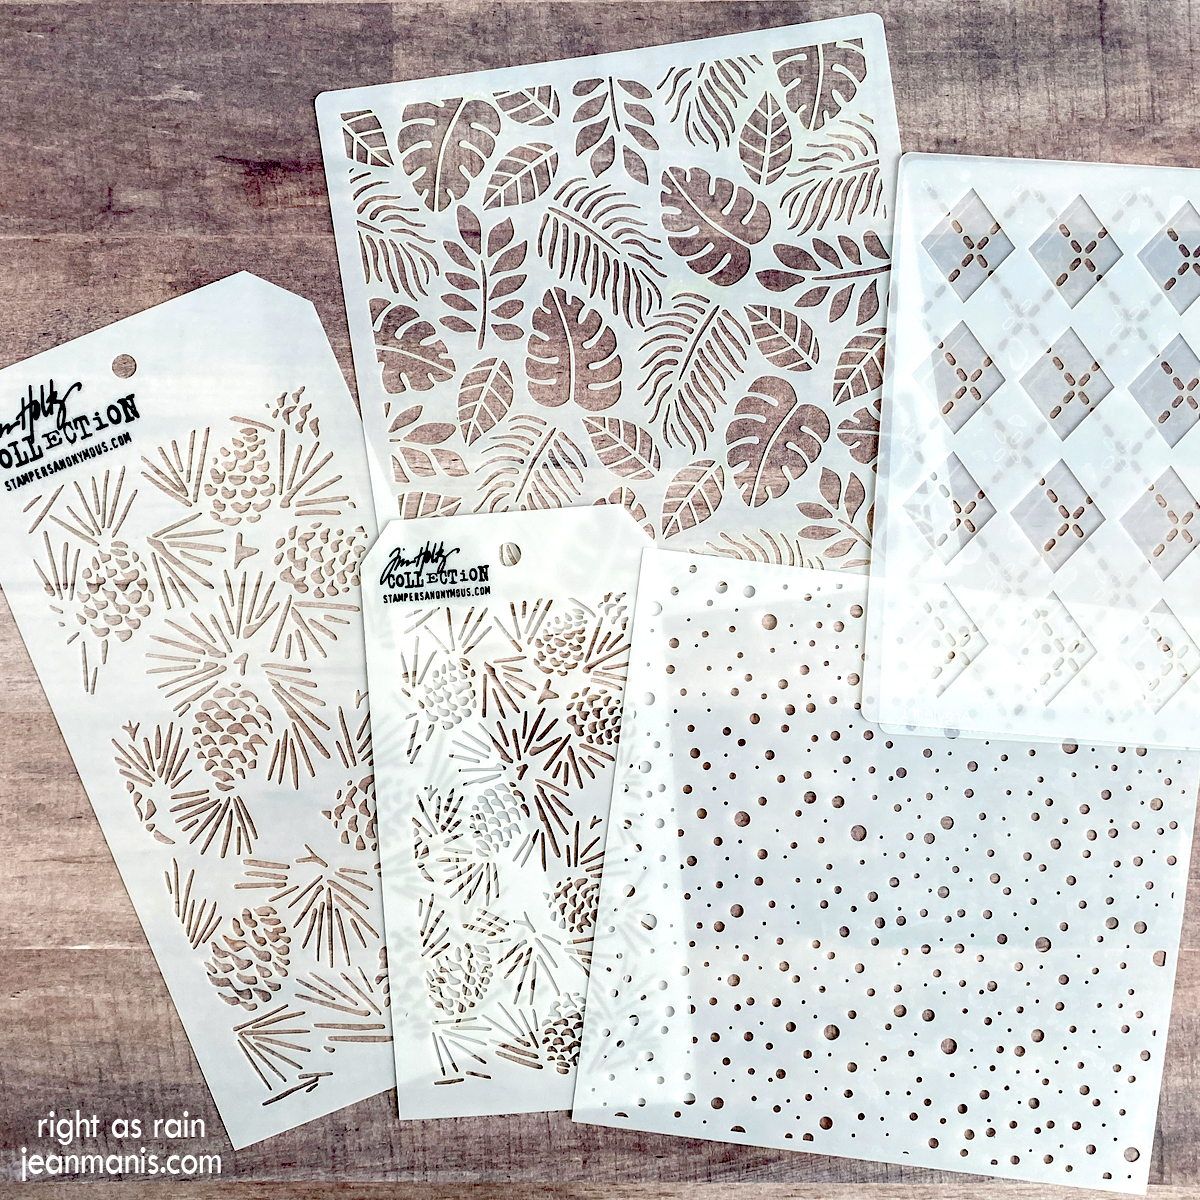
Just like embossing folders, stencils come in a wide variety of designs, ranging from simple geometric patterns to floral motifs and everything in between. Unlike embossing folders, stencils require a medium such as ink, paste, paint, or spray. Additionally, different mediums require different techniques and drying times. In the embossing folder post, I covered a variety of folder designs. In this post, I am focusing on the mediums used on the stencils.

Creating Card Backgrounds with Stencils | Mediums

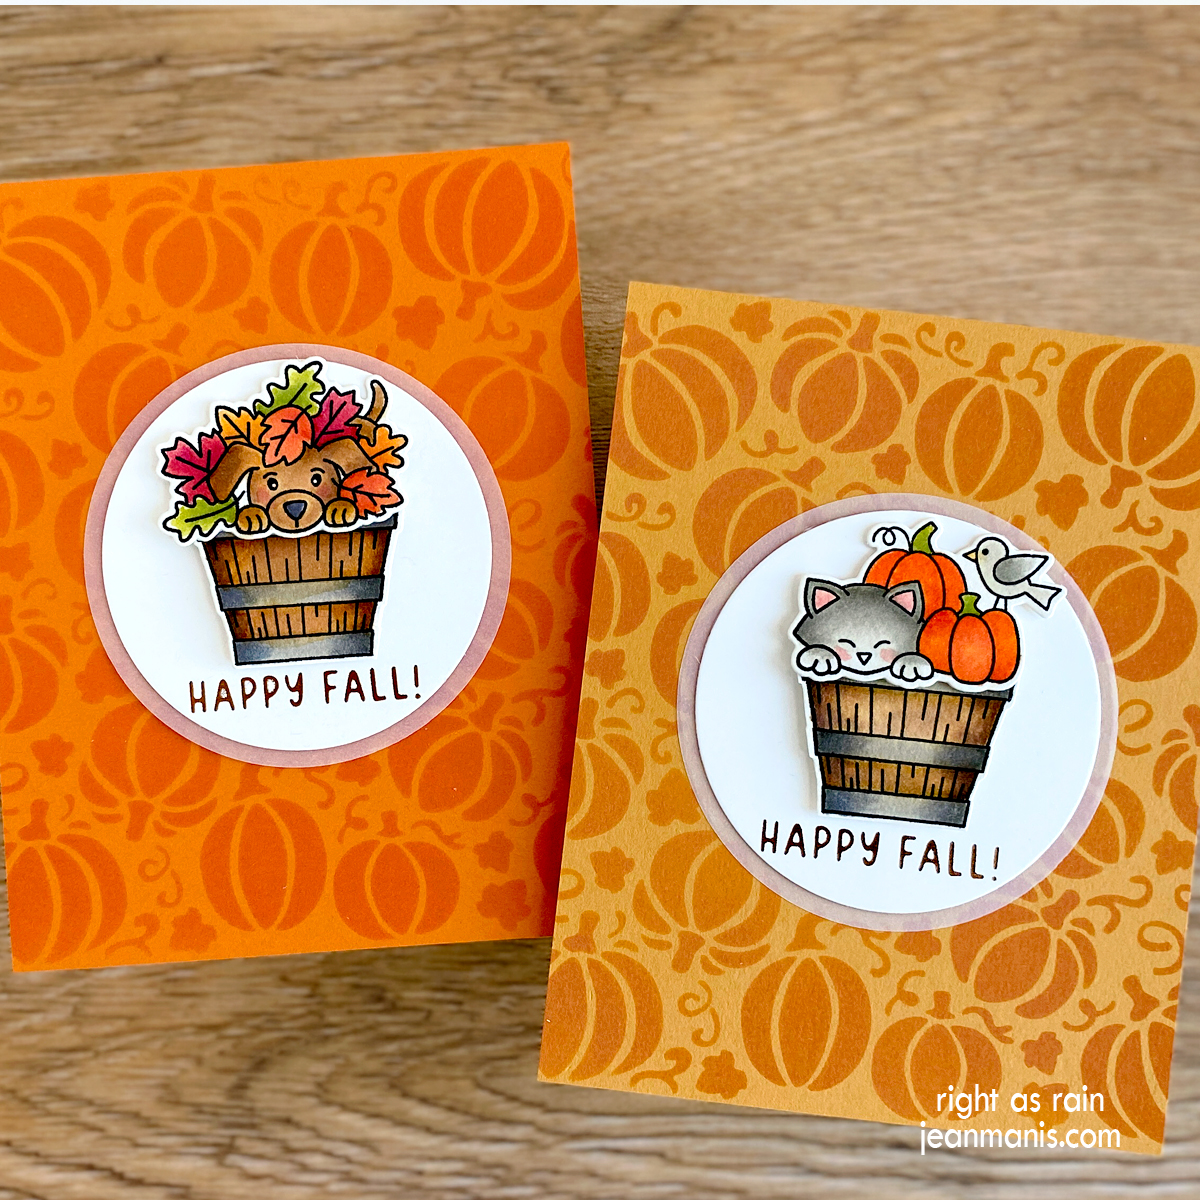
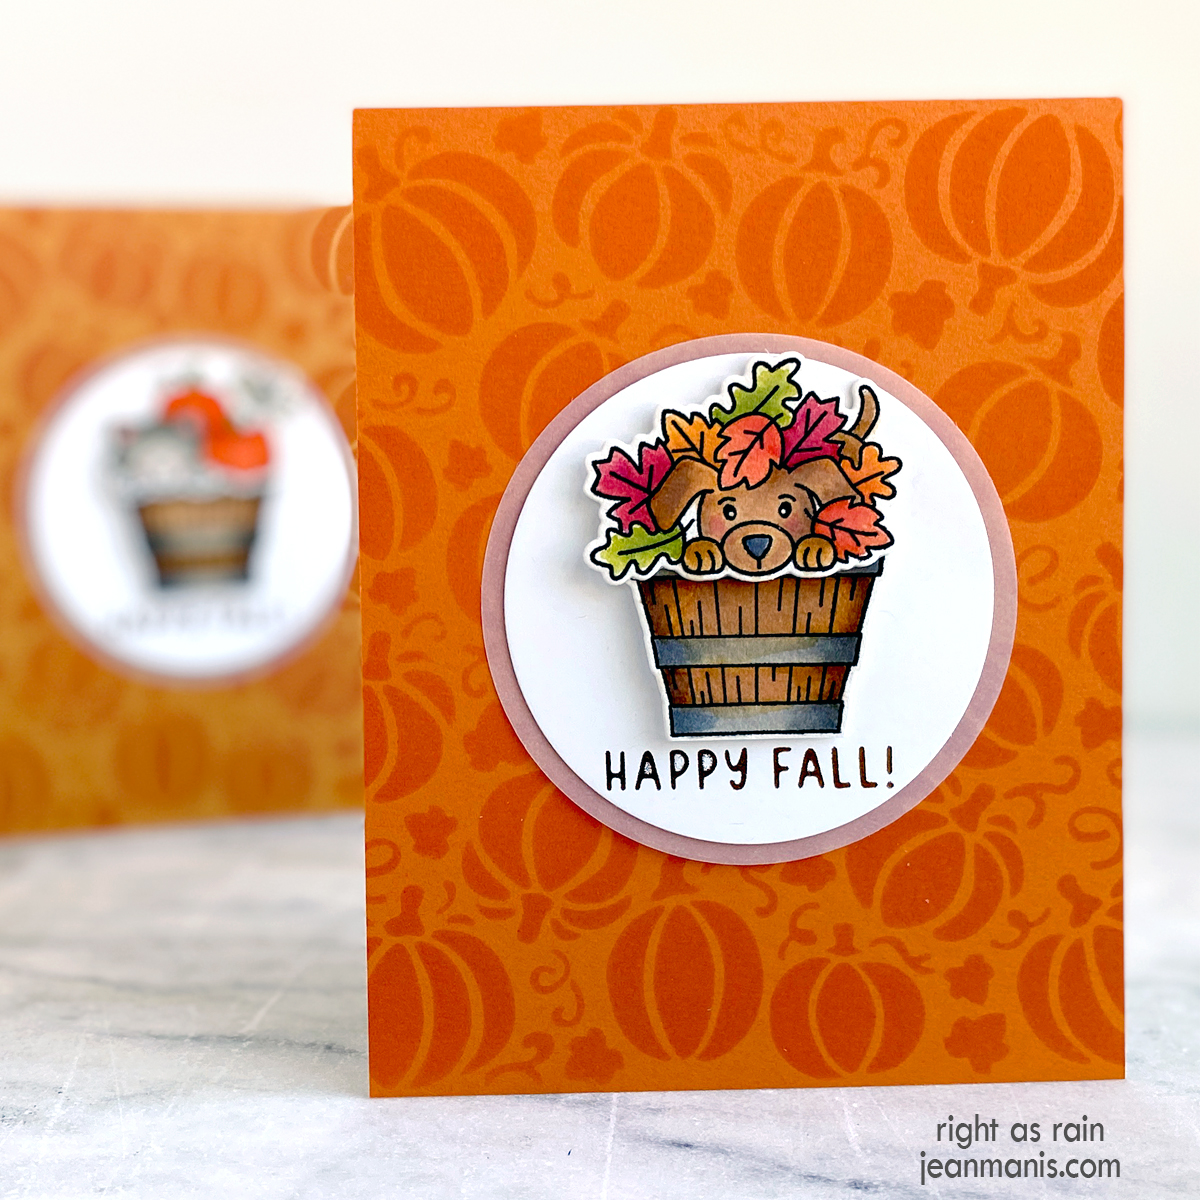
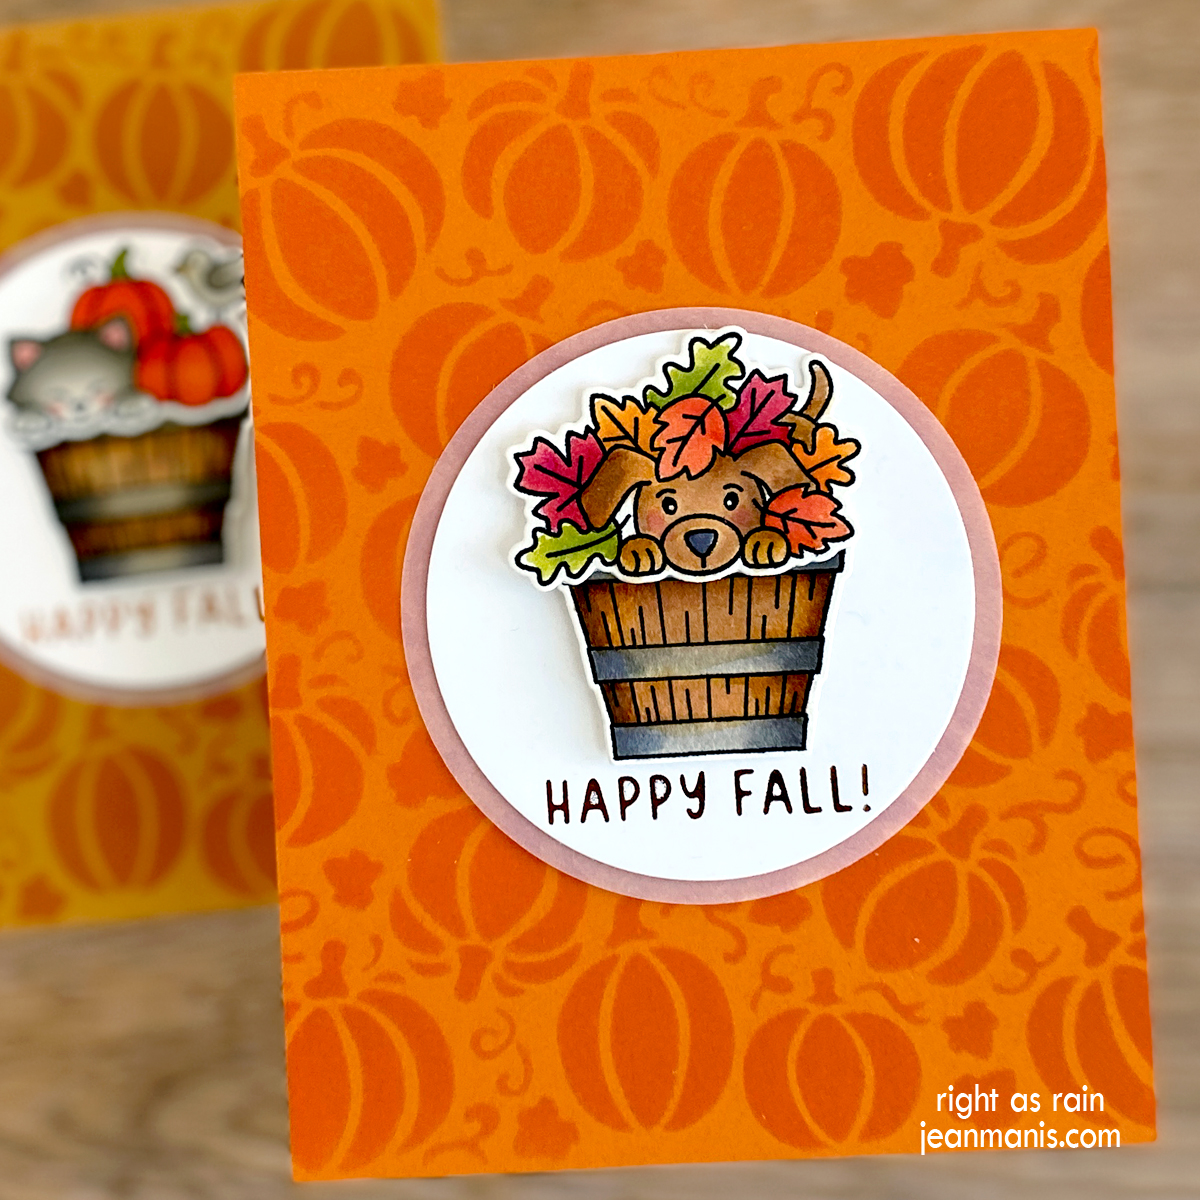
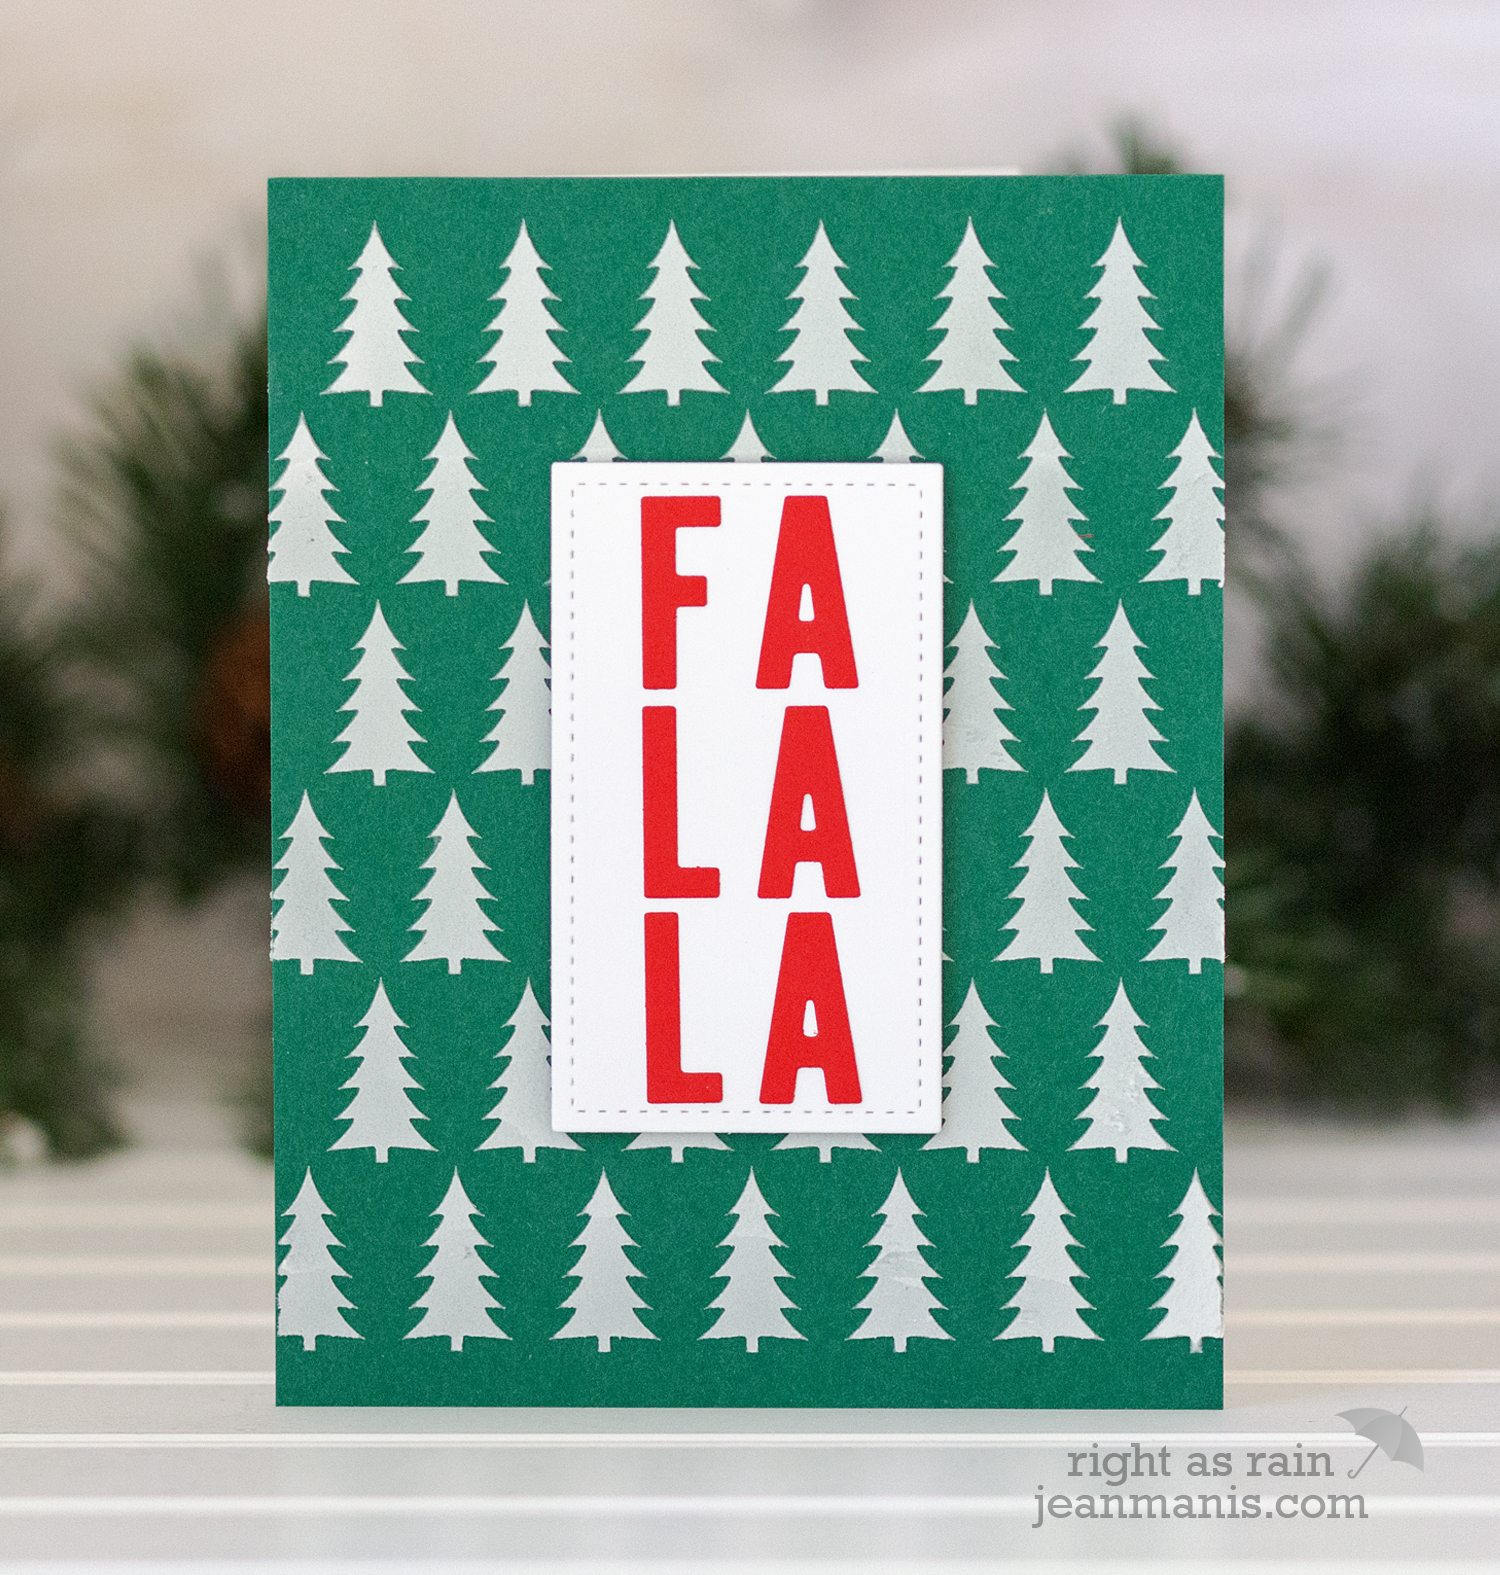
Ink Let’s start with one of the easiest and most available options – applying ink through a stencil on matching cardstock for a tone-on-tone background.

Creating Card Backgrounds with Stencils | Ink

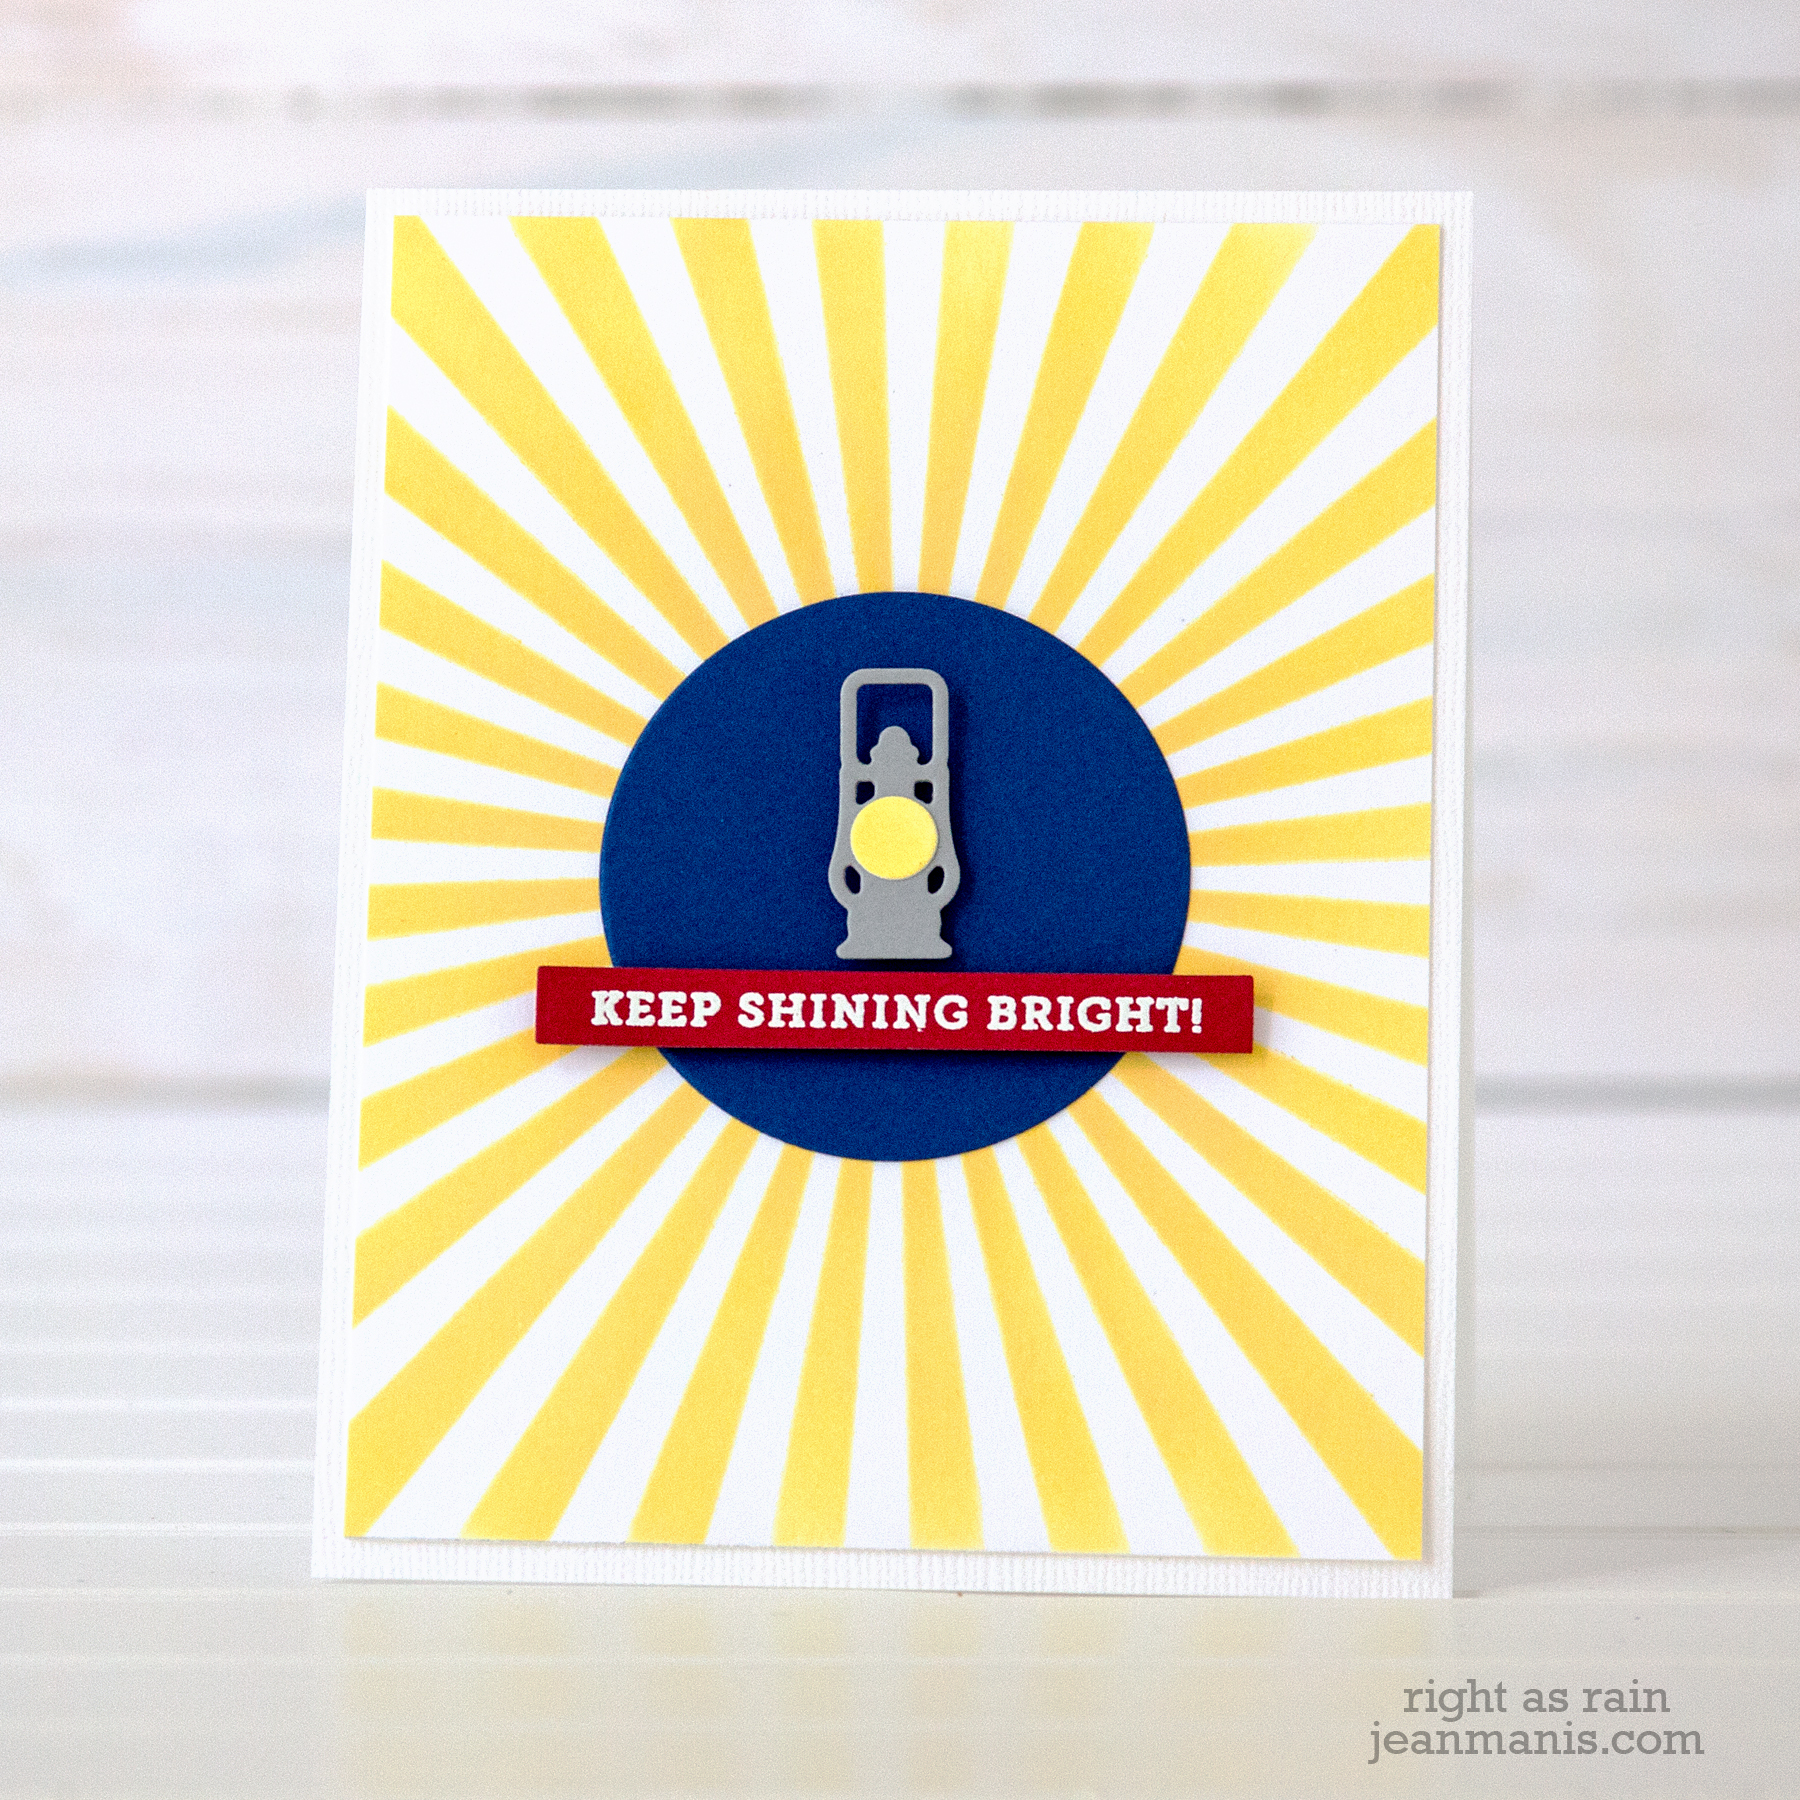
Similarly, colored ink can be applied to white cardstock, as in this case through a sunray stencil.

Creating Card Backgrounds with Stencils | Ink

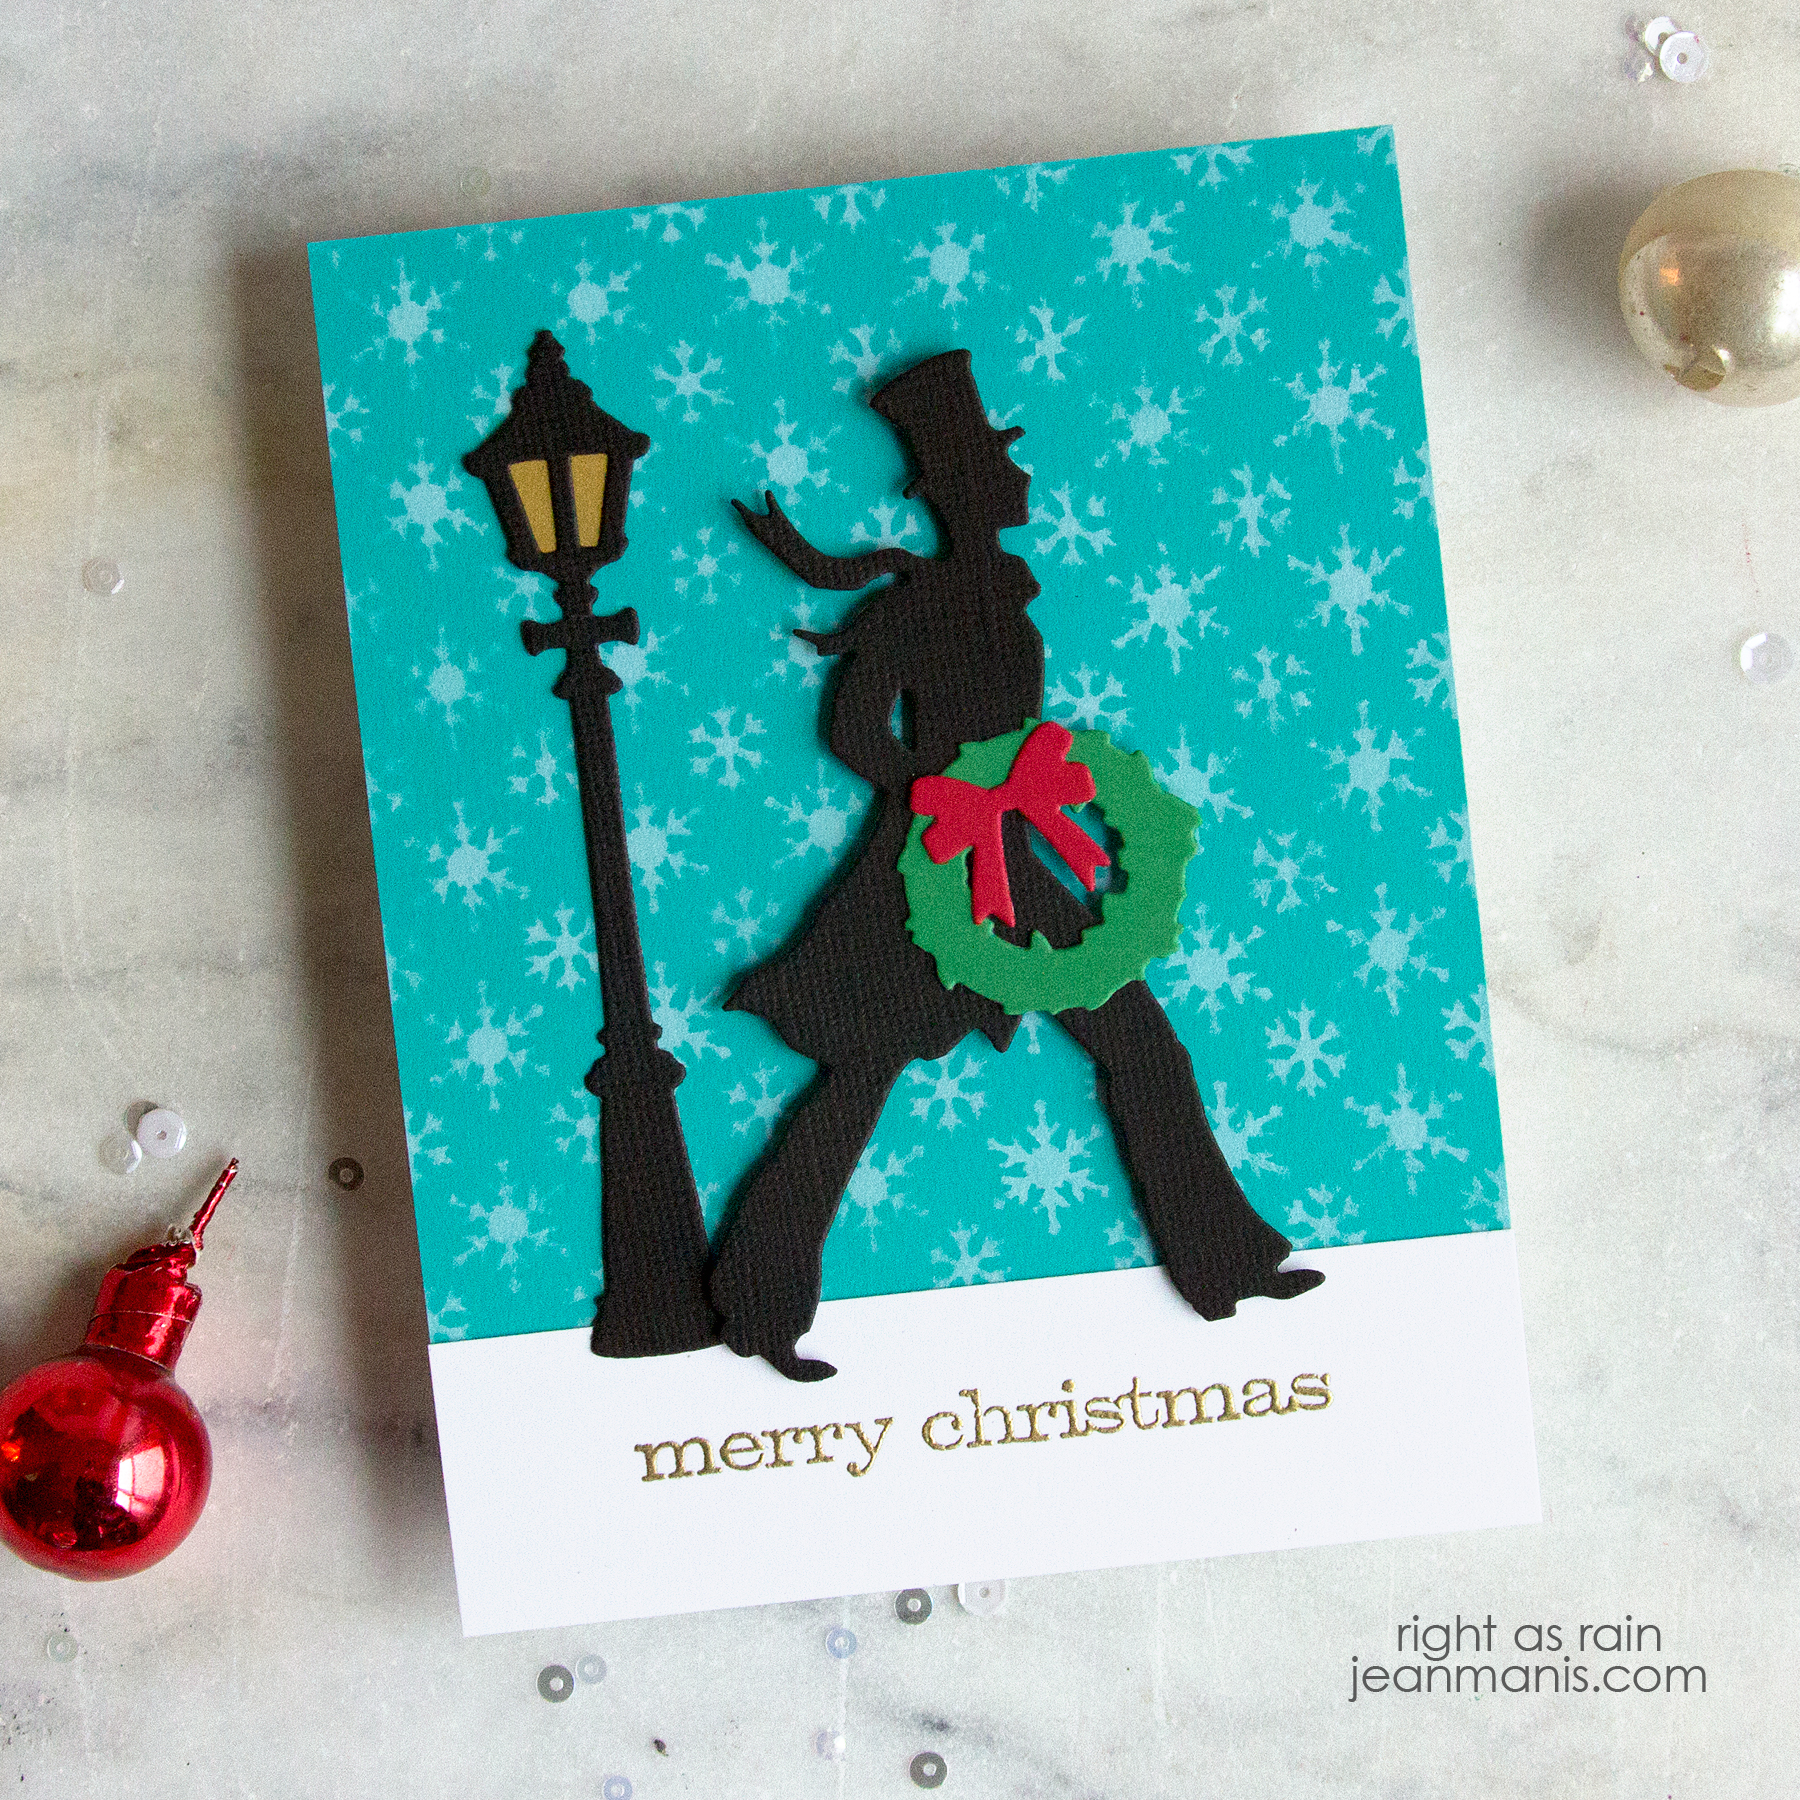
White pigment ink can be applied to colored cardstock through a stencil, as in this winter-themed card using one of the Tim Holtz Mini Stencils. In a scaled down version of the original, the mini stencils feature the same designs as the standard Layering Stencils. It is worth noting that to achieve the full width of snow on the A2-size card front, the stencil had to be shifted for a second application of ink.

Creating Card Backgrounds with Stencils | Ink

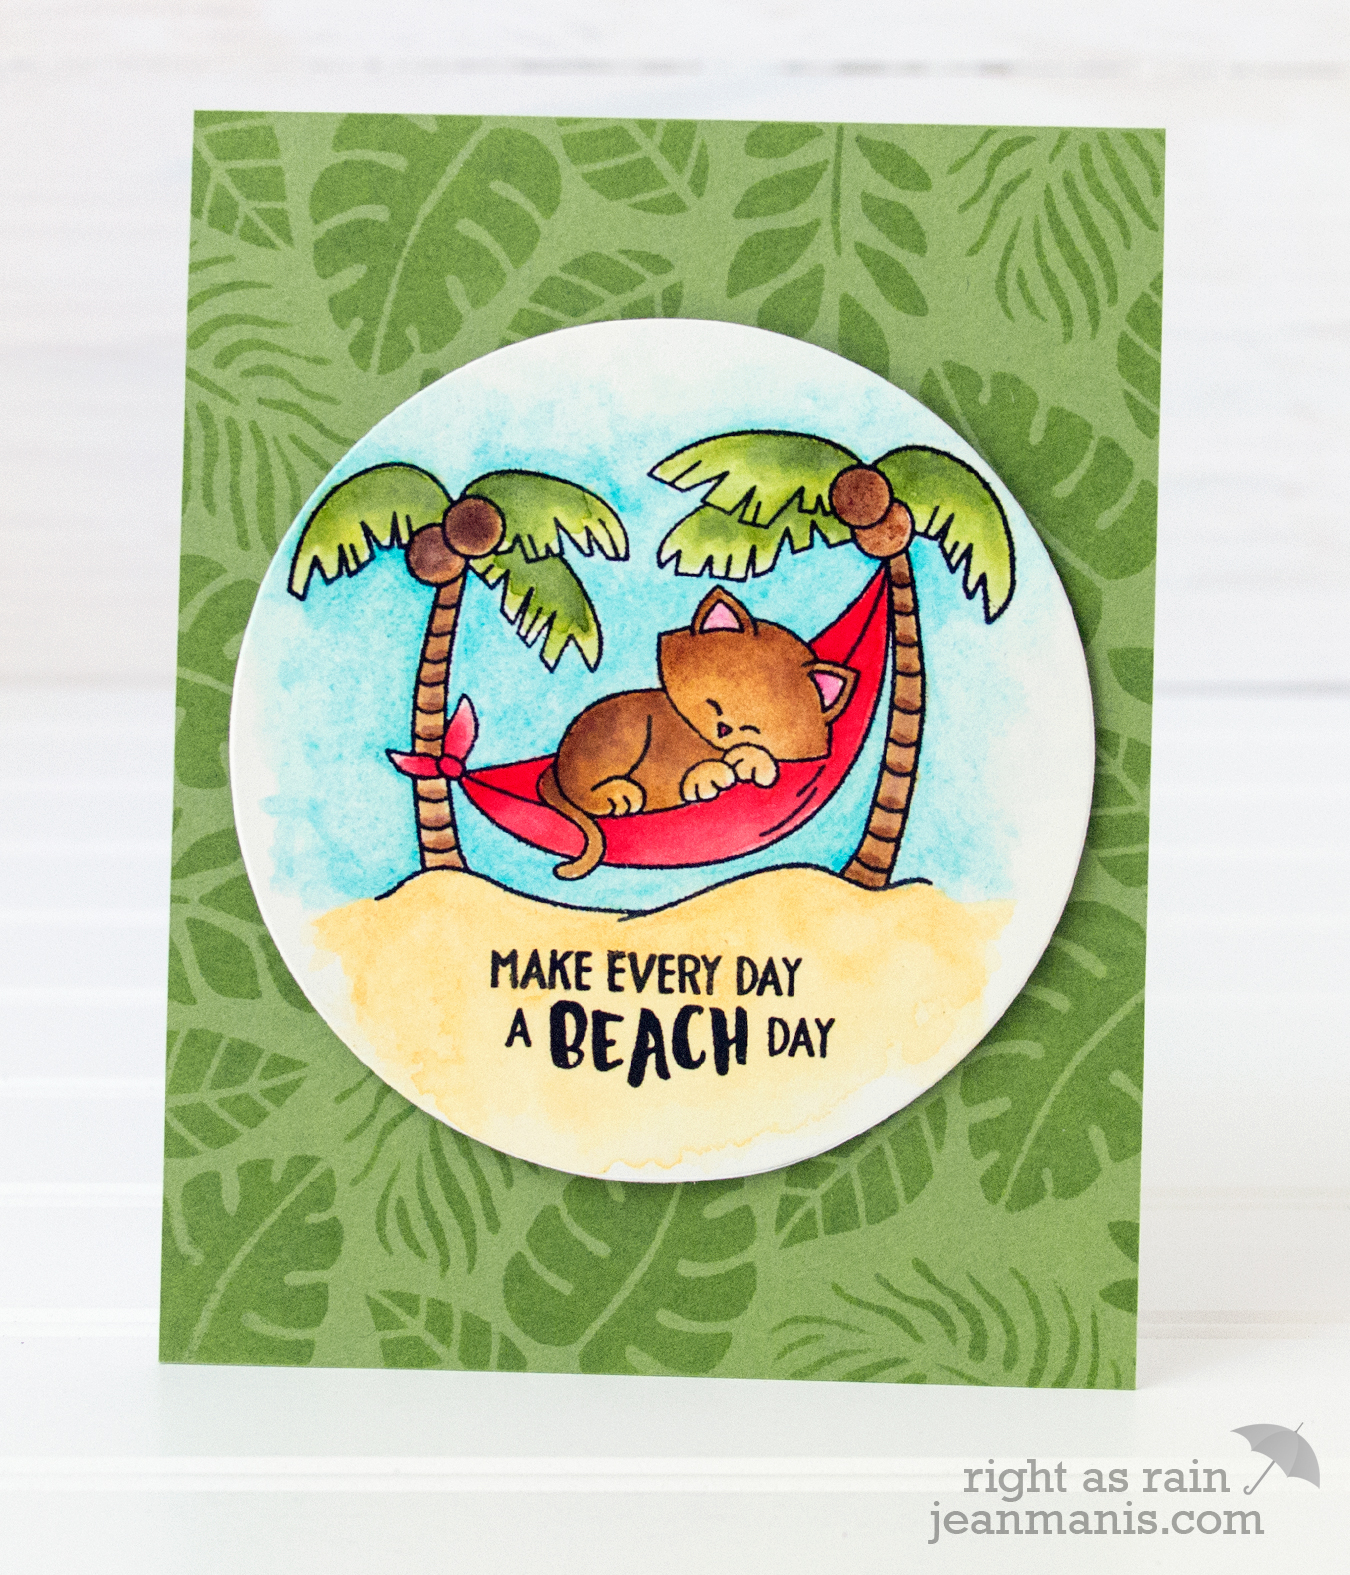
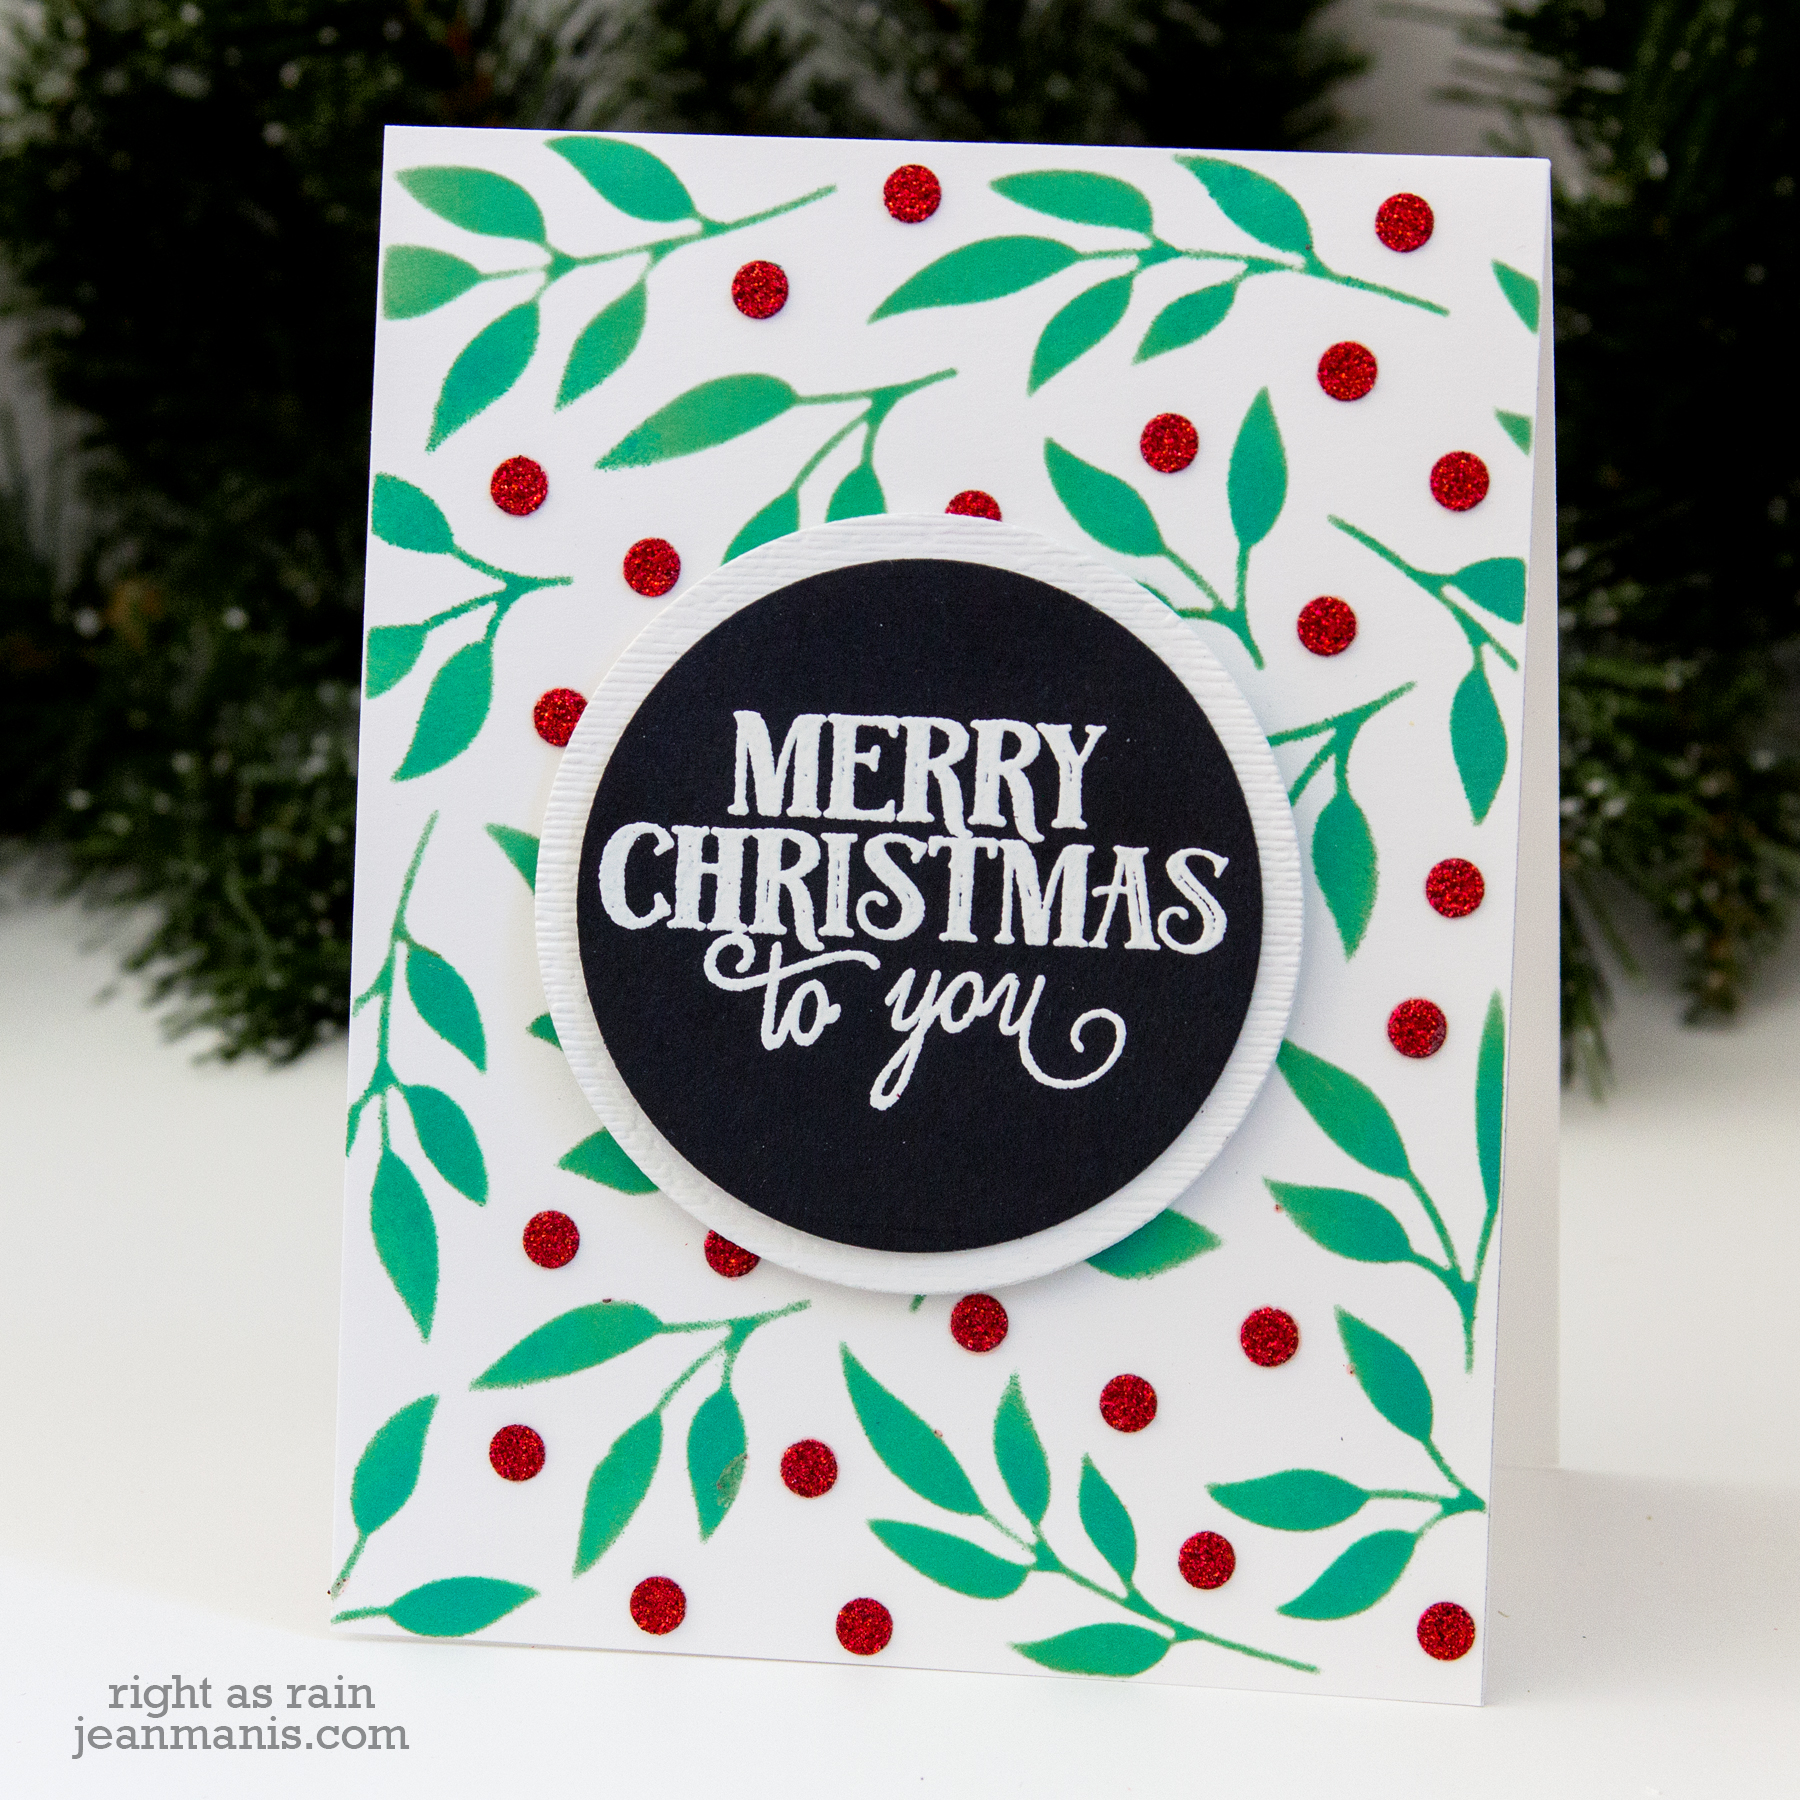
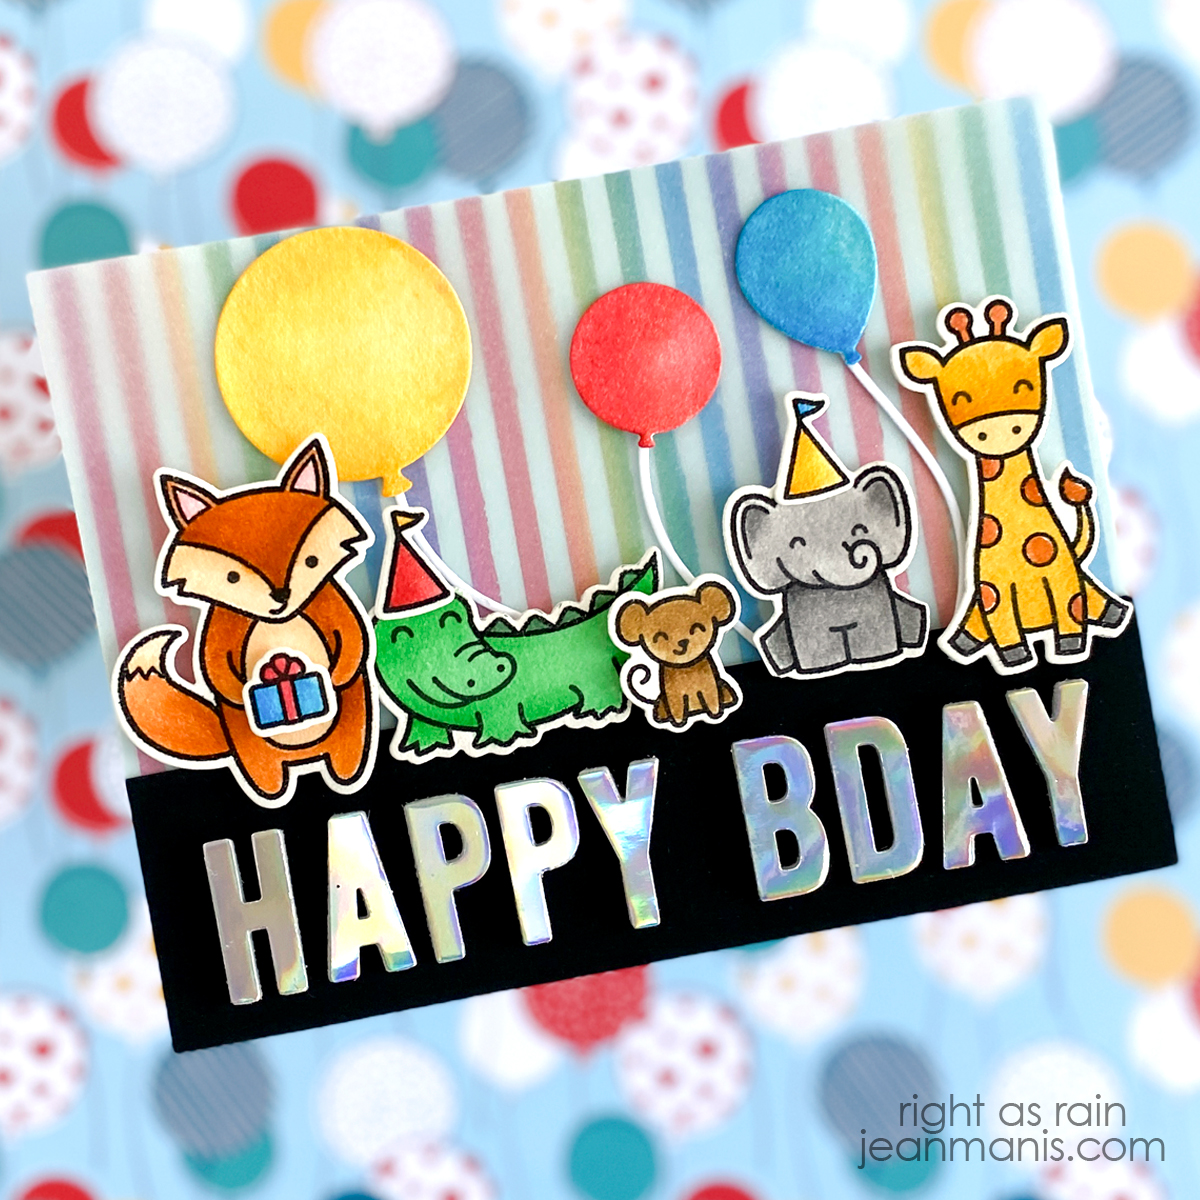
Multiple Inks and/or Mediums Many stencils provide an opportunity to use multiple ink and/or medium options such as this leaves and berries stencil from Pretty Pink Posh, on which I used both ink and glitter gel. To achieve this result with this stencil, masking was required.

Creating Card Backgrounds with Stencils | Mutiple Inks and/or Mediums

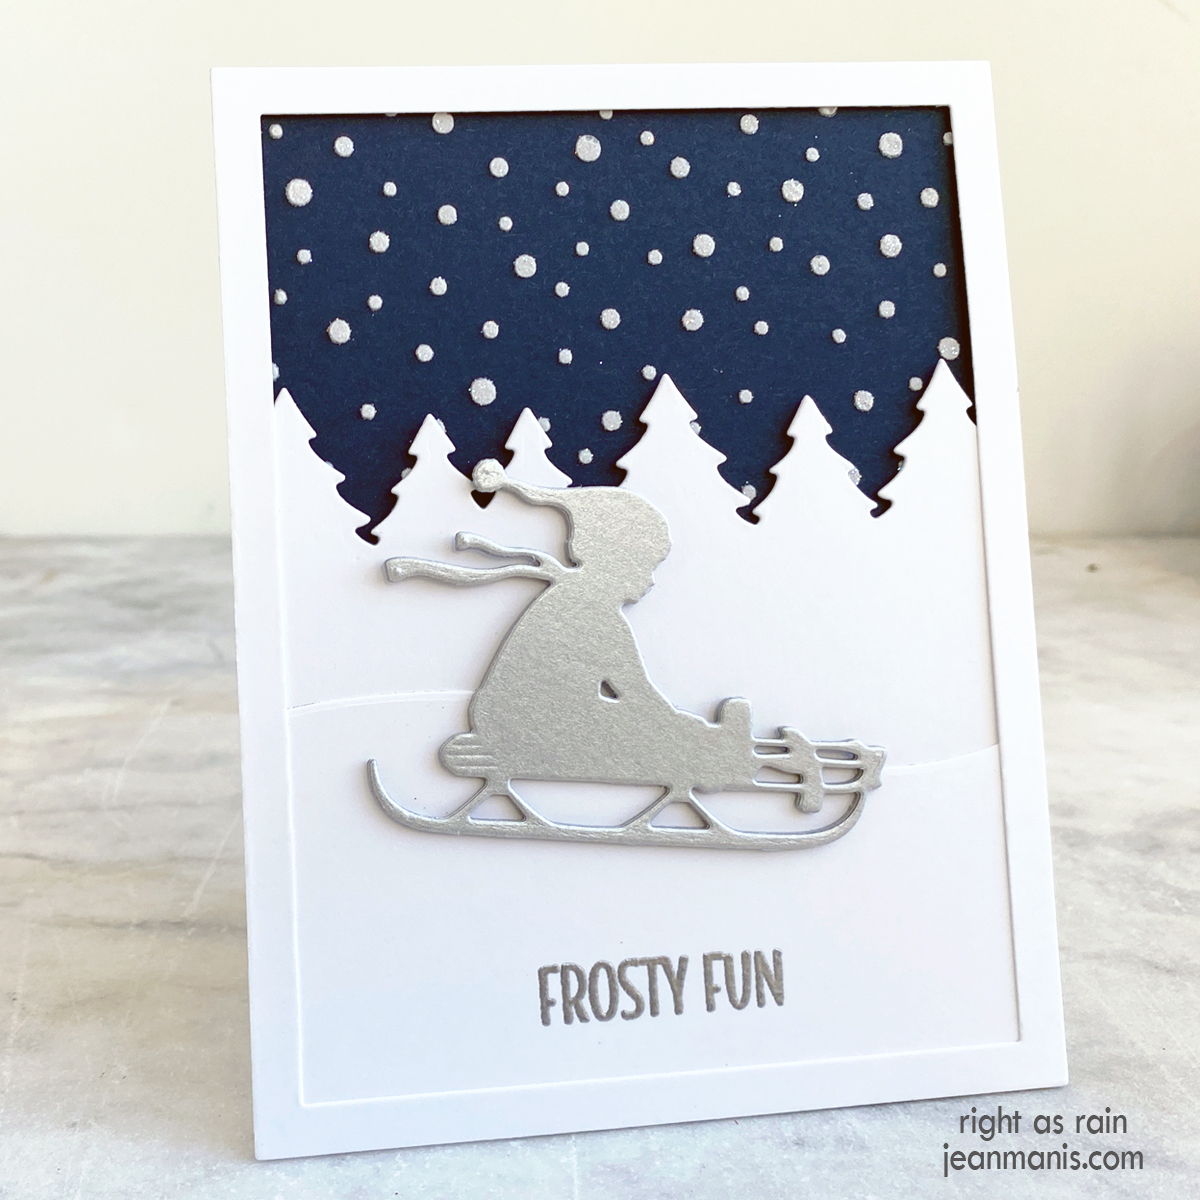
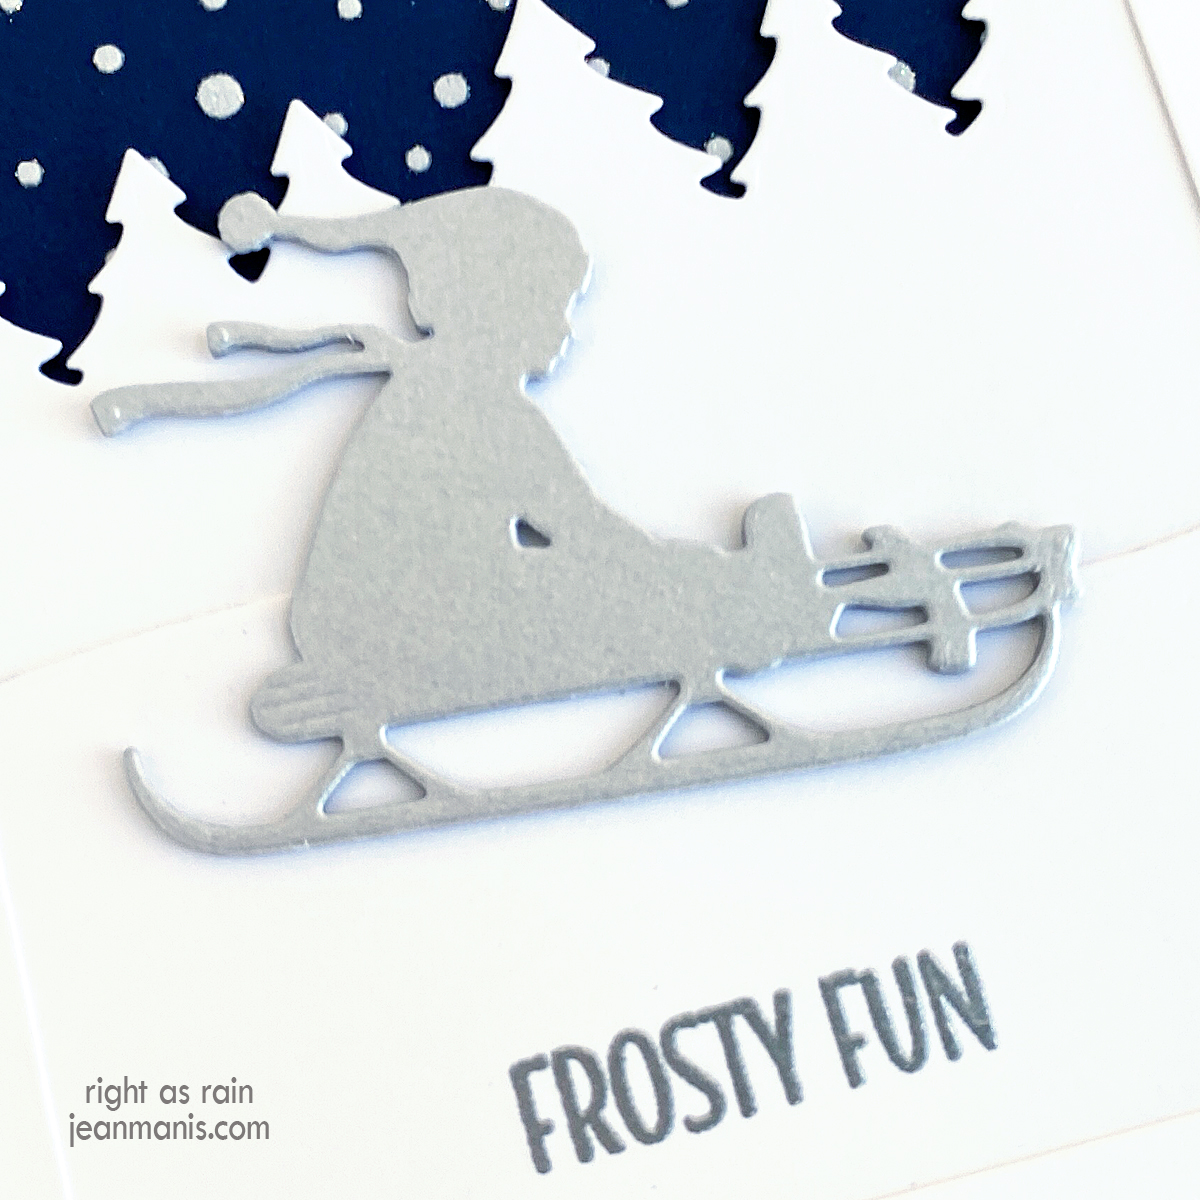
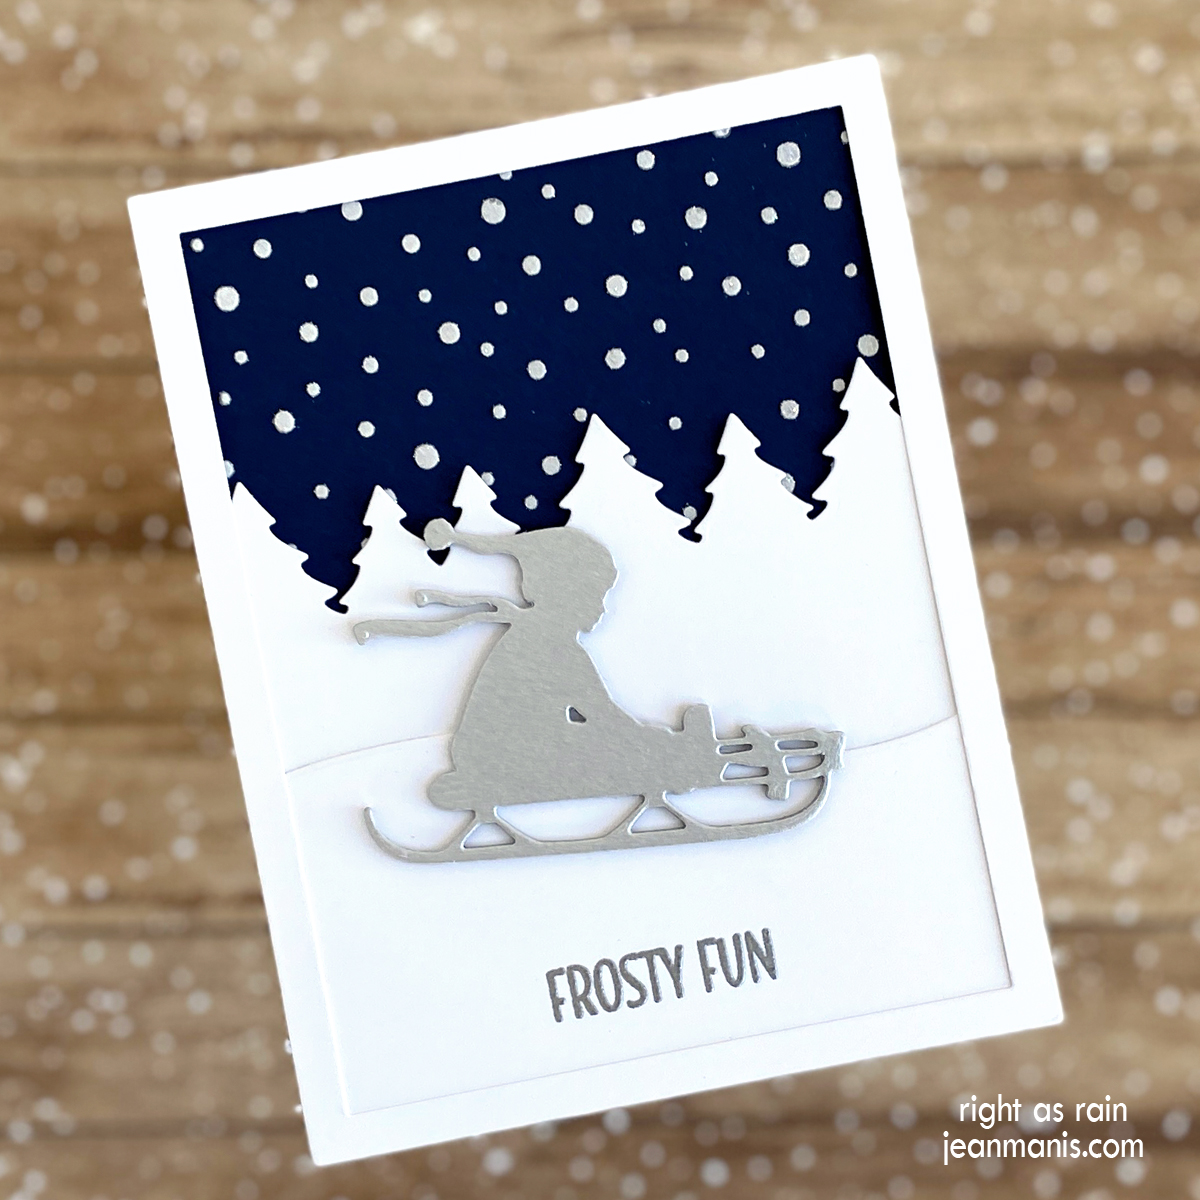
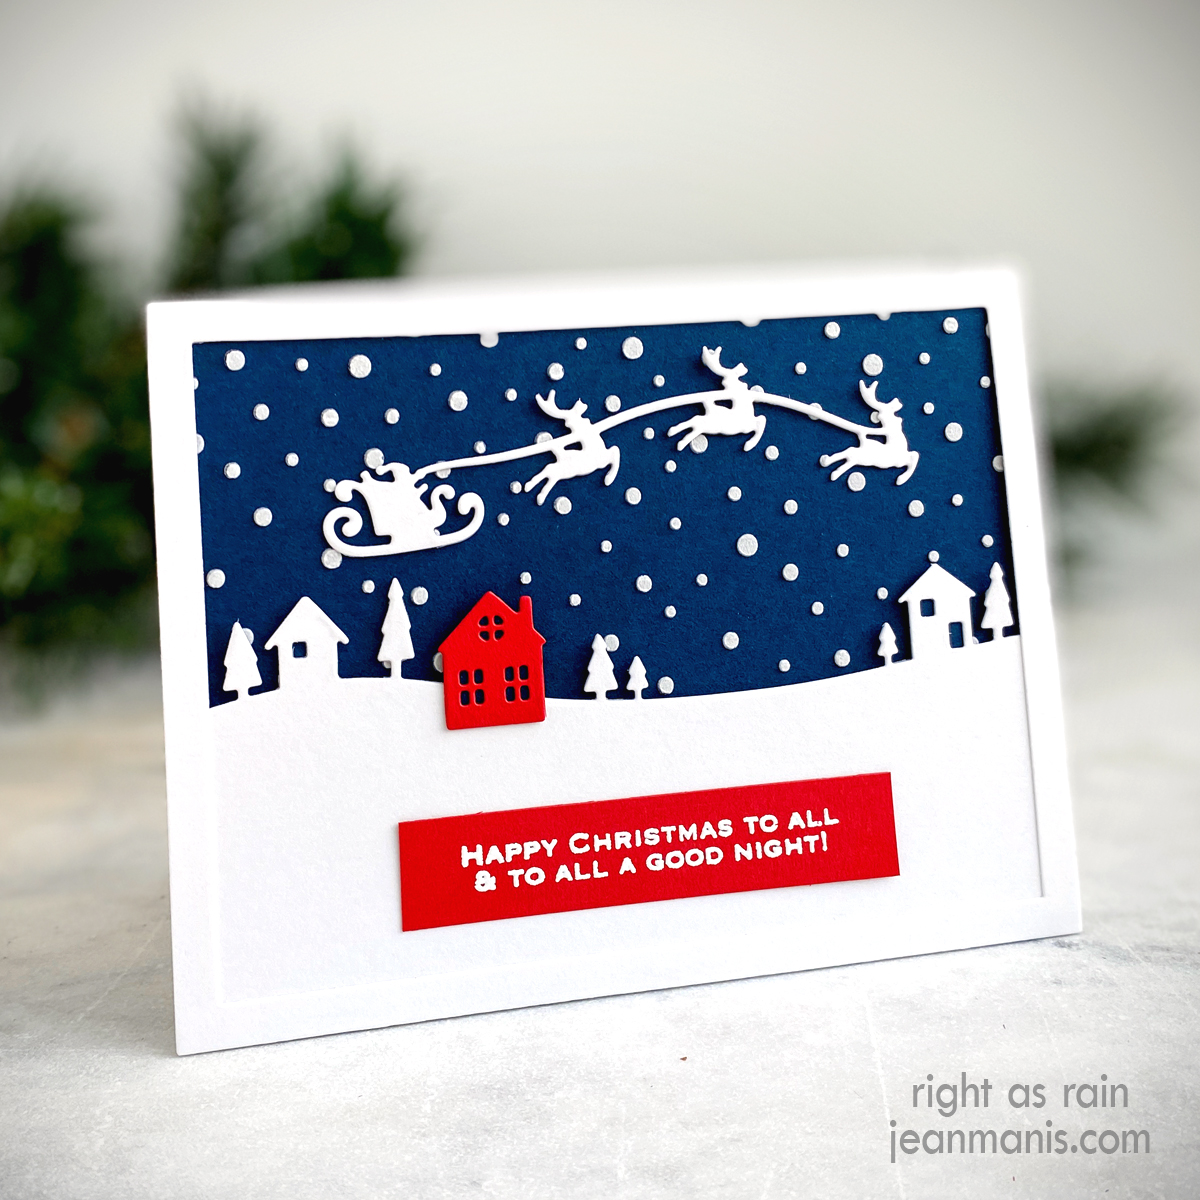
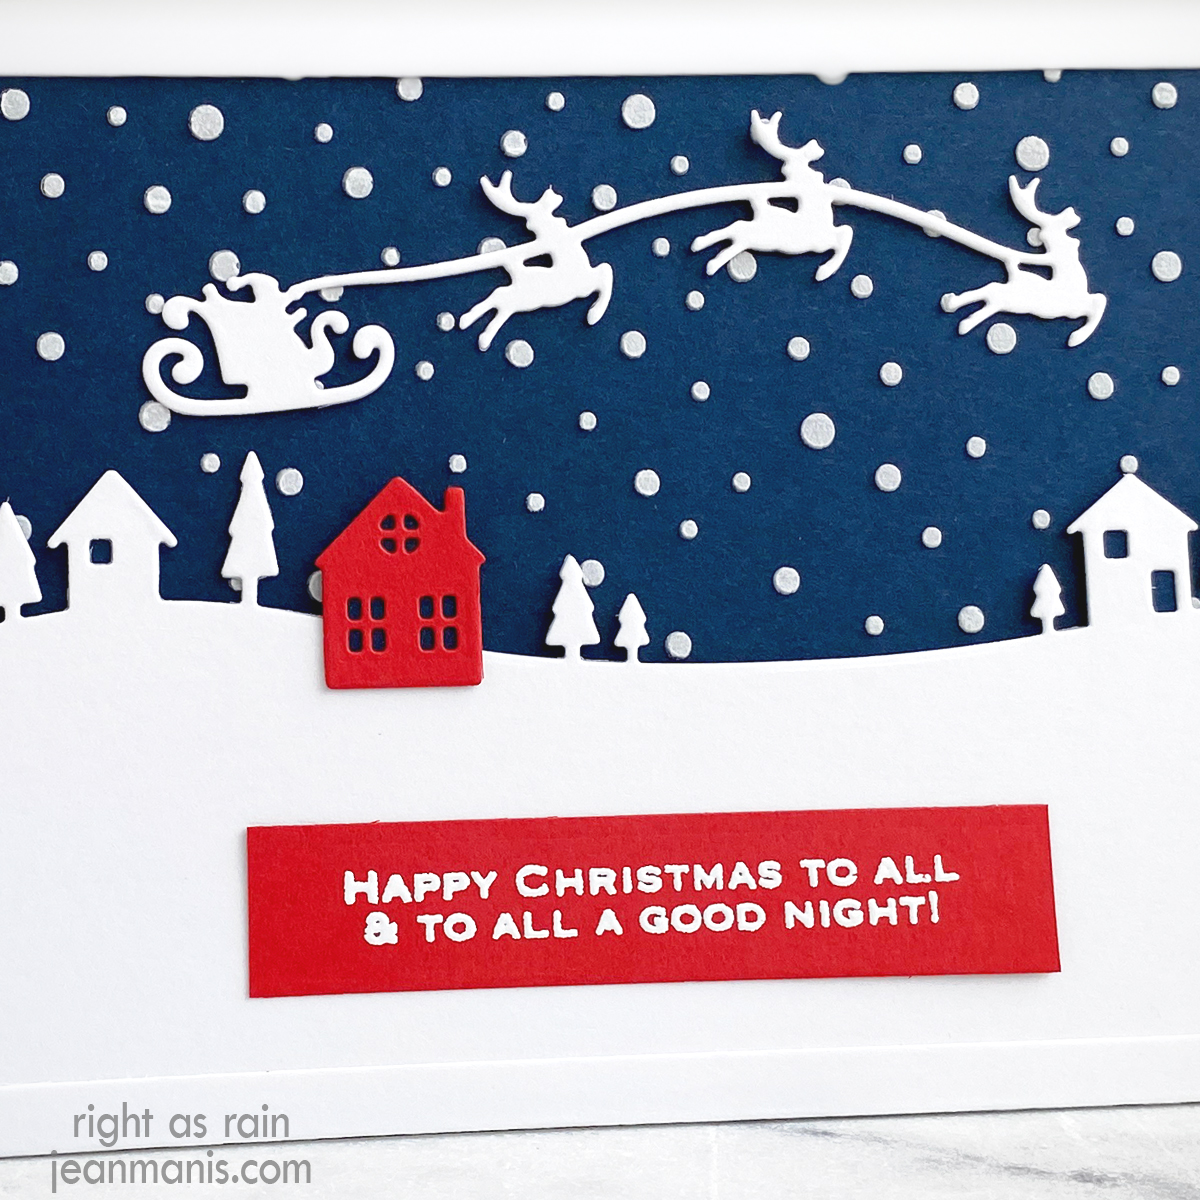
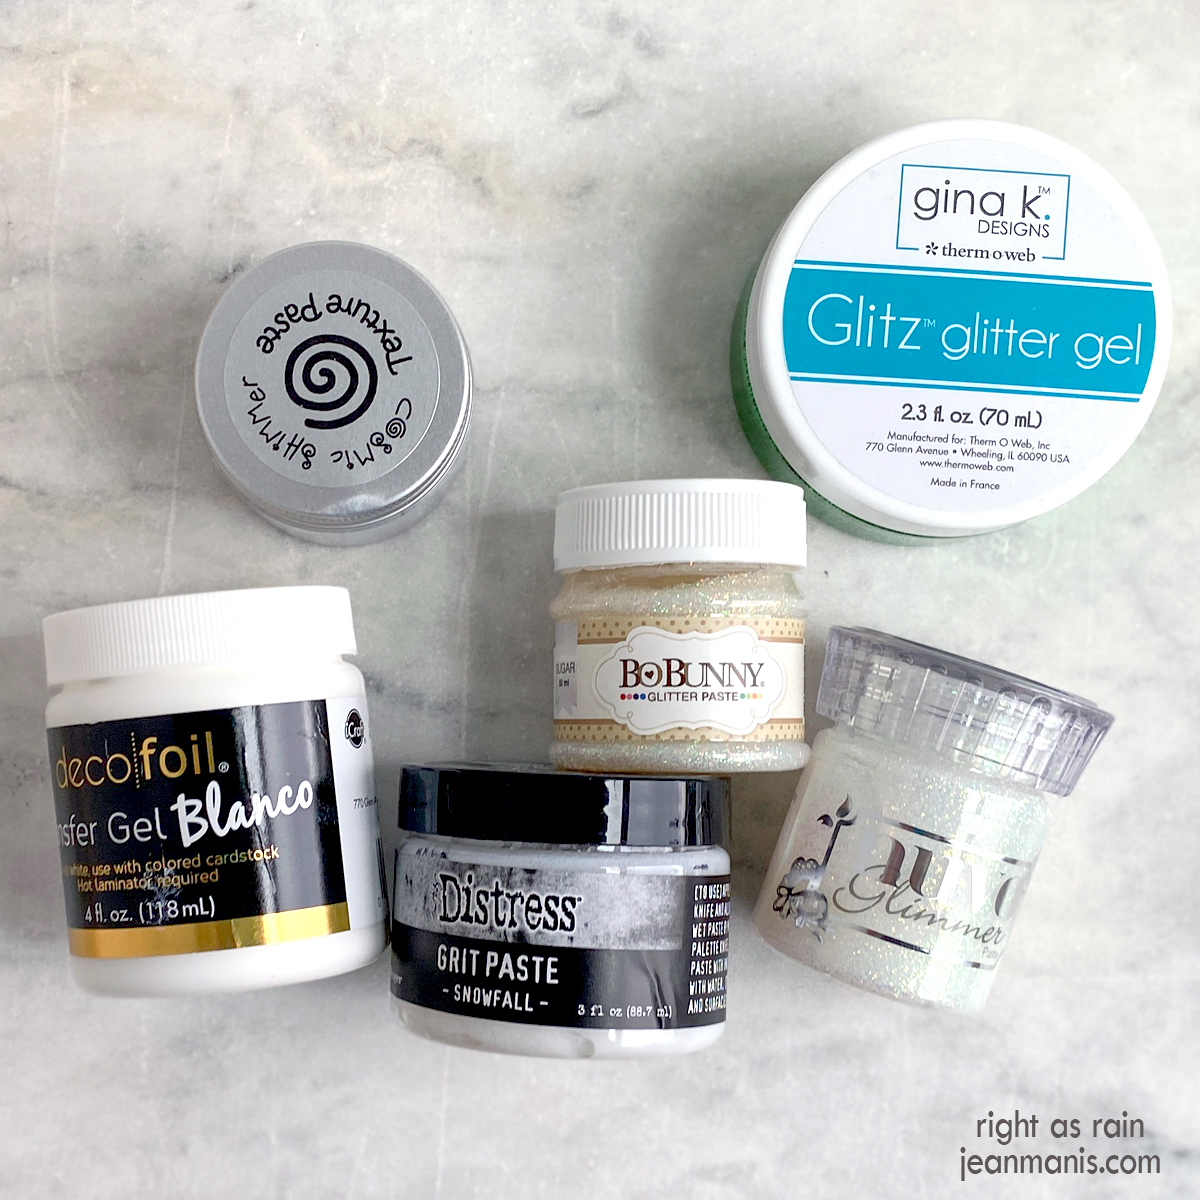
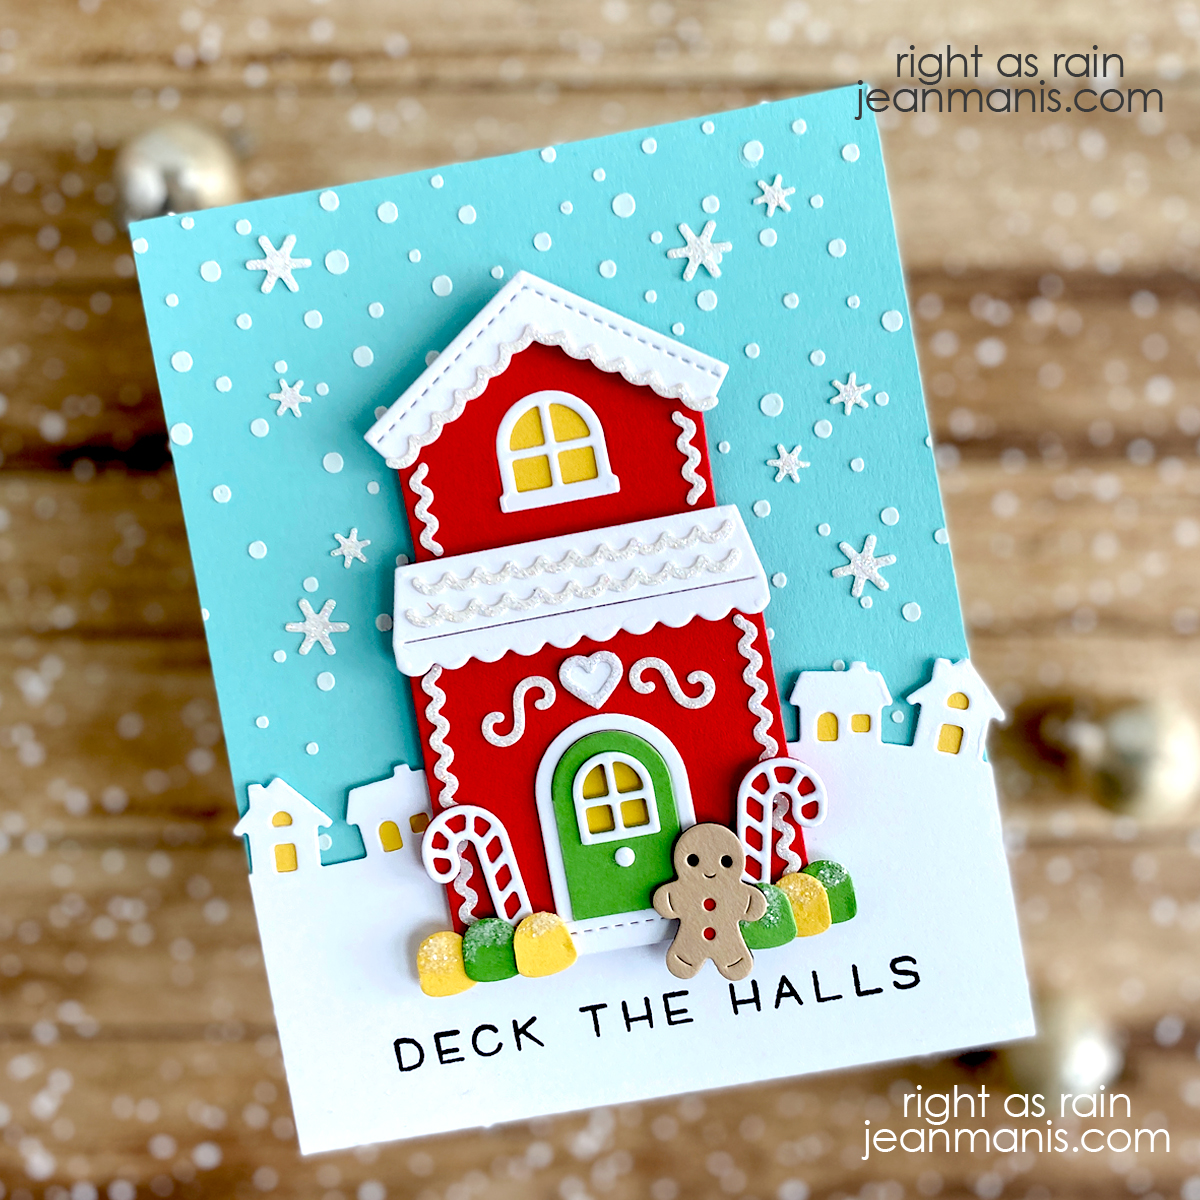
White Embossing Paste As previously stated, I most often use white embossing paste as the medium through the stencil. Although not shown in the example below, dry glitter can be shaken on to the wet paste and allowed to dry for a glittery effect. Additionally, wet white embossing paste can be colored with ink and paint, which I have done a handful of times. I am more likely to buy a colored paste than to hand color white paste.

Creating Card Backgrounds with Stencils | White Embossing Paste

I most often use stencils to create snow backgrounds on holiday cards and own a wide variety of snow stencils.

Other Embossing Pastes In addition to white, embossing paste comes in a variety of colors including gold and silver.

Creating Card Backgrounds with Stencils | Other Embossing Pastes

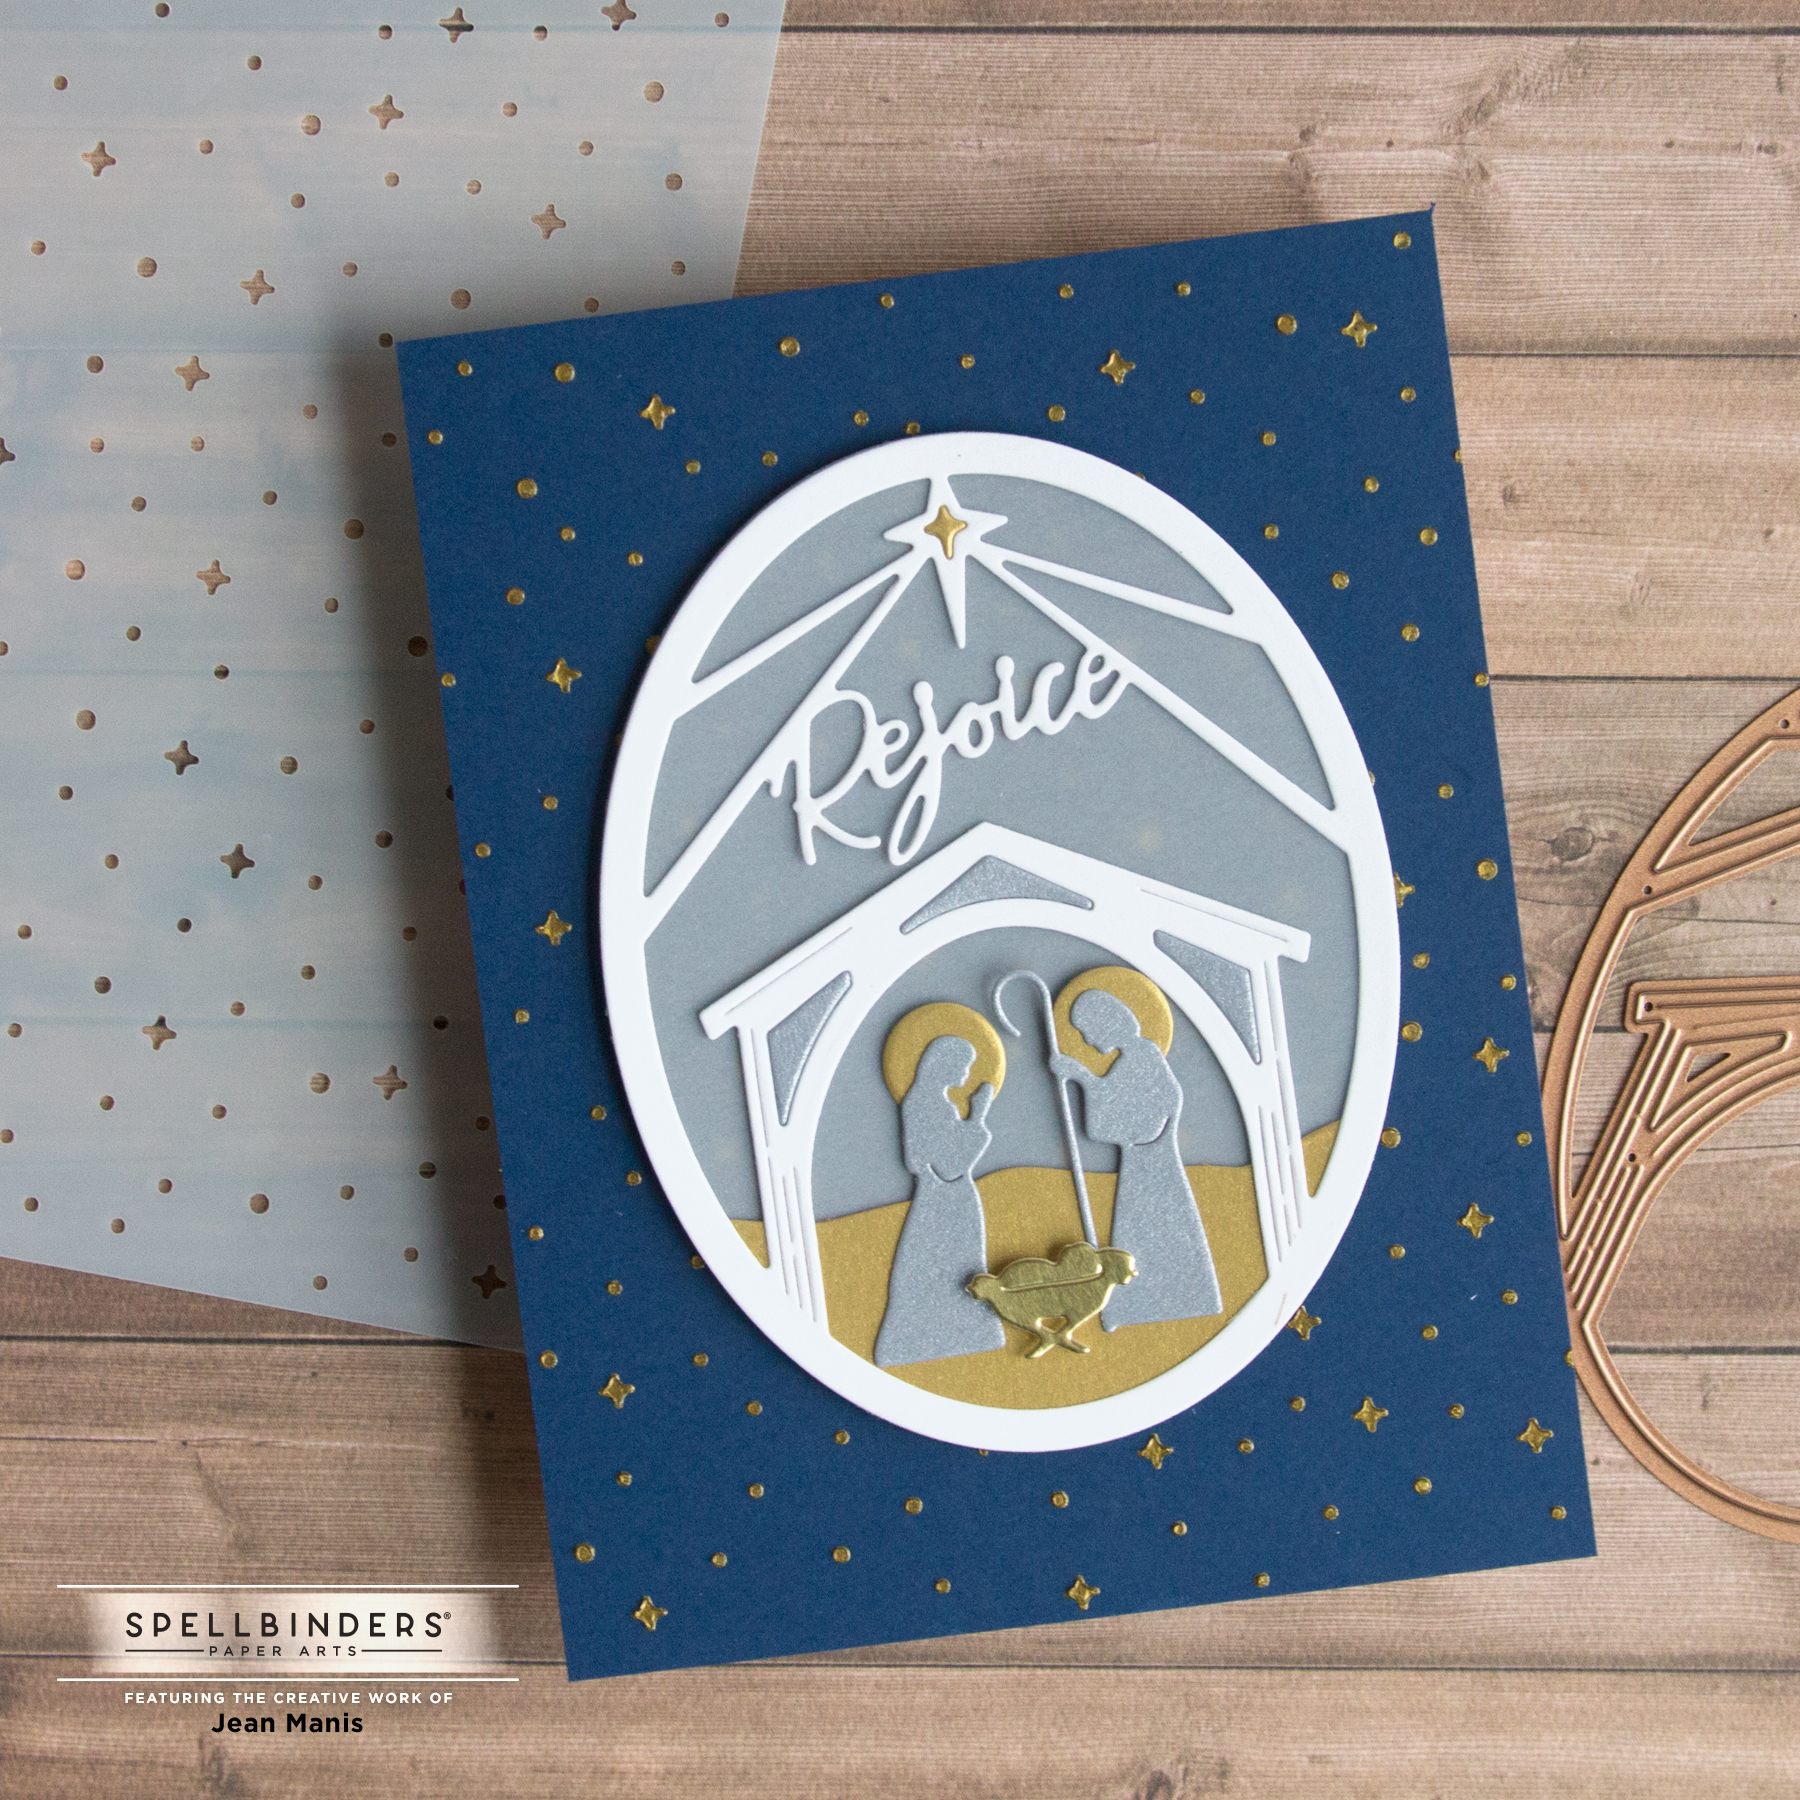
Similarly, paste comes in different textures such as Snowfall Grit Paste, a translucent paste with clear glitter.

Creating Card Backgrounds with Stencils | Other Embossing Pastes

Laminating Options Specific gels can be foiled or flocked with the use of a laminator, which opens up another realm of options.

Creating Card Backgrounds with Stencils | Laminating Foils

Creating Card Backgrounds with Stencils | Laminating Foils

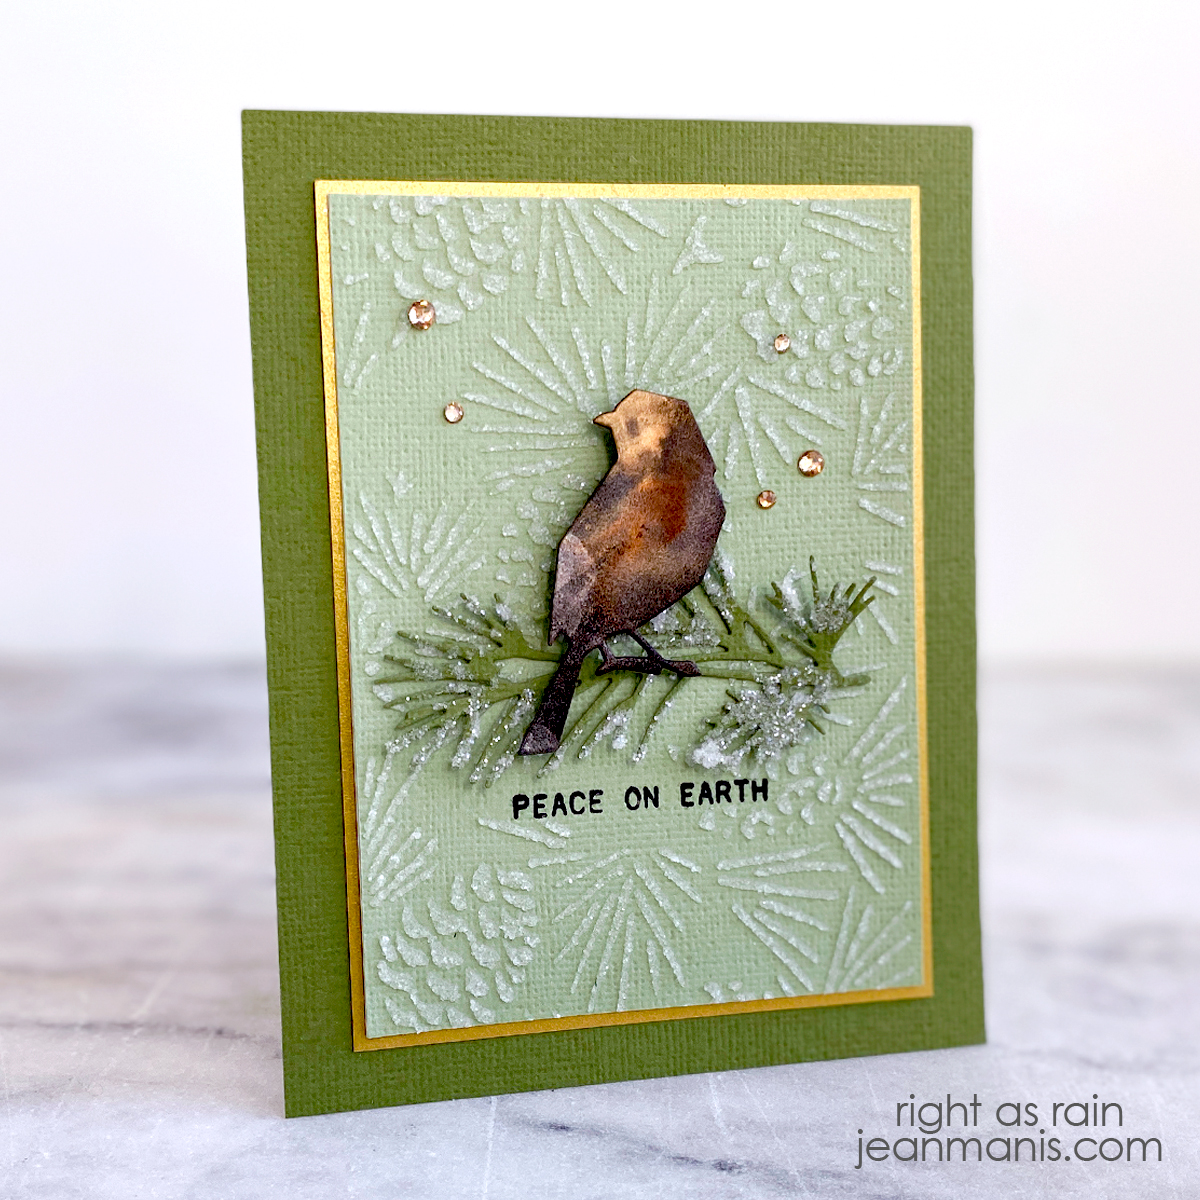
Glazes Embossing glazes can be applied to wet paste (Translucent Distress Texture Paste used in example below) and melted with a heat gun when the paste is dry.

Creating Card Backgrounds with Stencils | Embossing Glazes

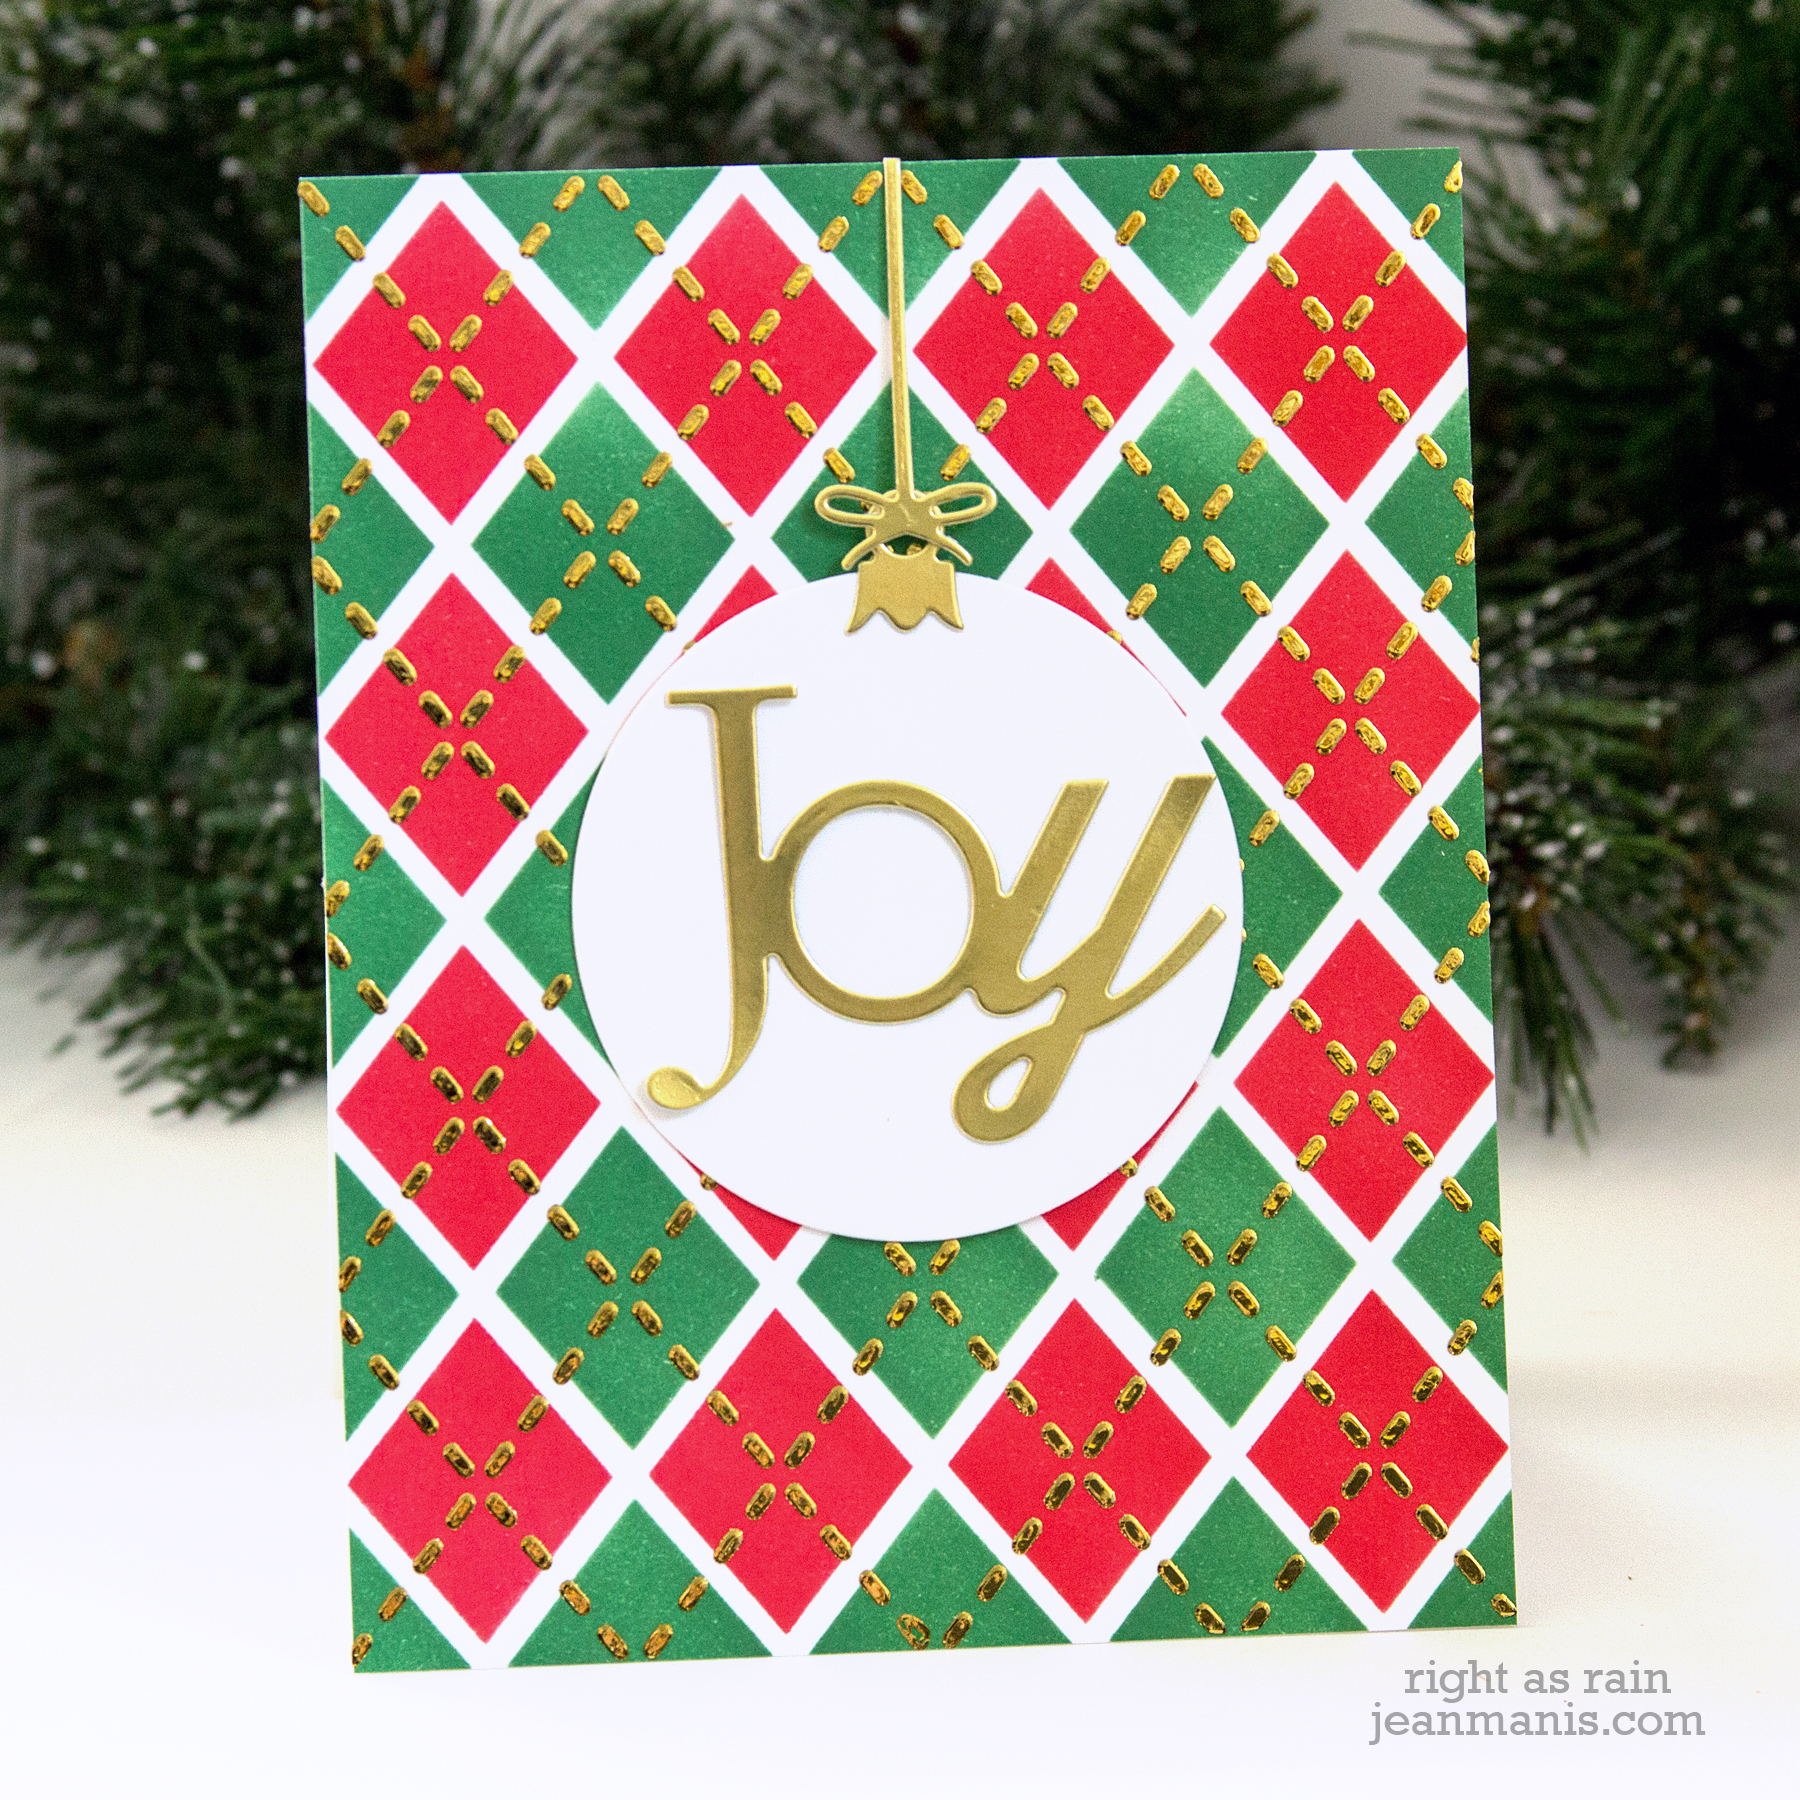
Multi-part Stencils Although I have only included one in my review (the Newton’s Nook Argyle stencil set), I own several multi-part or layering stencils. With some, there is etching on the design so that the layers can be easily aligned. In looking at the stencils currently being offered for sale, there are quite a few multi-layer stencils available.

Organization I store my stencils in clear storage pockets with the original packaging information. I currently have the stencils in bins organized by brand. I often create a reference sheet of the pattern by using black ink through the stencil on white cardstock.

Insights This post has also highlighted a need for me to swatch the various mediums. Since I do not frequently use stencils, I tend to use a medium that works for the application at hand and put it right back on the shelf. As I mentioned earlier, all too often I use white embossing paste, rather than explore more interesting options, primarily because I know the white embossing paste works.

Stencils can transform simple card backgrounds into works of art. As I conclude this exploration of stencil options, it’s clear that stencils offer a realm of creative possibilities that extend beyond the paper-based or dry embossed options discussed in previous posts. At the same time, stencils may present more challenges and considerations. Do you frequently use stencils for card backgrounds? What medium is your favorite?

Additional Resources In 2014, I wrote an article for Ellen Hutson on stencils that you can read HERE. Please note, Ellen Hutson recently closed her doors. Most of the product links in the article are no longer valid. The other resource links work.