Hello! Today, I am delving into the topic of die-cut frames, that is, frames that you create using dies. For cardmaking, frames offer a wide range of design possibilities. Available in various shapes, sizes, and designs, frames create windows that spotlight your chosen elements. Let’s explore this topic in more depth with examples; click on the card image to be taken to the original post.
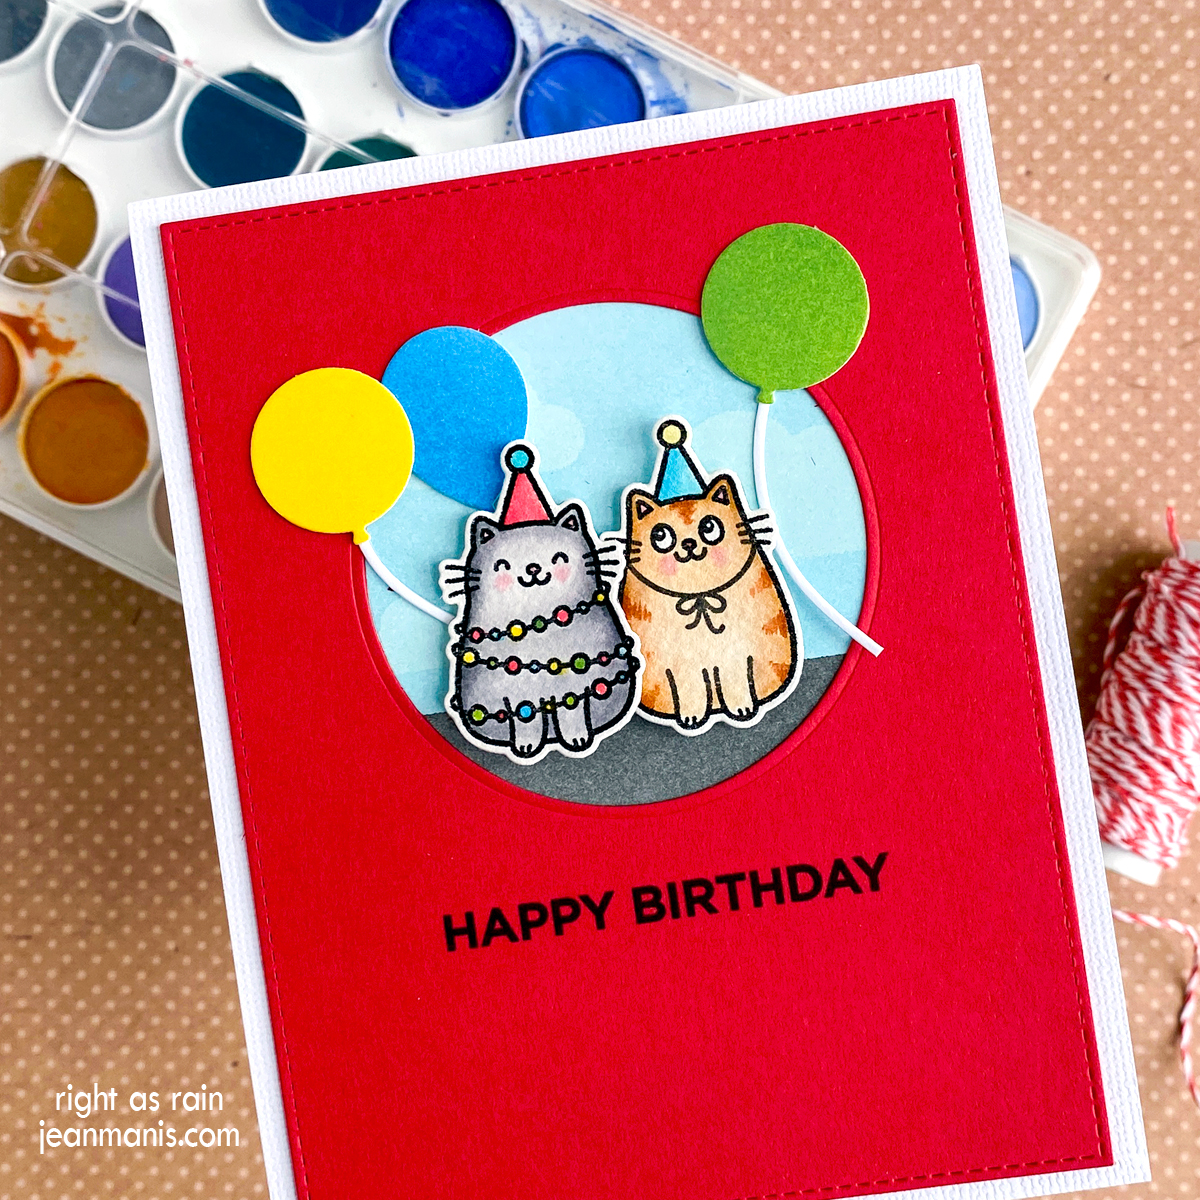
Frame dies come in many shapes, including rectangles, squares, circles, ovals, hearts, stars, and more. The variety allows you to match the frame to the theme and style of your card. Furthermore, it is easy to create frames with basic shape die sets, such as the Everlasting Circles and Squares die sets from Spellbinders. Additionally, a number of manufacturers sell dies with multiple openings for both A2-size and slimline cards.
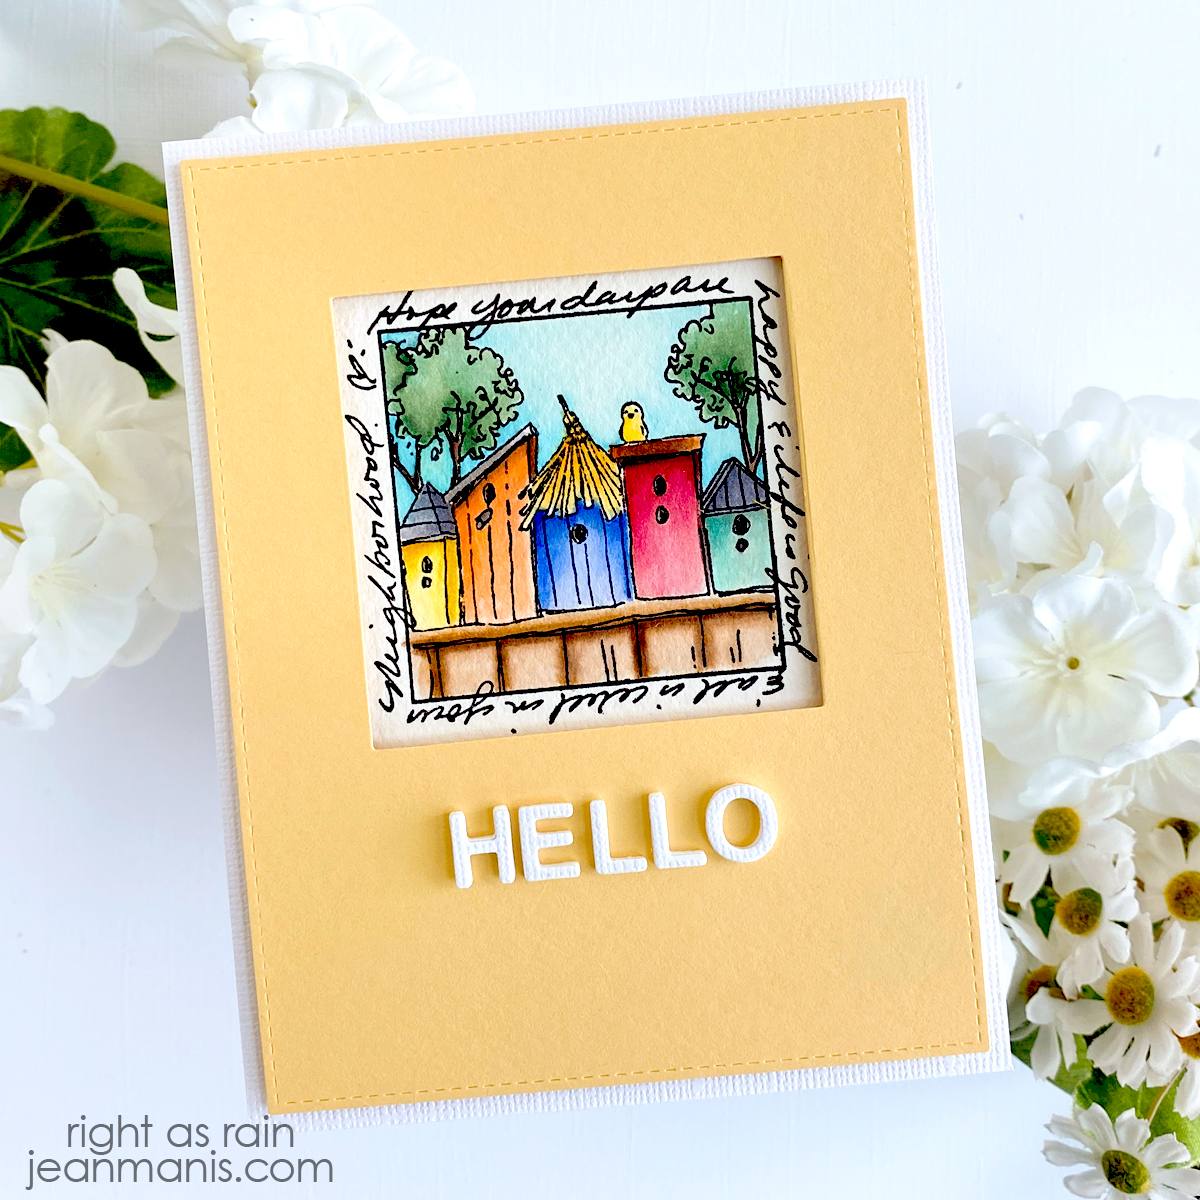
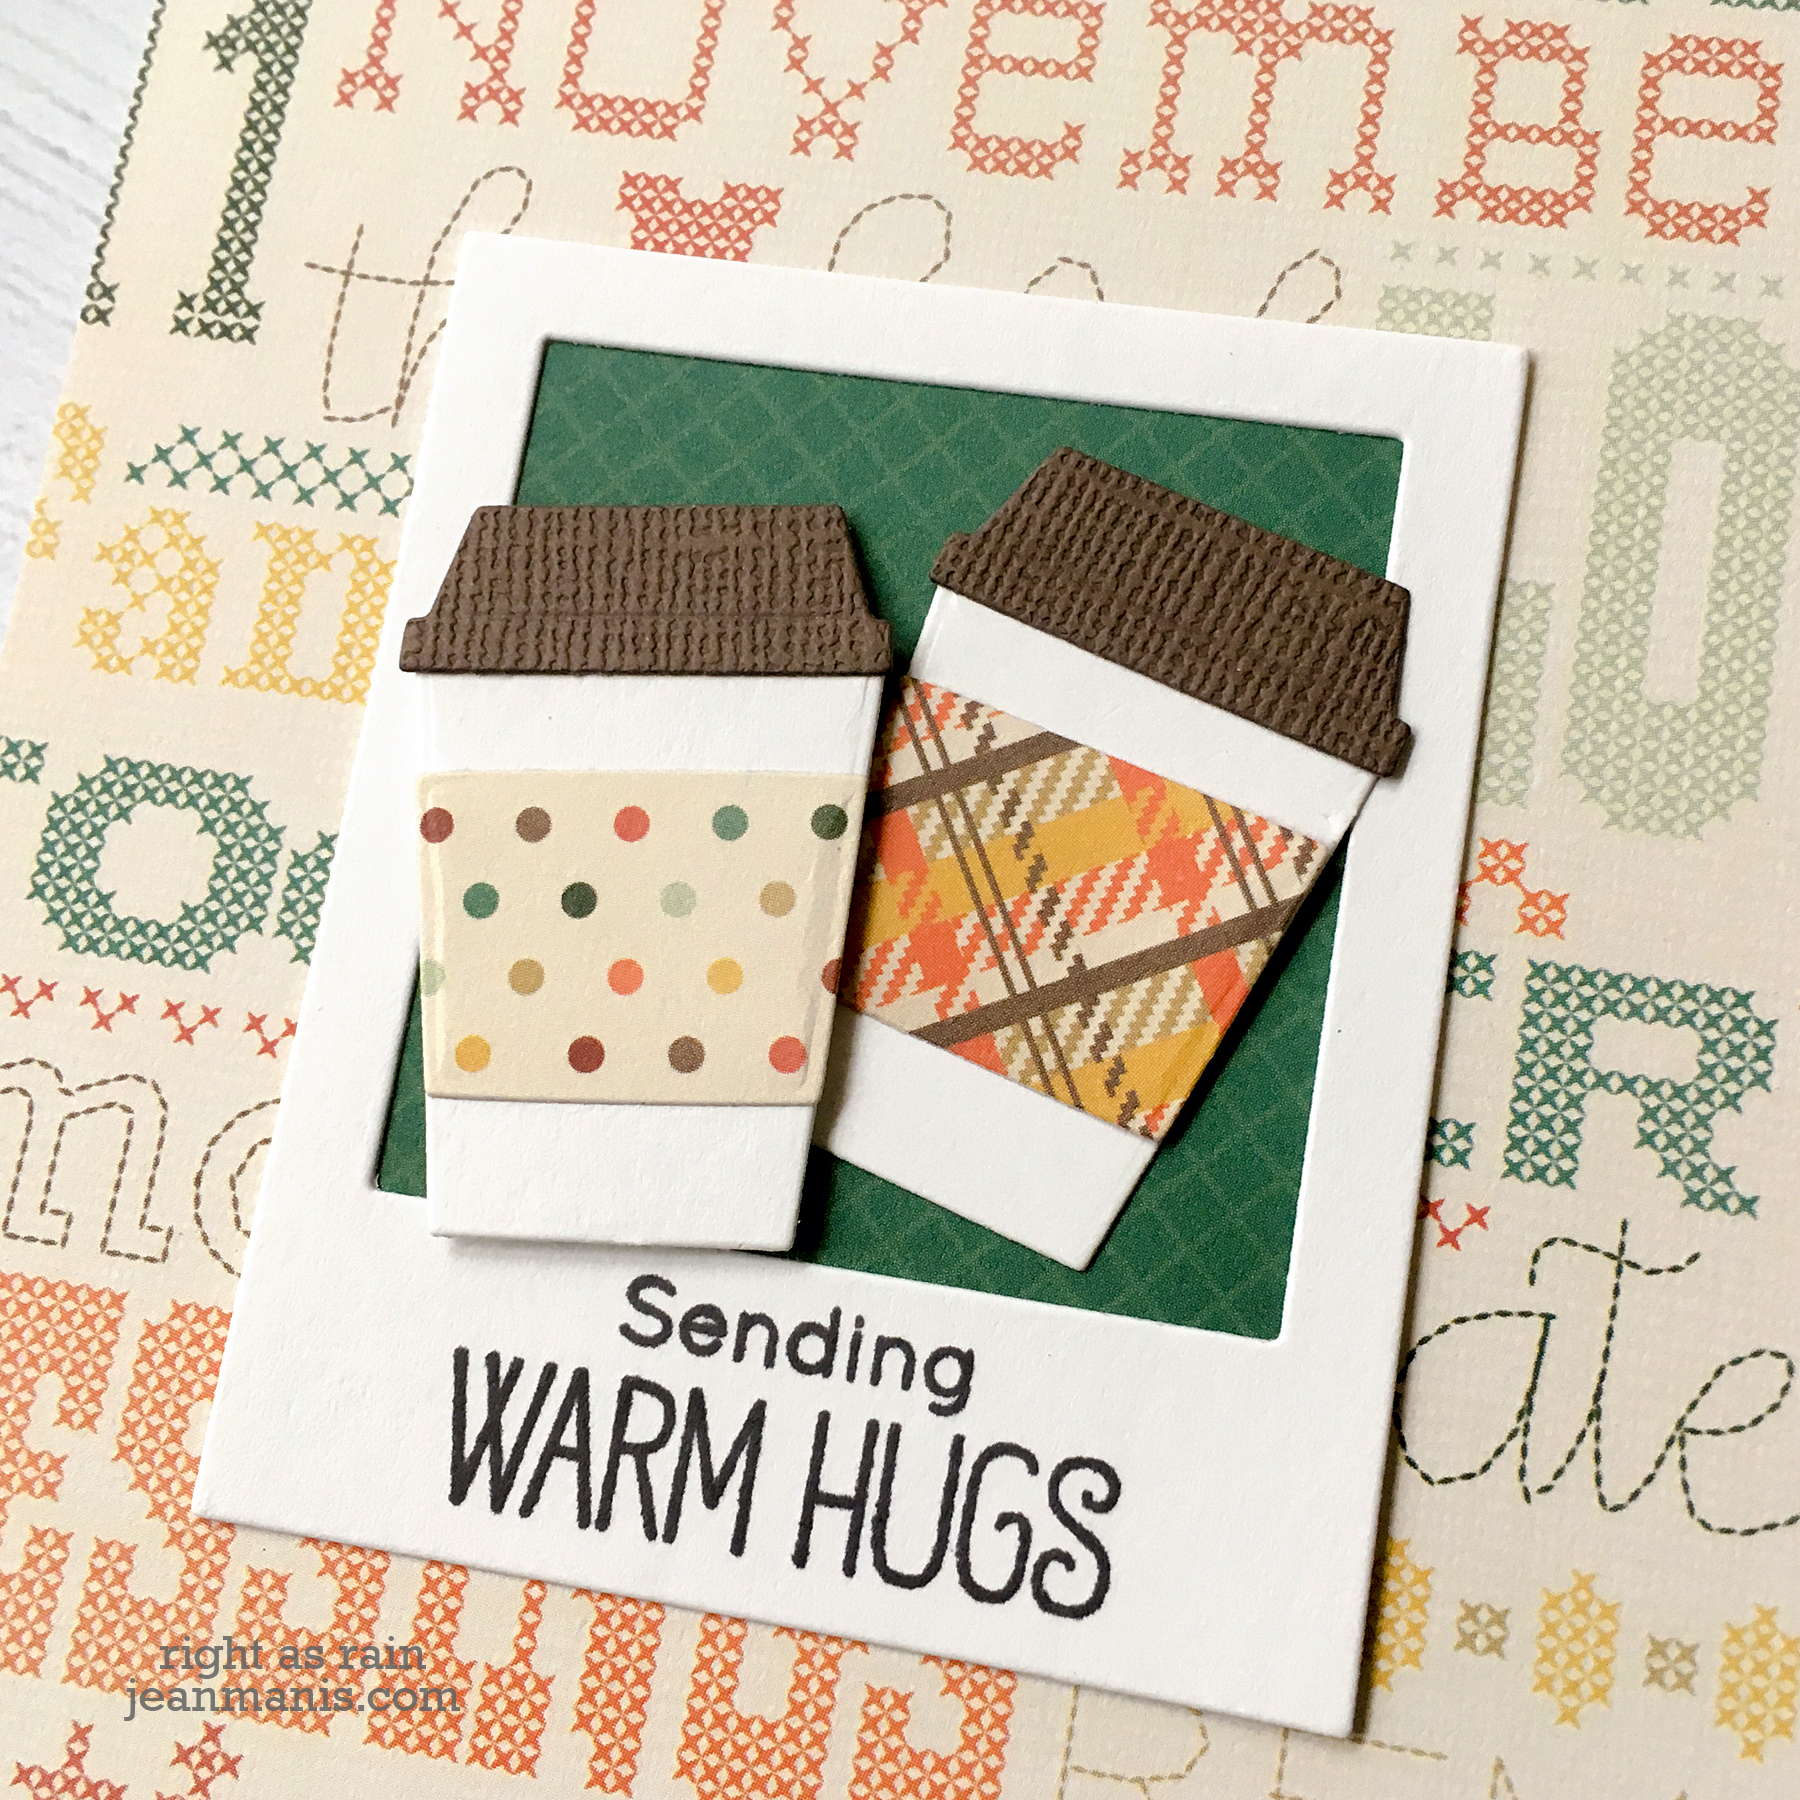
Polaroid-style frames not only showcase the focal image but also provide space to stamp a sentiment such as this one from My Favorite Things. I have similar dies from Penny Black, Paper Smooches, and Avery Elle in my collection. Lawn Fawn sells the Say Cheese, Again set, which I do not own but have on my wishlist.
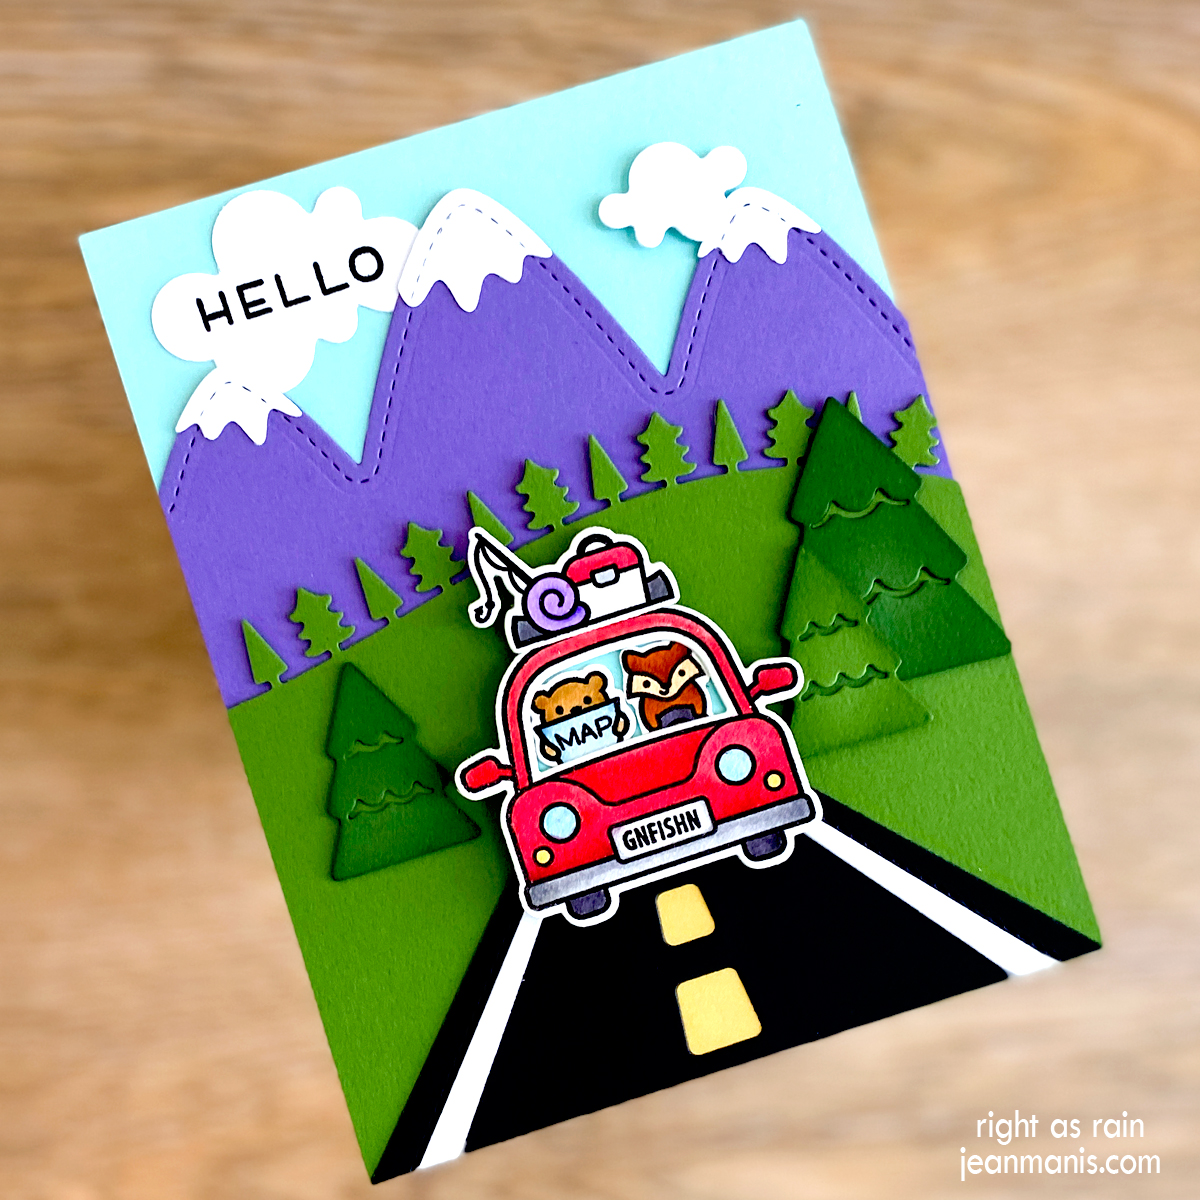
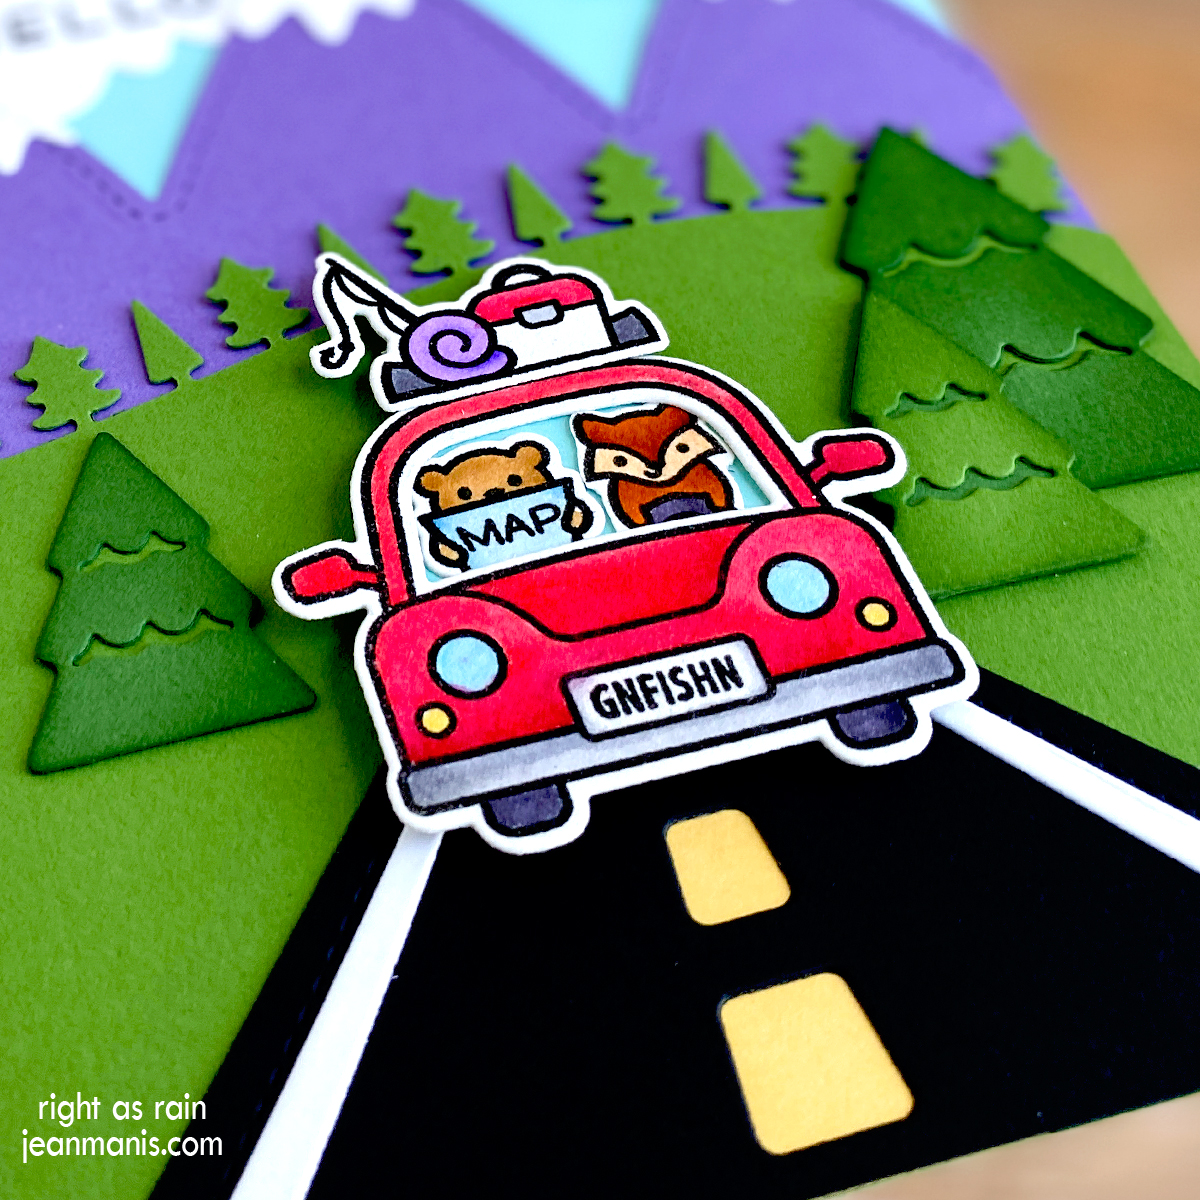
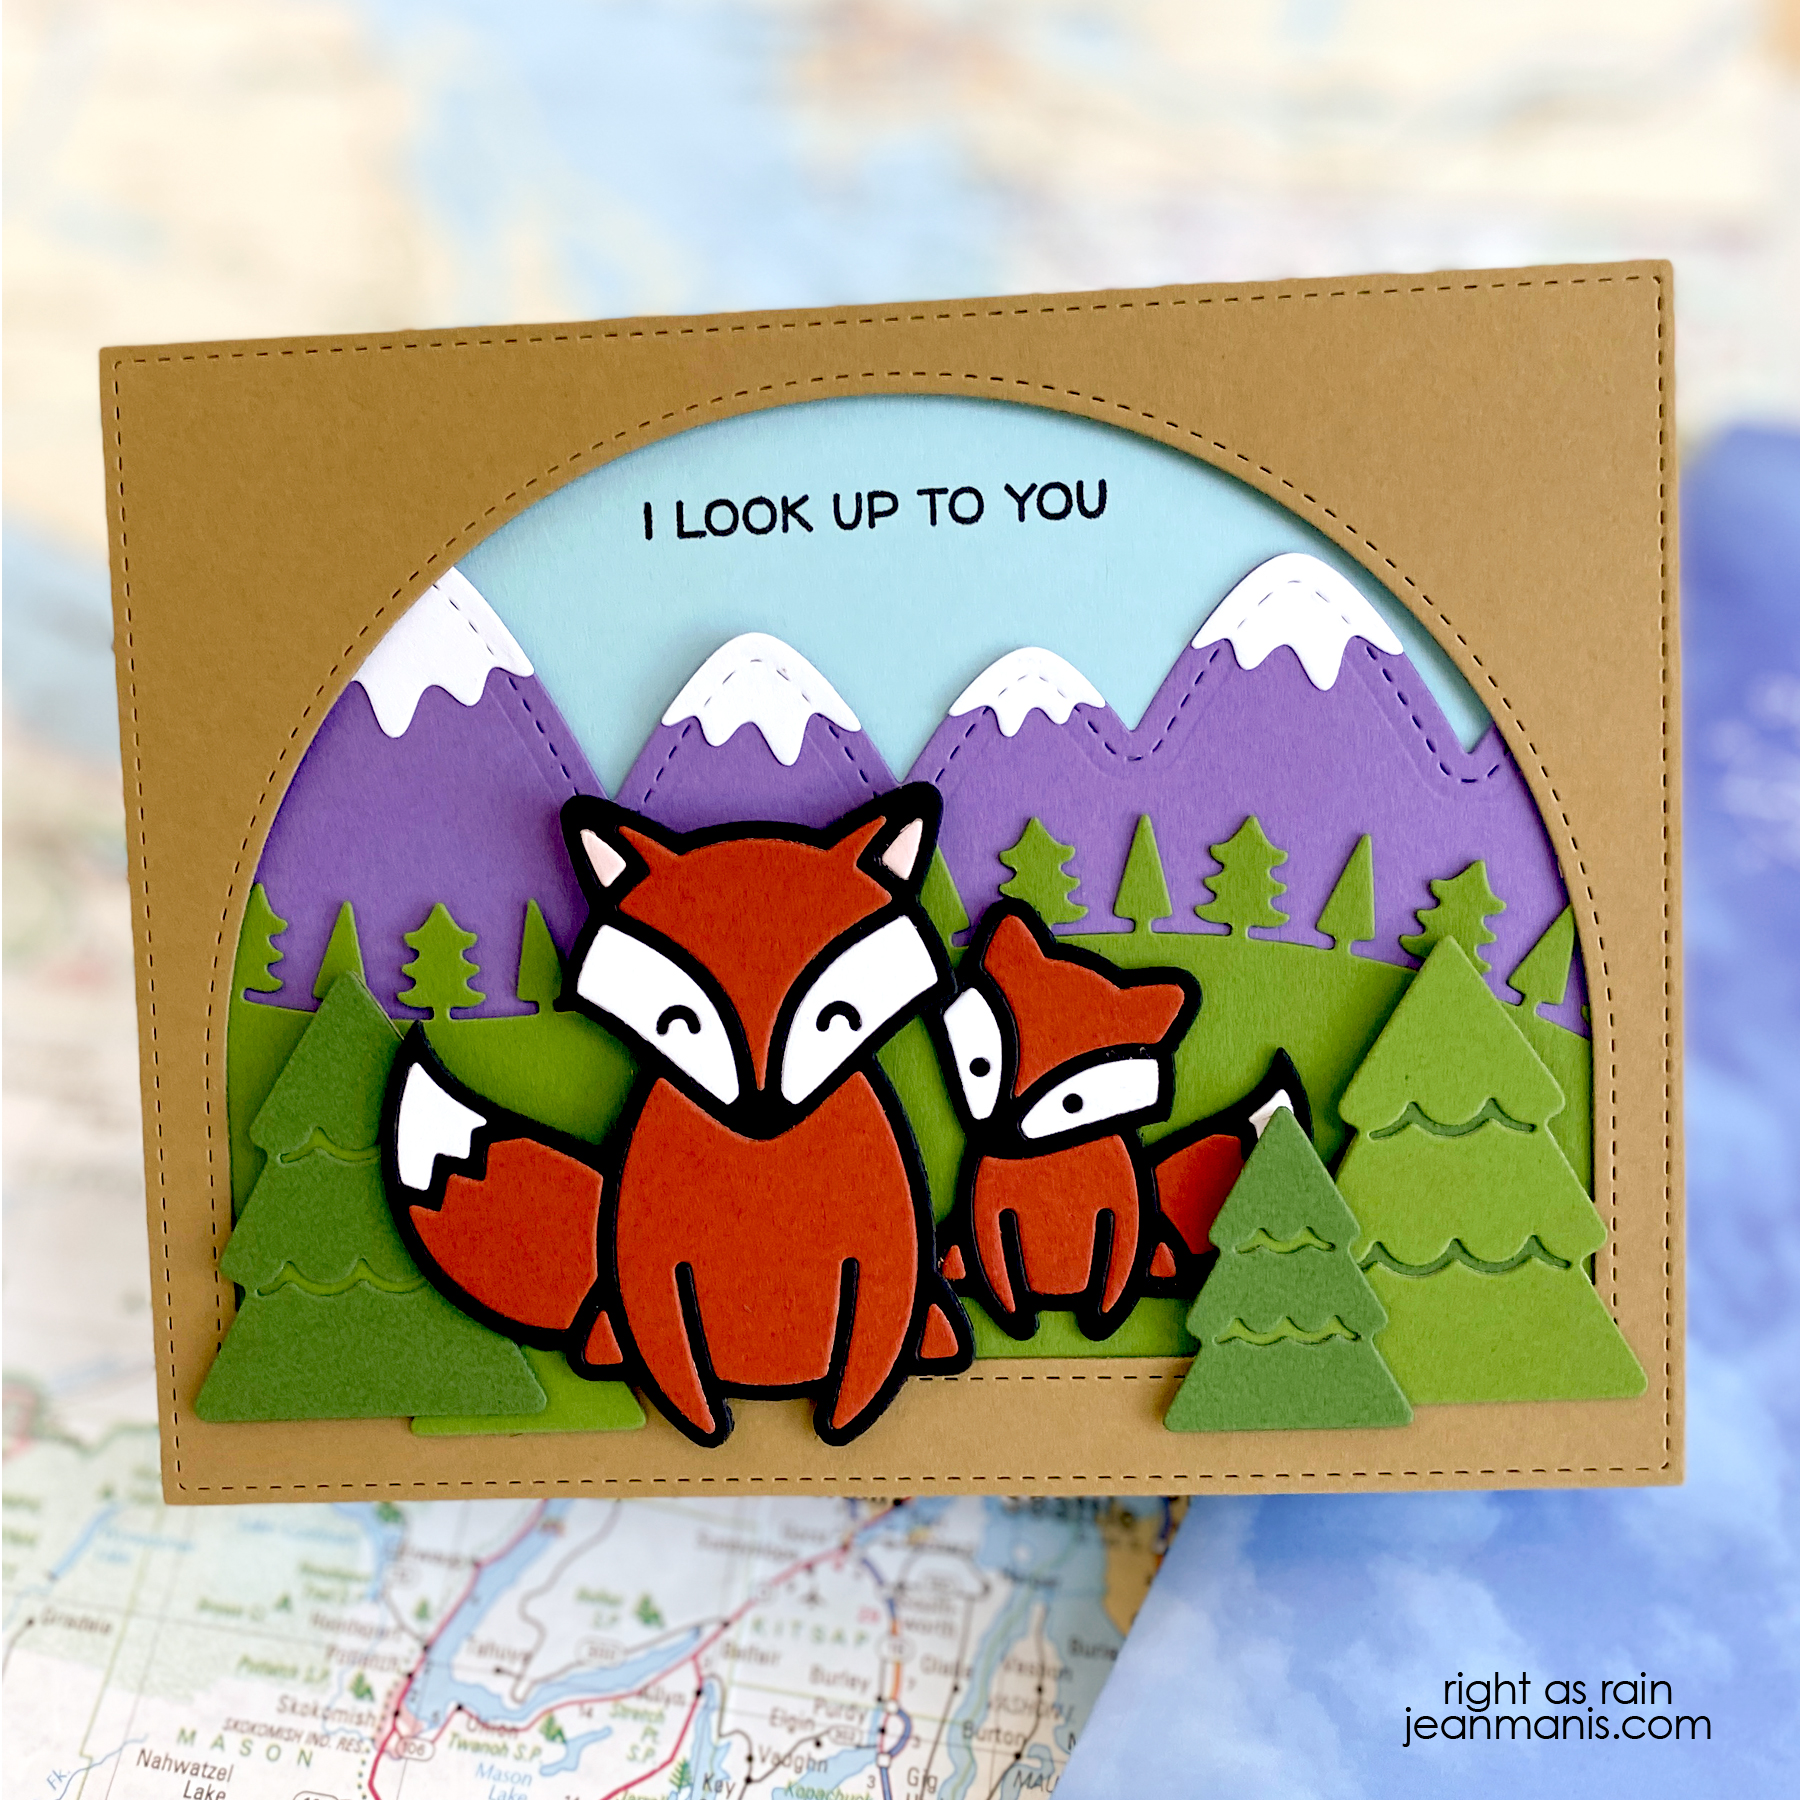
Rectangular frame dies, such as the My Favorite Things A2 Rectangles set, (the largest die measures 4 1/4 x 5 1/2 inches on the outside), make it possible to hide die-cut edges in scene cards.

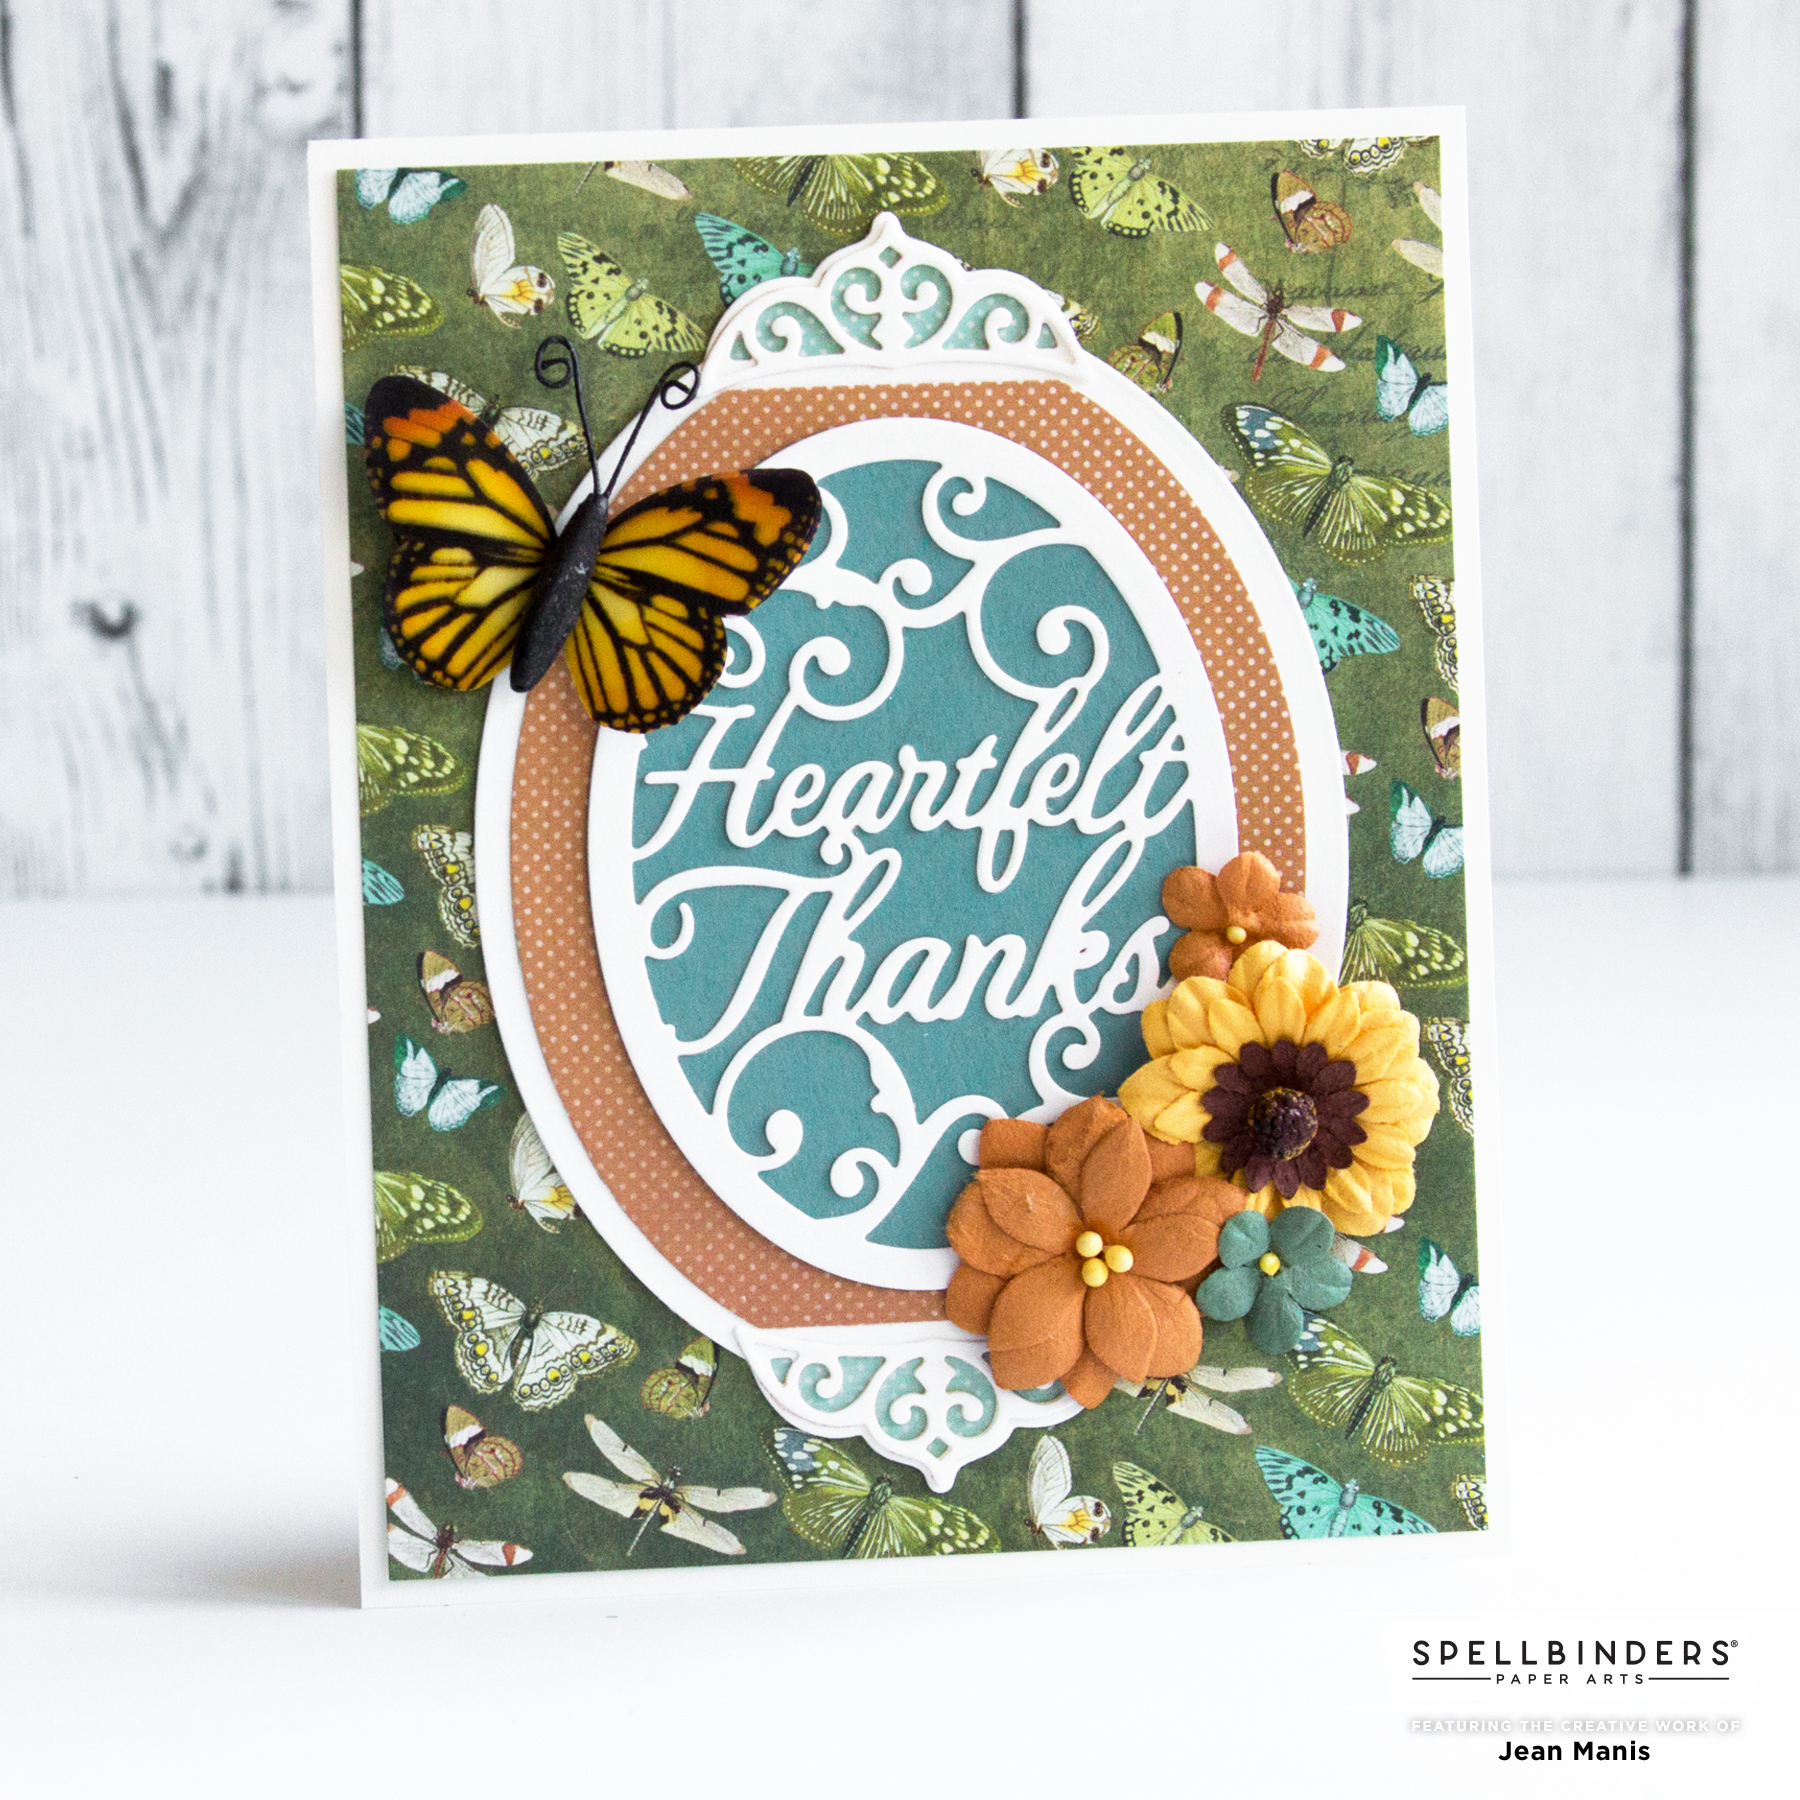
Some die-cut frames feature intricate patterns and details, adding sophistication to your cards. For example, frames can mimic lacework, filigree, or other decorative elements such as the Heartfelt Thanks die set designed by Becca Feeken for Spellbinders.
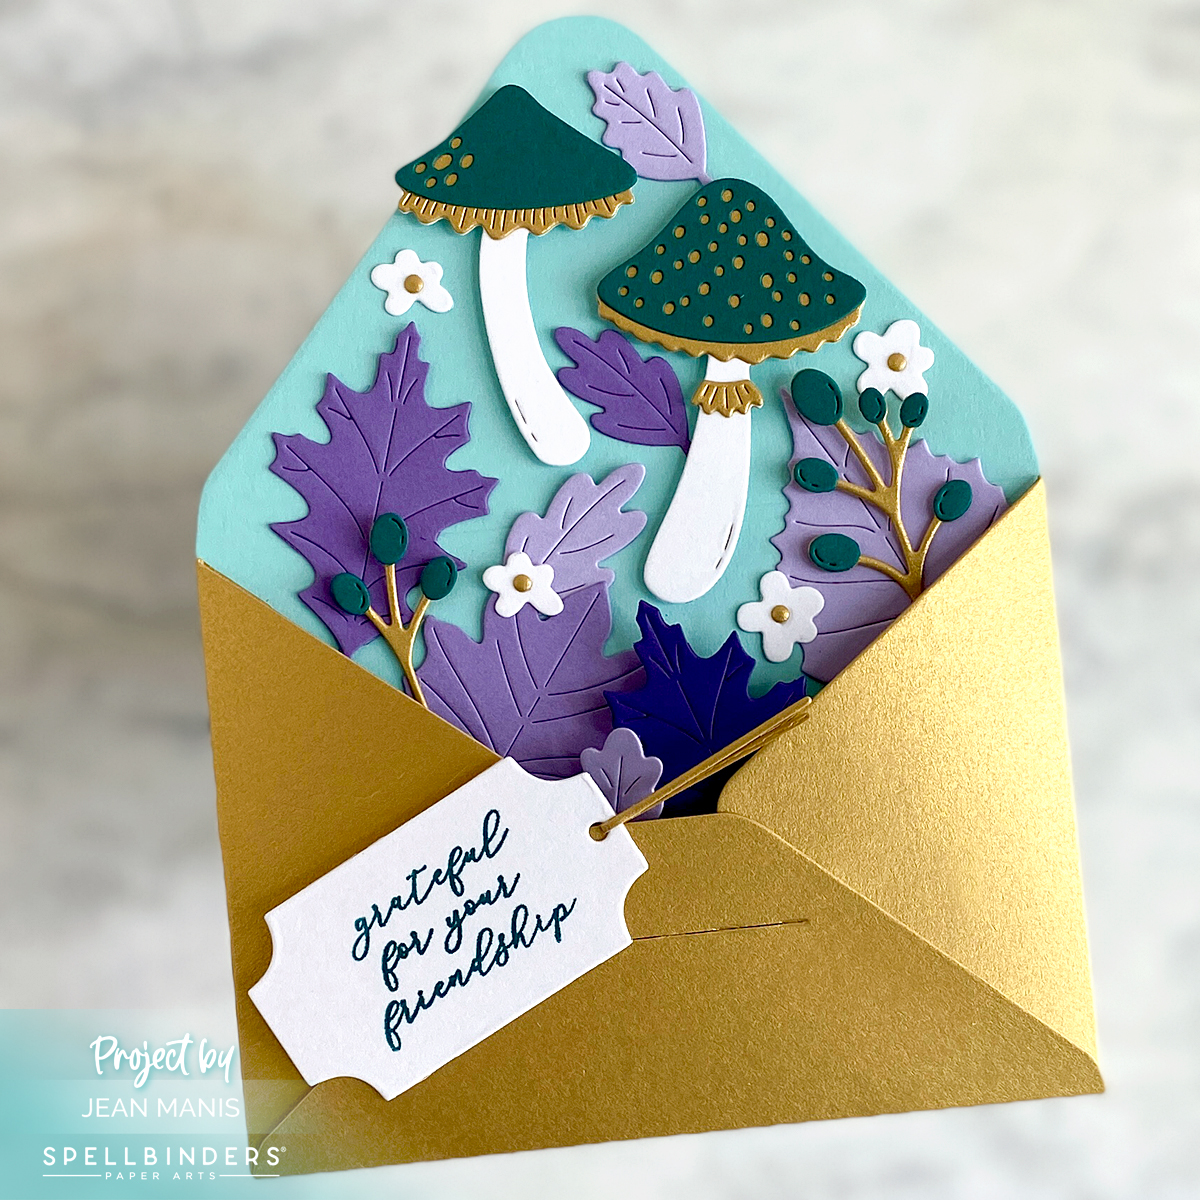
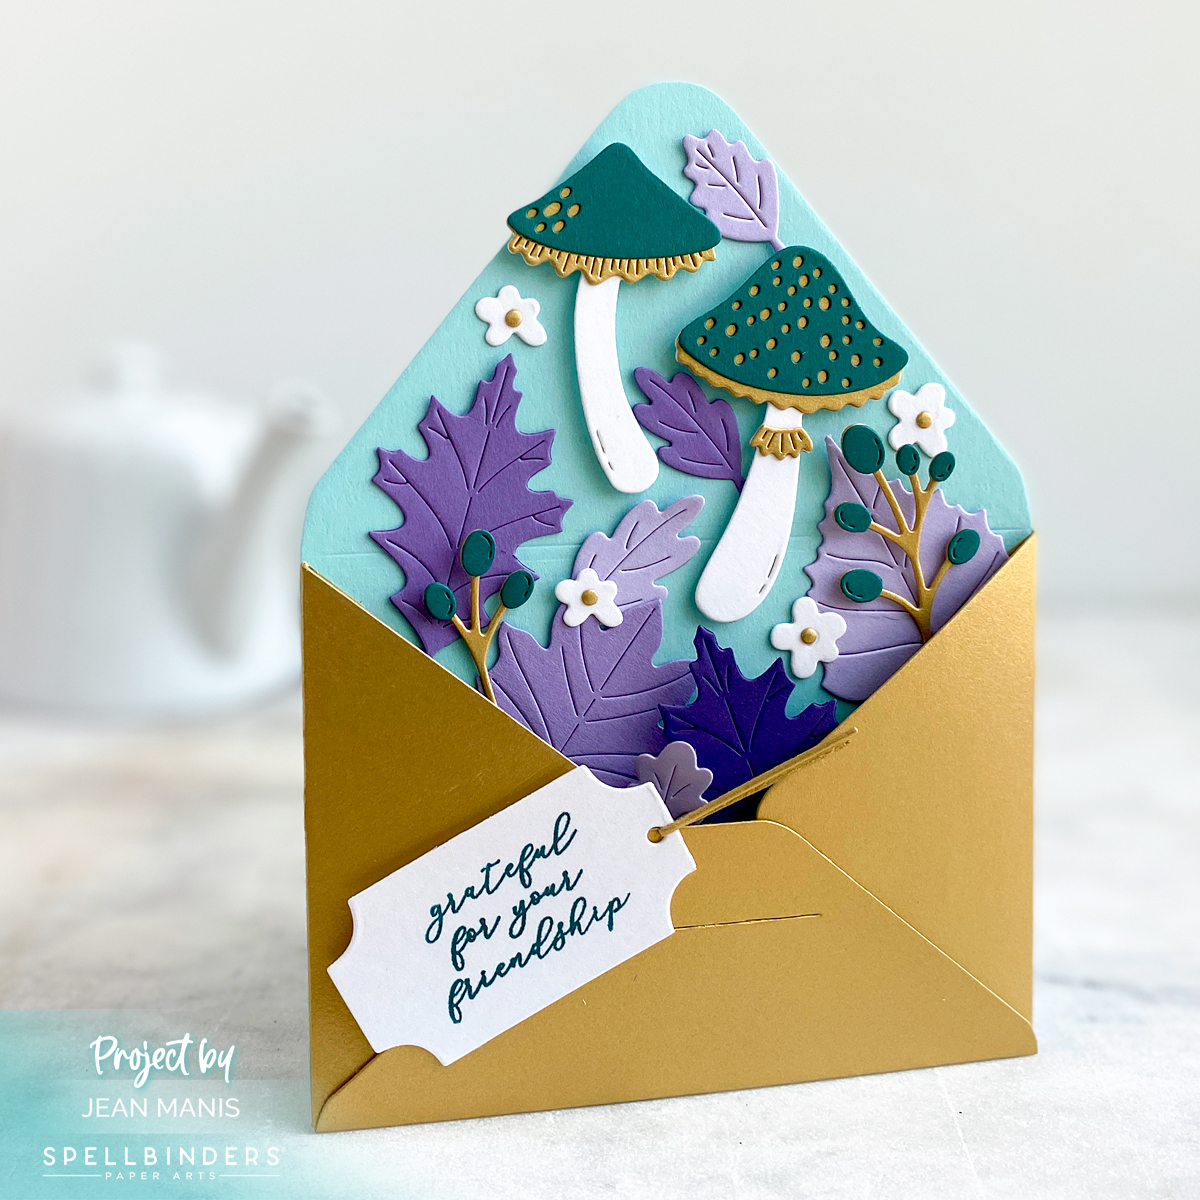
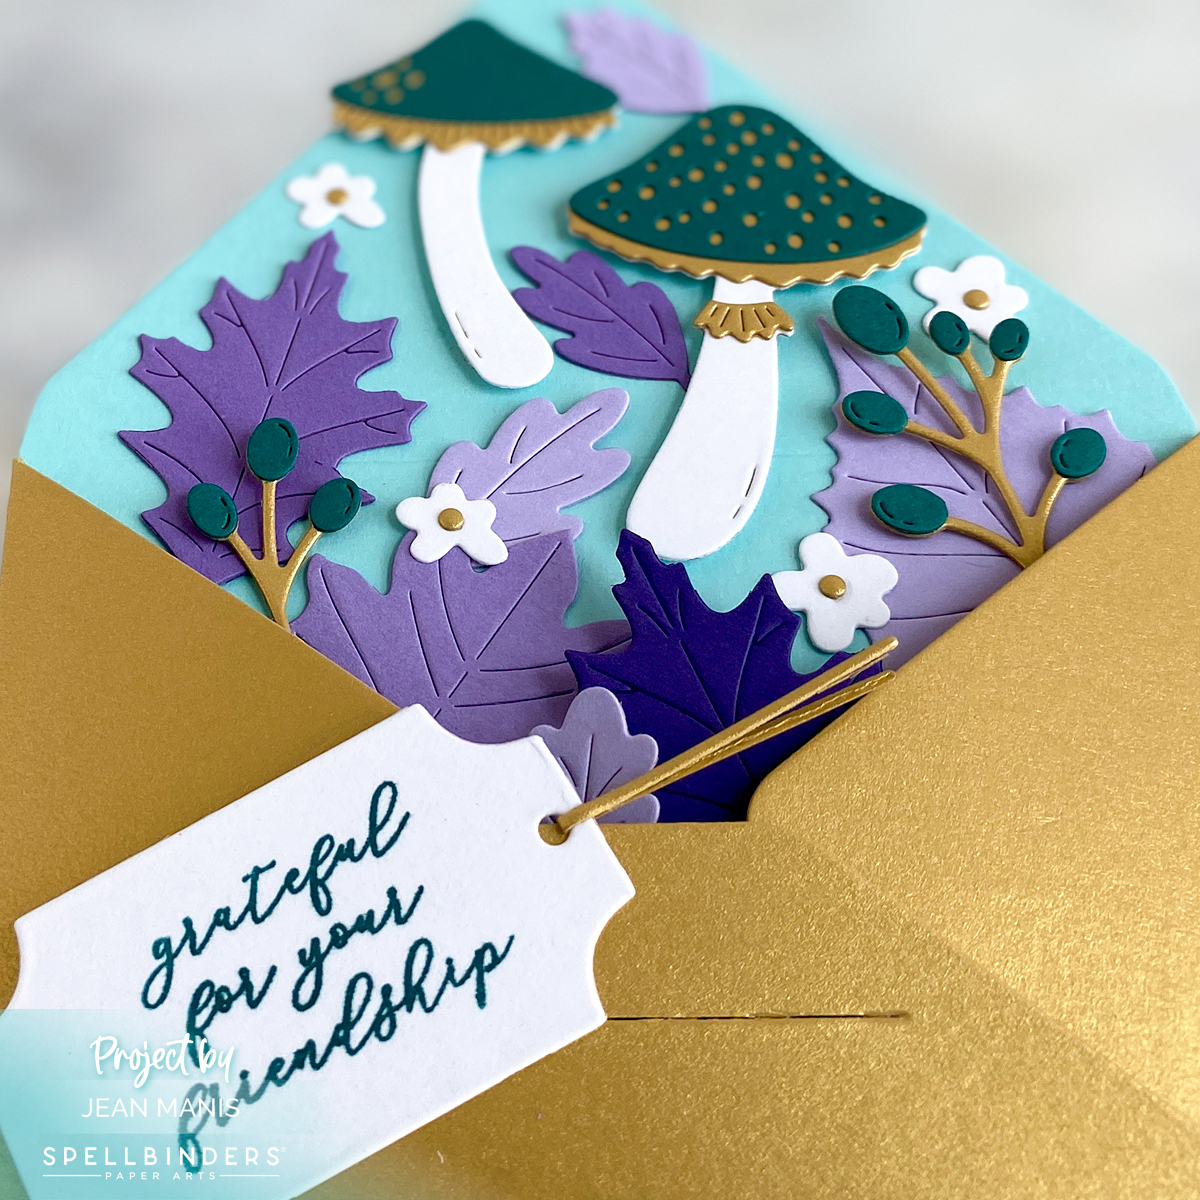
Additionally, frame die-cuts are available for different themes and seasons: you can use leafy frames for autumn-themed cards, snowflake frames for winter, and floral frames for spring. The Snow Flurries and Forest Backdrop dies from Lawn Fawn are two such examples.

Is a mat a frame? In cardmaking, both frames and mats play significant roles in the appearance and impact of your designs. However, they serve slightly different purposes and have distinct characteristics. Designed to draw attention to the focal image, sentiment, or embellishment, a frame surrounds a specific area or element on the card. On the other hand, a mat is a layer that is larger than the element it is placed behind. Mats add contrast, dimension, and visual interest to the design. (To note, mats in cardmaking are different than mats in picture framing. In picture framing, the mat serves as a component that frames and accentuates an image, providing a visual boundary between the artwork and the frame.)
Incorporating frames into your cardmaking projects adds an artistic and polished touch. I encourage you to delve into your own collection of frame dies – which are your favorites and what is on your wishlist? You might just find that reviewing your use of frames provides inspiration for future cardmaking projects!