Purr-fect Handmade Cat Cards

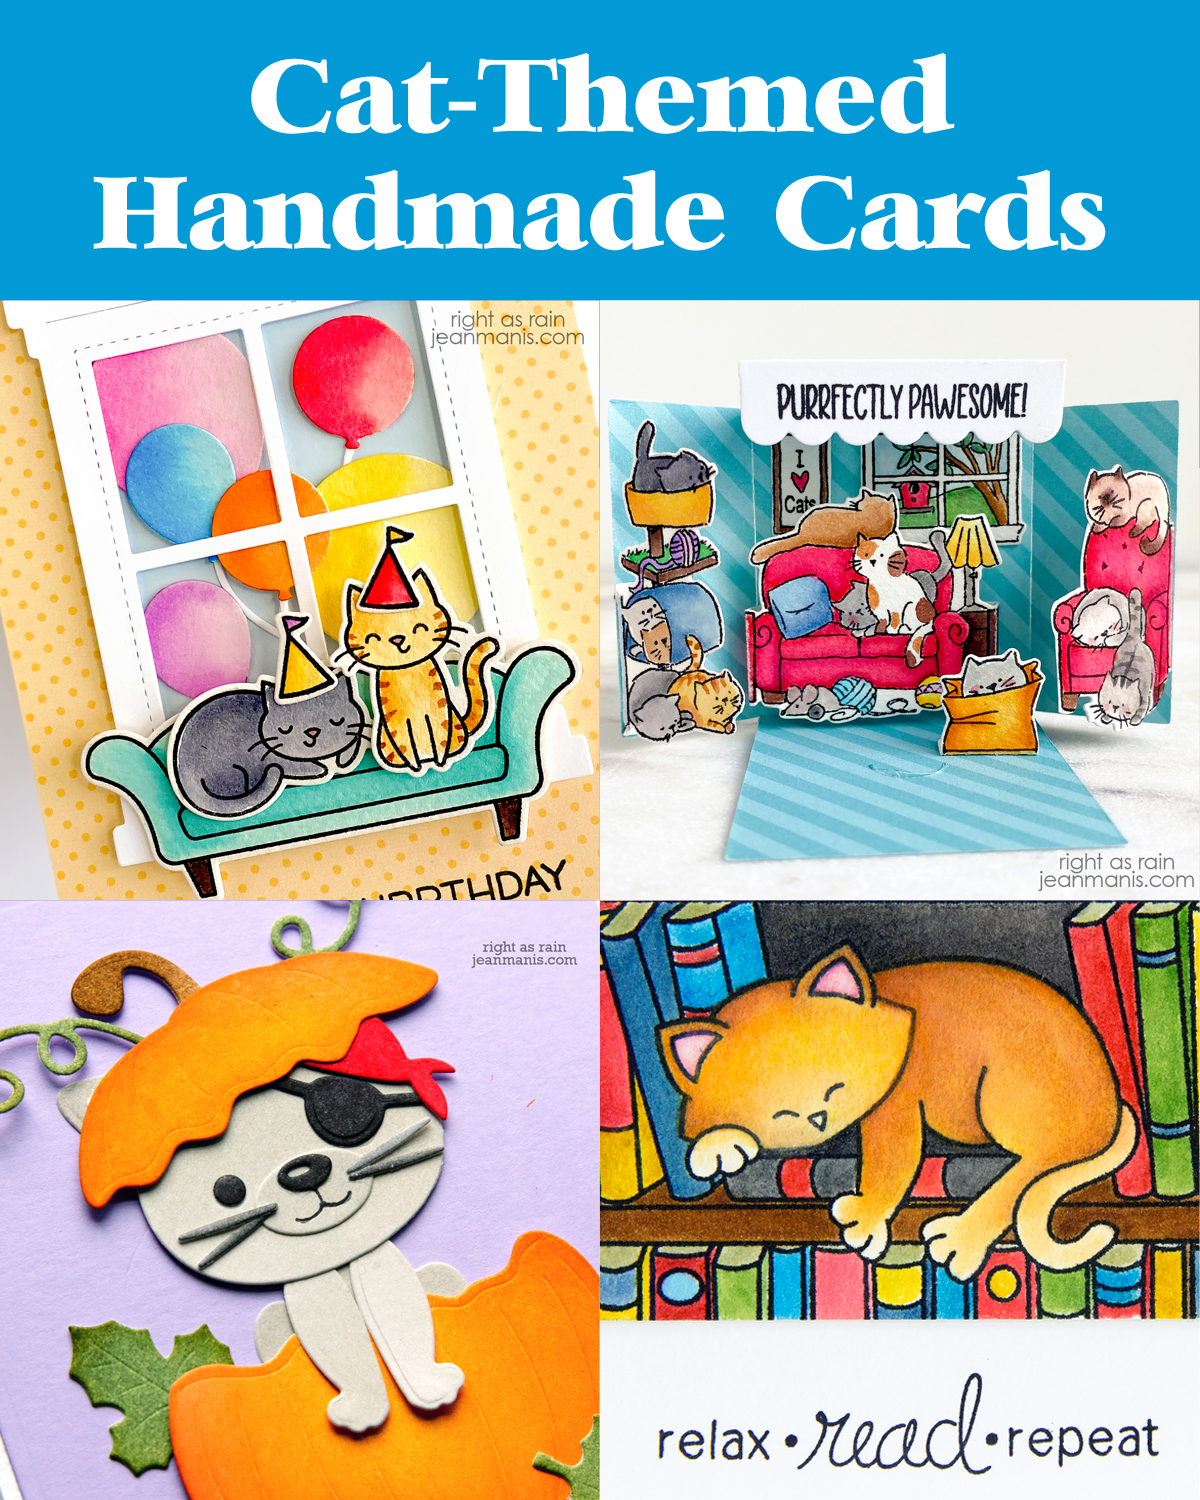
Hello! Cats have a timeless charm that makes them the purr-fect subject for handmade cards. Whether playful or cozy, feline friends bring personality and warmth to your designs. These cards make wonderful choices for occasions like birthdays, Halloween, thank-yous, or just-because moments. Join me as I share a roundup of cat-themed creations from my blog archive. Click on the card image to be taken to the original post for additional details.

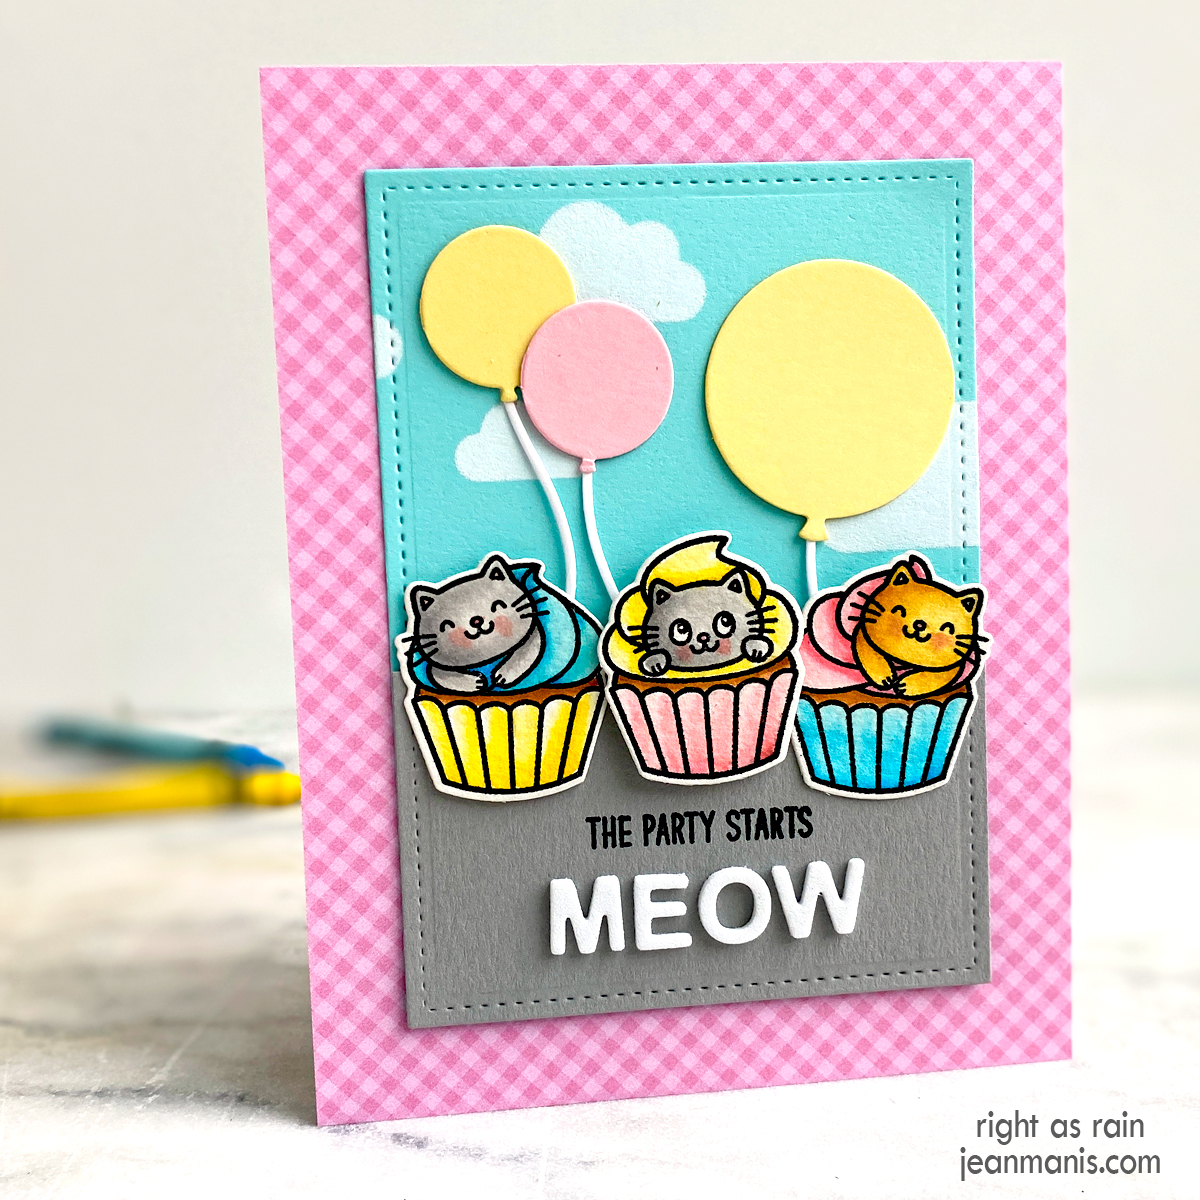
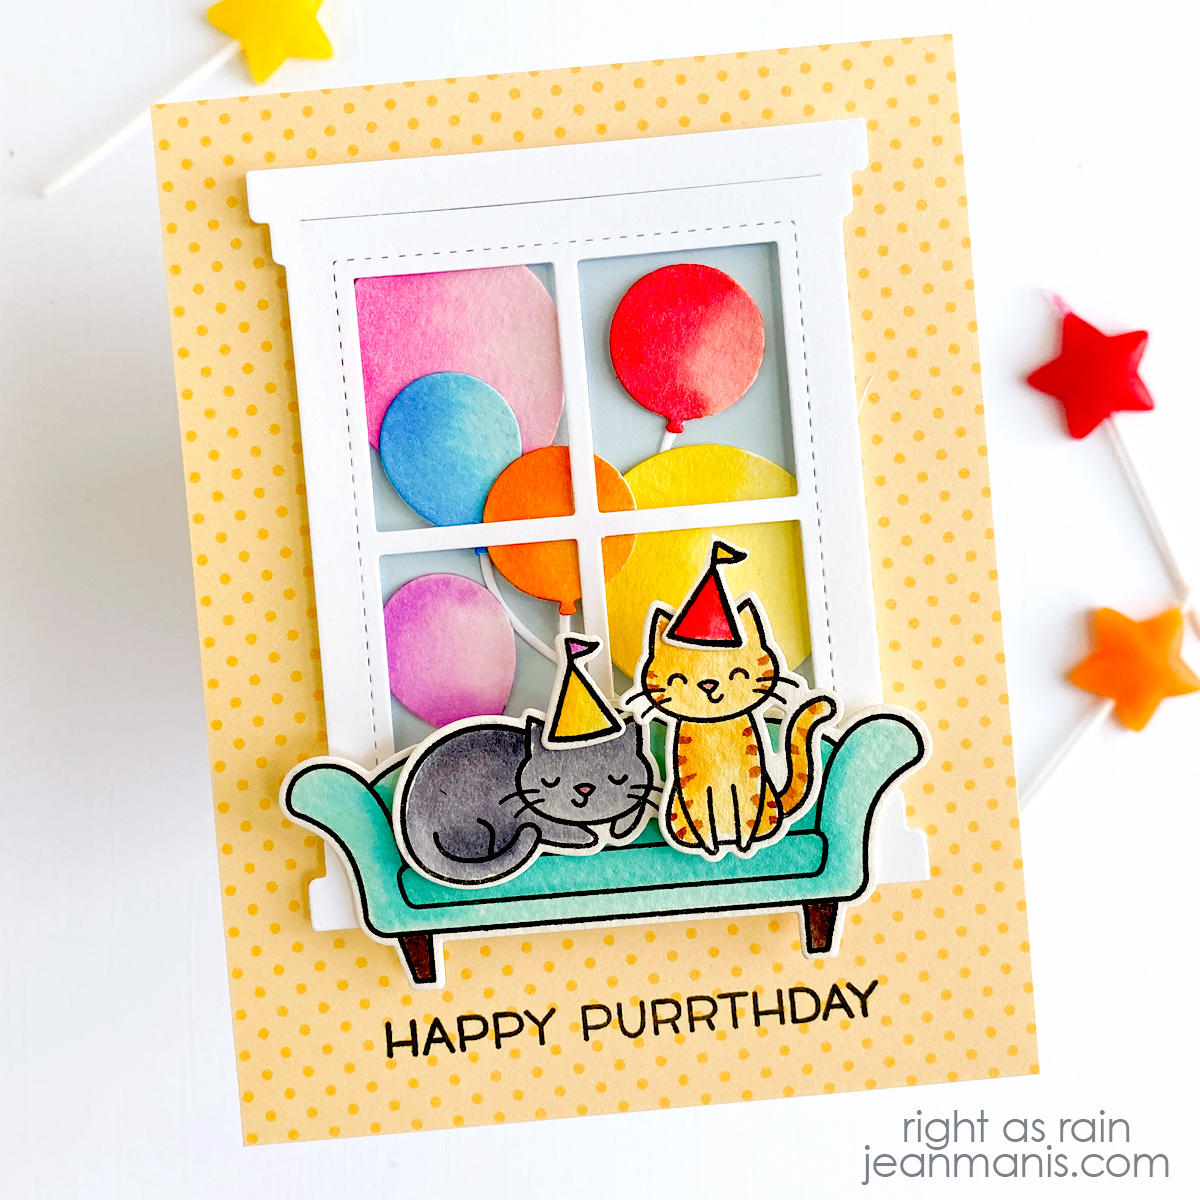
These two birthday cards feature stamped and watercolored cats, complemented by die-cut elements for a fun and whimsical celebration.

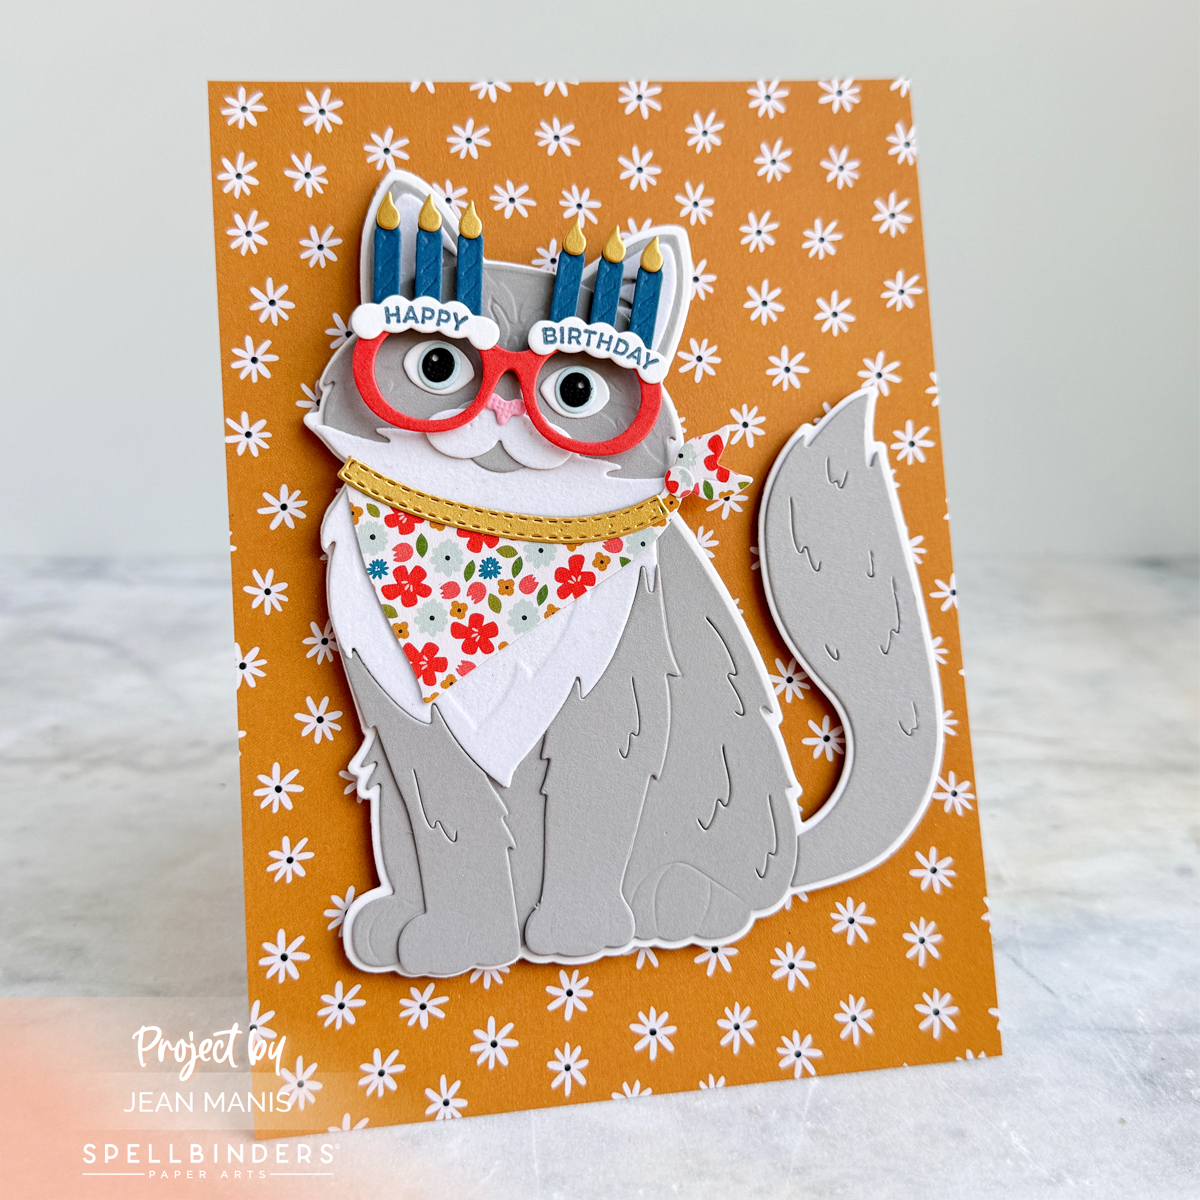
This larger birthday card showcases a die-cut cat wearing sunglasses with a “Happy Birthday” message, making it the perfect statement piece for any cat lover.

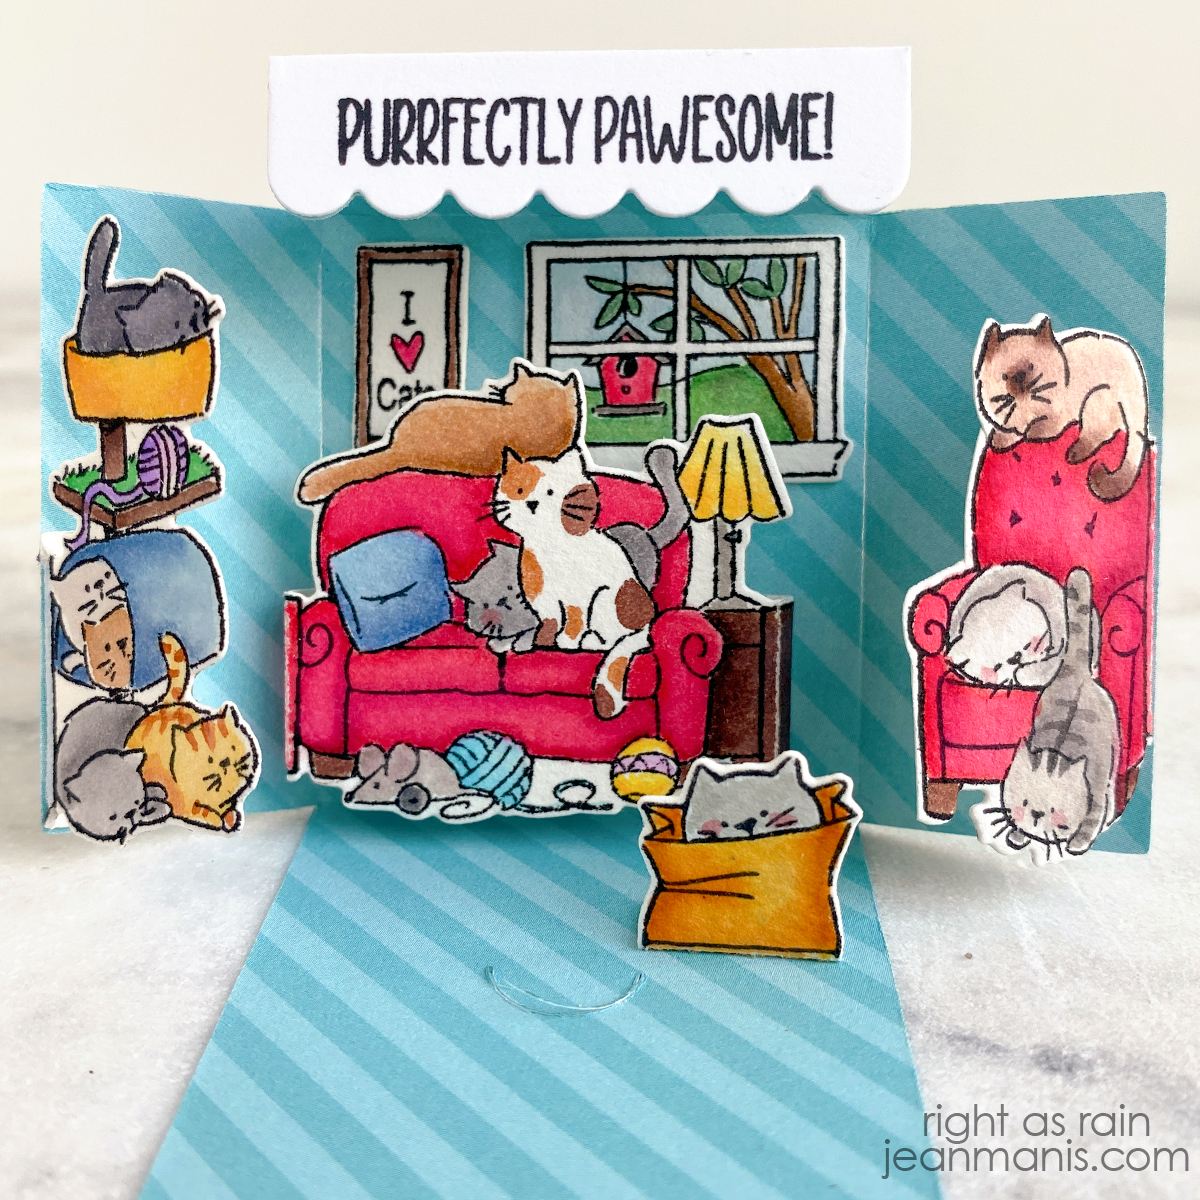
This “just because” card features a delightful small watercolored scene of cats, created with the Art Impressions Matchbox series.

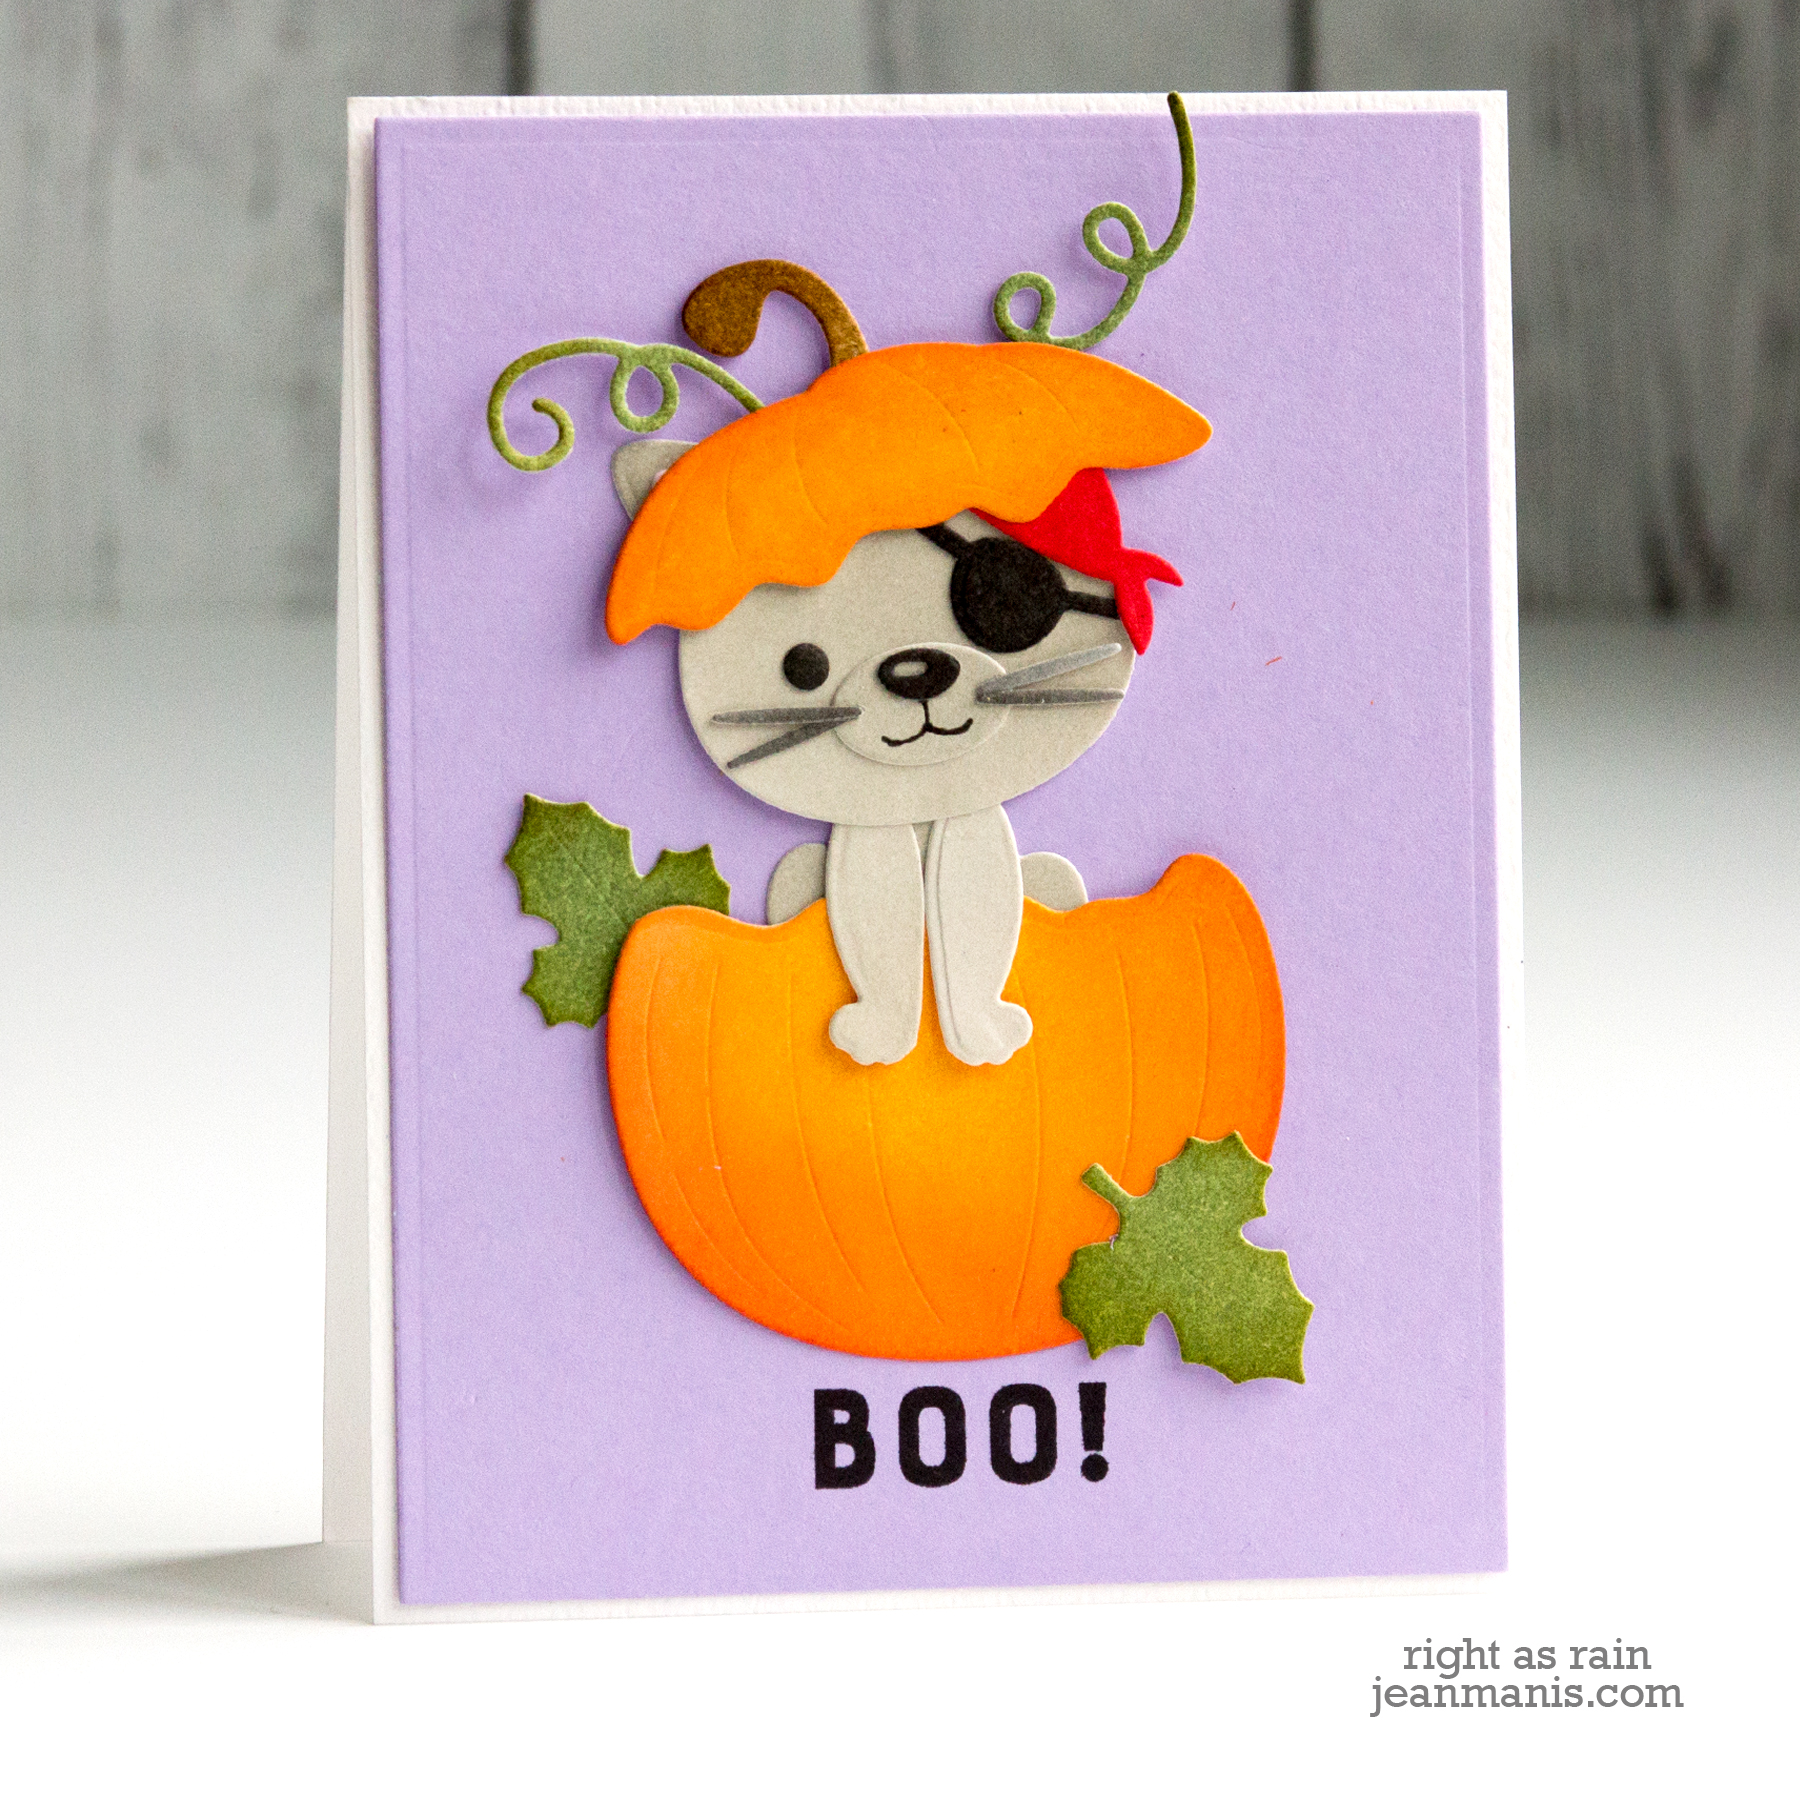
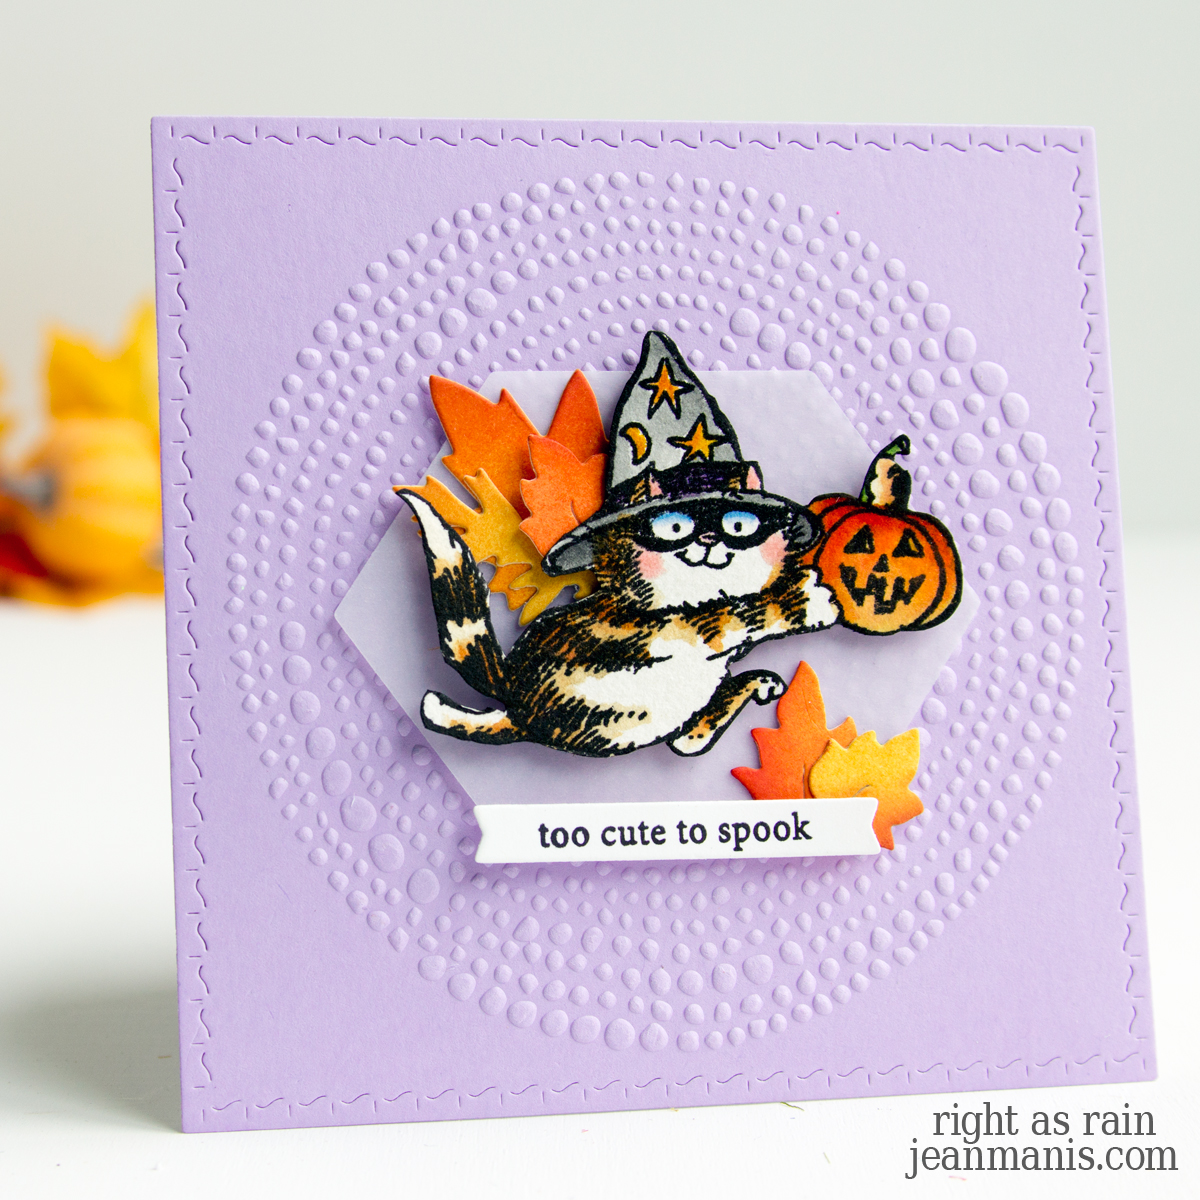
These Halloween cards feature cats in their spooky best—one with die-cut elements to create a playful cat and pumpkin scene, and the other showcasing a watercolored cat ready for the season.

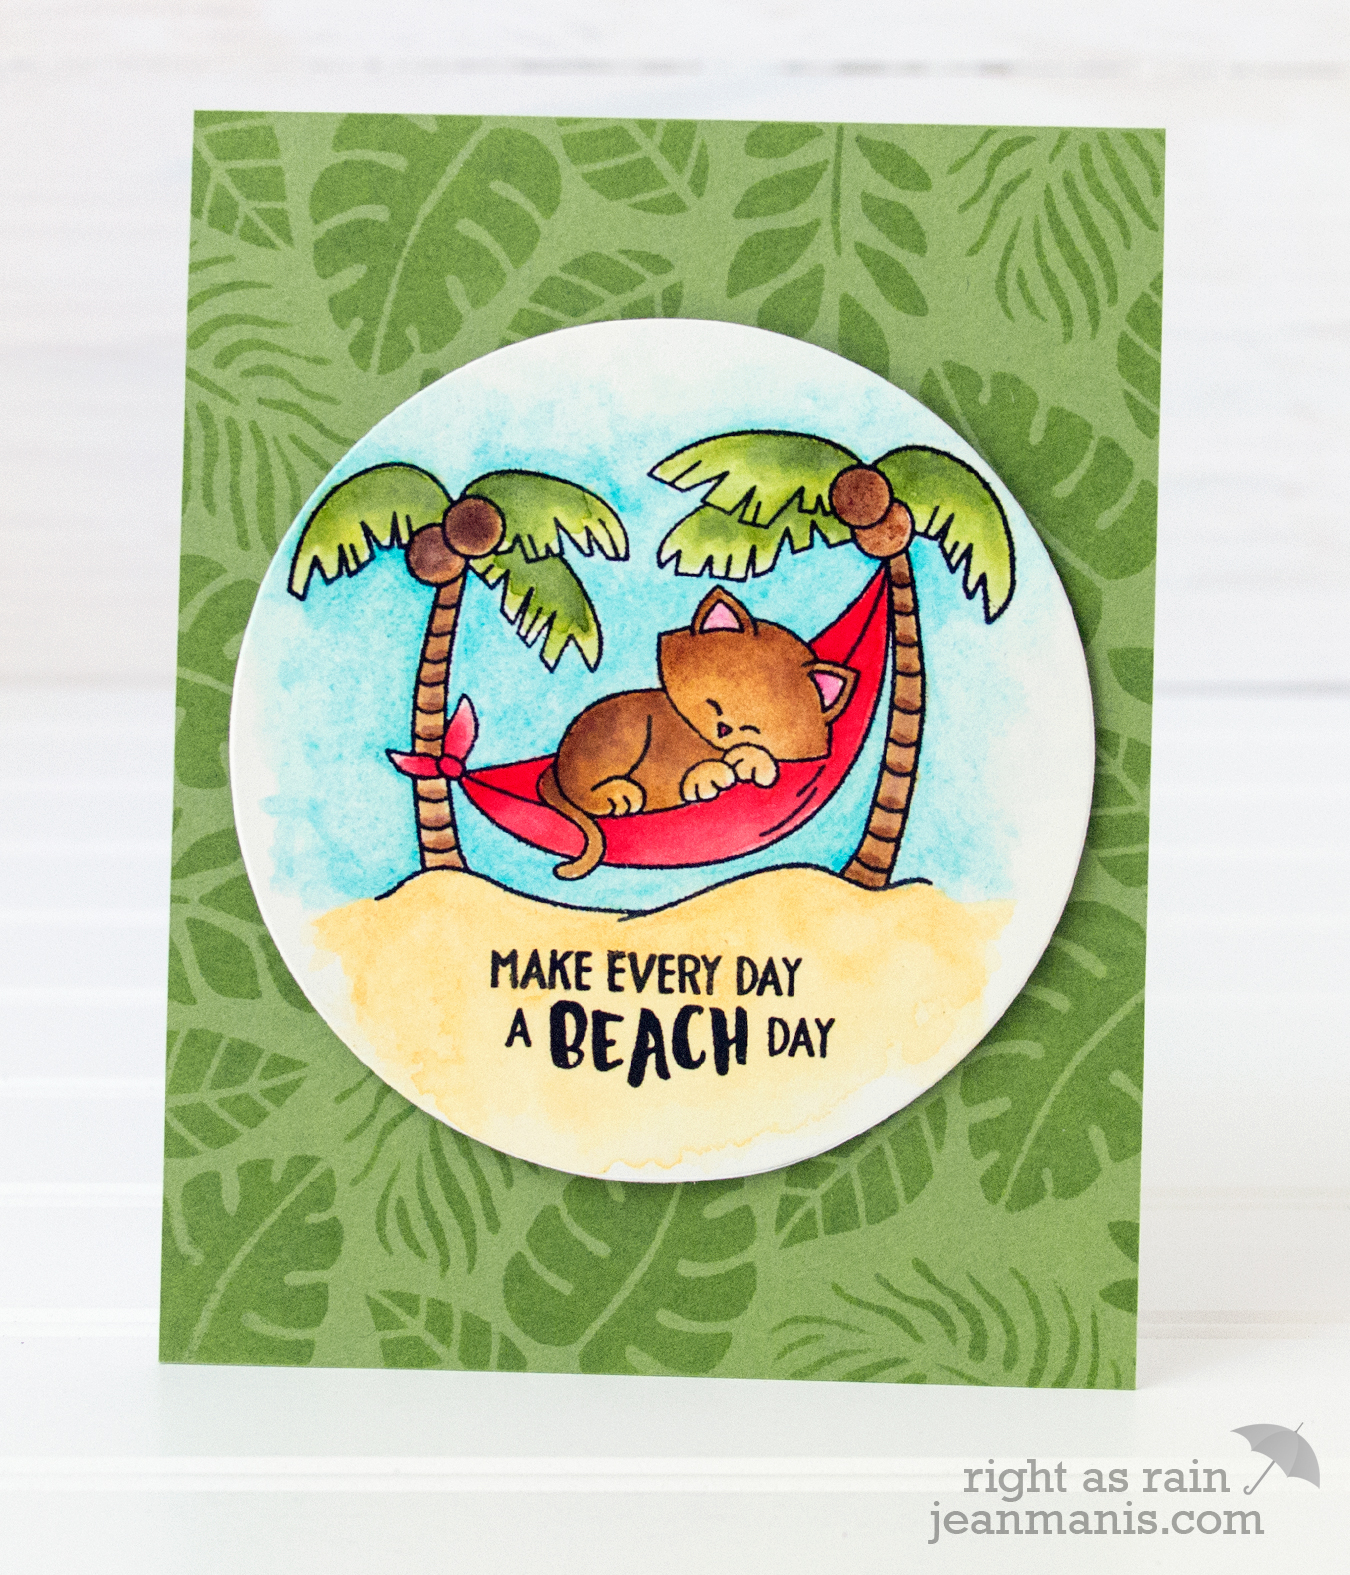
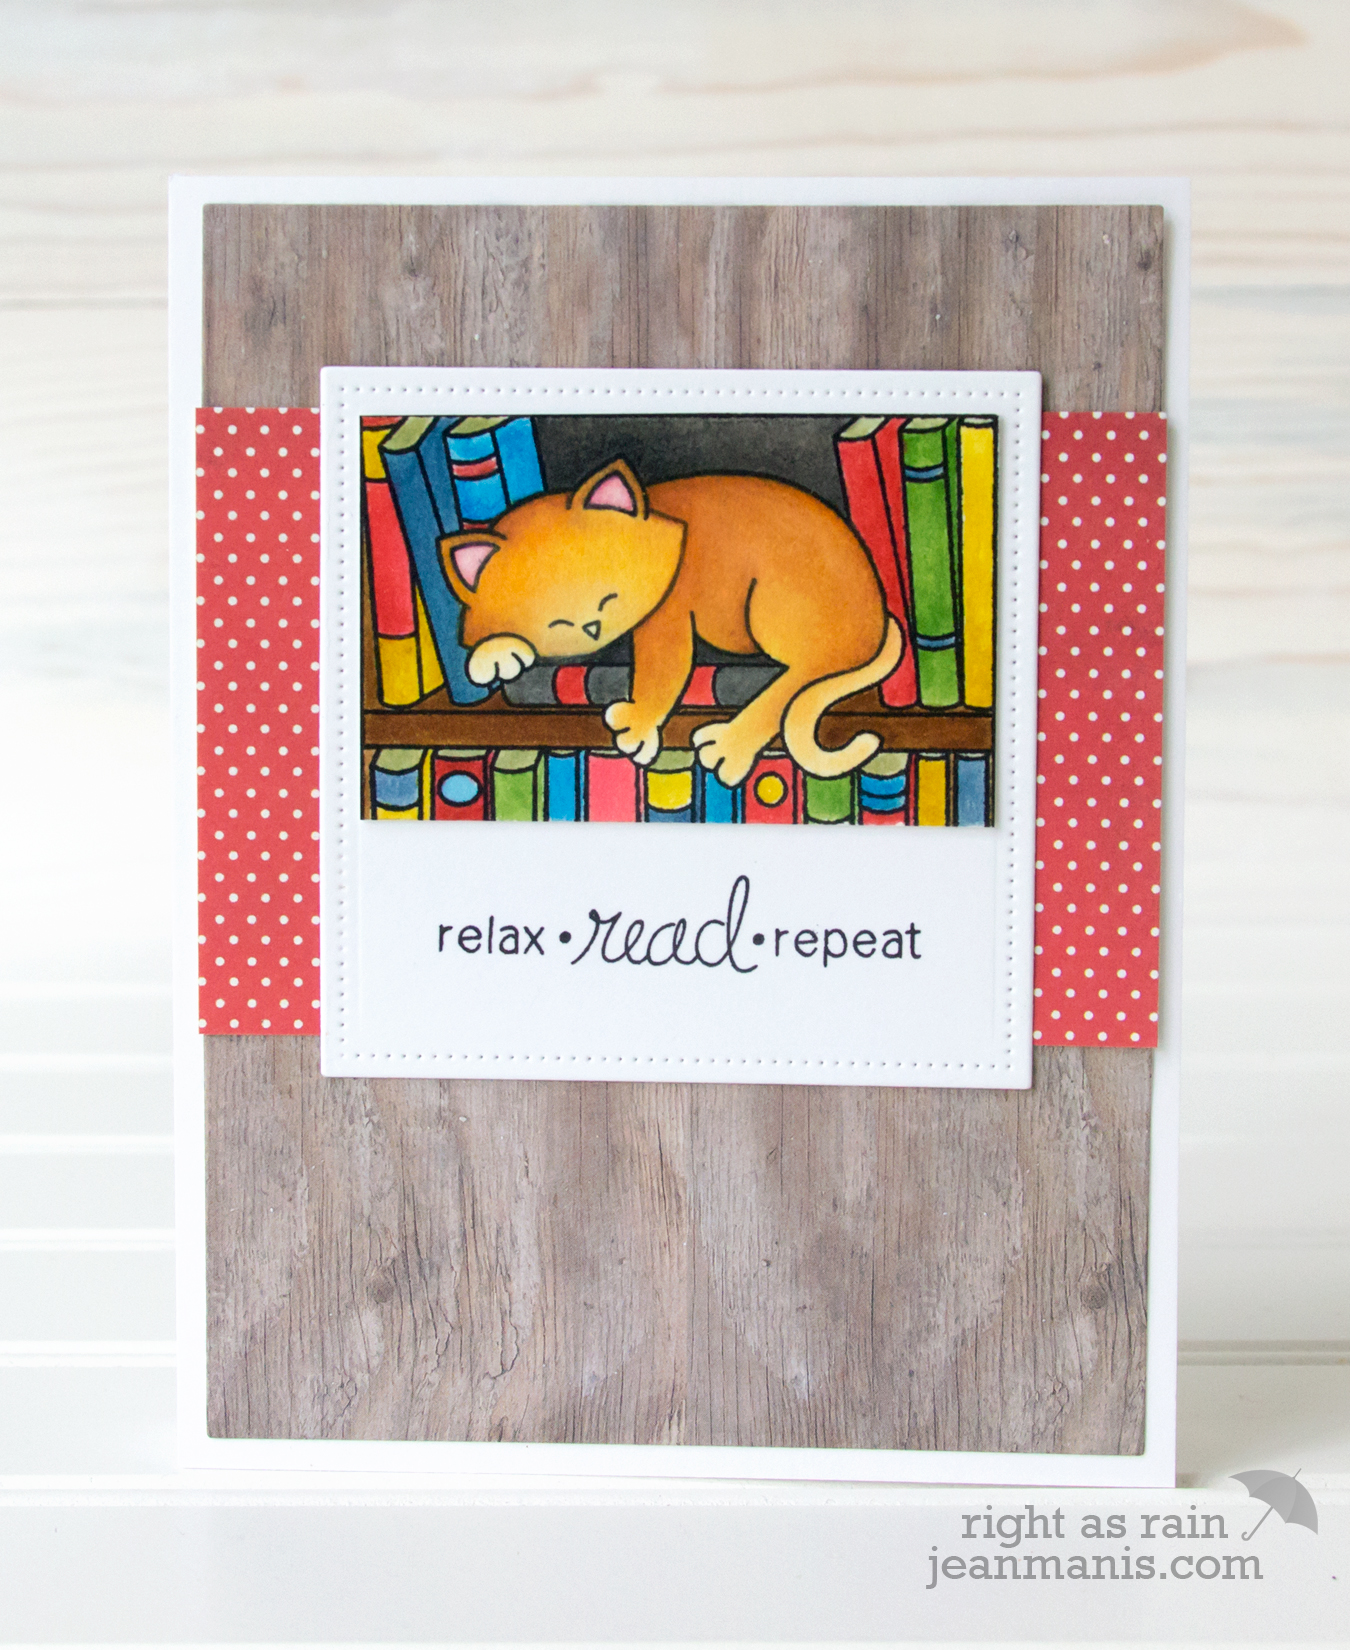
These two stamped and watercolored cat cards feature playful scenes, both created using Newton’s Nook stamps, known for their charming cat imagery. One captures a relaxed beach scene, while the other sets the stage in a cozy library.

There’s something irresistibly charming about cats on cards. They bring a playful and timeless appeal to any design! I hope this roundup has inspired you to use cats as a theme in your own creations. While putting this roundup together, I realized that many of my cat cards feature stamped images that I’ve colored. I own several silhouette cat dies and have used them on a number of cards (although none are included in this roundup). While silhouettes create a bold and classic design, most cats aren’t a solid color, so stamping and coloring allow for more variety and detail. Do you have favorite cat stamps or dies? Is there a cat-themed set on your wish list?

Valentine Card with Colorful Birdhouses

Hello! This Valentine’s Day card features three charming birdhouses in vibrant colors, set against a softly embossed sky filled with hearts. The playful “I ❤️ U” sentiment adds a sweet and simple message, making this card a delightful way to celebrate love. Keep reading to see how I brought this cheerful Valentine design to life!

Valentine Card with Colorful Birdhouses

    • Cover an A-2 size card base with a panel of patterned paper.
    • Use a scallop oval die to cut a white oval and add to the card base. I used a now-retired Spellbinders set.
    • With the Sunny Studio Stamps Build-A-Birdhouse set, cut the birdhouses and birds from a variety of cardstock colors. Assemble.
    • With an oval die, cut teal cardstock and dry-emboss. I used a coordinating die from the aforementioned set and a now-retired Spellbinders embossing folder. With the same oval die, cut an oval from white cardstock. Cut off the top of the oval with a snow hill die.
    • Cut the Speech Bubbles sentiment and add to the snow hill.
    • Add the assembled birdhouses and birds to the dry-embossed oval; trim the birdhouse posts as needed. Add the snow hill piece to the front.

Valentine Card with Colorful Birdhouses

I shared a spring-themed card with the same birdhouse die set HERE.


Christmas Window Scene for 52CCT Challenge

Hello! This week’s 52 Christmas Card Throwdown Challenge provided the perfect opportunity to create a festive holiday card using the August Sketch Challenge graphic as inspiration.

Christmas Window Scene for 52CCT Challenge

My design showcases a cozy window scene with die-cut shutters framing a decorated Christmas tree. A patterned paper background and intricate snowflake borders add seasonal charm, while the “Merry Christmas” sentiment completes the look. Let’s dive into the details of this cheerful creation!

    • Cover A-2 card base with patterned paper.
    • Cut the Snow Flurries Backdrop from Snowdrift cardstock and add to card front.
    • With the Wonderful Windows die, cut the window and shutters from a variety of cardstock colors.
    • Cut the Christmas tree from green cardstock. I used a now-retired Memory Box die (Frosted Christmas tree) and inked with Rustic Wilderness ink to create more contrast.
    • Trim the bottom of the tree, add to a yellow cardstock panel (SU So Saffron), and attach the assembly to the back of the window with foam adhesive. Attach the assembled shutters and add gold latches. Decorate the tree with adhesive pearls and gold circles (I used a die in the Wonderful Windows set). Attach the window and shutters to the card front with dot adhesive.
    • Press the Merry & Bright sentiment in Geranium ink on Snowdrift cardstock and cut with the coordinating die in the set. Add to the card with foam adhesive.

Christmas Window Scene for 52CCT Challenge

If you’re feeling inspired, head over to the 52 Christmas Card Throwdown Challenge site and join in—create your own card and share it with the community!


Sunny Studio Stamps | July 4th Truckload

Hello! Today, I am sharing a Fourth of July card featuring the delightful Sunny Studio Stamps Truckloads of Love stamp set, with coordinating dies. The set features a vintage pick-up truck along with a choice of critters and seasonal items to include in the truck. I shared a Valentine’s Day card created with these supplies HERE and a fall-themed card HERE.

Sunny Studio Stamps | July 4th Truckload

    • To begin, cover an A2-size card base with patterned paper. I used a piece from an Echo Park pad.
    • Stamp Truckloads of Love pickup, banner, flag, rail, and critter with Versafine on Arches Cold Press watercolor paper and heat set. Color the images with watercoloring mediums of choice (I used Tombow markers). Once dry, cut the images with the dies in the coordinating set. (Check out my “Resources for Watercoloring Stamped Images” HERE.)
    • Cut scallop mat from white cardstock with the Mini Mat and Tag 3 set.
    • Stamp sentiment on white cardstock and add Distress Oxide Inks to sky and road (using vellum to mask while applying the inks). I created the sentiment on my computer.
    • Trim inked sentiment panel to fit inside the Mini Mat and Tag 3 scallop mat. Add inked panel to mat.
    • Add assembled truck to the scene.

Sunny Studio Stamps | July 4th Truckload


Springtime Charm: Birdhouse Scene Card

Hello! Today, I am sharing a spring-themed “Hello” card combining several Sunny Studio Stamps die sets. It has been a delight to hear the return of the birds singing now that it is spring.

Sunny Studio Stamps Birdhouse Card

  • Cut a mini-slimline panel (3 1/2″ x 6 1/2″) of Waterfall cardstock and add to card base.
  • Cut a strip of green cardstock (I used now-retired SU Cucumber Crush) with the grass die in the Picket Fence set.
  • Cut fence with the Picket Fence set from Snowdrift cardstock.
  • Cut birdhouses and birds with dies in the Build-A-Birdhouse set from a variety of cardstock colors. Assemble.
  • Cut clouds from Snowdrift cardstock with dies in the Fluffy Clouds set.
  • Cut sentiment from white glitter foam (glitter side down) with the Art Impressions Journal Letter set.
  • Add clouds and fence to card base. Add birdhouses and birds. Lastly affix grass and add sentiment.

Sunny Studio Stamps Birdhouse Card